Skip to content
About
Contact
Cookie Policy
Copyright Policy
Disclaimer
Search
Home
Dinner
Appetizer
Desserts
Drinks
About
Contact
Privacy Policy
Toggle Menu
Home
/
NO-ING-IMG
- Page 10
NO-ING-IMG
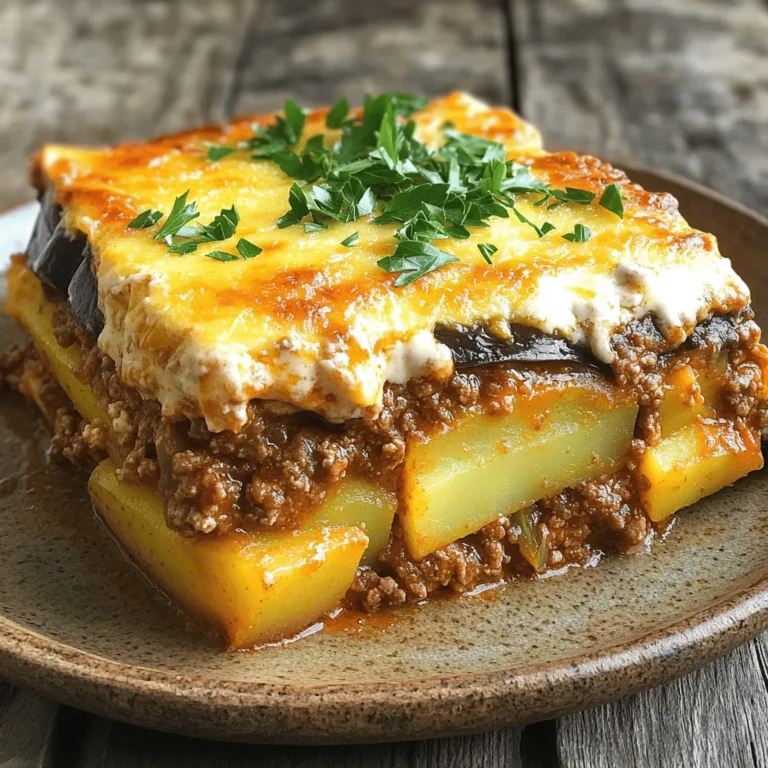
Ultimate Greek Moussaka Flavorful Comfort Food Dish
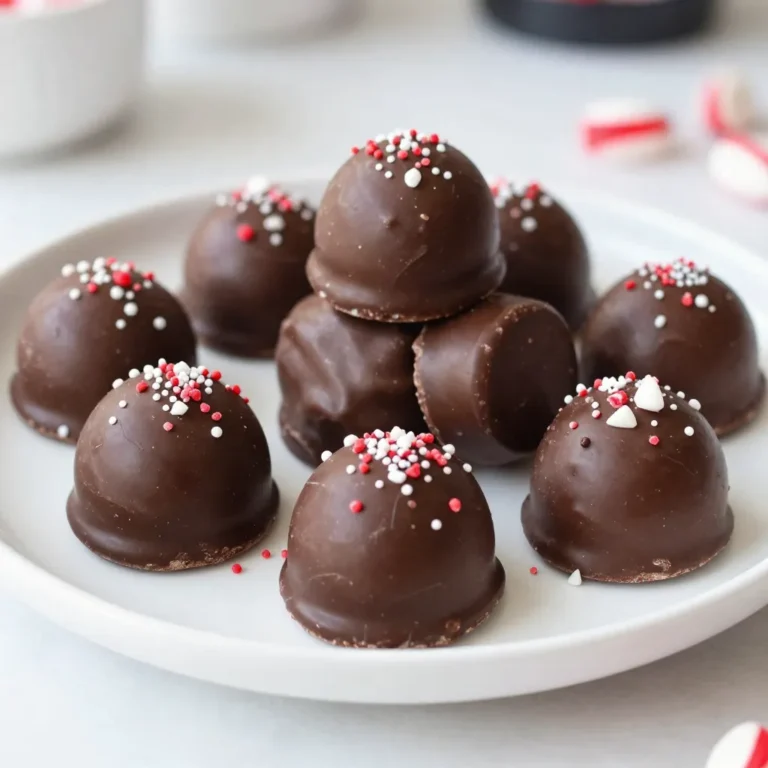
Peppermint Creams Delightful Treat for Everyone
Creamy Herb Roasted Chicken with Mushrooms Delight
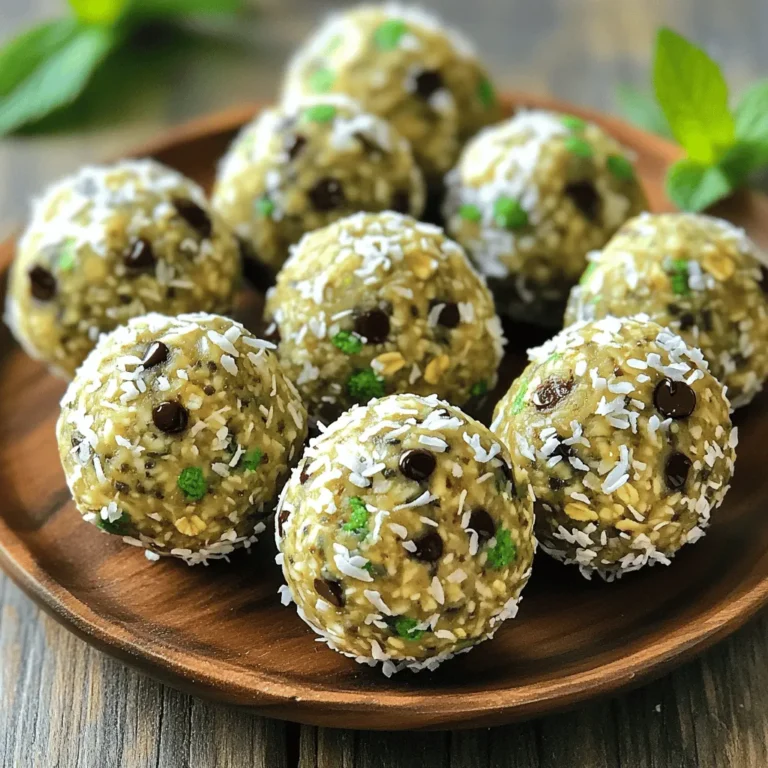
Mint Chocolate Chip Protein Balls Tasty Energy Snack
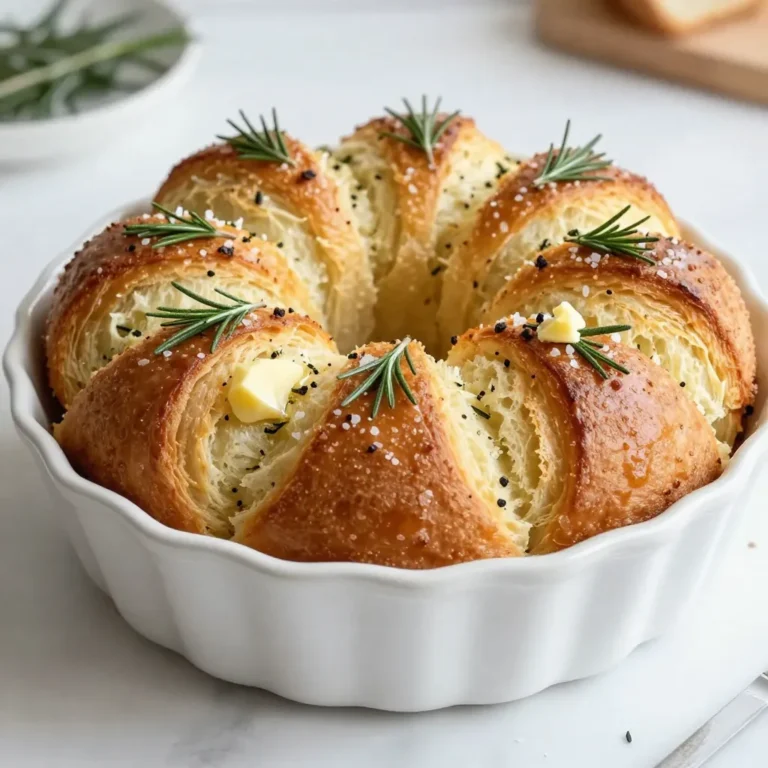
Rosemary Garlic Pull-Apart Bread Irresistible Delight
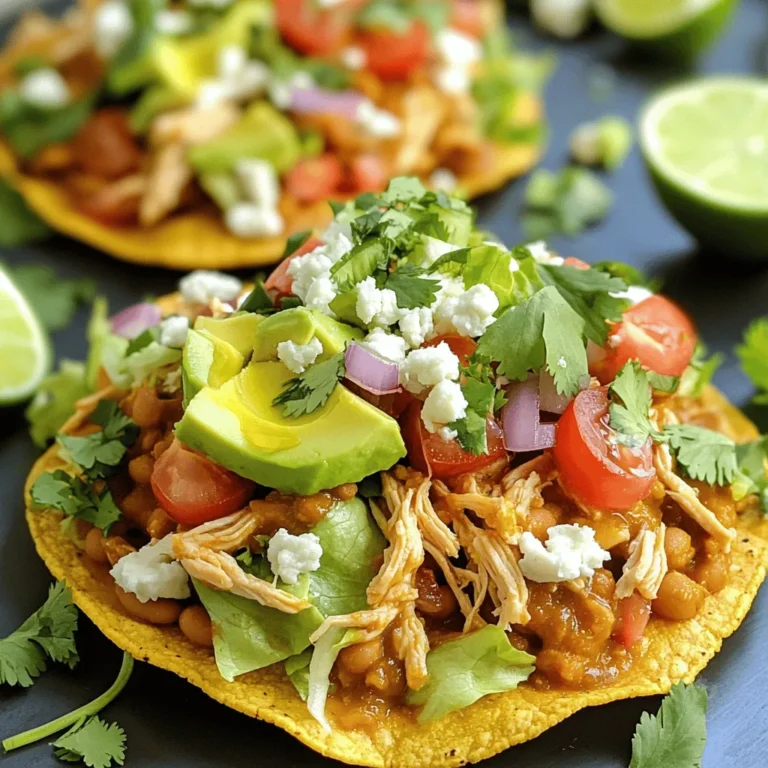
Rotisserie Chicken Tostadas Crispy and Flavorful Meal
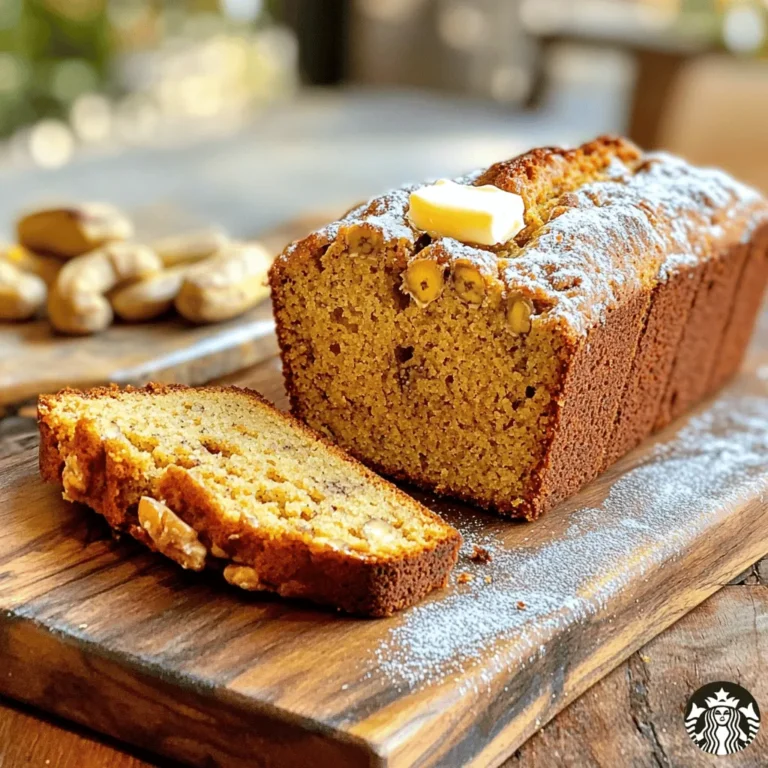
Starbucks Copycat Banana Bread Easy Homemade Recipe
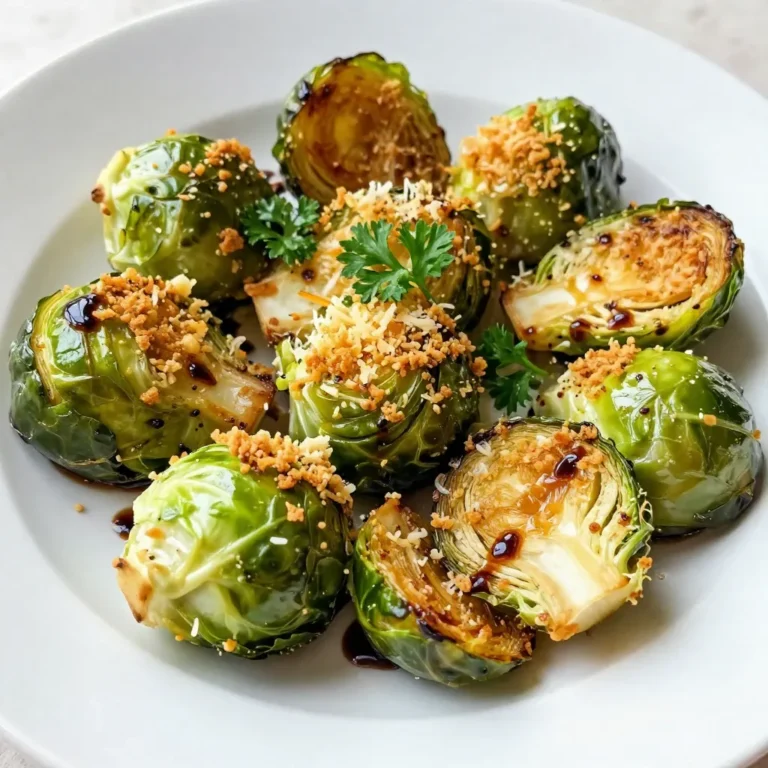
Parmesan Roasted Brussels Sprouts Flavorful Side Dish
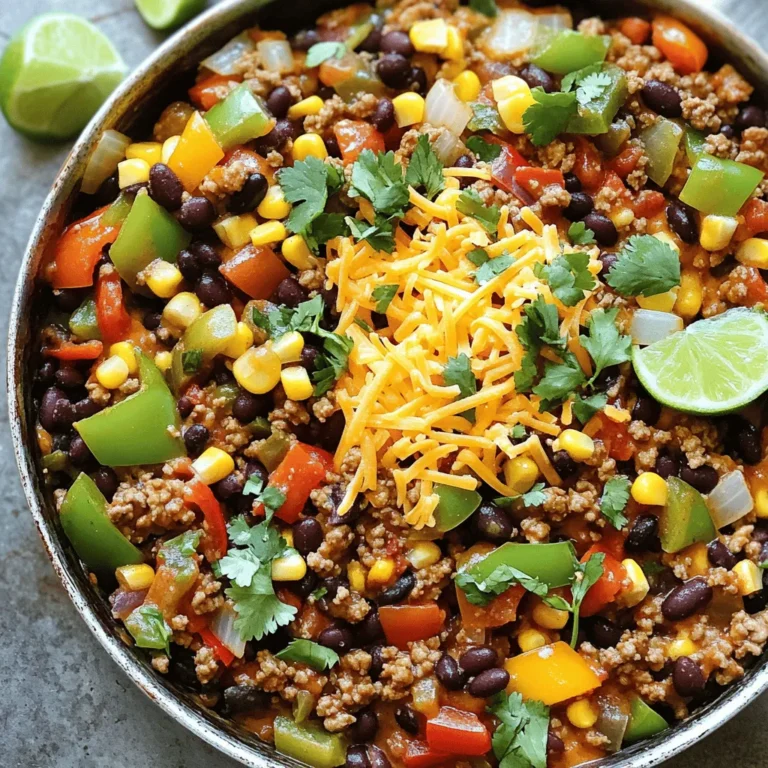
Ground Turkey Taco Skillet Delightful and Simple Meal
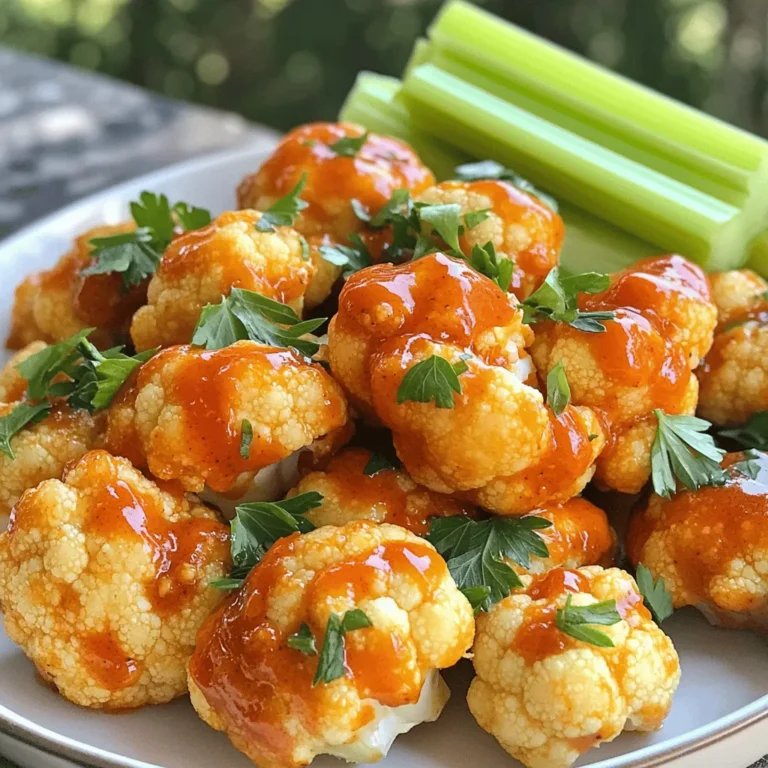
Air Fryer Buffalo Cauliflower Tasty and Spicy Delight
Page navigation
Previous Page
Previous
1
…
8
9
10
11
12
…
62
Next Page
Next
Home
Dinner
Appetizer
Desserts
Drinks
About
Contact
Privacy Policy
Toggle Menu Close
Search for:
Search