Strawberry Mango Popsicles Refreshing Summer Treat

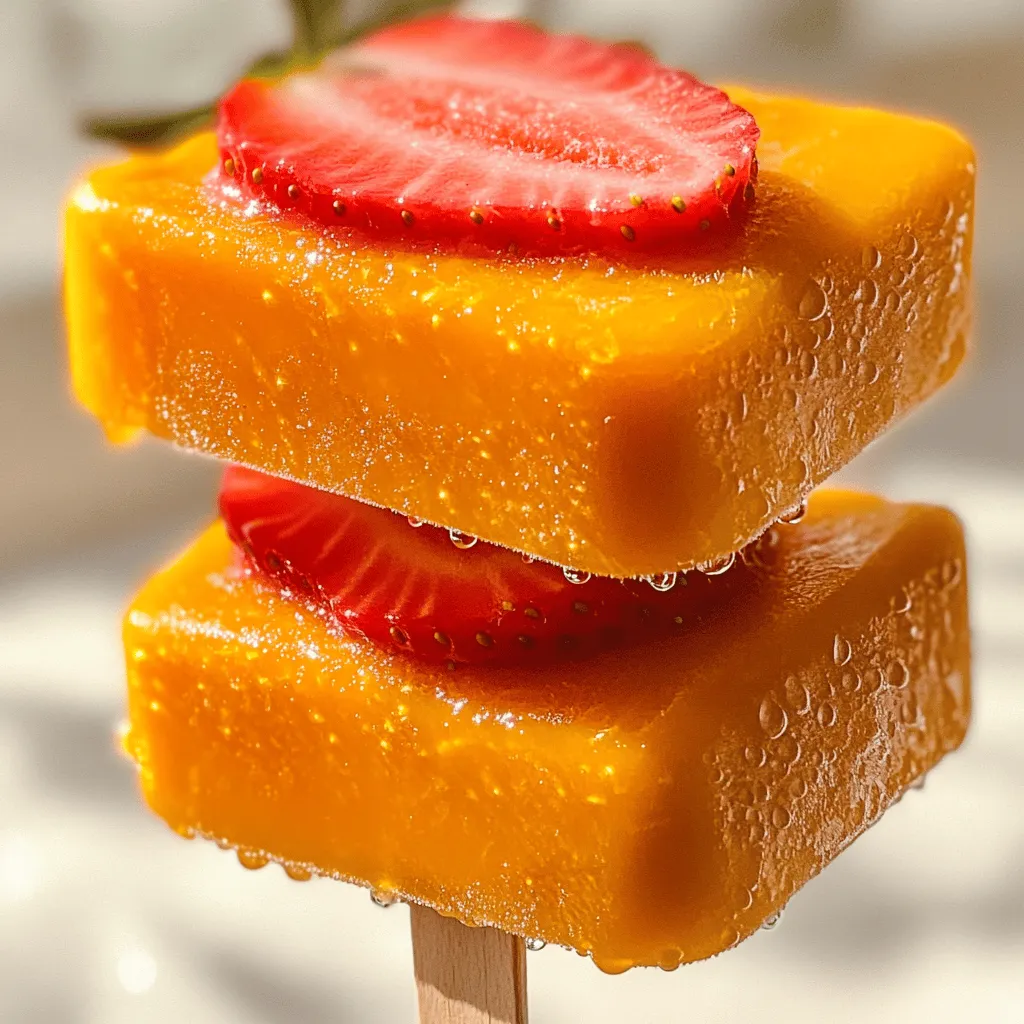
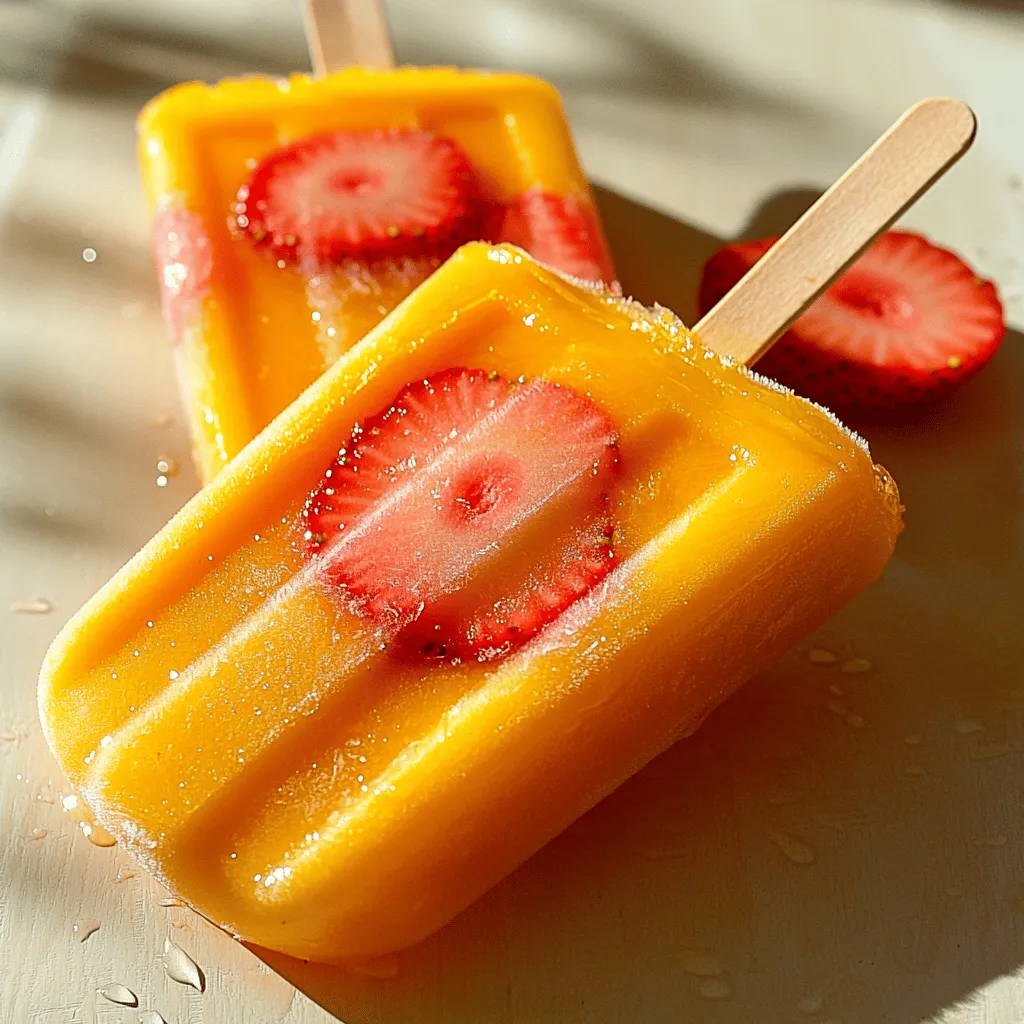
Looking for a cool and tasty treat to beat the summer heat? You’re in the right place! Strawberry Mango Popsicles are not only refreshing but easy to make. With ripe mangoes and strawberries, these popsicles burst with flavor. I’ll guide you through each step, from blending fresh fruits to freezing the perfect pops. Get ready to impress your friends and family with this delightful summer snack!
Ingredients
Fresh Ingredients
– 2 ripe mangoes, peeled and diced
– 1 cup fresh strawberries, hulled and sliced
The mangoes should be soft to the touch. This means they are sweet and juicy. Peel and dice them into small pieces. Strawberries need to be ripe and vibrant. Remove the tops and slice them thin.
Sweeteners and Liquids
– 1/4 cup honey or maple syrup
– 1 cup coconut water or regular water
Choose honey for a rich sweetness. Maple syrup gives a unique flavor. You can use coconut water for a tropical twist. Regular water works too if you prefer.
Additional Flavorings
– 1 tablespoon fresh lime juice
– A pinch of salt
Lime juice adds a fresh pop. It balances the sweetness of the fruits. A tiny pinch of salt enhances the flavors. This makes every bite taste better.You will love how easy they are!
Step-by-Step Instructions
Prepare the Mango Base
To start, gather your ingredients. You need ripe mangoes, sweeteners, coconut water, lime juice, and salt. First, peel and dice the mangoes. Next, place them in a blender. Add your choice of honey or maple syrup. Pour in the coconut water and fresh lime juice. Finally, sprinkle in a pinch of salt. Blend everything on high speed for about 30 seconds. You want the mixture to be smooth and creamy.
Layering the Popsicles
Now, it’s time to layer! Carefully pour half of your mango mixture into popsicle molds. Fill each mold halfway to create the first layer. In a separate bowl, toss the sliced strawberries with a bit of honey for extra sweetness. Spoon the strawberries into the molds on top of the mango layer. Press them down gently to make sure they are submerged. Then, pour the remaining mango mixture over the strawberries, filling the molds to the top.
Freeze the Popsicles
Once your molds are filled, insert popsicle sticks into the center of each mold. Make sure they stand up straight. Place the molds in the freezer and let them freeze for 4 to 6 hours. When they are completely solid, it’s time to release them. To do this, run warm water over the outside of the molds for a few seconds. This will help loosen the popsicles. Gently pull them out and enjoy your fruity treat!
Tips & Tricks
Achieving the Perfect Blend
To make your popsicles smooth, blend well. Start with ripe mangoes. They should be soft and sweet. Add honey, coconut water, lime juice, and salt. Blend on high for about 30 seconds. You want a creamy mixture, not chunky. If it’s too thick, add a little more coconut water. This will help it blend better.
Layering Techniques
Layering gives your popsicles a fun look. Pour half of the mango blend into the molds first. This is your base layer. Next, add a layer of strawberries. Make sure to press them down gently. This helps keep them from floating. Now, pour the rest of the mango mixture on top. This creates a vibrant, colorful treat that looks great and tastes even better.
Troubleshooting Common Issues
Sometimes, popsicles stick to molds. To avoid this, run warm water over the outside of the molds. Do this for a few seconds before pulling them out. This warms the mold and makes it easier to release the popsicles. If they still stick, try using silicone molds next time. They help pop out easily and keep the shape.

Variations
Different Fruits to Try
You can switch up the fruit in your popsicles. Kiwi, pineapple, or watermelon all work great. For a fun twist, try mixing these fruits with strawberries and mango. Each fruit adds its own flavor and sweetness. Play around with combinations until you find your favorite.
Sweetness Adjustments
Not everyone likes the same level of sweetness. If you want a sweeter popsicle, add more honey or maple syrup. If you prefer less sweetness, use less sweetener. Taste the mixture before you pour it into molds. This way, you can adjust it just right for your taste buds.
Dairy-Free Options
Want a creamier popsicle? You can use coconut cream or yogurt. These add a rich texture and flavor. If you’re dairy-free, coconut cream is a perfect choice. Blend it in with the mango and strawberries for a delightful treat. Enjoy the creamy goodness without any dairy!
Storage Info
Proper Freezing Techniques
To keep your Strawberry Mango Popsicles fresh, follow these steps:
– Use molds with tight seals: This prevents ice crystals from forming.
– Wrap popsicles in plastic wrap: This adds another layer of protection against freezer burn.
– Store in airtight containers: If you have extra popsicles, place them in a container to keep them fresh.
These methods let you enjoy your popsicles longer.
Best Practices for Thawing
Thawing your popsicles correctly is key to good texture. Here’s how to do it:
– Leave them at room temperature: Let them sit for a few minutes before eating.
– Run warm water over the mold: This helps loosen the popsicles without melting them too fast.
– Avoid the microwave: This can melt the popsicles unevenly and change their texture.
These tips help you enjoy the popsicles as they should be.
Shelf Life of Homemade Popsicles
You can keep your homemade Strawberry Mango Popsicles in the freezer for about 2 to 3 months. After this time, they may lose flavor and texture.
For the best taste, enjoy them within the first month. This ensures you get the full fruity flavor and creamy texture.
FAQs
How to make Strawberry Mango Popsicles from scratch?
To make Strawberry Mango Popsicles, start with fresh fruits. You need ripe mangoes and strawberries. Here’s a detailed process:
1. Blend the Base: In a blender, combine diced mangoes, honey, coconut water, lime juice, and salt. Blend until smooth.
2. First Layer: Pour half of this mango mixture into popsicle molds.
3. Prepare Strawberries: Toss sliced strawberries with honey in a bowl.
4. Add Strawberry Layer: Spoon the strawberries into the molds on top of the mango layer.
5. Top with More Mango: Pour the remaining mango mixture over the strawberries, filling the molds.
6. Insert Sticks: Place popsicle sticks in the center of each mold.
7. Freeze: Put the molds in the freezer for 4-6 hours until solid.
8. Release the Popsicles: Run warm water over the outside of the molds to loosen them.
This method gives you fruity, creamy popsicles bursting with flavor.
Can I use frozen fruits for this recipe?
Yes, you can use frozen fruits. Frozen mangoes and strawberries work well. They save time and still taste great. Just adjust the liquid. You might need a bit more coconut water since frozen fruits can be thicker. Blend until smooth, then follow the same steps.
Where can I buy ready-made Strawberry Mango Popsicles?
You can find ready-made Strawberry Mango Popsicles in many stores. Look for brands like Outshine or Whole Foods 365. They offer delicious options. Check local grocery stores or online for availability. These popsicles are convenient for a quick treat on hot days.
This blog post shared how to make delicious strawberry mango popsicles from scratch. You learned about fresh ingredients, sweeteners, and adding flavors. I provided step-by-step instructions to prepare, layer, and freeze your popsicles. Tips and tricks helped you achieve the perfect blend and look. You also discovered fun variations and storage tips to keep them fresh. Remember, these homemade treats are easy and fun to make. Enjoy experimenting with different fruits and flavors, and savor each delicious bite!


![- 1 pound boneless, skinless chicken thighs, cut into 1-inch cubes - 1/4 cup soy sauce - 1/4 cup honey - 2 tablespoons rice vinegar - 1 tablespoon sesame oil - 2 cloves garlic, finely minced - 1 teaspoon fresh ginger, grated - 1 red bell pepper, cut into 1-inch squares - 1 yellow bell pepper, cut into 1-inch squares - 1 zucchini, sliced into thick rounds The main ingredients are key to a great teriyaki dish. Chicken thighs are juicy and flavorful. The soy sauce and honey create a sweet and salty marinade. Rice vinegar adds a slight tang. Garlic and ginger bring warmth and depth to the flavor. The colorful veggies add crunch and a fresh touch. - 1 teaspoon cornstarch mixed with 1 tablespoon cold water (optional, for thickening the sauce) - Sesame seeds, for garnish - Fresh cilantro, for garnish Cornstarch helps thicken the teriyaki sauce. This makes it stick better to the chicken. Sesame seeds and cilantro are perfect for garnishing. They add a nice look and extra flavor. - Bamboo skewers (soaked in water for at least 30 minutes) - Grill or grill pan You need skewers to hold the chicken and veggies. Soaking them in water prevents burning. A grill or grill pan cooks the skewers evenly. It gives the chicken those beautiful grill marks. For the full recipe and more tips, check out the Full Recipe section. To start, we need to mix the marinade. In a medium bowl, combine the soy sauce, honey, rice vinegar, sesame oil, minced garlic, and grated ginger. Whisk these ingredients together until they blend well. This mixture is key to our teriyaki chicken skewers. Marinating is very important. It lets the chicken soak up all the nice flavors. Aim for at least 30 minutes. For the best taste, try to marinate for 1 to 2 hours. This makes a big difference in flavor. Now, it’s time to thread the chicken and veggies onto the skewers. First, take your soaked bamboo skewers and start with a piece of chicken. Then, add a square of red bell pepper, followed by a piece of yellow pepper. Next, add a thick slice of zucchini. Repeat this pattern. This colorful arrangement is not just tasty; it looks great too! Make sure the pieces fit snugly but not so tightly that they can't cook well. A nice visual appeal will impress everyone at the table. When it’s time to cook, we can grill the skewers. Preheat your grill or grill pan to medium-high heat. Place the skewers on the grill and cook them for about 10 to 12 minutes. Turn them occasionally for even cooking. If you prefer, you can also bake or broil the skewers. Just adjust the cooking time. Cook until the chicken is fully done and has lovely grill marks. For added flavor, brush the skewers with the thickened teriyaki sauce while they cook. Check the Full Recipe for more details on each step! To make a great teriyaki marinade, you need balance. Start with soy sauce for saltiness. Add honey for sweetness. Rice vinegar brings in acidity, which brightens the flavors. Garlic and ginger give depth. Ensure you mix these well. A good marinade coats the chicken evenly. For extra flavor, let the chicken sit in the marinade for longer. Aim for 1 to 2 hours for the best taste. If you want more richness, try adding a splash of orange juice. This will enhance the flavor profile. Grilling your skewers right is key. First, preheat your grill to medium-high heat. This helps get those beautiful grill marks. Place the skewers on the grill and leave them alone for a few minutes. Avoid moving them too much; let them sear. Flip them only once or twice. If you brush them with the thickened sauce, it adds a nice glaze. Keep an eye on the time; cook them for about 10-12 minutes. Common mistakes include overcrowding the grill. Give each skewer space so they cook evenly. Also, don’t skip the resting time after grilling; it helps the juices redistribute. When serving, presentation matters. Lay the skewers on a big platter. Drizzle with any leftover teriyaki sauce for extra flavor. Sprinkle sesame seeds and chopped cilantro on top. It adds color and looks inviting. For side dishes, think simple. Steamed rice or a fresh salad pairs well. You could also serve grilled veggies for a complete meal. These combinations elevate your dish and make for a delicious feast. Remember, the Full Recipe will guide you through the process! {{image_4}} You can swap chicken for other proteins like beef or tofu. Beef gives a rich, hearty taste. Tofu offers a plant-based option that absorbs flavors well. Adjust cooking times depending on what you use. Beef may need longer than chicken, while tofu cooks quicker. Always check for doneness to keep your meal safe. Feel free to include seasonal vegetables. Bell peppers, zucchini, and onions add color and crunch. Try mushrooms or cherry tomatoes for even more variety. These colorful additions not only taste great but also make your dish visually appealing. Mixing different veggies can create a vibrant plate that excites the eyes. You can use store-bought teriyaki sauce for speed. Homemade sauce allows you to control flavors better. If you want a kick, try adding chili flakes for spice. For a sweeter twist, mix in some pineapple juice. These variations help you customize the sauce to fit your taste. Check the [Full Recipe] for details on how to make your own sauce! After enjoying your teriyaki chicken skewers, you may have some leftovers. It’s best to store them right away. Place the skewers in an airtight container. This keeps them fresh and prevents odors. You can refrigerate them for up to four days. For longer storage, wrap them tightly in plastic wrap and place them in a freezer bag. You can freeze them for up to three months. Just remember to label the bag with the date. When it’s time to enjoy leftovers, reheating correctly matters. You want to keep the chicken moist. The oven works best for this. Preheat it to 350°F (175°C). Place the skewers on a baking sheet and cover them with foil. Heat for about 10-15 minutes until warm. The microwave is quicker but can dry out the chicken. If you use it, heat in short bursts of 30 seconds. Check often to avoid overcooking. Leftover teriyaki chicken skewers can last up to four days in the fridge. If frozen, they remain safe for three months. Always check for signs of spoilage before eating. If the chicken smells bad or looks off, don’t eat it. Look for a change in color or texture too. When in doubt, throw it out. Enjoying your teriyaki chicken skewers fresh is the best way to experience their flavor. For the full recipe, refer to the earlier sections. The best chicken for skewers is thighs. They stay juicy and tender when cooked. Breasts can dry out quickly. They have less fat, which makes them less forgiving. Thighs are more flavorful and can handle marinating well. Yes, you can make teriyaki chicken skewers in advance. Marinate the chicken for at least 30 minutes. For the best taste, marinate for 1 to 2 hours. You can even marinate them overnight. Cook them right before serving for the best results. You can serve teriyaki chicken skewers with many tasty sides. Rice, like jasmine or brown rice, pairs well. You can also offer stir-fried veggies for crunch. A fresh salad with sesame dressing adds a nice touch. Consider serving with grilled pineapple for a sweet twist. Explore these options to find what you love! This article covered making delicious teriyaki chicken skewers. We explored key ingredients like chicken, marinade, and vegetables. You learned how to prepare the marinade, assemble skewers, and cook on the grill. We also shared tips for flavor, grilling techniques, and serving ideas. You can mix in different proteins or vegetables and make it your own. Remember to store any leftovers properly to enjoy later. Now, get ready to impress with your new skewering skills!](https://fastmealmate.com/wp-content/uploads/2025/06/9b1dc869-68dc-4727-be9c-b0e6615ca1ac-768x768.webp)
