If you’re craving a sweet treat that captures the essence of summer, look no further! In this article, I’ll share my delightful and easy Southern Peach Cobbler recipe. You’ll learn how to pick the ripest peaches, mix the perfect batter, and bake a golden cobbler that’s simply irresistible. Whether you’re a novice or an expert, this guide is packed with tips, tricks, and variations to make your dessert dreams come true. Let’s get started!
Ingredients
List of Ingredients
– Fresh peaches: Using ripe peaches is key to a great cobbler. They add natural sweetness and juiciness. Look for peaches with a firm feel and a sweet aroma. These will give your cobbler that classic Southern flavor.
– Vanilla extract and spices: Pure vanilla extract enhances the taste. Ground cinnamon and nutmeg add warmth and depth. These flavors blend beautifully with the peaches, making each bite delightful.
– Alternative sugar options: If you’re health-conscious, consider using coconut sugar or honey. These options can add a unique flavor while reducing refined sugar intake. Just remember to adjust measurements, as they can be sweeter than granulated sugar.
Step-by-Step Instructions
Prepping the Peaches
To peel and slice peaches, start by bringing a pot of water to a boil. This method helps the skin come off easily. Once the water boils, drop the peaches in for about 30 seconds. Quickly move them to an ice bath to stop the cooking. After a minute, the skin should slide right off.
When choosing ripe peaches, look for ones that feel slightly soft when you press gently. The color should be vibrant, and they should have a sweet aroma. Avoid peaches with bruises or dark spots, as they may not taste good.
Making the Batter
For the batter, start by mixing dry ingredients first. Combine flour, sugar, baking powder, and salt in a bowl. Whisk them until there are no lumps. When you add the wet ingredients like milk, melted butter, and vanilla, mix gently. Stir just until the flour disappears. A few lumps are okay; they help keep the batter light.
Layering and Baking
Layering is key for a great cobbler. Pour the batter into a greased baking dish first. Then, spoon the marinated peaches over the batter. Do not mix them in; this helps create nice layers.
Bake in a preheated oven at 350°F for 45 to 50 minutes. You want the top to turn a lovely golden brown. A toothpick should come out clean when inserted into the batter. Let it cool for about 10 to 15 minutes before serving. This resting time helps the juices settle and makes for a delicious bite.
Tips & Tricks
Perfecting Your Southern Peach Cobbler
To avoid a soggy bottom crust, make sure to layer your peaches correctly. Place the marinated peaches on top of the batter without stirring. This keeps the juices from soaking into the bottom. Also, bake the cobbler long enough. If your oven runs cool, you may need to add more time. Always check with a toothpick for doneness.
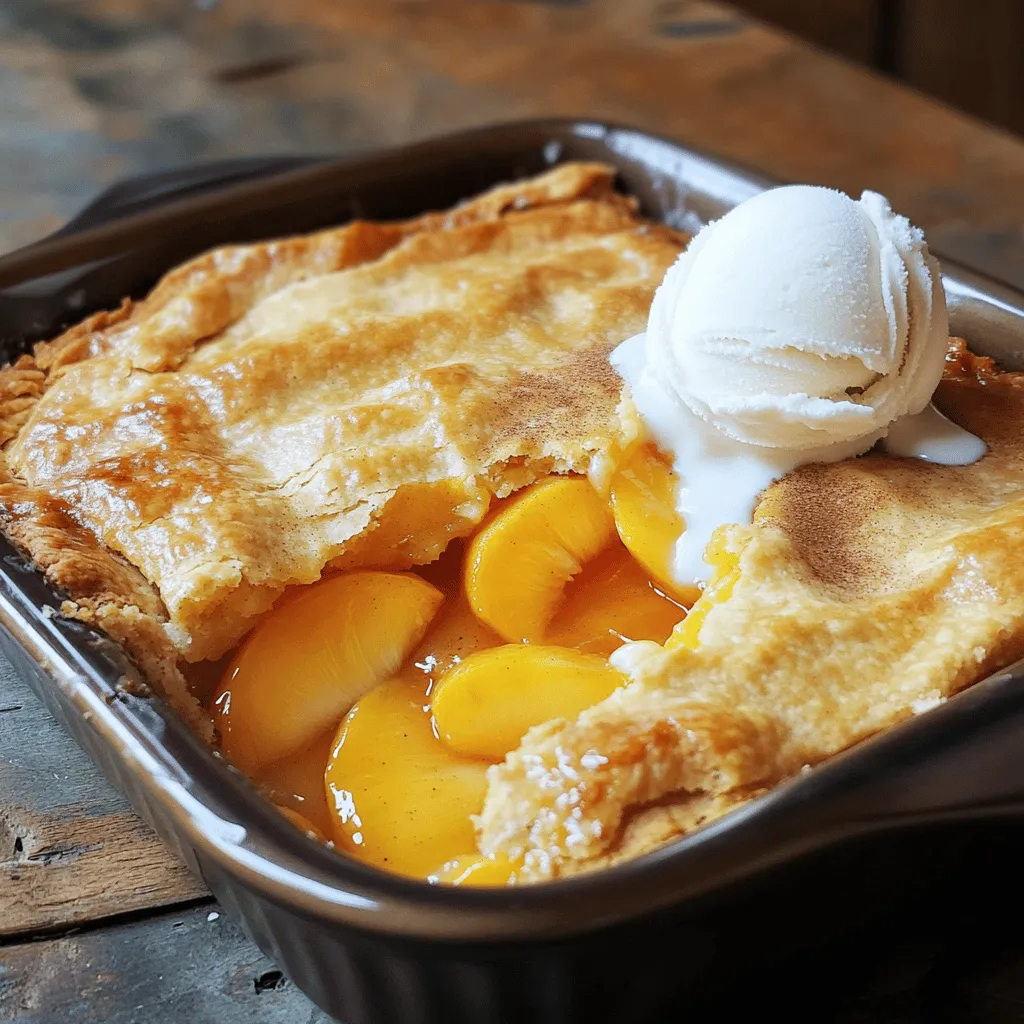
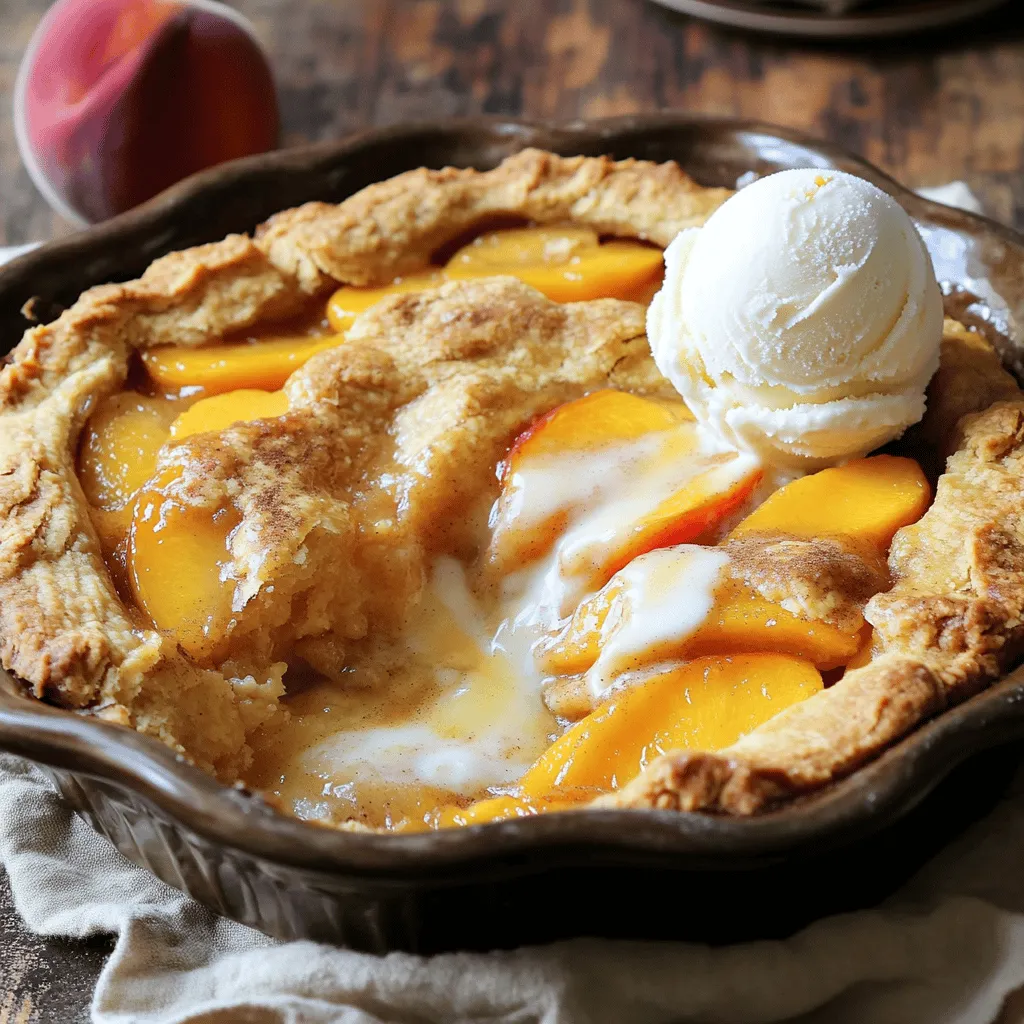
Serving Suggestions
Serving your cobbler warm is key. A scoop of vanilla ice cream adds great flavor. Whipped cream is another classic choice. You can also sprinkle some cinnamon on top for extra taste. This makes for a lovely dessert that everyone will enjoy.
Making Ahead
If you want to prepare this dish ahead of time, you can slice your peaches early. Keep them in the fridge to keep them fresh. You can also mix your dry ingredients in advance. Just combine them and store in a sealed bag. This way, you can whip up your cobbler quickly when you are ready to bake.
Variations
Different Fruit Options
You can swap peaches for other fruits in this cobbler. Try using ripe berries like blueberries or strawberries. Apples also work well, especially if you add some cinnamon. The key is to think about the fruit’s sweetness. Adjust the sugar based on the fruit you pick. Each fruit brings its unique flavor to the dish. Always let the fruit sit with sugar to release juices. This step helps create a delicious filling.
Topping Alternatives
Toppings can change the whole feel of your cobbler. You can use a biscuit topping for a fluffy finish. Another option is a streusel topping for a crunchy bite. You could even go for a crumb topping made from oats and butter. Each topping gives the cobbler a new twist. Experiment with different styles to find what you love best.
Gluten-Free and Dairy-Free Adaptations
Cooking for special diets? No problem! For a gluten-free option, swap all-purpose flour for almond or coconut flour. This change keeps it tasty while catering to gluten-free diets. If you need it dairy-free, replace whole milk with almond or oat milk. Use coconut oil instead of butter for richness. These swaps keep the cobbler delightful without sacrificing flavor. Enjoy your customized treat without worry.
Storage Info
Refrigeration Guidelines
To keep your Southern peach cobbler fresh, store it in the fridge. First, let the cobbler cool down to room temperature. Then, cover it tightly with plastic wrap or aluminum foil. This helps keep moisture in and prevents it from drying out. You can also place it in an airtight container. The cobbler will stay fresh for about 3 to 4 days in the fridge.
Freezing the Cobbler
If you want to save some for later, freezing is a great option. Start by cutting the cobbler into squares. Wrap each piece tightly in plastic wrap. Place the wrapped pieces in a freezer-safe bag. Make sure to squeeze out all the air before sealing. You can freeze the cobbler for up to 3 months. When you’re ready to eat it, thaw it in the fridge overnight. Reheat individual pieces in the microwave or warm the whole dish in the oven at 350°F until hot.
Shelf Life
When stored correctly, your Southern peach cobbler can last quite a while. In the fridge, it remains good for 3 to 4 days. If you freeze it, you can enjoy it for up to 3 months. Always check for any signs of spoilage before eating. If it looks or smells off, it’s best to toss it. Enjoy your cobbler while it’s fresh for the best taste!
FAQs
What is the best way to peel peaches?
To peel peaches easily, you can use a few simple methods. One way is to blanch them. Boil water in a pot, then add the peaches for about 30 seconds. After that, place them in ice water. The skins will slip off easily. You can also use a vegetable peeler for fresh peaches, but this takes more time. Choose ripe peaches for the best flavor and easy peeling.
Can I use canned or frozen peaches?
Yes, you can use canned or frozen peaches. Canned peaches are often softer and sweeter, which can make your cobbler taste great. However, they may have added sugar, so adjust your recipe accordingly. Frozen peaches can work well too. Just remember to thaw and drain them before using. The downside is they might release more juice, so keep an eye on your cobbler’s texture.
How do I know when the cobbler is done baking?
You can tell your cobbler is done by checking a few signs. The top should turn golden brown and look firm. If you insert a toothpick into the batter, it should come out clean. You might also see bubbles around the edges. Let it cool for a few minutes before serving. This resting time helps settle the juices. Enjoy your Southern peach cobbler delight!
In this post, we explored how to make a delicious Southern peach cobbler. You learned about selecting ripe peaches and using spices to boost flavor. Making the batter and layering it with peaches were key steps. Plus, you picked up tips to avoid a soggy crust. Remember, you can try other fruits and toppings, or adapt recipes for special diets. Store leftovers properly to keep them tasty. Now you’re ready to enjoy your homemade cobbler and impress others with your skills!


