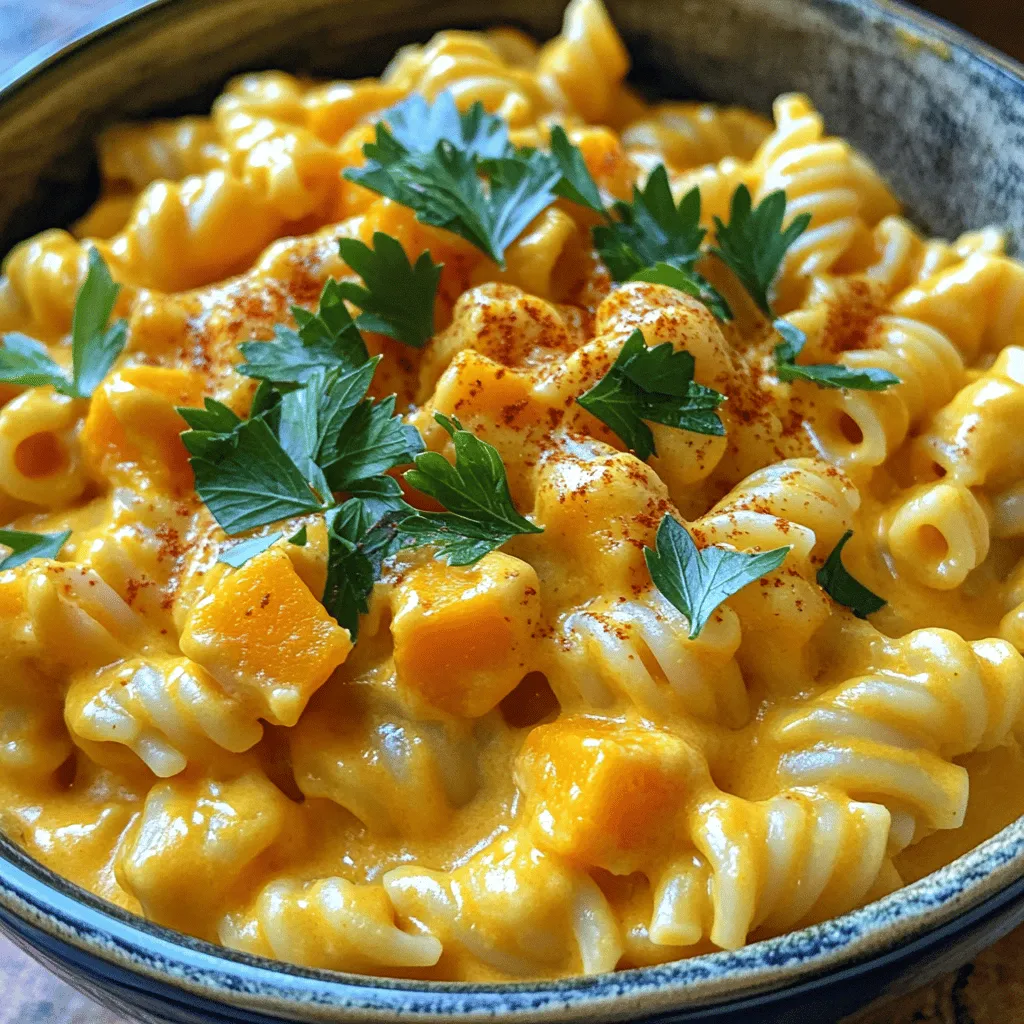
If you’re craving a warm, creamy meal that’s both comforting and healthy, you’re in for a treat! My Savory Slow Cooker Butternut Squash Mac and Cheese combines rich flavors with creamy goodness, making it perfect for any night. In this post, I’ll show you how to choose the right ingredients, avoid common pitfalls, and add your own twists to keep it exciting. Let’s dive in and transform your dinner routine!
Ingredients
List of Ingredients
– 1 medium butternut squash, peeled and cubed into 1-inch pieces
– 2 cups elbow macaroni
– 4 cups vegetable broth (low-sodium recommended)
– 1 cup milk (choose either dairy or your favorite non-dairy alternative)
– 2 cups shredded sharp cheddar cheese
– 1 cup shredded mozzarella cheese
– 1 teaspoon garlic powder
– 1 teaspoon onion powder
– 1 teaspoon Dijon mustard
– Salt and freshly cracked black pepper, to taste
– ½ teaspoon smoked paprika (optional, for a smoky depth)
– Fresh parsley, chopped, for garnish
Ingredient Substitutions
You can swap butternut squash with sweet potato for a different flavor. If you prefer whole wheat or gluten-free options, use whole grain or gluten-free pasta. For cheese, try gouda or pepper jack for a unique twist. If you have no vegetable broth, chicken broth works too. Use almond or oat milk for a dairy-free version.
Tips for Selecting Butternut Squash
When choosing butternut squash, look for ones that feel heavy for their size. The skin should be smooth and a tan color. Avoid squashes with soft spots or blemishes. A good squash will have a firm texture. Remember to pick a medium-sized squash for this recipe. It yields the best flavor and creaminess in your mac and cheese.
Step-by-Step Instructions
Preparing the Slow Cooker
Start by getting your slow cooker ready. First, peel and cube the butternut squash into 1-inch pieces. Place the squash in the bottom of the slow cooker. Make sure the pieces are spread out evenly. Next, add the elbow macaroni on top of the squash. This helps the pasta cook well. Pour in the vegetable broth and milk next. Choose a milk that you enjoy, whether it’s dairy or non-dairy. Then, sprinkle in the garlic powder, onion powder, and Dijon mustard. Season with salt and pepper. Stir everything until mixed well.
Cooking Process Overview
Cover the slow cooker with its lid. Set it to high heat for about 2.5 to 3 hours. If you prefer low heat, cook for 4 to 5 hours. You will know it’s ready when the squash is soft and the pasta is tender. This slow cooking makes the flavors blend perfectly. It’s a great time to enjoy the smell of the dish filling your kitchen.
Final Steps for Serving
When the cooking time is up, take an immersion blender. Blend the mixture right in the slow cooker. This makes it smooth. If you like some texture, mash some of the squash with a fork instead. After blending, stir in the shredded cheddar and mozzarella cheeses. Mix until they melt into the dish. Taste your mac and cheese. Adjust the seasoning with more salt or pepper if you want. For a nice touch, add smoked paprika. Stir it in well. Now, it’s time to serve! Ladle the warm mac and cheese into bowls. Garnish with chopped fresh parsley. Enjoy this delicious dish!
Tips & Tricks
Enhancing Flavor Profiles
To boost the taste of your slow cooker butternut squash mac and cheese, try adding herbs. Fresh thyme or rosemary can add depth. A pinch of nutmeg also brings warmth. You may want to toss in some sautéed onions or garlic for a savory punch. If you like a little kick, add crushed red pepper flakes. This can really brighten the dish.
Achieving Creamy Consistency
For a creamy texture, use good-quality cheese. Sharp cheddar and mozzarella work well together. Make sure to shred your cheese instead of using pre-shredded. Pre-shredded cheese often has anti-caking agents that can make it clump. If you want it even creamier, stir in some cream cheese after blending. This will add a rich mouthfeel that everyone will love.
Common Mistakes to Avoid
One common mistake is overcooking the pasta. It should be al dente before blending. If you cook it too long, it can turn mushy. Another mistake is not seasoning enough. Taste before serving and adjust the salt and pepper. Lastly, don’t skip the immersion blender. Blending makes the dish smooth and helps the flavors meld. Follow these tips, and your mac and cheese will shine!

Variations
Dairy-Free Version Options
To make a dairy-free version of this dish, simply swap out the milk and cheese. Use any plant-based milk, like almond or soy milk. For cheese, try vegan cheese shreds. These options keep the creamy texture, making it still delicious. You may need to adjust the seasoning to enhance flavor since plant-based cheeses can taste milder.
Adding Protein to the Dish
Want to add some protein? You can mix in cooked chicken, turkey, or even bacon. For a vegetarian option, try adding cooked lentils or chickpeas. These ingredients will make the meal heartier and more filling. Just stir them in after the cooking process to warm them through.
Spice Variations for Extra Heat
If you like heat, add some spice to your mac and cheese. Toss in a pinch of cayenne pepper or red pepper flakes. You can also add chopped jalapeños for fresh heat. These spices will give the dish a great kick. Start small, then taste and adjust to your heat preference.
Storage Info
Proper Refrigeration Techniques
After you make your Slow Cooker Butternut Squash Mac and Cheese, let it cool. Use airtight containers to store leftovers. This keeps the dish fresh and tasty. You can safely refrigerate it for up to five days. To enjoy it later, make sure to label the container with the date.
Freezing Instructions
If you want to save some for later, freezing is a great option. Scoop portions into freezer-safe containers. Leave some space at the top to allow for expansion. You can freeze the mac and cheese for up to three months. When you’re ready to eat, just thaw it in the fridge overnight.
Reheating Tips for Best Results
To reheat, you have a few choices. You can use the microwave or the oven. If using the microwave, heat in short bursts. Stir between each burst to ensure even warming. For the oven, preheat to 350°F (175°C). Place the mac and cheese in a baking dish, cover with foil, and heat for about 20-25 minutes. This keeps it creamy and delicious. If it looks a bit dry, add a splash of milk before reheating. Enjoy your meal!
FAQs
How long does it take to cook Slow Cooker Butternut Squash Mac and Cheese?
It takes about 2.5 to 3 hours on high or 4 to 5 hours on low. The squash should be fork-tender, and the pasta should be cooked through. This slow cooking allows flavors to meld and creates a creamy texture. You can check it at the lower end of each time range to see if it’s done.
Can I use a different type of pasta?
Yes, you can use other pasta shapes. Shells, penne, or fusilli work well. Just ensure the cooking time matches the pasta type you choose. Adjust the liquid if you use larger pasta. This flexibility lets you customize the dish to your liking while keeping it delicious.
What can I serve with this dish?
This mac and cheese pairs well with many sides. You can serve it with crusty bread or a fresh side salad. Roasted veggies are also a great choice. These sides add balance to the meal and make it even more satisfying.
In this post, we covered ingredients, cooking steps, and tips for a great dish. I shared how to choose butternut squash and avoid common mistakes. You can make tasty variations, like dairy-free or adding proteins. Storing and reheating your mac and cheese properly keeps it fresh.
With these insights, you can enjoy a delicious meal. Happy cooking!


