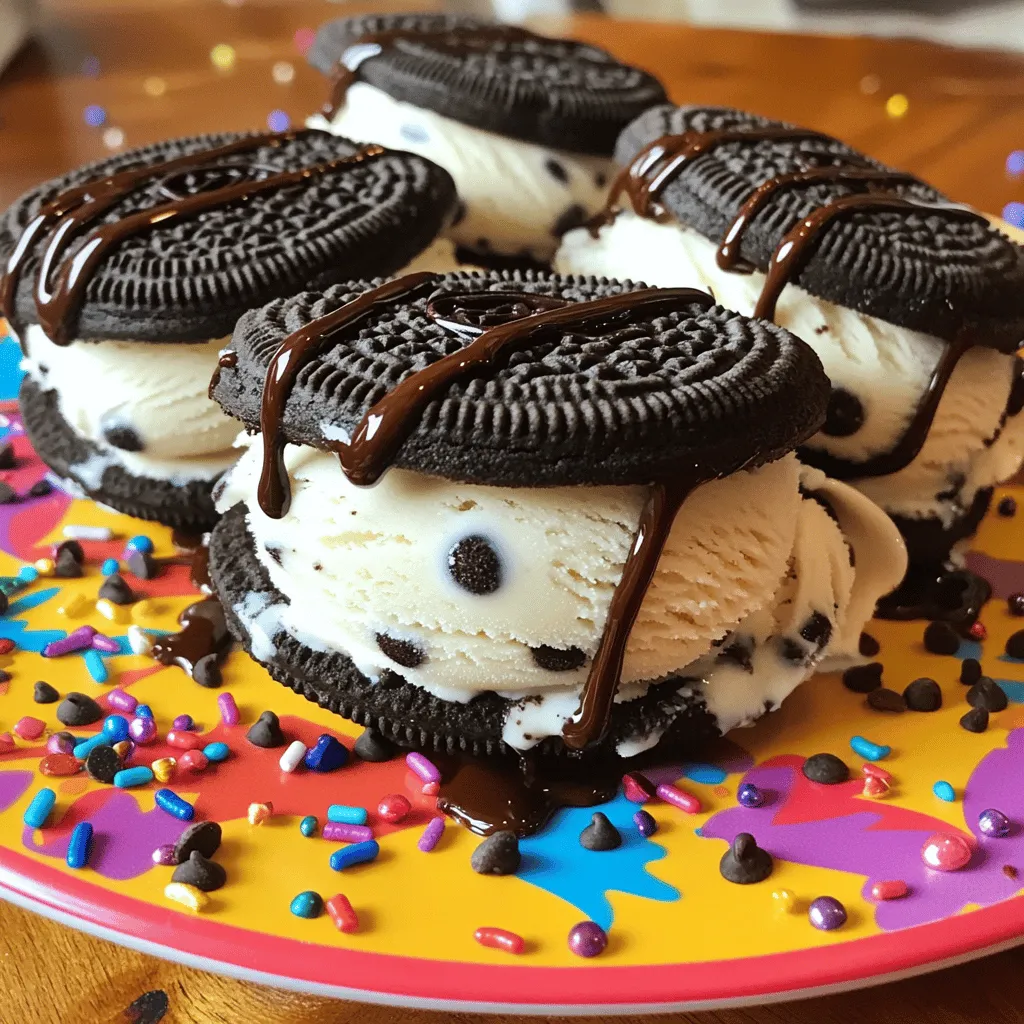
Craving a sweet treat that’s both fun to make and even more fun to eat? Oreo Ice Cream Sandwiches are the perfect solution! In this guide, I’ll walk you through a simple, step-by-step process to create these delightful desserts. With just a few ingredients, you can impress friends and family. Let’s dive in and make your new favorite ice cream treat!
Ingredients
Here’s what you need to create your Oreo ice cream sandwiches. Gather these simple items for a fun treat:
– 24 Oreo cookies
– 2 cups vanilla ice cream, softened
– 1/2 cup mini chocolate chips
– 1/2 cup chopped nuts (optional)
– Chocolate syrup
Having these ingredients ready makes the process smooth and easy. The Oreo cookies provide a sweet, crunchy base. The vanilla ice cream gives a creamy, smooth filling. Mini chocolate chips add little bursts of flavor. If you like nuts, they give a nice crunch. The chocolate syrup is the final touch that makes these sandwiches special.
Make sure to use high-quality ice cream. It really makes a difference in taste. You can also mix things up by using different ice cream flavors or add-ins. This recipe is not just about how it tastes; it’s about the fun of making it too!
Step-by-Step Instructions
Assembly Preparation
– Laying out the Oreo base: Start with 12 Oreo cookies. Place them on a flat surface. Make sure the cream side is facing up. This forms the base for your sandwiches. Having a clean area helps keep things neat.
– Preparing the ice cream mixture: In a bowl, mix 2 cups of softened vanilla ice cream. Add in 1/2 cup of mini chocolate chips. If you want crunch, include 1/2 cup of chopped nuts. Stir until everything blends well. This step ensures each bite is creamy and fun.
Creating the Sandwich
– Portioning the ice cream: Use a spoon or an ice cream scoop. Take about 2 tablespoons of the mixture. Place it on each Oreo cookie. Spread it evenly, so each sandwich has the same amount of ice cream.
– Pressing the cookies together: Take another Oreo cookie. Position it cream side down. Gently press it onto the ice cream. This forms the perfect sandwich. Repeat until all the cookies are used. You should have 12 tasty sandwiches now.
Freezing Process
– Wrapping the sandwiches: Grab plastic wrap or parchment paper. Wrap each sandwich individually. This keeps them fresh and avoids freezer burn.
– Recommended chilling time: Place the wrapped sandwiches in the freezer. Let them chill for at least 2 hours. This time helps the ice cream set. When ready to eat, unwrap and enjoy! Don’t forget to drizzle with chocolate syrup for extra flavor.
Tips & Tricks
Perfecting the Texture
To get the best Oreo ice cream sandwiches, start with the ice cream. You want it soft but not melted. Take the ice cream out of the freezer for about 10-15 minutes. This helps it become spreadable. If you skip this step, scooping and spreading will be tough.
Next, balance the mix. I add mini chocolate chips and nuts for crunch. You can adjust the amount based on your taste. Too much will make it hard to spread. Too little might make it bland. A good rule is to keep the mix simple but tasty.
Presentation Ideas
How you serve these sandwiches matters! Place them on a bright plate. You can even use a rustic slate for a cool look. To make them pop, add colorful sprinkles or extra mini chocolate chips around the sandwiches. This makes it fun and eye-catching.
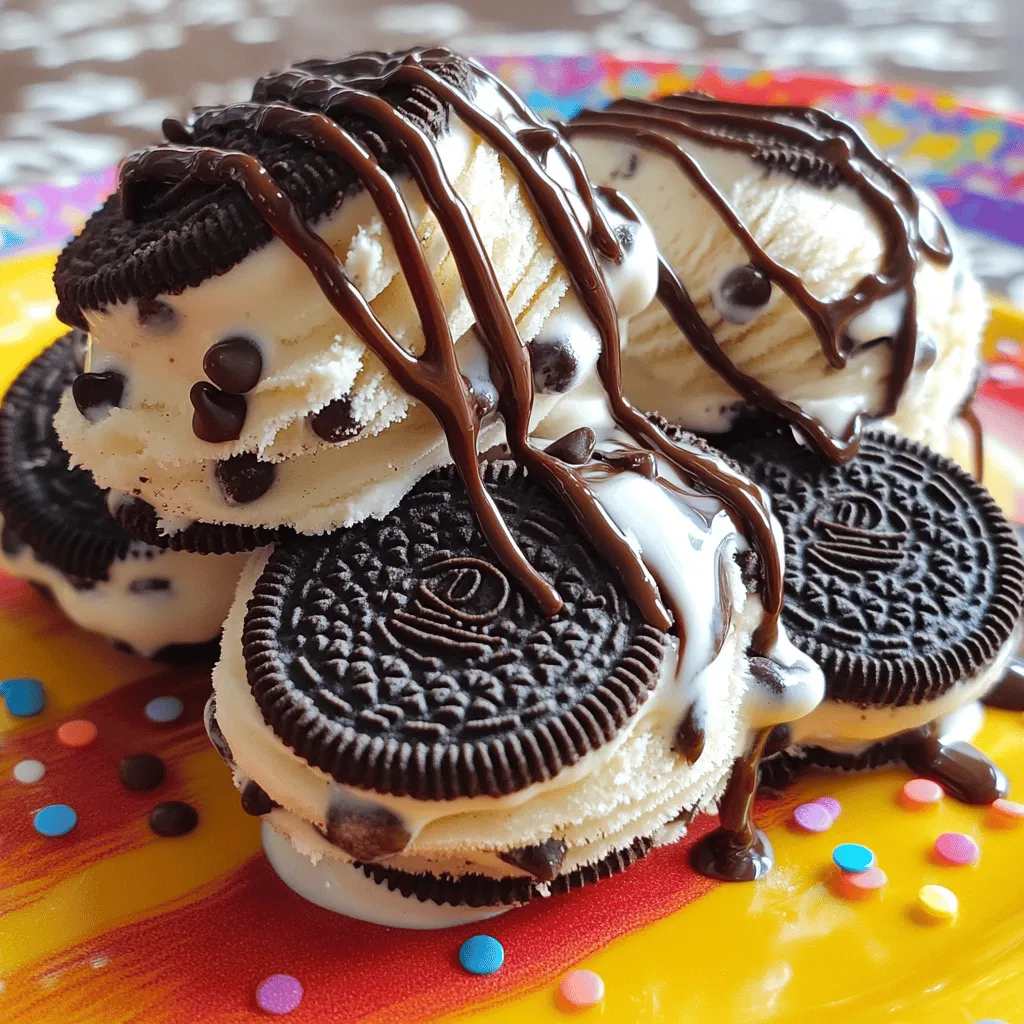
You can also cut the sandwiches in half. This lets people see the layers inside. Plus, it makes them easier to eat. It’s a nice touch for parties or gatherings!
Serving Recommendations
The best time to serve these treats is right after they come out of the freezer. Let them sit for a few minutes. This makes them easier to bite into. If you want to make them extra special, drizzle some chocolate syrup on top.
You can serve these with milk or coffee for a classic combo. Ice cream floats or fruit salads also pair well with your Oreo creations. Enjoy experimenting with different flavors!
Variations
Vegan Oreo Ice Cream Sandwiches
You can easily make vegan Oreo ice cream sandwiches. For ice cream, look for dairy-free options. Many brands offer coconut, almond, or cashew-based ice creams. These taste great and are creamy.
For cookies, choose vegan Oreo cookies. Check the label to ensure they are dairy-free. You can also use homemade vegan cookies. A simple recipe with flour, sugar, and coconut oil works well.
Gluten-Free Oreo Ice Cream Sandwiches
If you need gluten-free options, many brands sell gluten-free cookies. Look for brands like Glutino or K-Toos. These taste just like regular cookies.
For ice cream, most plain flavors are gluten-free. Vanilla or chocolate ice cream works great. Always check the label for gluten-free certification.
Different Flavor Combinations
You can switch up the ice cream flavor for a new twist. Try mint chocolate chip, cookie dough, or strawberry. Each flavor adds a fun taste to your sandwich.
Add mix-ins to your ice cream for more fun. Consider mini marshmallows, crushed candy bars, or sprinkles. These additions make your sandwiches even more exciting.
Storage Info
Best Practices for Freezing
To keep your Oreo ice cream sandwiches fresh, wrap each sandwich tightly. Use plastic wrap or parchment paper. This helps keep air out and prevents freezer burn. After wrapping, place the sandwiches in an airtight container. This adds an extra layer of protection.
Shelf Life
Store your sandwiches in the freezer for up to three weeks. They will taste best when eaten fresh, but they can last longer. Look for signs of spoilage like ice crystals or a dry texture. If you see these, it’s time to toss them.
Thawing Instructions
For the best texture, thaw your sandwiches for about five minutes. This makes them softer and easier to bite into. Avoid using a microwave, as it can make them too mushy. Instead, leave them at room temperature. Enjoy them while they are still cold for a perfect treat.
FAQs
How do I make Oreo Ice Cream Sandwiches?
To make Oreo Ice Cream Sandwiches, follow these simple steps. Start with 24 Oreo cookies. Lay 12 cookies cream side up. Mix 2 cups of softened vanilla ice cream with 1/2 cup mini chocolate chips. Optionally, add 1/2 cup chopped nuts. Spoon 2 tablespoons of the ice cream mix onto each Oreo. Press another Oreo on top, cream side down. Wrap each sandwich in plastic wrap and freeze for at least 2 hours. Drizzle with chocolate syrup before serving.
What is the best ice cream for this recipe?
Vanilla ice cream is a classic choice for this recipe. It blends well with Oreo cookies. Other popular flavors include:
– Cookies and cream
– Chocolate
– Mint chocolate chip
– Strawberry
Each brings its own twist to the sandwich.
Can I use different cookies?
Yes, you can use other cookies! Some fun alternatives include:
– Chocolate chip cookies
– Peanut butter cookies
– Ginger snaps
These options allow you to create new flavors and textures. Experiment to find your favorite!
You can make delicious Oreo ice cream sandwiches easily. The post shared key ingredients, step-by-step instructions, and helpful tips. You learned how to create and store these treats. Try different flavors or toppings for unique versions. Enjoy serving them during warm days or special events. Let your creativity shine while making and sharing these sweet snacks!


