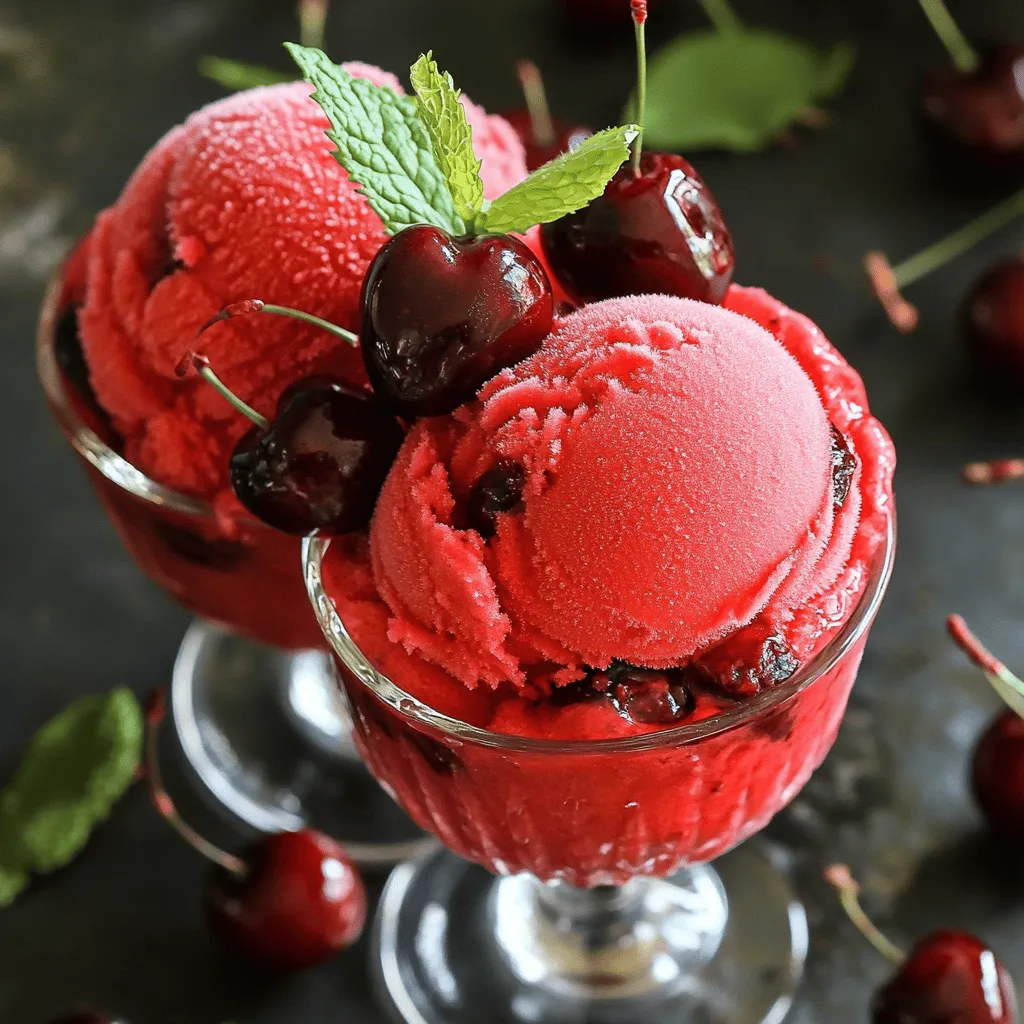
Craving a refreshing treat this summer? Look no further! This No Churn Cherry Cola Sorbet is a fun and easy way to cool down. With just a few ingredients, you can create a delightful sorbet that bursts with cherry flavor and fizzy cola goodness. I’ll guide you step by step, sharing tips to make sure your sorbet is perfectly smooth. So grab some cherries and let’s get started on this tasty project!
Ingredients
List of Essential Ingredients
– 2 cups fresh or frozen cherries, pitted
– 1 cup cherry cola
– 1/2 cup granulated sugar
– 1 tablespoon freshly squeezed lemon juice
– 1 teaspoon pure vanilla extract
– A pinch of salt
When I make no churn cherry cola sorbet, I start with fresh or frozen cherries. I always pit the cherries first, as this makes blending easy. The cherry cola gives the sorbet a fun and fizzy flavor.
I use granulated sugar to sweeten the mix. If you want a tart twist, add freshly squeezed lemon juice. I also add a teaspoon of pure vanilla extract for depth. A pinch of salt balances the sweetness and enhances the flavors.
Optional Add-ons
You can swap out granulated sugar for other sweeteners like honey or agave syrup. These can change the taste, making it unique.
You might also try adding a splash of almond extract for a nutty flavor. Or, mix in a handful of mint leaves for a refreshing touch. Each variation leads to a new and exciting treat!
Step-by-Step Instructions
Blending the Base
To start, you will blend the cherries and cola. Take your pitted cherries and add them to a high-speed blender. Pour in the cherry cola. Blend on high speed until the mixture is smooth. This smooth texture is key for your sorbet. If it’s too chunky, blend it a bit longer.
Incorporating Flavorings
Next, it’s time to mix in the flavorings. Add in the granulated sugar, lemon juice, vanilla extract, and a pinch of salt. Blend again until all the ingredients are well combined. The sugar should dissolve completely. You can taste the mixture to see if you want it sweeter. If so, slowly add more sugar and blend until smooth.
Freezing Process
Now, you’ll prepare to freeze your mixture. Pour the cherry cola blend into a shallow dish. This shape helps it freeze faster. Place the dish in the freezer for about 2 hours. After 2 hours, take it out and scrape the mixture with a fork. This step breaks up ice crystals, giving a nice texture.
Return the dish to the freezer. For the next 2 hours, scrape it every hour. This helps keep it light and fluffy. After about 6 hours, your sorbet should be ready. Let it sit at room temp for a few minutes before serving. Serve in chilled bowls for the best look. Enjoy your No Churn Cherry Cola Sorbet!
Tips & Tricks
Achieving the Best Texture
To make a smooth sorbet, avoid ice crystals. After the first two hours of freezing, take the mixture out and scrape it with a fork. This breaks up any ice. Repeat this every hour for the next two hours. It helps create a light and fluffy texture.
Use a shallow dish for freezing. This gives the mixture more surface area. A food processor or high-speed blender works best to blend the cherries and cola. These tools help achieve a creamy consistency.
Adjusting Sweetness
Taste your mixture after blending in the sugar. If it’s not sweet enough, add more sugar. Do this little by little. Blend until it’s smooth. You want the flavor to pop. Remember, the sweetness can change after freezing.
Presentation Ideas
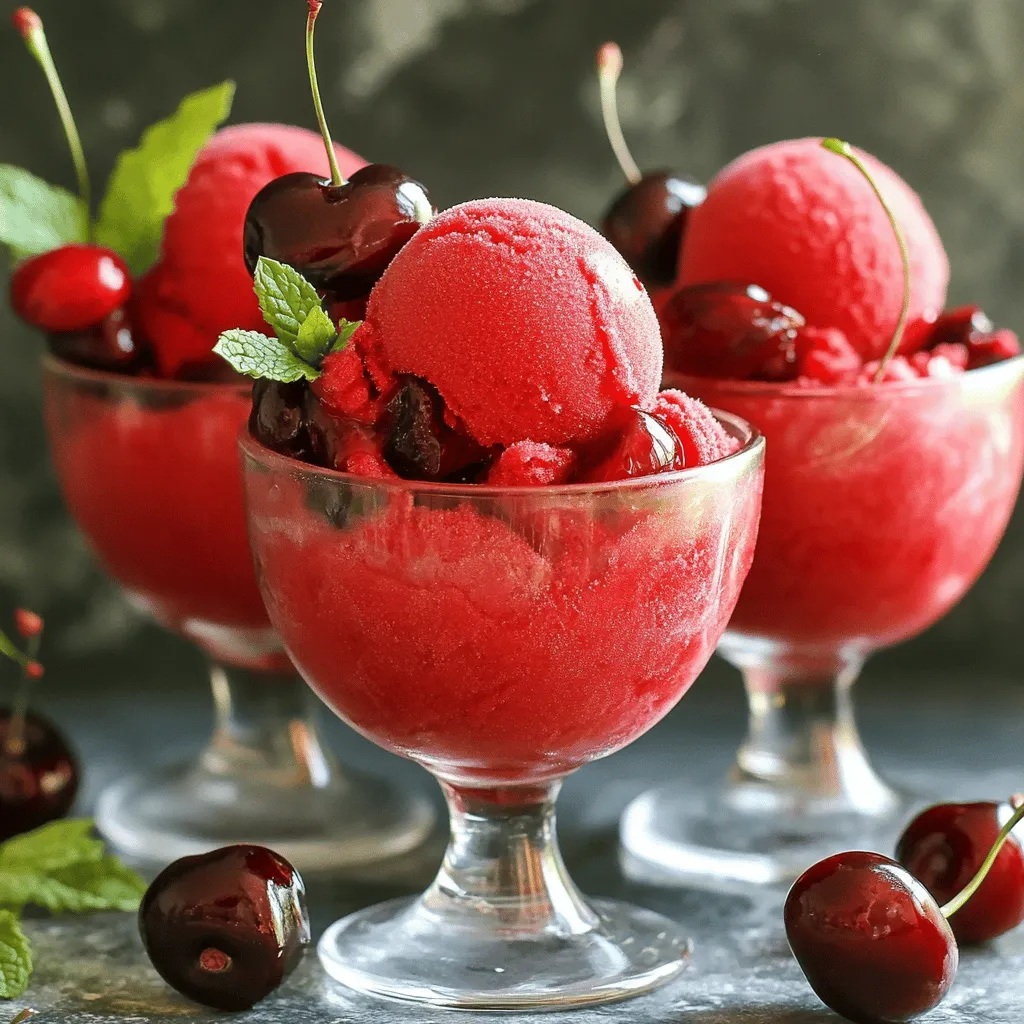
Serve your sorbet in chilled bowls or glass cups. This keeps it cool longer. For a fun touch, garnish with fresh cherries or mint leaves. You can also drizzle a little chocolate sauce on top. It adds visual appeal and extra flavor. Enjoy showing off your beautiful dessert!
Variations
Flavor Variations
You can mix up this cherry cola sorbet by using different fruits. Here are some fun ideas:
– Raspberry Cola: Swap cherries for raspberries. This gives a tart twist.
– Peach Delight: Use fresh peaches for a sweet and juicy flavor.
– Mixed Berry: Combine strawberries, blueberries, and blackberries for a berry blast.
You can also enhance the flavor with simple extras:
– Mint: Add fresh mint for a refreshing taste.
– Lemon Zest: A bit of lemon zest can brighten the sorbet.
– Coconut Milk: For a creamy texture, mix in coconut milk.
Dietary Alternatives
If you want to make this sorbet healthier, there are easy swaps for sugar. Here are some options:
– Honey: Use honey instead of granulated sugar for natural sweetness.
– Agave Syrup: This works well for a lower glycemic option.
– Stevia: This zero-calorie sweetener is a great choice for low-sugar diets.
For those following a vegan diet, you can make this sorbet vegan-friendly. Just make sure to choose a vegan-friendly cola. The other ingredients are naturally plant-based, so you are all set!
Storage Info
Best Practices for Freezing
To keep your sorbet fresh, store it in an airtight container. This helps prevent ice crystals from forming. You can also use a shallow dish for freezing. This allows for quicker freezing and a smoother texture. If you have leftovers, let them cool before sealing. You can layer parchment paper on top to reduce air exposure. This extra step helps maintain its flavor and texture.
Shelf Life
No churn cherry cola sorbet lasts about two weeks in the freezer. After this time, the flavor may fade. The texture could change too, becoming icy and less smooth. To enjoy it at its best, try to eat it within this time frame. If you notice any signs of freezer burn, it’s best to toss it. Enjoy this sweet treat while it’s fresh!
FAQs
How to make No Churn Cherry Cola Sorbet?
To make this sorbet, follow these simple steps:
1. Blend the Cherries: Start by mixing the pitted cherries with cherry cola in a blender. Blend until smooth.
2. Mix in Flavorings: Add sugar, lemon juice, vanilla, and salt. Blend until well combined.
3. Taste and Adjust Sweetness: Sample the mix and add more sugar if needed. Blend again.
4. Prepare to Freeze: Pour the mixture into a shallow dish. Spread it out evenly.
5. Initial Freezing: Freeze for about 2 hours, then scrape the mixture with a fork.
6. Scrape and Refine: Freeze again, scraping every hour for 2 more hours.
7. Final Freezing: After 6 hours, let it sit for a few minutes before scooping.
This method creates a light and fluffy sorbet.
Can I use diet or caffeine-free cherry cola?
Yes, you can use diet or caffeine-free cherry cola. This option is great for those who want fewer calories or caffeine. The flavor may change slightly, but it will still be tasty. Many brands offer these choices, so look for one you like.
What if I don’t have fresh cherries?
If you don’t have fresh cherries, frozen cherries work well too. They are picked at peak ripeness and often taste just as good. Using frozen cherries saves prep time since they come pitted. Just blend them straight from the freezer for a smooth consistency.
Can I make this sorbet ahead of time?
You can make this sorbet ahead of time. It stays fresh in the freezer for up to two weeks. Just be sure to store it in an airtight container. This makes it a perfect treat for parties or hot summer days. Prepare it a day in advance to let the flavors meld together nicely.
This blog post covered how to make Cherry Cola Sorbet from start to finish. We explored essential ingredients and optional add-ons, ensuring you can personalize your treat. You learned about blending and freezing techniques to get the best texture. I shared tips on adjusting sweetness and creative ways to serve your sorbet.
Finally, remember that this recipe is flexible. You can switch fruits, and modify sweetness, and dietary needs. Enjoy making your sorbet, and let your taste buds celebrate!


