Looking for a quick and healthy snack? Mini chicken wraps are the answer! These little bites pack big flavor and are great for any occasion. With easy ingredients like cooked chicken and fresh veggies, you can whip them up in no time. Plus, they’re custom-made to fit your taste. Join me as I share tips and recipes to make these delightful wraps a staple in your kitchen!
Ingredients
Main Ingredients for Mini Chicken Wraps
– Cooked chicken breast
– Greek yogurt
– Dijon mustard
Additional Flavorings and Seasonings
– Garlic powder
– Smoked paprika
– Black pepper
Fresh Fillings
– Mixed greens
– Cherry tomatoes
– Cucumber
Wraps
– Whole wheat tortillas
– Garnishing options
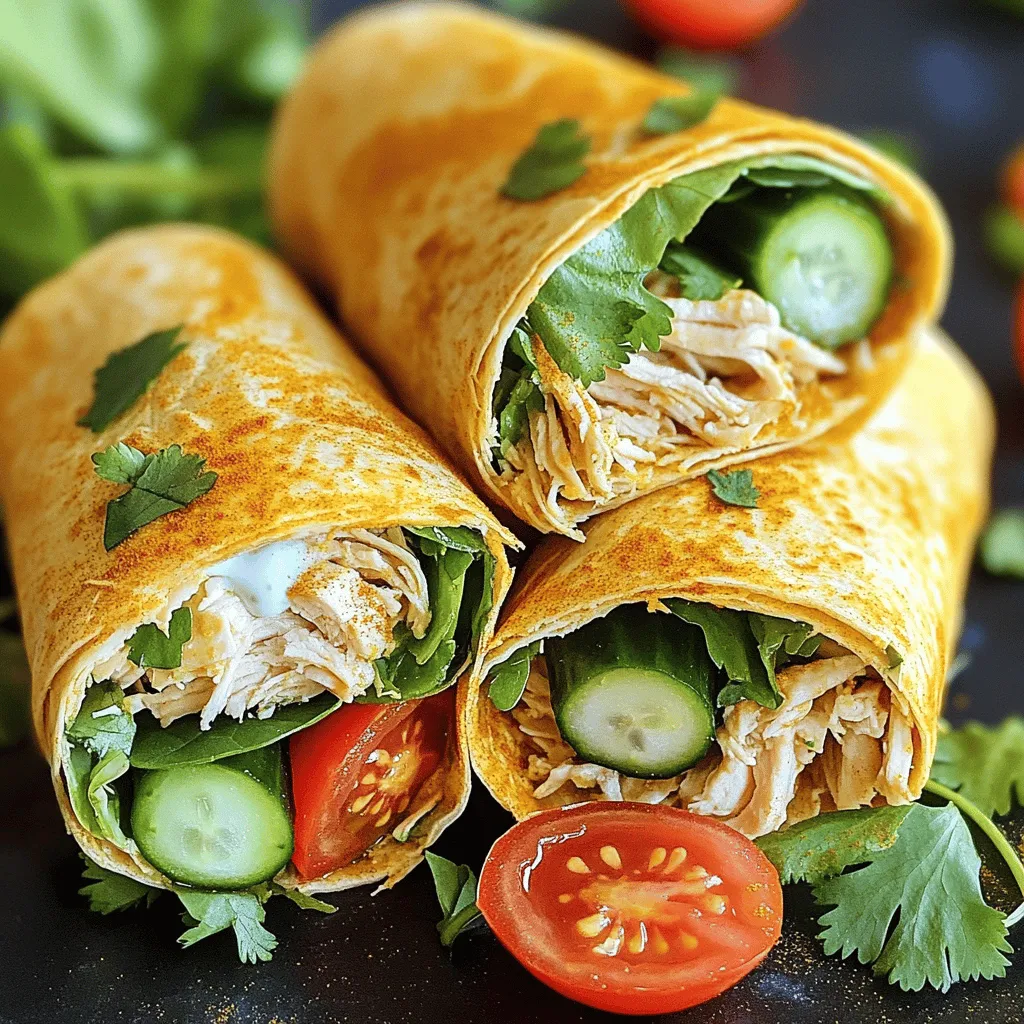
The key to tasty Mini Chicken Wraps lies in the right ingredients. First, use cooked chicken breast. It is tender and full of protein. I recommend shredding the chicken for easy mixing. Next, Greek yogurt adds creaminess. It also gives a nice tang. Adding Dijon mustard brings a zesty kick to the wraps.
Now, let’s add some flavor! Garlic powder enhances the taste. Smoked paprika gives a subtle smokiness. Finally, a dash of black pepper adds warmth without being too spicy.
For fresh fillings, I like to use mixed greens. They add color and crunch. Cherry tomatoes bring sweetness, and cucumber offers a refreshing bite. These fresh ingredients balance the rich flavors of the chicken mixture.
Don’t forget the wraps! Whole wheat tortillas work best. They are healthy and keep everything together. You can also garnish your wraps with fresh herbs like cilantro. This adds a pop of color and flavor.You will love how easy it is to make these delicious snacks!
Step-by-Step Instructions
Preparation of Chicken Mixture
To start, gather your ingredients. In a large bowl, mix the chicken and other items. Combine 2 cups of shredded chicken, 1/2 cup of creamy Greek yogurt, and 1 tablespoon of Dijon mustard. Add 1 teaspoon of garlic powder, 1 teaspoon of smoked paprika, and 1/4 teaspoon of black pepper. Stir well until every piece is coated. You want a thick, creamy mix that sticks to the chicken.
Assembling the Mini Wraps
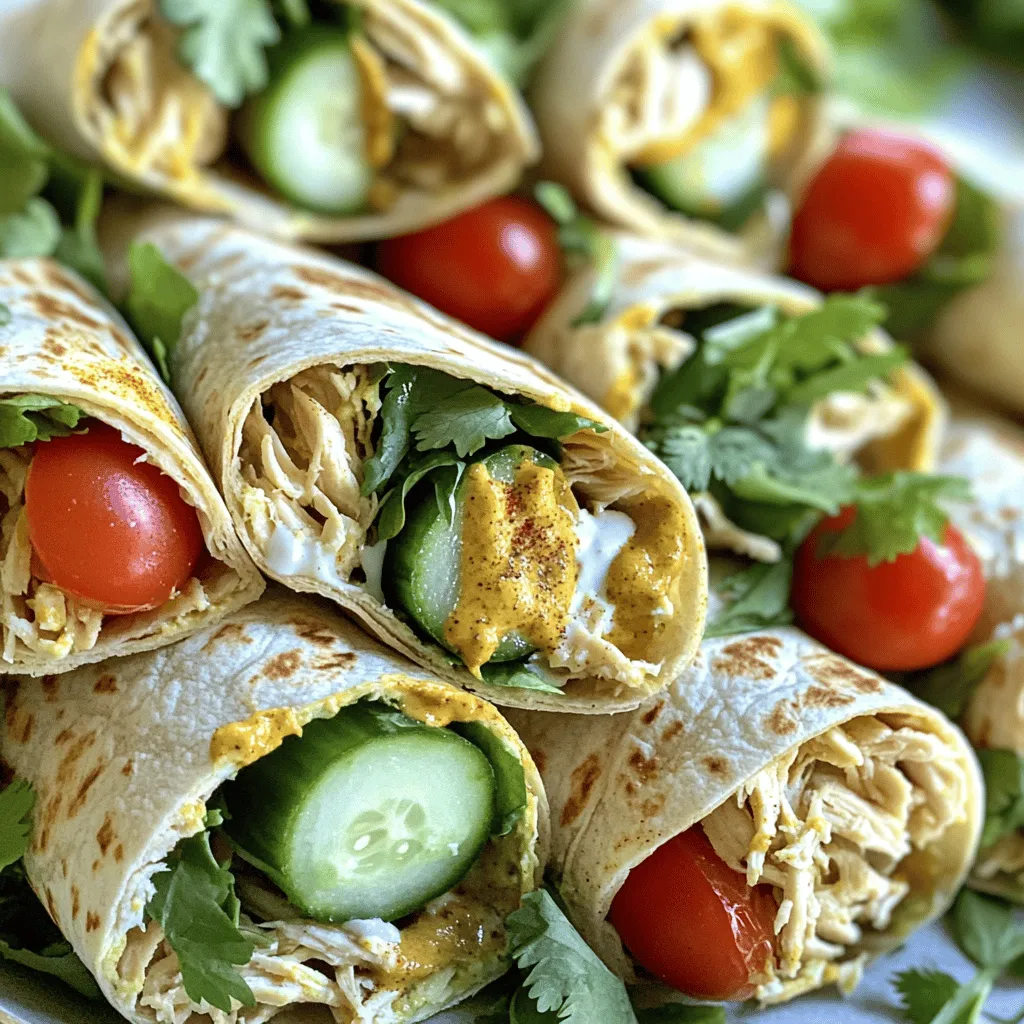
Next, lay out your whole wheat tortillas on a clean surface. Each tortilla should be flat and ready for filling. Scoop about 1/4 cup of the chicken mixture into the center of each tortilla. Spread it evenly, leaving a little space at the edges. Then, add a handful of mixed greens, halved cherry tomatoes, and thin cucumber slices. This creates a bright and tasty filling.
Rolling and Cutting the Wraps
Now it’s time to roll your wraps. First, fold the sides of the tortilla in. Then, roll it tightly from the bottom up. This secures all the yummy fillings inside. Once rolled, take a sharp knife and slice each wrap in half diagonally. This makes it easy to serve and looks great on a plate. For a fresh touch, sprinkle cilantro on top before serving.Enjoy making these tasty mini chicken wraps!
Tips & Tricks
Best Practices for Flavor Enhancement
Marinating chicken boosts its flavor. A simple marinade can include Greek yogurt, Dijon mustard, and spices. Let the chicken sit for at least 30 minutes. This adds depth and taste. You can also try adding fresh herbs like cilantro or basil. These herbs bring a burst of freshness to the wraps.
Making Ahead and Serving Suggestions
You can prepare the wraps ahead of time. Simply make the chicken mixture and store it in the fridge. You can assemble the wraps just before serving. For a fun twist, serve with dips like hummus or salsa. These dips add more flavor and excitement to your meal. Pair with crunchy veggies like carrot sticks or bell peppers for a complete snack.
Cooking and Safety Tips
Always ensure your chicken is fully cooked. It should reach an internal temperature of 165°F. Use a meat thermometer for accuracy. When handling raw chicken, wash your hands and surfaces. This keeps food safe from bacteria. Store leftovers in an airtight container in the fridge. Enjoy your mini chicken wraps fresh or as a quick snack later!
Variations
Alternative Fillings and Proteins
You can switch things up by using beef or shrimp instead of chicken. Beef adds a rich flavor, while shrimp brings a nice bite. For a vegetarian option, try beans and cheeses. Black beans or chickpeas work great. They add protein and keep the wraps filling.
Different Sauces to Try
The sauce you choose can change everything. For creamy options, you can use ranch or tzatziki. Both add a cool touch to your wraps. If you want heat, go for spicy sauces like sriracha or a tangy hot sauce. These add a kick that makes each bite exciting.
Unique Wrap Options
Using lettuce leaves instead of tortillas gives a fresh twist. Lettuce wraps are crunchy and light. They are perfect for a low-carb meal. If you need gluten-free options, look for rice paper or corn tortillas. These wraps still hold all the tasty fillings while being friendly to different diets.
Storage Info
Refrigeration Guidelines
You can store mini chicken wraps in the fridge for up to three days. This time frame helps keep them fresh and safe to eat. Use airtight containers to keep the wraps moist and tasty. Glass or plastic containers work well. Avoid using containers that allow air inside, as this can make the wraps dry.
Freezing Mini Chicken Wraps
To freeze mini chicken wraps, wrap each one tightly in plastic wrap or foil. This step helps keep them from getting freezer burn. Place the wrapped wraps in a freezer-safe bag or container. Label the bag with the date so you know when you made them. You can freeze them for up to three months.
To reheat frozen wraps, take them out and let them thaw in the fridge overnight. If you want a quicker option, you can microwave them for about one to two minutes. Make sure to check that they are hot all the way through before eating. Enjoy these tasty wraps any time, even after freezing!
FAQs
How do I make Mini Chicken Wraps healthier?
To make Mini Chicken Wraps healthier, swap some ingredients. Here are a few low-calorie options:
– Use low-fat Greek yogurt instead of regular.
– Replace whole wheat tortillas with lettuce wraps.
– Add more fresh veggies, like bell peppers or carrots.
– Use less mustard or choose a lighter dressing.
These swaps keep the flavor while cutting calories.
Can I use leftover chicken for this recipe?
Yes, using leftover chicken is a great idea! Here are best practices:
– Ensure the chicken is fully cooked before using it.
– Shred or chop the leftover chicken for easy mixing.
– Store leftover chicken in the fridge no longer than 3-4 days.
Using leftovers saves time and reduces waste, making your wraps quick and tasty.
What dips pair well with Mini Chicken Wraps?
Mini Chicken Wraps go well with various dips. Here are some tasty suggestions:
– Hummus adds a creamy and flavorful touch.
– Salsa gives a fresh and zesty kick.
– Ranch dressing adds a classic flavor.
– Tzatziki sauce brings a cool, tangy element.
Experiment with these dips to find your perfect match!
Mini chicken wraps are tasty, easy to make, and full of flavor. We discussed key ingredients, like chicken, Greek yogurt, and fresh veggies. You learned how to prepare and assemble these wraps while keeping safety in mind. You also have tips for flavor enhancement and storage.
Remember, you can customize these wraps in many ways. Think about using different proteins or sauces to suit your taste. Enjoy your cooking and create delicious meals that everyone will love!


