Ever crave a sweet treat that’s also good for you? Zucchini brownies are the answer! These delightful and simple brownies give you a rich chocolate flavor while sneaking in healthy veggies. With just a few key ingredients, you can whip up a batch that your whole family will love. Let’s dive in and discover how to make these moist, fudgy brownies that will make your taste buds sing!
Ingredients
Key Ingredients for Zucchini Brownies
– Grated zucchini (approximately 1 medium-sized)
– 1 cup all-purpose flour
– ½ cup unsweetened cocoa powder
– ½ cup granulated sugar
– ½ cup packed brown sugar
– 2 large eggs
– ½ cup vegetable oil
Zucchini is the star of this recipe. It adds moisture, making the brownies soft and fudgy. I love using about one medium-sized zucchini, grated. This amount will give you the right texture without making the brownies too wet.
Next, we need flour and cocoa powder. The flour gives structure, while cocoa powder adds a rich chocolate flavor. These two ingredients work together for a perfect balance of taste and texture.
Sugar is essential for sweetness. I use both granulated and brown sugar. Granulated sugar gives a nice crunch, while brown sugar adds depth and moisture. Eggs are crucial in binding the ingredients and providing lift, making the brownies fluffy. Lastly, vegetable oil adds richness and keeps the brownies soft.
Optional Ingredients
– Dark chocolate chips
– Additional toppings or mix-ins
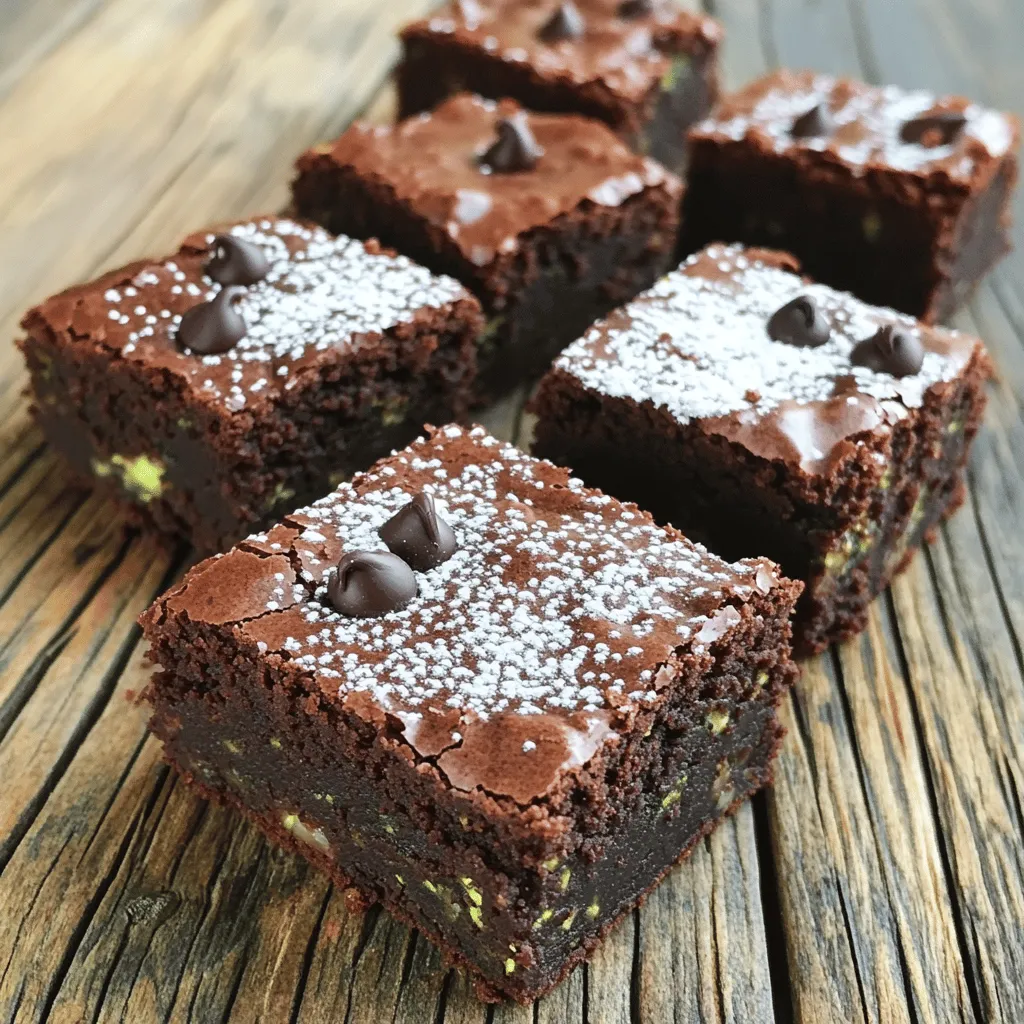
Dark chocolate chips are an optional treat. They add extra chocolatey goodness to each bite. If you want some crunch, consider adding nuts or even shredded coconut. You can also top the brownies with a sprinkle of sea salt or powdered sugar for a touch of elegance.
Step-by-Step Instructions
Prepping the Oven and Pan
First, preheat your oven to 350°F (175°C). This step is key for even baking. Next, take a 9×9 inch baking pan. Lightly grease it or line it with parchment paper. This makes it easier to remove the brownies later.
Mixing Dry Ingredients
In a medium bowl, combine the following dry ingredients:
– 1 cup all-purpose flour
– ½ cup unsweetened cocoa powder
– 1 teaspoon baking powder
– ½ teaspoon baking soda
– ½ teaspoon salt
Whisk these together until well mixed. This helps to blend the flavors and ensures the brownies rise nicely.
Preparing Wet Ingredients
In a large bowl, whisk together these wet ingredients:
– ½ cup granulated sugar
– ½ cup packed brown sugar
– 2 large eggs
– ½ cup vegetable oil
– 1 teaspoon vanilla extract
Mix until smooth and creamy. This will create a rich base for your brownies.
Combining Wet and Dry Ingredients
Now, carefully fold the grated zucchini into the wet mixture. Make sure it’s evenly spread throughout. Then, gradually add the dry mixture. Stir gently until just combined. Avoid overmixing, as this can make your brownies dense.
Baking Process
Pour the brownie batter into your prepared pan. Spread it evenly for uniform baking. Bake in your preheated oven for 25-30 minutes. To check for doneness, insert a toothpick in the center. If it comes out with a few moist crumbs, they are ready!
Cooling and Slicing
Let the brownies cool in the pan for about 15 minutes. After that, transfer them to a wire rack. This helps them cool completely and set the texture. Once fully cooled, cut them into squares for serving. Enjoy your delicious zucchini brownies!
Tips & Tricks
Perfecting the Texture
To make light and fluffy brownies, avoid overmixing your batter. After adding the dry ingredients to the wet mix, stir gently. This keeps the brownies soft. When you overmix, air gets trapped, and they can become dense. Just mix until you see no dry flour. Trust me, this simple step makes a big difference!
Enhancing Flavor
Boost the flavor of your brownies with spices or extracts. Try adding a pinch of cinnamon or nutmeg for warmth. You can also use almond or peppermint extract for a unique twist. These small additions can elevate your brownies into something special. Experiment with what you like!
Serving Suggestions
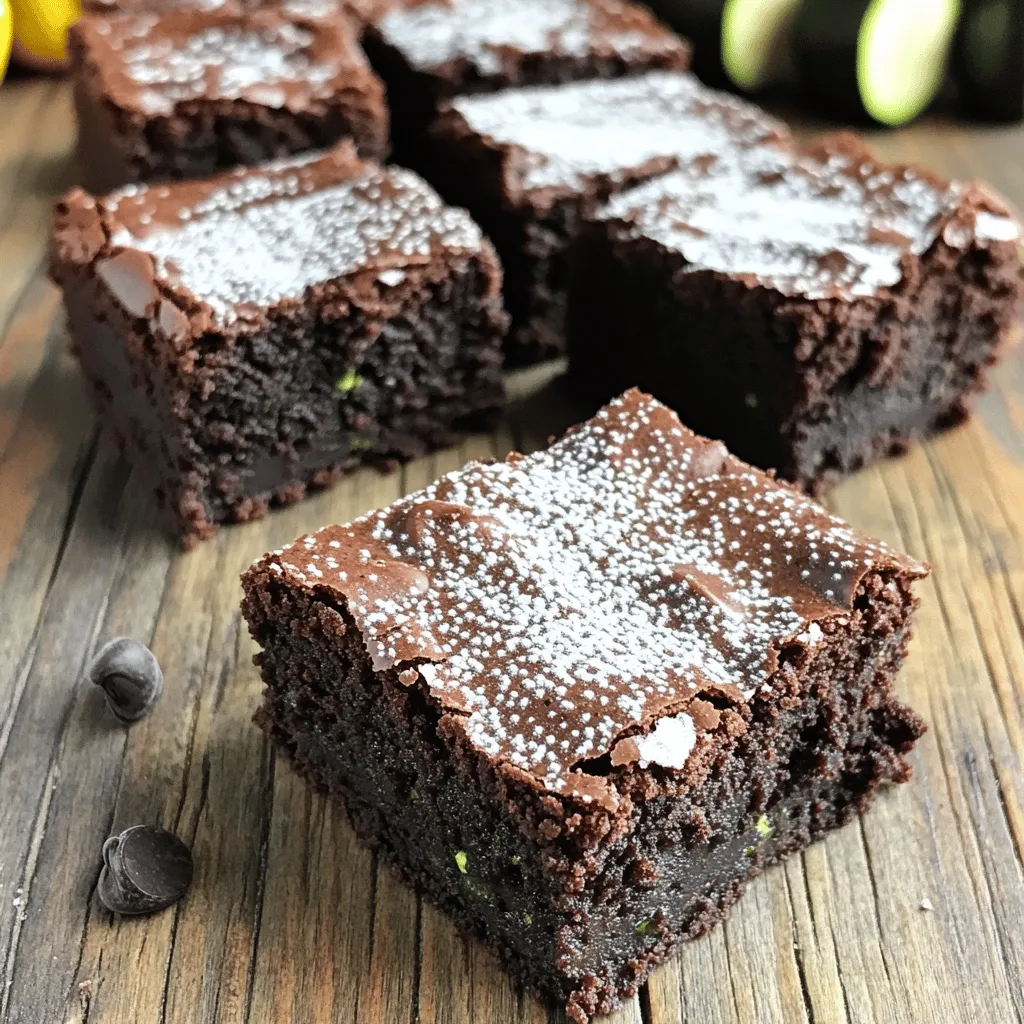
Garnishing your brownies can make them look and taste better. Lightly dust the top with powdered sugar for a sweet touch. You might also serve them with a scoop of vanilla ice cream. The cold ice cream pairs well with warm brownies. Add fresh berries on the side for a pop of color and flavor. Enjoy these little extras to make your dessert shine.
Variations
Healthier Alternatives
You can make your zucchini brownies even better with a few swaps. Instead of regular flour, try whole wheat flour. This change adds fiber and nutrients. You can also use alternative sweeteners like honey or maple syrup. These options cut down on refined sugars while keeping the taste sweet.
Flavor Variations
Want to mix it up? Add some fun flavors! Chopped nuts like walnuts or pecans add crunch. Dried fruits, such as cranberries or raisins, give a nice chew. If you love chocolate, try using milk or white chocolate chips instead of dark chocolate. Each option creates a unique twist on the classic recipe.
Vegan Options
If you prefer plant-based meals, you can still enjoy these brownies. Replace the eggs with flaxseed meal or applesauce. For oil, use coconut oil or unsweetened applesauce. This way, you create a delicious vegan treat without losing flavor.
Storage Info
Best Practices for Storage
To keep your zucchini brownies fresh, store them in an airtight container. This will help prevent them from drying out. If you have leftover brownies, place a piece of parchment paper between layers. This keeps them from sticking together. Make sure to store them at room temperature for the best taste.
Freezing Zucchini Brownies
Freezing is a great way to save zucchini brownies for later. First, let the brownies cool completely. Then, cut them into squares. Wrap each square in plastic wrap. After that, place them in a freezer-safe bag or container. Label the bag with the date. When you want to eat one, take a brownie out and let it thaw in the fridge overnight. You can also warm it in the microwave for about 15 seconds.
Shelf Life
Zucchini brownies last about 3 days at room temperature. If refrigerated, they can stay fresh for up to a week. However, for the best flavor and texture, enjoy them within the first few days. Keeping them in the fridge helps maintain their moisture and taste.
FAQs
Can I use frozen zucchini for this recipe?
Yes, you can use frozen zucchini. Just remember to thaw it first. After thawing, squeeze out extra water using a clean cloth. This step helps keep your brownies from getting too soggy. Frozen zucchini works well and keeps the flavor intact.
How can I tell when my brownies are done baking?
To check for doneness, look for a shiny top. The edges should pull away from the pan slightly. You can also gently press the center; it should spring back. For a more precise test, use a toothpick. If it comes out with a few moist crumbs, your brownies are ready.
Can I make these brownies without eggs?
Yes, you can make egg-free brownies! Replace each egg with 1/4 cup of unsweetened applesauce or 1/4 cup of mashed banana. You can also use flaxseed meal. Mix one tablespoon of flaxseed with three tablespoons of water. Let it sit for five minutes before using. These substitutes keep your brownies moist and tasty.
What can I do with leftover zucchini?
Leftover zucchini has many uses. You can add it to soups and salads for extra crunch. You can also make zucchini fritters or stir-fry it with your favorite veggies. Grate it into pasta sauces or bake it in muffins. You can even freeze it for future recipes.
Zucchini brownies bring joy with tasty flavors and fun textures. We explored key ingredients, from fresh zucchini to eggs and cocoa. You learned simple steps for mixing and baking that ensure success. Tips helped perfect your texture and flavor, while variations showed how to customize your treat. Storage info means you can enjoy these brownies longer. Remember, these healthy delights are versatile and easy. Enjoy making them for friends and family; they will love your tasty creations!


