Are you ready to crunch into something delicious? Homemade refrigerator pickles are not just easy to make; they pack a flavorful punch! In this guide, I’ll walk you through selecting the right cucumbers, preparing a zesty brine, and adding your favorite spices. Discover tips and tricks to make your pickles shine, plus fun ways to mix things up. Let’s dive into the world of fresh, crunchy goodness!
Ingredients
List of Ingredients
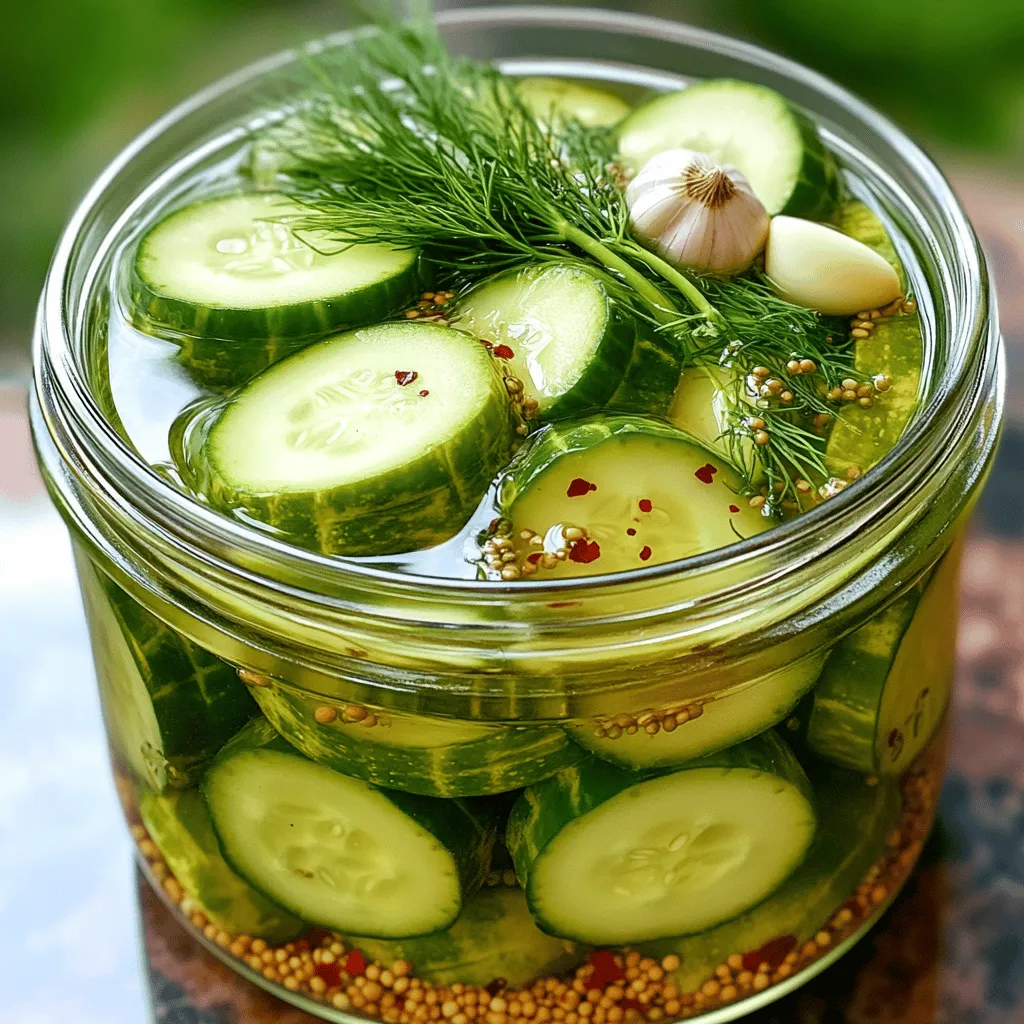
– Cucumbers: Choose small, firm cucumbers. English cucumbers work well too. Pick fresh ones for the best crunch.
– Vinegar and Its Role in Pickling: Use distilled white vinegar. It gives a clean, sharp taste. The vinegar helps preserve the cucumbers, keeping them crisp and flavorful.
– Essential Spices and Seasonings: You will need:
– 2 tablespoons granulated sugar
– 1 tablespoon kosher salt
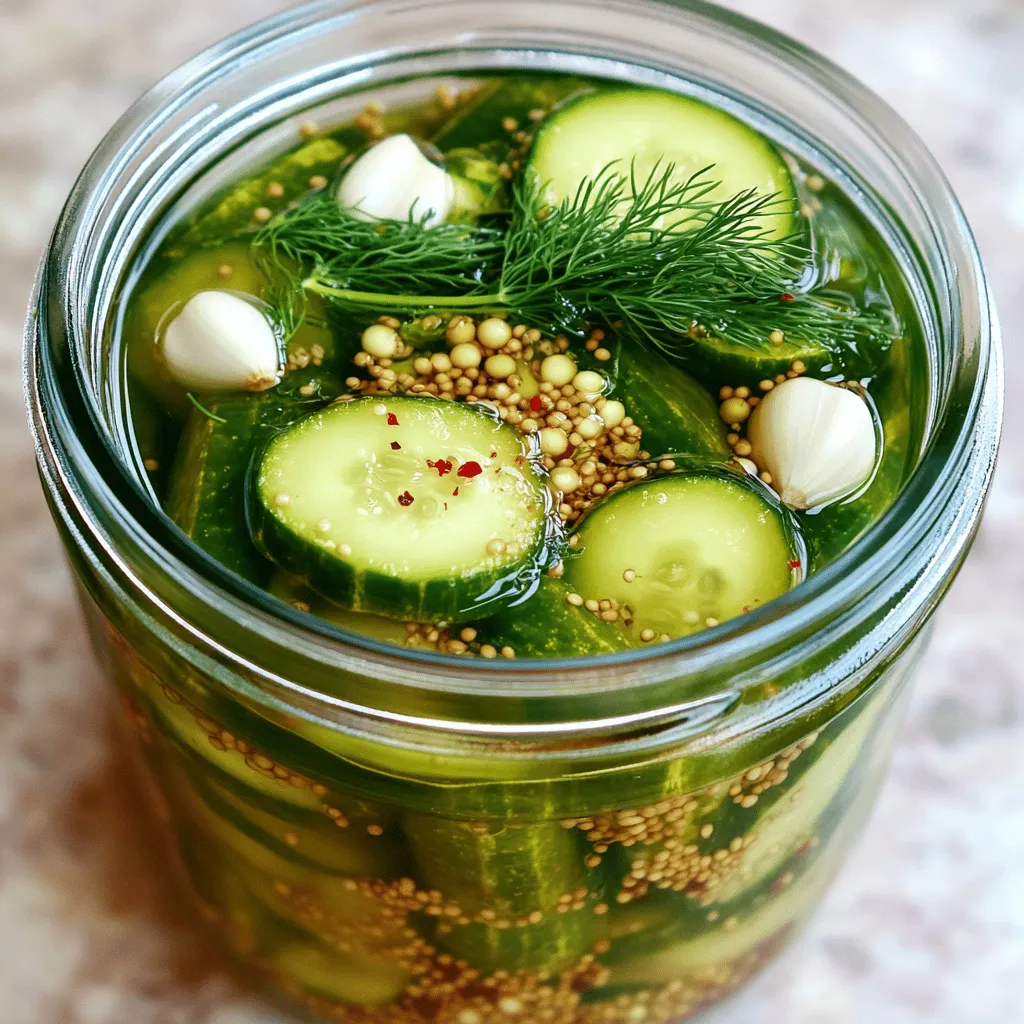
– 1 teaspoon mustard seeds
– 1 teaspoon dill seeds
– 4 cloves garlic, peeled and crushed
– 1 teaspoon crushed red pepper flakes (optional for heat)
– Fresh dill sprigs for garnish
These spices add depth and enhance the pickles’ overall taste. The garlic brings a nice punch, while the dill gives it that classic flavor. If you like it spicy, the red pepper flakes will do the trick!
Using the right balance of these ingredients makes a big difference.
Step-by-Step Instructions
Preparation of Cucumbers
To start, wash the cucumbers under cool running water. This cleans off any dirt. I prefer to slice them into rounds for a classic look or spears for a crunchy bite. Choose what you like best. Both shapes taste great and soak up the brine well.
Preparing the Brine
Next, we make the brine. You’ll need:
– 1 ½ cups distilled white vinegar
– 1 cup water
– 2 tablespoons granulated sugar
– 1 tablespoon kosher salt
– 1 teaspoon mustard seeds
– 1 teaspoon dill seeds
– 4 cloves garlic, peeled and crushed
– 1 teaspoon crushed red pepper flakes (optional)
Combine the vinegar, water, sugar, salt, mustard seeds, dill seeds, and red pepper flakes in a medium saucepan. Heat it gently. Stir until the sugar and salt dissolve completely. Once mixed, remove the saucepan from the heat. Let it cool to room temperature.
Assembling the Jars
Now, prepare your jars. Use clean, sterilized glass jars with tight lids for best results. Start layering the cucumber slices in each jar. Place the crushed garlic cloves between the cucumbers. If you have fresh dill sprigs, toss them in for added flavor. This step is key to packing in the taste.
Marinating Process
After the brine has cooled, pour it over the cucumbers in the jars. Make sure all the cucumbers are fully submerged in the liquid. Seal the jars tightly to keep the flavors in. Place the jars in the refrigerator. For the best flavor, let them sit for at least 24 hours. I recommend waiting 3 to 5 days for a more intense taste. This marinating time makes all the difference. Enjoy your homemade refrigerator pickles as a snack or alongside meals!
Tips & Tricks
Adjusting Flavor Profiles
Making It Spicier or Milder
You can easily adjust the heat in your pickles. If you want a spicy kick, add crushed red pepper flakes. Start with one teaspoon and taste. If you want it milder, skip the flakes altogether. You can also try adding sliced jalapeños for a fresh heat.
Exploring Flavor Enhancements
Adding different spices can change your pickles’ flavor. Try adding coriander seeds or bay leaves for depth. Experiment with garlic or onion slices for a more savory flavor. Fresh herbs like basil or oregano can also add a nice twist.
Best Practices for Pickling
Common Mistakes to Avoid
One common mistake is not using fresh cucumbers. Old or soft cucumbers won’t give you that nice crunch. Also, avoid skipping the sterilization of jars. Clean jars help keep your pickles safe and tasty.
Ensuring Crispness of Pickles
To keep your pickles crunchy, use small cucumbers. Slice them evenly to help them pickle well. Soak cucumbers in ice water for 30 minutes before packing them in jars. This extra step helps keep them crisp.
Variations
Different Spice Combinations
Adding herbs and spices is a fun way to change the flavor of your pickles. You can try adding:
– 1 teaspoon coriander seeds for a citrusy note
– 1 teaspoon black peppercorns for a warm spice
– A few sprigs of fresh basil for a unique twist
These spices give your pickles a new taste and make them special. You can even mix and match to find your favorite combo.
Creative mix-ins can lead to unique flavors. Consider adding:
– Sliced jalapeños for heat
– Carrots for a sweet crunch
– Red onion slices for a bit of sharpness
Get creative! Each ingredient adds its own character to the pickles.
Alternative Vegetables
Exploring other veggies to pickle can be exciting. While cucumbers are classic, other great options include:
– Carrots: Their sweetness pairs well with the brine.
– Radishes: They add a peppery bite and vibrant color.
– Green beans: They stay crunchy and add a nice snap.
Customizing the recipe lets you build a pickle mix that suits your taste. You can use any vegetable you love. Just remember to adjust the slicing size to match the brine for even flavoring.Each batch can be a new adventure in flavor and crunch.
Storage Info
Best Storage Practices
To keep your homemade refrigerator pickles fresh, store them in the fridge. The ideal temperature is between 32°F and 40°F. This cool environment slows down spoilage and keeps your pickles crunchy.
When stored properly in airtight jars, your pickles can stay fresh for up to two months. However, they usually taste best within the first month. Check for any signs of spoilage, like an off smell or changes in color, before eating.
Reusing the Brine
You can extend the life of your brine by reusing it. After finishing your first batch of pickles, save the brine in the fridge. It can last for about a month.
Add new vegetables to the existing brine for a quick pickle fix. Just make sure the new veggies are clean and cut to a similar size as the originals. Allow them to sit in the brine for at least 24 hours before enjoying. This method keeps your pickles exciting and cuts down on waste!
FAQs
How long do homemade refrigerator pickles last?
Homemade refrigerator pickles can last up to two months. Keep them in the fridge. After that, they may lose their crunch and flavor. Always check for any signs of spoilage before eating. If they smell bad or look off, it’s best to toss them.
Can I use different types of vinegar?
Yes, you can use different types of vinegar. Apple cider vinegar adds a sweet taste. Rice vinegar gives a milder flavor. Each vinegar can change the overall taste. Experimenting with different vinegars helps you find your favorite flavor. Just keep the same ratio for best results.
Do I need to can the pickles for them to last?
No, you do not need to can the pickles. Refrigerating them keeps them fresh. Canning requires more steps and heat. With refrigerator pickles, you can enjoy them quickly. Just make sure to store them in clean jars with tight lids.
What can I serve with refrigerator pickles?
Refrigerator pickles pair well with many dishes. They add crunch to sandwiches and burgers. You can also serve them with cheese boards or charcuterie plates. They make a great snack on their own. For a fun twist, add them to salads for extra flavor.
You now understand the key steps for making delicious refrigerator pickles. We discussed ingredients, from selecting cucumbers to the right vinegar and spices. I shared tips on preparation, brining, and storage. Remember to adjust flavors to suit your taste and try new veggies for fun. Keep your pickles fresh with the right storage methods.
Enjoy creating your own pickles and feel proud of your tasty treats!


