Craving a sweet treat that combines chocolate, hazelnuts, and that classic campfire vibe? Look no further! My Hazelnut Chocolate S’mores Shake is the perfect blend of flavors and textures that will delight your taste buds. In this guide, I’ll share my favorite ingredients, tips, and tricks to make this creamy indulgence at home. Ready to mix up something amazing? Let’s dive in and create a shake you won’t forget!
Ingredients
Main Ingredients for Hazelnut Chocolate S’mores Shake
– 2 cups milk (or any plant-based milk alternative)
– 1 cup vanilla ice cream
– 1/4 cup hazelnut spread (such as Nutella)
The foundation of this shake starts with milk. You can use any kind, whether it’s whole, skim, or almond milk. Each option gives a different taste. Next, vanilla ice cream adds sweetness and creaminess. For that rich flavor, the hazelnut spread is key. It brings a lovely nutty taste that pairs perfectly with chocolate.
Flavor Enhancers
– 1/4 cup chocolate syrup
– 1/3 cup graham cracker crumbs
– 1 cup mini marshmallows
To elevate the shake, chocolate syrup is a must. It adds a deep, sweet chocolate flavor. Graham cracker crumbs bring that classic s’mores crunch, making the shake feel more like a treat. Mini marshmallows are not just for decoration; they melt in your mouth and give that s’mores experience.
Optional Garnishes
– Whipped cream for adorning the shake
– Additional graham cracker pieces and mini marshmallows for garnish
Garnishes make this shake special. Whipped cream creates a fluffy top that looks inviting. You can also add extra graham crackers and mini marshmallows on top. This adds a fun touch and makes the shake more visually appealing.
Step-by-Step Instructions
Blending the Shake Base
To start, gather your main ingredients. Pour 2 cups of milk into a blender. You can use any milk you like. Next, add 1 cup of vanilla ice cream. This makes the shake creamy and rich. Then, add 1/4 cup of hazelnut spread and 1/4 cup of chocolate syrup. Blend all these ingredients on high speed until smooth. The goal is a creamy texture that makes your taste buds dance.
Incorporating Graham Cracker Crumbs
Once the shake base is blended, add half of your graham cracker crumbs, about 1/6 cup. Pulse the blender just a few times. This keeps the crumbs chunky, adding a nice crunch to your shake. Avoid over-blending, as you want to feel those bites of graham cracker when you sip.
Assembling and Garnishing the Shake
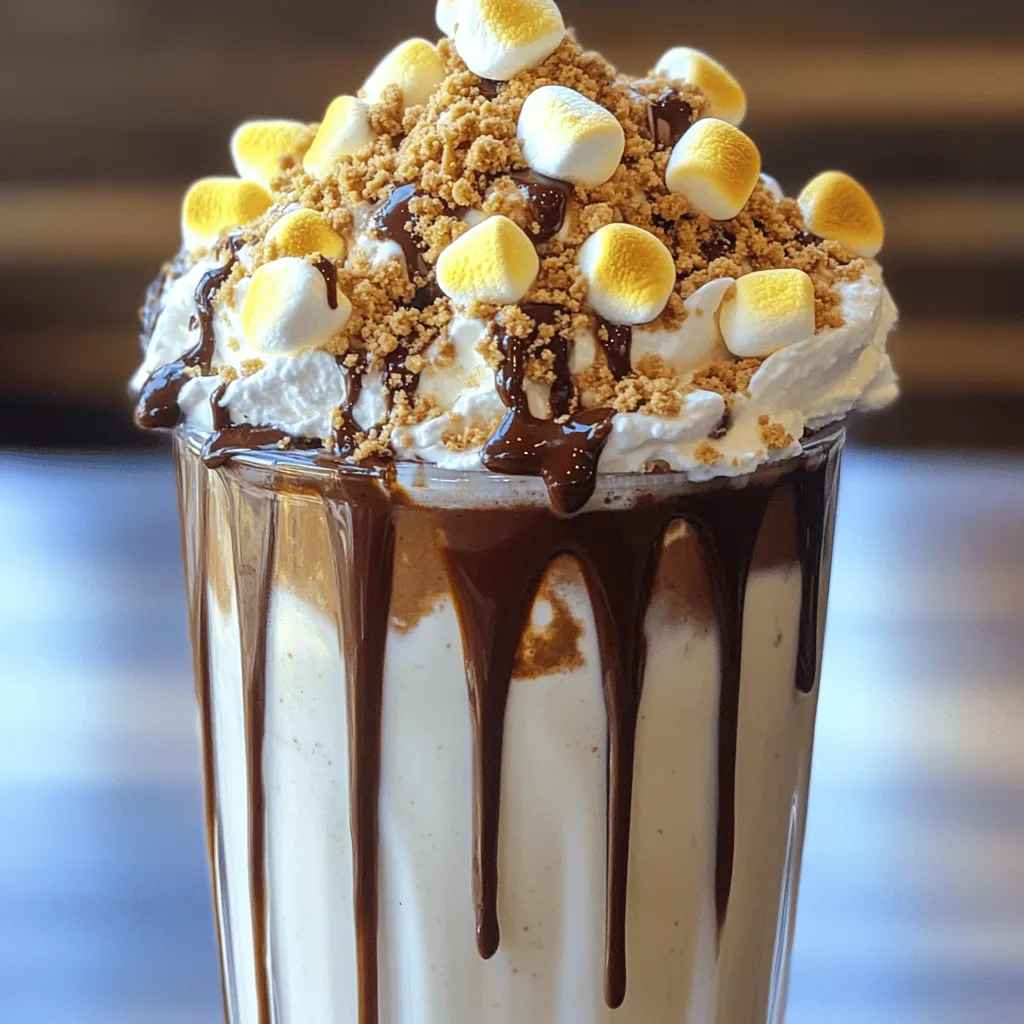
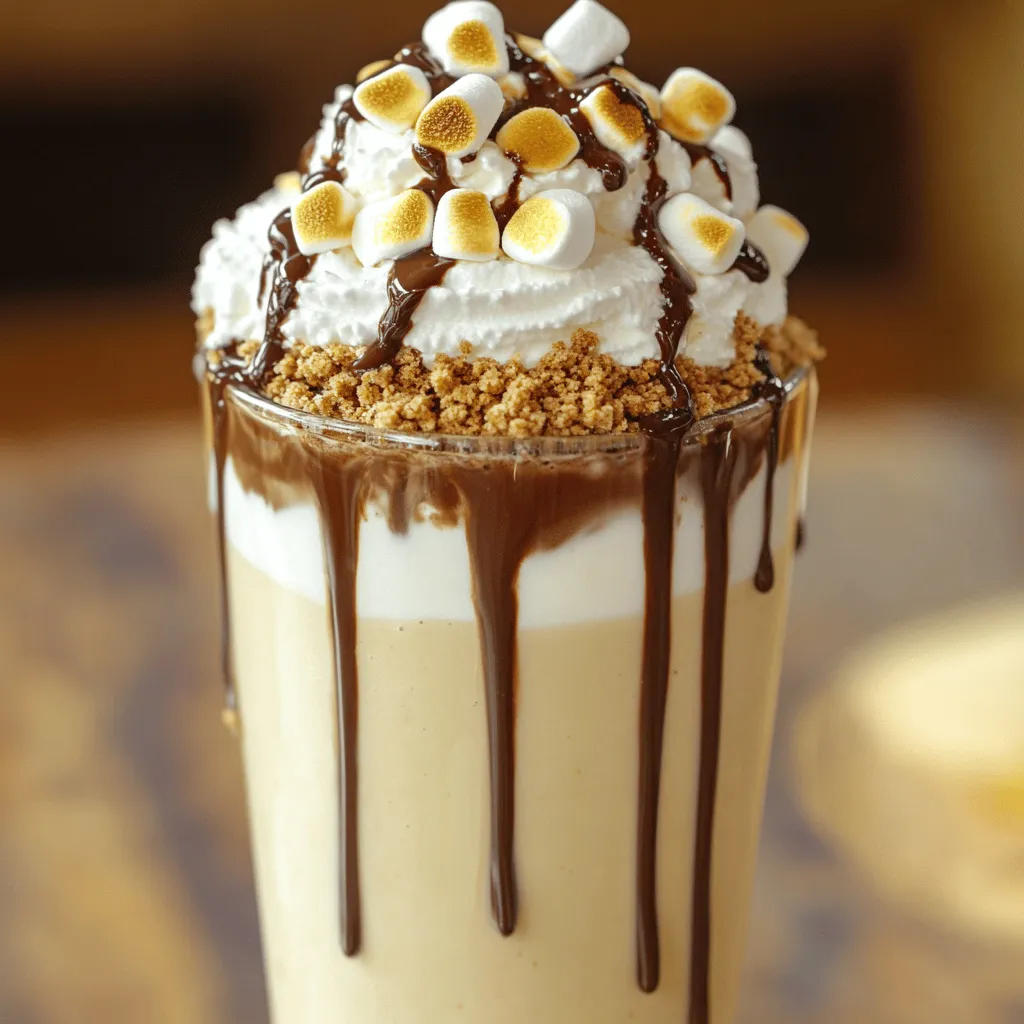
Now, pour your shake into large glasses. Leave some space at the top for toppings. Generously add whipped cream on each shake to create a tall, inviting peak. Sprinkle the remaining graham cracker crumbs on the whipped cream. This adds a lovely contrast and flavor.
To get that toasted marshmallow vibe, use a kitchen torch to lightly toast mini marshmallows. Aim for a golden brown color without burning them. Place these toasted marshmallows on top of the whipped cream. For a fun touch, break extra graham crackers into pieces and arrange them next to the marshmallows.
Finally, finish your shake with a drizzle of chocolate syrup to enhance flavor and visual appeal. The result is a beautiful, layered shake that looks as good as it tastes, ready to impress anyone who takes a sip.
Tips & Tricks
Enhancing Flavor
To make your Hazelnut Chocolate S’mores Shake even better, add some fun extras. Try mixing in a shot of espresso for a caffeine kick. You can also add a pinch of cinnamon or nutmeg for warmth. These spices bring a cozy feel that pairs well with chocolate and hazelnuts. If you want a nutty twist, consider adding almond extract. Just a drop will do!
Presentation Suggestions
Serving is just as fun as making this shake. Use tall, clear glasses to show off those layers. Add stylish straws for a pop of color. You can even place the glasses on a wooden board for a rustic look. For a creative touch, sprinkle some extra graham cracker crumbs around the base of the glass. This adds a playful vibe. Don’t forget to arrange a few mini marshmallows on the side!
Equipment Recommendations
For the best shake, you’ll need a high-speed blender. This ensures everything blends smoothly. A kitchen torch is great for toasting marshmallows, giving them that lovely char. If you don’t have a torch, you can use your oven’s broiler. Just keep an eye on them to avoid burning. Lastly, use quality glassware for serving. It makes your shake look even more tempting!
Variations
Seasonal Twist Ideas
You can change the flavor of your Hazelnut Chocolate S’mores Shake with the seasons. For fall, try adding pumpkin spice. Just a pinch can give it a warm, cozy taste. In winter, peppermint can add a fresh kick. A few drops of peppermint extract will do the trick.
You can also mix in fresh fruit. Bananas or strawberries work well. They add a nice sweetness. Blend them in for a fruity twist to your shake.
Dietary Substitutions
If you need vegan or dairy-free options, you can easily adjust this recipe. Use almond milk or coconut milk instead of regular milk. For ice cream, try a coconut-based or almond milk ice cream. These swaps keep your shake creamy and delicious.
For gluten-free options, look for gluten-free graham crackers. Many brands make tasty versions that work great in this shake.
Alternate Flavor Profiles
Get creative with flavors by using different nut spreads. Almond butter or cashew cream can add a unique taste. You can also try flavored syrups like caramel or maple for a new twist.
For chocolate and marshmallows, use dark chocolate or white chocolate. These swaps can change the whole feel of your shake. You can even use fruit-flavored marshmallows for a fun surprise.
Try these ideas to make your Hazelnut Chocolate S’mores Shake truly special.
Storage Info
Best Practices for Leftovers
To store leftover Hazelnut Chocolate S’mores Shake, pour it into a sealed container. This keeps the shake fresh. You can store it in the fridge for up to two days. Shake well before serving again. If you notice separation, just blend it again. The ingredients, like milk and ice cream, stay good for about a week when unopened.
Freezing Tips
Yes, you can freeze the shake! Pour it into ice pop molds or a freezer-safe container. Make sure to leave some space at the top for expansion. Frozen Hazelnut Chocolate S’mores Shake makes great milkshake popsicles. Just let them thaw for a few minutes when you want to enjoy them.
Making Ahead
You can prep this shake in advance. Just blend the main ingredients and store them in the fridge. For the best flavor, make it up to one day ahead. Avoid adding toppings until you are ready to serve. This helps keep the marshmallows and graham crackers fresh.
FAQs
Can I make Hazelnut Chocolate S’mores Shake without ice cream?
Yes, you can! For a lighter shake, use frozen bananas. They add creaminess without extra sugar. You can also try Greek yogurt. It gives the shake a rich texture while adding protein. Another great choice is coconut cream. It adds a nice, rich flavor. Just blend it with the milk and other ingredients as you would with ice cream.
How can I thicken my shake?
To thicken your Hazelnut Chocolate S’mores Shake, use less milk. Start with one cup and add more if needed. You can also blend in oats or chia seeds. Both will help thicken the shake naturally. If you want a richer shake, add more hazelnut spread. This will enhance the flavor and thickness. Just remember not to overdo it!
What other toppings can I use?
You can get creative with the toppings! Instead of graham crackers, try crushed cookies or nuts for a different crunch. For marshmallows, use chocolate-covered ones for more flavor. You could also add fresh fruit like strawberries or bananas. Drizzle with caramel sauce for a sweet twist. These options can give your shake a unique touch!
This blog post covered how to make a Hazelnut Chocolate S’mores Shake. We discussed the key ingredients, blending techniques, and tips for presentation. I shared variations for different tastes and dietary needs, along with storage advice for leftovers.
You can create a fun and tasty shake for any occasion. Enjoy experimenting with flavors and garnishes to make it your own. Remember, the key is to have fun and indulge in every delicious sip!


