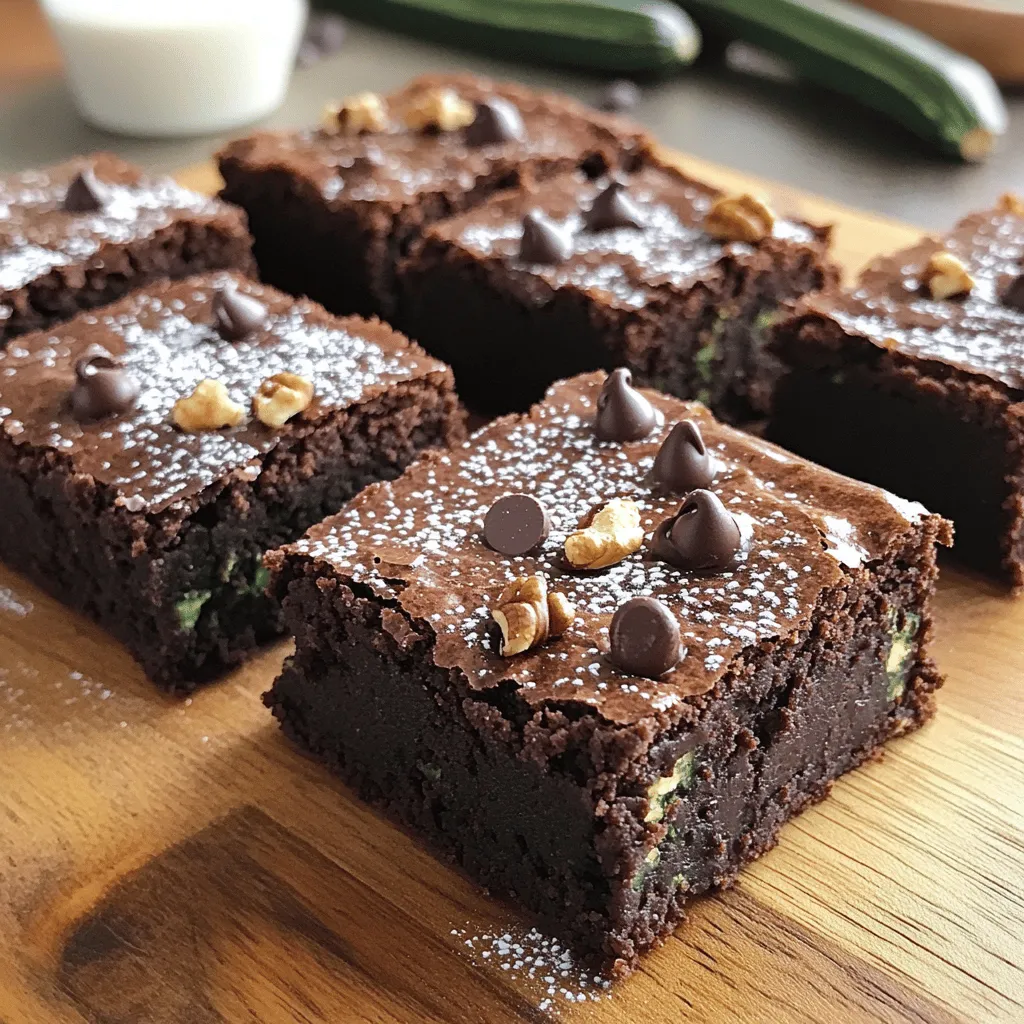
Are you ready to enjoy a delicious treat that packs a hidden veggie punch? These fudgy zucchini brownies are not only moist but also incredibly easy to make! With simple ingredients and quick steps, you can create a dessert that feels indulgent but offers a hint of healthiness. Dive into this recipe and discover how zucchini can transform your brownies into something extraordinary!
Ingredients
To make fudgy zucchini brownies, you need a mix of basic and simple ingredients. Each one contributes to the rich, moist texture. Here’s what you’ll need:
– 1 cup all-purpose flour
– 1/2 cup unsweetened cocoa powder
– 1/2 teaspoon baking powder
– 1/4 teaspoon baking soda
– 1/4 teaspoon salt
– 1/2 cup granulated sugar
– 1/2 cup brown sugar, packed
– 1/3 cup vegetable oil or melted coconut oil
– 2 large eggs
– 1 teaspoon vanilla extract
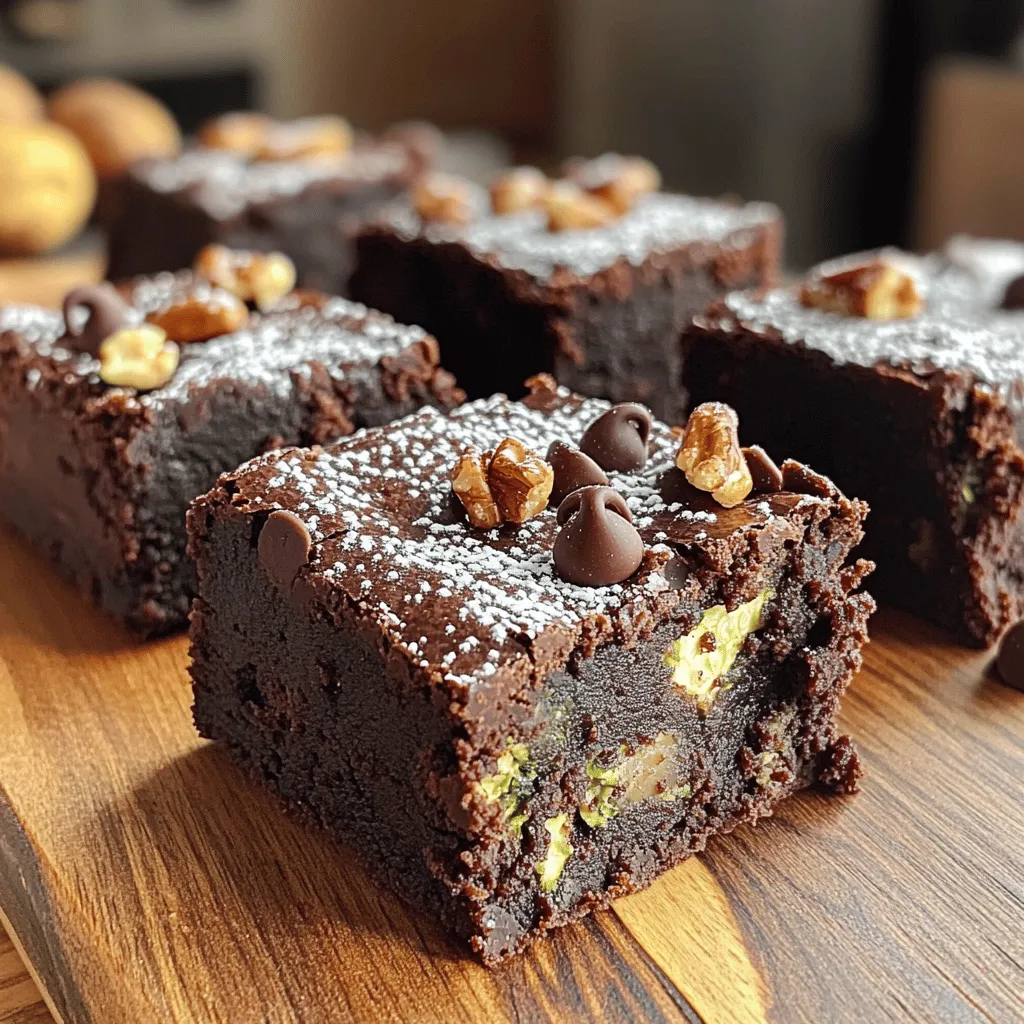
– 1 1/2 cups finely grated zucchini
– 1/2 cup semi-sweet chocolate chips (optional)
– 1/4 cup chopped walnuts (optional)
These ingredients come together to create a dessert that surprises everyone. The zucchini adds moisture and nutrition, while the cocoa powder provides that rich chocolate flavor. If you want extra texture, consider adding chocolate chips or walnuts.
Step-by-Step Instructions
Preparation Steps
1. Preheat your oven to 350°F (175°C). This step is key for even baking.
2. Prepare an 8×8 inch baking pan. You can grease it or line it with parchment paper.
3. In a medium bowl, whisk together:
– 1 cup all-purpose flour
– 1/2 cup unsweetened cocoa powder
– 1/2 teaspoon baking powder
– 1/4 teaspoon baking soda
– 1/4 teaspoon salt
This mixture will be your dry blend.
4. In a larger bowl, mix:
– 1/2 cup granulated sugar
– 1/2 cup brown sugar, packed
– 1/3 cup vegetable oil or melted coconut oil
Blend these until smooth.
Mixing the Batter
1. Crack 2 large eggs into the sugar-oil mix. Add 1 teaspoon vanilla extract. Beat until fluffy.
2. Gradually add your dry mixture to the wet mix. Stir gently until just combined.
3. Carefully fold in:
– 1 1/2 cups finely grated zucchini
– Optional: 1/2 cup semi-sweet chocolate chips
– Optional: 1/4 cup chopped walnuts
Ensure everything is mixed well but do not overmix.
Baking Instructions
1. Pour the brownie batter into your prepared pan. Use a spatula to spread it evenly.
2. Bake for 25-30 minutes. To check if they are done, insert a toothpick into the center. It should come out with a few moist crumbs.
3. After baking, let the brownies cool in the pan for about 10 minutes. Then, move them to a wire rack to cool completely before cutting them into squares.This simple process will give you the most delicious fudgy brownies!
Tips & Tricks
Best Practices for Moist Brownies
To make these brownies truly fudgy, measure your ingredients carefully. Use a kitchen scale for accuracy. Too much flour can make the brownies dry. Always check your measuring cups to avoid mistakes.
Do not overmix the batter. Mix gently until just combined. Overmixing can lead to tough brownies. You want a rich, gooey texture, not a cake-like one.
Zucchini Tips
Select the right zucchini for the best flavor. Look for smaller zucchinis, as they tend to be sweeter. Avoid large ones, which are often watery and less tasty.
Grate the zucchini finely. This helps it mix evenly into the batter. Large pieces can create pockets of moisture and disrupt the texture.
Enhancing Flavor
Consider adding spices or extracts for more depth. A pinch of cinnamon or a dash of espresso powder can boost the chocolate flavor. Try adding a splash of almond or orange extract for a fun twist.
You can also mix in nuts or chocolate chips for added texture. Customize the brownies to fit your taste. Enjoy experimenting to find your favorite version.
Variations
Gluten-Free Option
You can make these fudgy zucchini brownies gluten-free. Just substitute the all-purpose flour with gluten-free flour. The taste and texture will stay rich and moist. I recommend using a 1:1 gluten-free flour blend. This makes it easy and tasty for those who avoid gluten.
Vegan Adaptation
If you want a vegan version, you can replace the eggs. Flaxseed meal is a great option. Mix 1 tablespoon of flaxseed meal with 2.5 tablespoons of water. Let it sit for 5 minutes to thicken. For the oil, swap vegetable oil with applesauce or melted coconut oil. This keeps brownies moist without using eggs or dairy.
Flavor Variations
Adding extras can make these brownies even better. You might try mixing in nuts, dried fruit, or different types of chocolate. Chopped walnuts or pecans add a nice crunch. You can also use dark chocolate chips for a richer taste. For a fruity twist, consider adding raspberries or chopped cherries. Each option brings a unique flavor that makes your brownies special.
Storage Info
How to Store
To keep your fudgy zucchini brownies fresh, store them at room temperature. Place them in an airtight container. This will help keep them moist for up to four days. If you want to enjoy them later, freezing is a great option.
Freezing Instructions
For long-term storage, you can freeze these brownies. First, let the brownies cool completely. Then, wrap each piece tightly in plastic wrap. Place the wrapped brownies in a freezer-safe bag or container. They will last up to three months in the freezer. When you are ready to enjoy, just thaw them at room temperature.
Reheating Tips
For the best taste, reheat your brownies in the oven. Preheat the oven to 350°F (175°C). Place the brownies on a baking sheet and cover them with foil. Heat for about 10 minutes. This method will keep them fudgy and delicious. You can also use the microwave for a quick fix. Just heat for 10-15 seconds, but don’t overdo it!
FAQs
Can I make these brownies ahead of time?
Yes, you can make these brownies ahead of time. To store them, let the brownies cool completely first. Wrap them tightly in plastic wrap or foil. You can also place them in an airtight container. They will stay fresh at room temperature for about 3 days. For longer storage, freeze them. Just cut them into squares before freezing. Place layers of parchment paper between them. This way, they won’t stick together.
How can I tell if my brownies are done?
To tell if the brownies are done, use the toothpick test. Insert a toothpick into the center of the brownies. If it comes out with a few moist crumbs, they are done. If it comes out clean, they might be overbaked. Keep in mind that they will continue to cook a little after you take them out. So, it’s okay if they seem slightly underbaked in the pan.
Can I substitute zucchini with another vegetable?
Yes, you can use other vegetables in place of zucchini. Grated carrots or sweet potatoes work well. They add a nice sweetness and moisture. Keep in mind that different vegetables may change the taste. Carrots give a sweeter flavor, while sweet potatoes add creaminess. The texture may also vary slightly, but they will still taste great.
This article covered a simple and tasty brownie recipe using zucchini. You learned the ingredients, preparation steps, and tips for perfect results. Remember to measure your ingredients well and be careful not to overmix. You can try variations to fit your diet needs or taste preferences. Store brownies properly for lasting freshness. Enjoy baking your delicious brownies!


