Are you ready to treat yourself to a delicious and healthy snack? My Frozen Yogurt Bark with Dark Chocolate Swirl is the perfect way to beat the heat. With simple ingredients and a fun prep process, you’ll have a creamy, crunchy delight that’s easy to make. Plus, it’s customizable! Dive into this guide and discover how to create a dessert everyone will love. Let’s get started!
Ingredients
Key Ingredients for Frozen Yogurt Bark
To make this tasty treat, you need just a few key things:
– 2 cups Greek yogurt (use plain or your favorite flavor)
– 1/4 cup honey or maple syrup (for sweetness)
– 1/2 teaspoon pure vanilla extract (for flavor)
– 1/2 cup dark chocolate chips (for rich chocolate swirls)
– 1/4 cup mixed berries (like strawberries, blueberries, and raspberries)
– 2 tablespoons chopped nuts (choose almonds, walnuts, or pistachios)
– Pinch of sea salt (to enhance flavors)
These ingredients combine to create a creamy and crunchy dessert.
Optional Add-ins and Flavor Variations
You can change up this recipe to suit your taste! Here are some fun ideas:
– Add a splash of almond extract for a nutty twist.
– Swap the berries for tropical fruits like mango or kiwi.
– Use yogurt with fruit already mixed in for extra flavor.
– Try different nuts like pecans or hazelnuts for variety.
Feel free to get creative and make it your own!
Recommended Yogurt and Sweeteners
For the best flavor, I like using plain Greek yogurt. It has a nice tang and thick texture. If you want something sweeter, flavored yogurt works too. As for sweeteners, honey gives a lovely floral note, while maple syrup adds a rich, earthy taste. Choose what you enjoy most!
Step-by-Step Instructions
Preparing the Yogurt Base
To start, take a large mixing bowl. Add 2 cups of Greek yogurt, your choice of 1/4 cup honey or maple syrup, and 1/2 teaspoon pure vanilla extract. Use a spatula to mix until it’s smooth and creamy. This base is the heart of our bark. It’s tasty and healthy, giving you a great mix of flavors.
Melting the Dark Chocolate
Next, grab a microwave-safe bowl. Place 1/2 cup dark chocolate chips in it. Heat the chocolate in the microwave in 30-second bursts. After each burst, stir the chocolate until it’s smooth and silky. Be careful not to overheat it. This melted chocolate adds a rich touch to your bark.
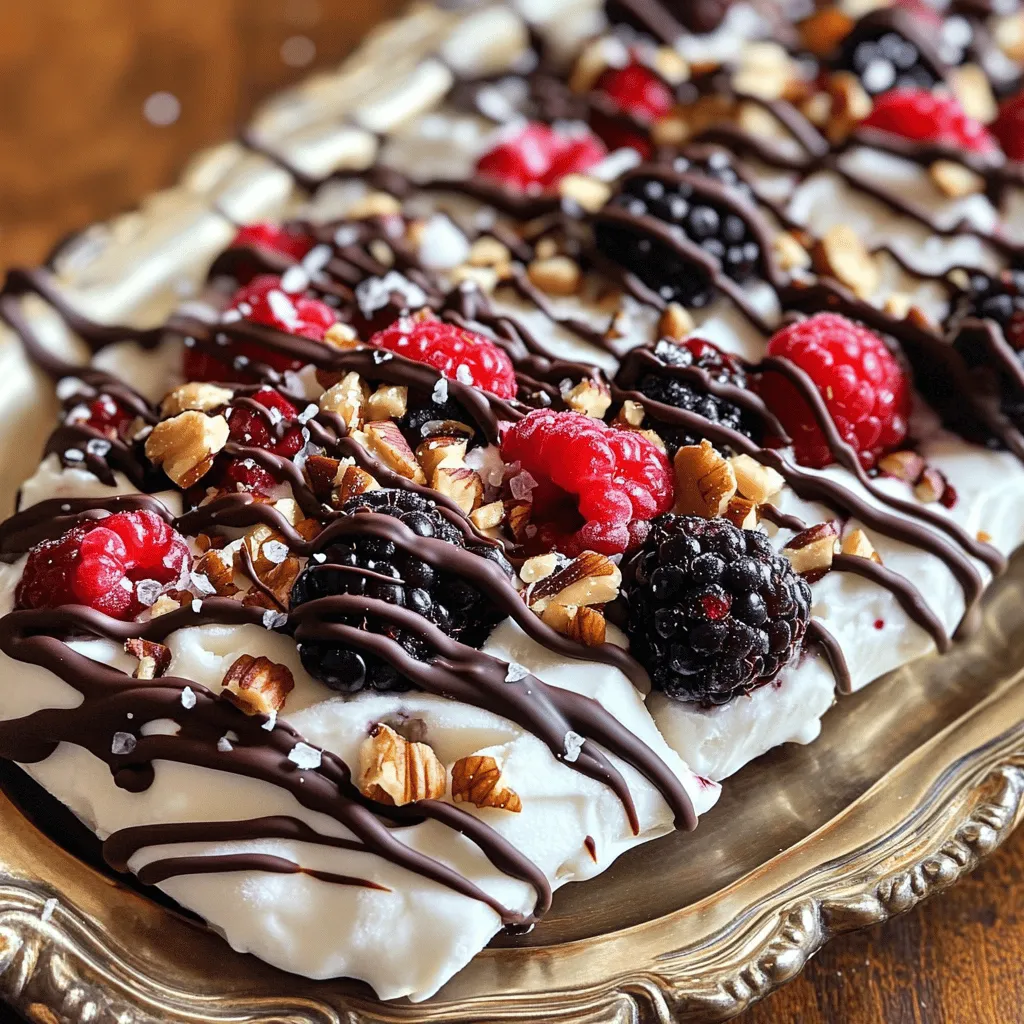
Creating the Swirl and Adding Toppings
Now, it’s time to bring it all together. Pour the yogurt mixture onto a lined baking sheet. Spread it evenly to about 1/4 inch thick. Drizzle the melted dark chocolate over the yogurt. Take a skewer or a butter knife and swirl it gently. This creates a beautiful marbled effect.
Next, sprinkle your toppings over the yogurt. Use 1/4 cup mixed berries and 2 tablespoons chopped nuts, like almonds or walnuts. Finally, add a pinch of sea salt over the top. This helps brighten the flavors.
Place the baking sheet in the freezer for 3 to 4 hours. Once it’s firm, peel the bark from the parchment paper. Break it into pieces and enjoy this delightful treat.
Tips & Tricks
Best Practices for Melting Chocolate
To melt chocolate well, use a microwave-safe bowl. Place the dark chocolate chips in the bowl. Heat them in short bursts, about 30 seconds each. After each burst, stir the chocolate. This keeps it from burning. Stop when the chocolate is smooth and shiny. If you prefer, you can use a double boiler. Just simmer water below a bowl of chocolate over it. Stir often until melted.
Achieving the Perfect Texture
For a creamy texture, mix the yogurt, sweetener, and vanilla well. Use a spatula to blend until smooth. Spread it evenly on the lined baking sheet. Aim for about 1/4 inch thick. Too thin will freeze too quickly and break. Too thick will take longer to freeze. The right thickness makes for a great bite.
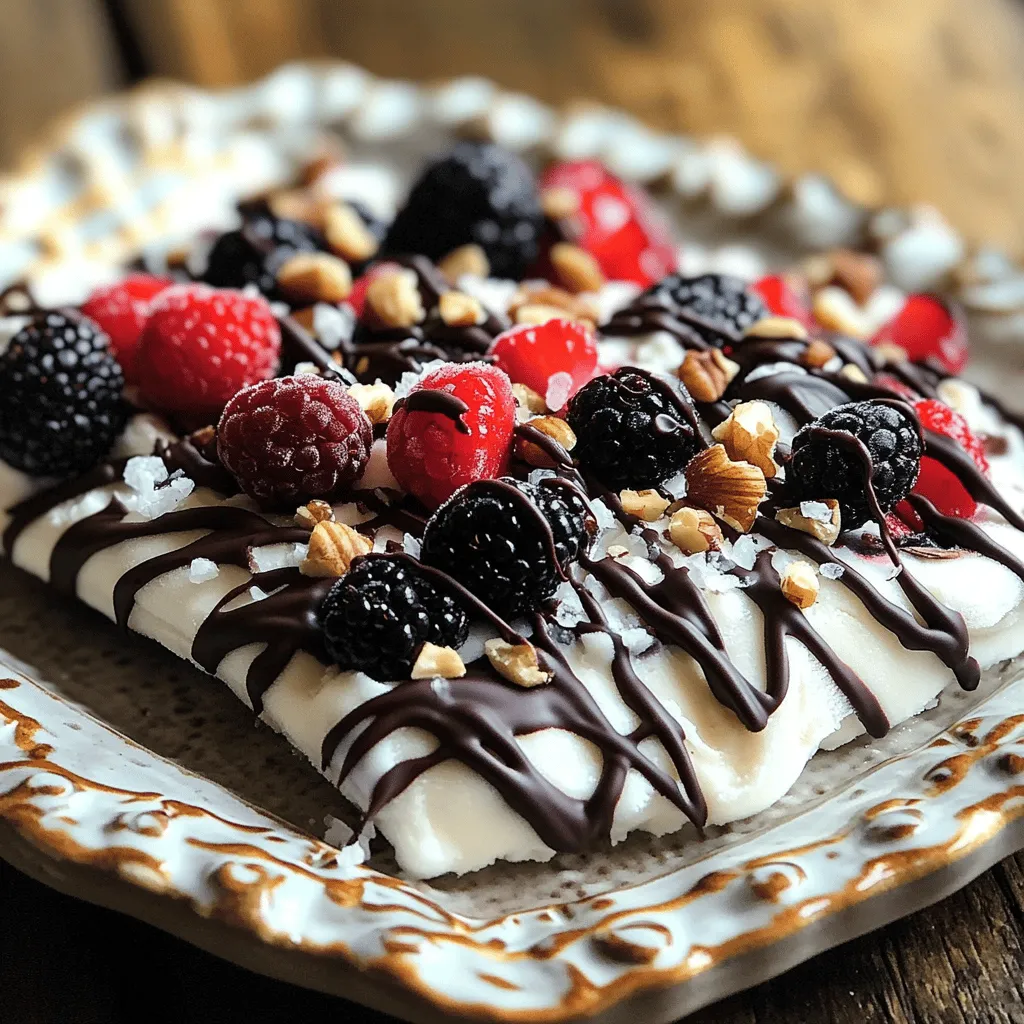
Presentation Ideas for Serving
Presentation matters! Serve the frozen yogurt bark on a colorful platter. Add a few whole berries on top for color. A drizzle of melted chocolate over the top adds flair. You can also use some chopped nuts for crunch. When you break the bark into pieces, vary the sizes. This makes for a fun, rustic look. For an extra touch, dust with a little sea salt before serving.
Make this dessert look as good as it tastes!
Variations
Fruity Variations: Using Different Berries
You can change the berries to suit your taste. Strawberries, blueberries, and raspberries work well. Try blackberries for a bold twist. Each berry adds its own flavor and color. You can mix and match them too! For a tropical touch, add diced mango or pineapple. These fruity variations create a fresh burst in every bite.
Nut-Free and Dairy-Free Adaptations
If you need nut-free options, skip the nuts or use seeds. Sunflower seeds or pumpkin seeds add crunch without allergens. For a dairy-free version, choose coconut yogurt or almond yogurt. Both give a creamy texture. You can still enjoy that dark chocolate swirl, making it a treat for everyone.
Flavor Combinations: Experimenting with Extracts
To make your yogurt bark unique, try different extracts. Almond extract adds a rich flavor. Coconut extract pairs well with tropical fruits. You can even use peppermint extract for a refreshing twist! Mix these flavors into your yogurt before spreading. The options are endless, and every batch can be a new surprise.
Storage Info
Best Way to Store Frozen Yogurt Bark
To keep your frozen yogurt bark fresh, place it in a freezer-safe container. Use layers of parchment paper between pieces to prevent sticking. This method helps maintain the bark’s texture and flavor. If you prefer, you can also wrap each piece in plastic wrap for easy grab-and-go snacks.
How Long it Lasts in the Freezer
When properly stored, frozen yogurt bark can last up to two months in the freezer. After that, it may start to lose its flavor and texture. Always check for any signs of freezer burn before serving. If it looks or smells off, it’s best to toss it out and make a fresh batch.
Tips for Thawing and Serving
To thaw the bark, simply place it in the fridge for about 30 minutes. This will soften it slightly while keeping it cool. You can also let it sit at room temperature for a few minutes. For a fun twist, serve the thawed bark with fresh fruit or a drizzle of warm chocolate. Enjoy the delightful mix of flavors and textures!
FAQs
Can I use non-dairy yogurt for this recipe?
Yes, you can use non-dairy yogurt. Almond, coconut, or soy yogurt works well. Just pick a flavor you enjoy. The texture may be slightly different, but it will still taste great. Non-dairy yogurt also gives a nice creamy base for the bark.
What is the best chocolate for melting?
The best chocolate for melting is dark chocolate chips. Look for high-quality brands that contain at least 60% cocoa. This gives a rich flavor. You can also use chocolate bars, but chips melt more evenly. Just remember to melt slowly to avoid burning.
How long does it take for the bark to freeze completely?
It usually takes about 3 to 4 hours for the bark to freeze completely. Make sure to leave it in the freezer until it is solid. If you want to speed it up, you can place it in a colder part of the freezer.
Can I add other toppings, like granola or coconut?
Absolutely! You can get creative with toppings. Granola adds crunch, while coconut gives a tropical flair. Other options include dried fruits, seeds, or even a sprinkle of spices. Just remember to keep the balance of flavors.Start with key ingredients, then follow the step-by-step guide. Use my tips to melt chocolate and serve it well. Don’t forget to try fun variations and ask questions if you need more help. Remember, you can store it right and enjoy it later. Making this treat is easy and fun. I hope this inspires you to get creative in the kitchen!


