Ready to beat the heat with a refreshing dish? This Flavorful Summer Pasta Salad with Corn and Creamy Pesto brings the taste of summer right to your table. With colorful veggies and a creamy dressing, it’s the perfect dish for picnics or weeknight dinners. Plus, it’s simple to make and packed with fresh flavors. Let’s dive into this quick and tasty recipe that everyone will love!
Ingredients
Main Ingredients
– 8 oz rotini pasta
– 1 cup fresh corn kernels
– 1 cup cherry tomatoes
Additional Ingredients
– 1 small cucumber
– 1/4 cup red onion
– 1 cup fresh basil leaves
For the Creamy Pesto Dressing
– 1/3 cup grated Parmesan cheese
– 1/4 cup toasted pine nuts
– 1/2 cup plain Greek yogurt
– 2 tablespoons extra virgin olive oil
– Juice of 1 medium lemon
– Salt and pepper
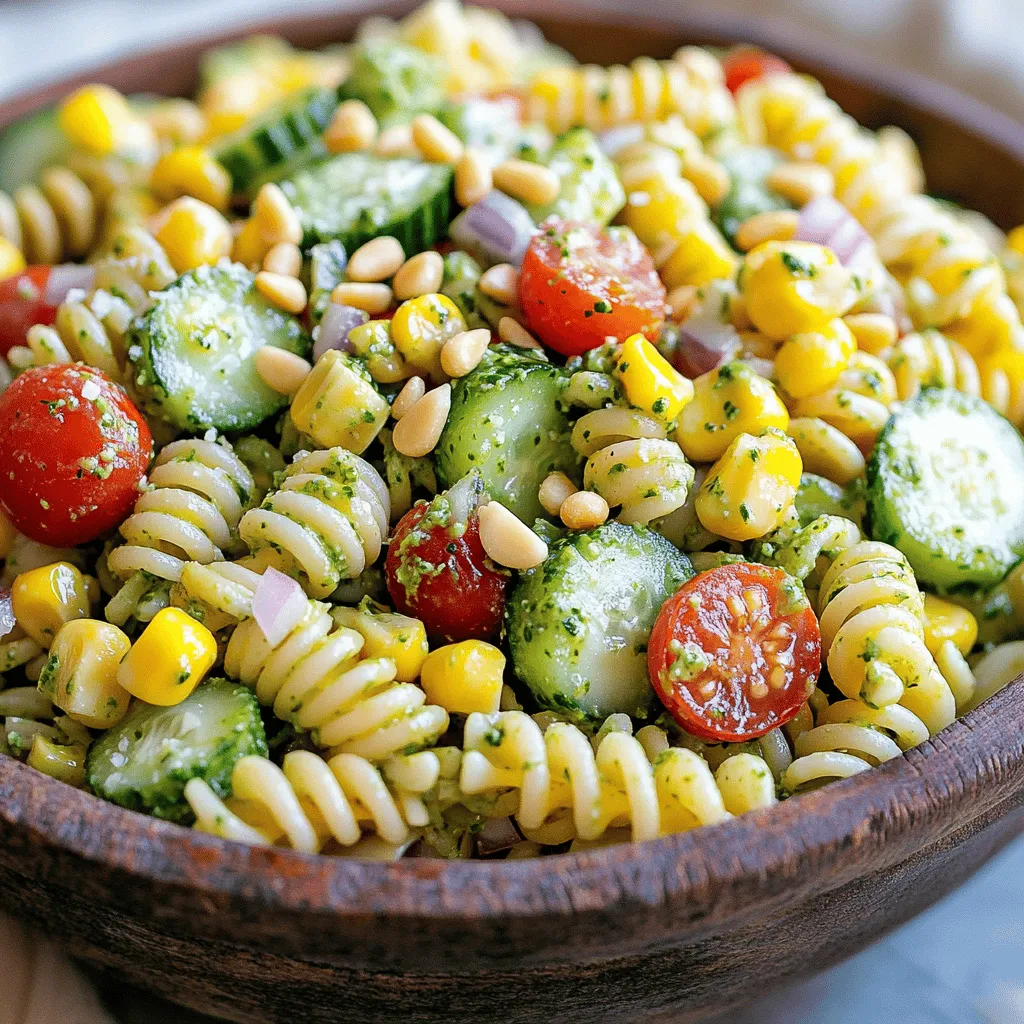
This summer pasta salad shines with bright flavors. The rotini pasta makes a fun base. It holds all the tasty ingredients well. The fresh corn adds a sweet crunch. I love using corn straight from the cob. Cherry tomatoes bring a juicy burst and vibrant color.
For the extra crunch, I add cucumber. It gives a refreshing bite. The red onion adds a slight zing. Together, these ingredients create a colorful mix.
The creamy pesto dressing pulls it all together. I blend fresh basil for a fragrant touch. Grated Parmesan cheese adds rich flavor. Toasted pine nuts give a nutty crunch. The Greek yogurt makes the dressing creamy and smooth. A splash of lemon juice brightens everything up.
This summer pasta salad with corn and creamy pesto is a feast for the eyes and the taste buds.
Step-by-Step Instructions
Cooking the Pasta
– Bring a large pot of salted water to a rolling boil.
– Add 8 oz of rotini pasta and cook for 8-10 minutes until al dente.
– Drain the pasta in a colander and rinse it under cold running water.
Cooking pasta correctly is key. Al dente pasta gives a nice bite and texture. Rinsing it cools the pasta and stops the cooking process.
Blanching the Corn
– Fill a small saucepan with water and bring it to a boil.
– Add 1 cup of fresh corn kernels and blanch for 2-3 minutes.
– Drain the corn and let it cool.
Fresh corn adds sweetness and crunch. Blanching keeps the corn bright and crisp.
Preparing the Creamy Pesto
– In a blender, combine 1 cup of fresh basil leaves, 1/3 cup of grated Parmesan cheese, and 1/4 cup of toasted pine nuts.
– Add 1/2 cup of plain Greek yogurt, 2 tablespoons of extra virgin olive oil, and juice from 1 medium lemon.
– Blend until smooth and creamy, then season with salt and pepper.
This creamy pesto is rich and flavorful. The yogurt gives it a nice tang and creaminess.
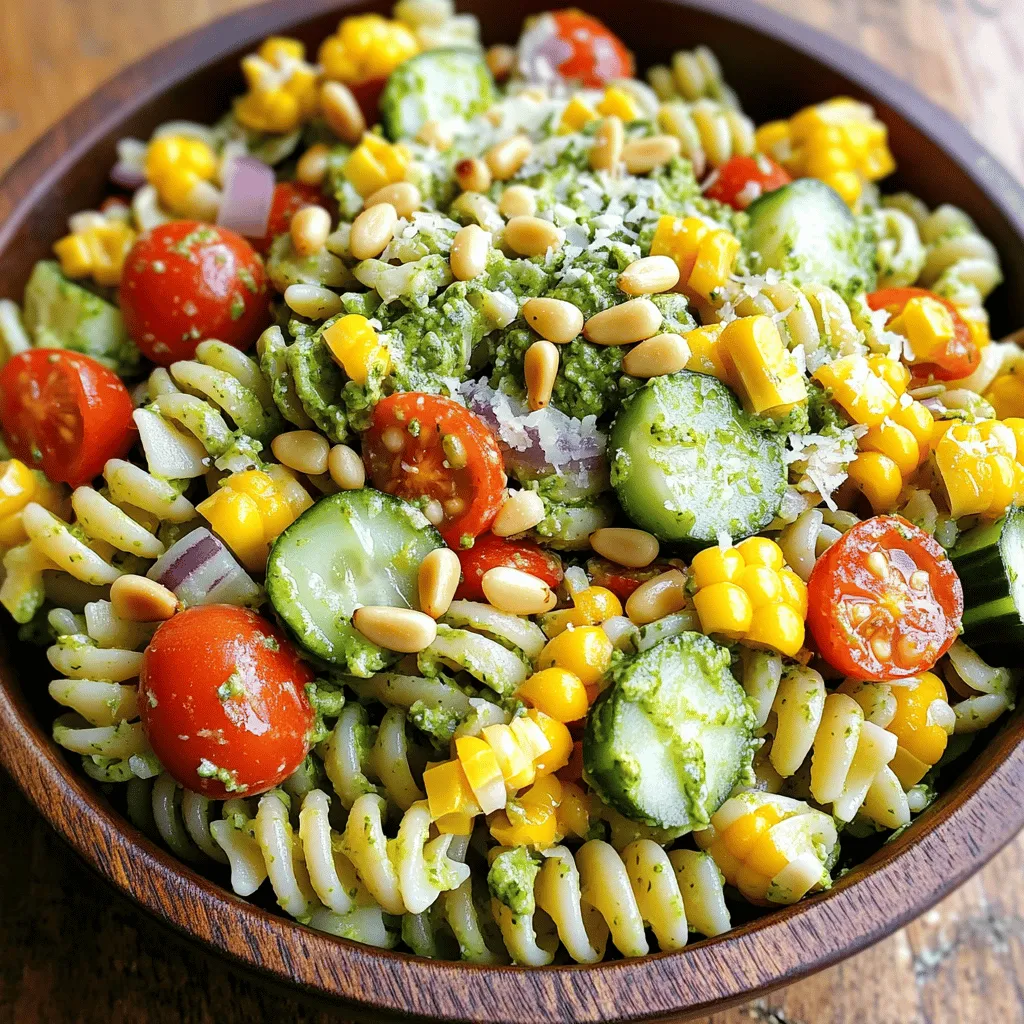
Mixing the Salad
– In a large bowl, combine the cooled rotini pasta, blanched corn, 1 cup of halved cherry tomatoes, diced cucumber, and chopped red onion.
– Toss gently with the creamy pesto until everything is coated.
Mixing well ensures every bite is tasty. The colors from the ingredients make the salad look fresh and inviting.
Chilling and Serving
– Cover the bowl tightly and refrigerate for at least 30 minutes.
– Before serving, give the salad a gentle stir.
– Garnish with extra toasted pine nuts and a sprinkle of Parmesan cheese.
Chilling lets the flavors blend and deepen. The garnish adds a lovely finish and extra crunch.
Tips & Tricks
Perfecting the Texture
To make this pasta salad shine, you need the right texture. First, cook your rotini pasta until it is al dente. This means the pasta should be firm to the bite but not hard. If you overcook it, the pasta will turn mushy. After cooking, rinse it under cold water. This stops the cooking process and cools the pasta quickly.
Next, use fresh ingredients. Fresh corn, ripe tomatoes, and crisp cucumber bring a burst of flavor. They make your dish vibrant and enjoyable. Always pick the best produce you can find for the best results.
Adjusting Seasoning
Once you mix the salad, taste it. Salt and pepper can make a big difference. Adjust them to fit your taste. If you want a bit more brightness, add some lemon zest. It lifts the flavors and adds a refreshing touch.
Garnishing Ideas
For a lovely finish, think about garnishing. Microgreens or arugula can add a fresh crunch. They also look great on the plate. If you have nut allergies, toss in some seeds instead. They offer a nice texture without the risk.
Variations
Add Proteins
You can easily make this salad heartier. Add grilled chicken or shrimp for a tasty protein boost. If you want a vegetarian option, try chickpeas. They add great texture and a nice flavor.
Seasonal Additions
Incorporate fresh spring asparagus or summer zucchini for extra crunch. These veggies add bright color and flavor. You can also swap cherry tomatoes for roasted tomatoes. Roasting brings out their sweetness and adds depth.
Alternative Dressings
If you want a different taste, try a balsamic vinaigrette. It adds a tangy twist that pairs well with the pasta. Another option is to mix in crumbled feta cheese. It adds creaminess and a nice tang to the salad.
Storage Info
How to Store
To keep your leftover salad fresh, store it in an airtight container. This will help maintain its taste and texture. Make sure to refrigerate it for best freshness.
Shelf Life
You should consume the salad within 3-5 days for the best taste. Avoid freezing the salad, as it can affect the texture. Creamy pesto does not freeze well.
Prepping Ahead
You can make the salad a day in advance. This gives the flavors time to blend and deepen. If possible, store the components separately until serving. This keeps the pasta from getting soggy.
FAQs
Can I make this pasta salad in advance?
Yes, you can make this pasta salad ahead of time. I recommend chilling it for at least 30 minutes. This helps the flavors mix well. If you want, you can even make it a day ahead. Just store it in the fridge until you’re ready to serve.
How long does it take to prepare Summer Pasta Salad with Corn and Creamy Pesto?
The total prep and cook time for this dish is about 50 minutes. You spend around 20 minutes preparing the ingredients and cooking the pasta. The remaining time is for mixing and chilling the salad. It’s quick and easy!
Is this recipe suitable for meal prep?
Absolutely! This recipe is perfect for meal prep. You can store it in the fridge for lunches throughout the week. Just keep it in an airtight container. The flavors get better as it sits in the fridge. Enjoy fresh, tasty meals all week long!
This summer pasta salad shines with fresh ingredients like rotini, corn, and tomatoes. The creamy pesto dressing adds a tasty twist. You can mix and match proteins and veggies for variety. Remember to store leftovers well to enjoy later. Try making it ahead for the best flavor. Enjoy every bite of this delicious, easy meal. It’s perfect for gatherings or a simple lunch. Now, grab your ingredients and start creating your salad masterpiece!


