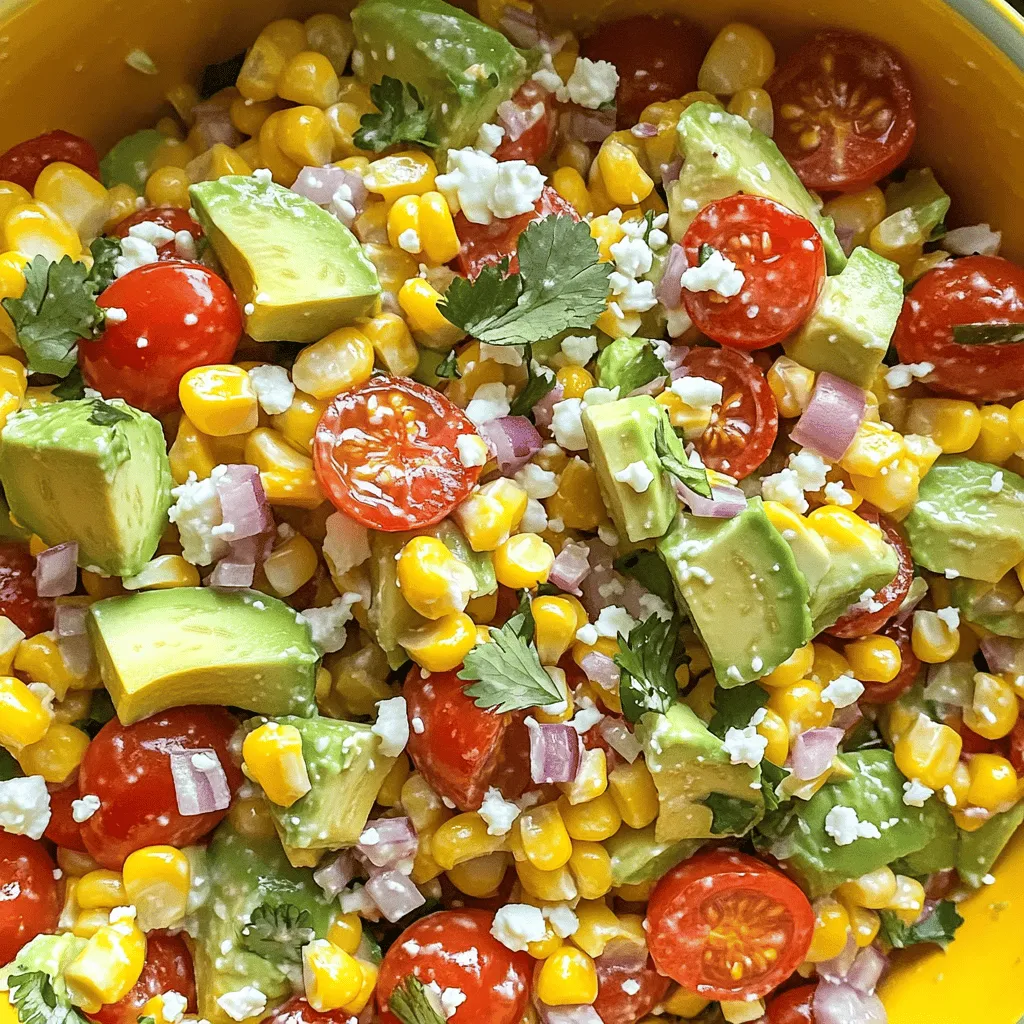
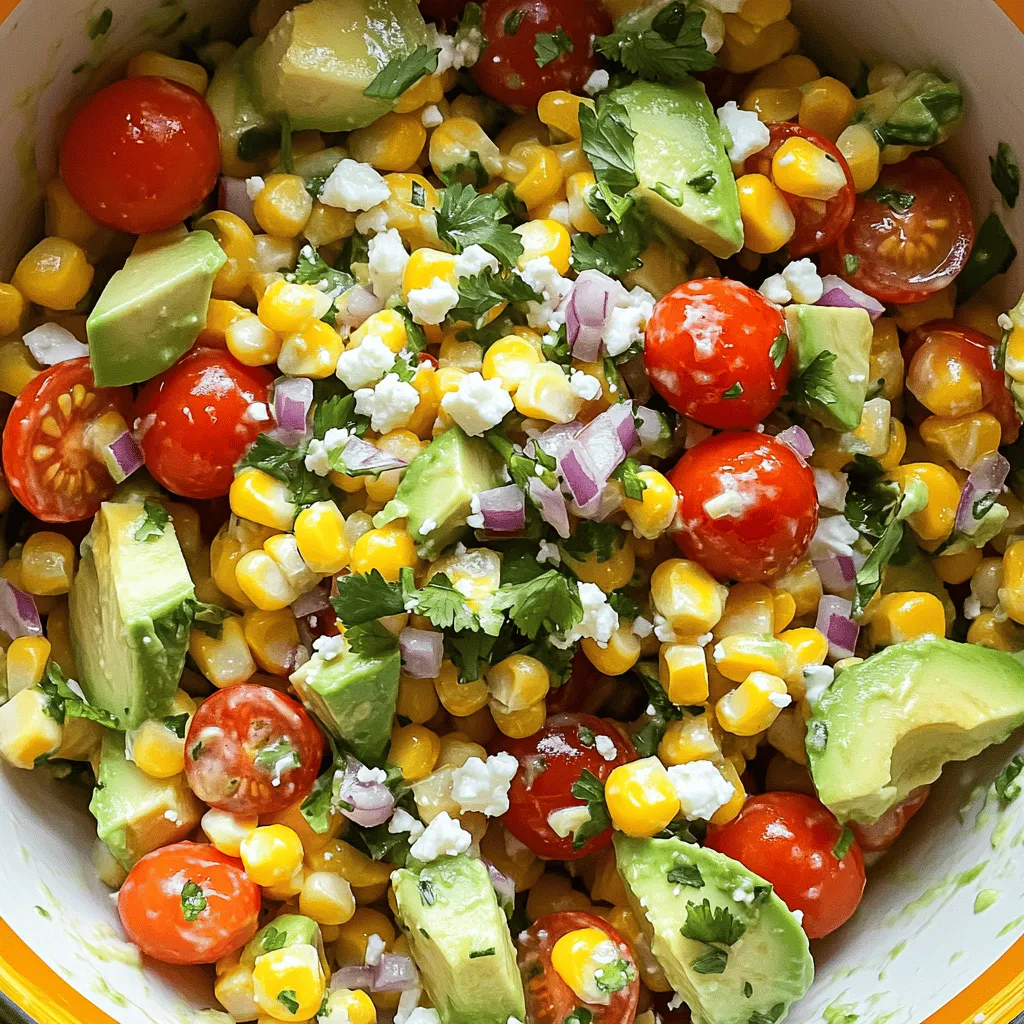
Looking to bring fresh flavors to your summer meals? This Flavorful Summer Corn Salad with Avocado is a perfect choice. It’s packed with juicy corn, creamy avocado, and vibrant cherry tomatoes. Not only is this salad easy to make, but it also stores well for meal prep. Follow my step-by-step guide to create a dish that dazzles at your next gathering. Let’s dive into the deliciousness together!
Ingredients
Fresh Produce
– 3 cups fresh corn kernels (approximately 4 ears of corn)
– 1 ripe avocado, diced into bite-sized pieces
– 1 cup cherry tomatoes, halved
– 1/2 red onion, finely chopped
– 1/4 cup fresh cilantro, roughly chopped
– 1/2 jalapeño, finely minced (optional)
Dressings and Seasonings
– 2 tablespoons freshly squeezed lime juice
– 1 tablespoon extra virgin olive oil
– Salt and freshly cracked pepper, to taste
Optional Toppings
– Crumbled feta cheese for topping
When I make this salad, I focus on fresh, vibrant ingredients. Start with fresh corn kernels, which provide a sweet crunch. To get these, I usually cook the corn quickly. This way, the kernels stay juicy and tender. Then, I add ripe avocado, which brings a creamy texture. It also pairs well with the crunchy corn.
Cherry tomatoes add a burst of color and a slight tang. I cut them in half for easy bites. A bit of red onion gives sharpness. It adds great flavor when chopped finely. Fresh cilantro brings brightness and a hint of earthiness, making the salad even better. If you like spice, finely minced jalapeño can add a kick.
For dressings, fresh lime juice and extra virgin olive oil are key. The lime juice adds zing, while the olive oil provides richness. I season with salt and freshly cracked pepper. This simple mix makes the salad shine.
Finally, if I want to elevate the dish, I sprinkle crumbled feta cheese on top. This adds a salty, creamy element that contrasts beautifully with the other flavors.
Step-by-Step Instructions
Preparing the Corn
1. Cooking and cooling the corn: Start by bringing a large pot of water to a vigorous boil. Once it’s bubbling, add the fresh corn. Cook it for 3 to 4 minutes. You want the kernels to be tender but not mushy. After cooking, drain the corn and rinse it under cold water. This stops the cooking.
2. Removing kernels from the cob: Once the corn is cool, take a sharp knife and slice the kernels off the cob. Do this carefully. Place the kernels in a large mixing bowl. This will be the base of your salad.
Mixing the Ingredients
1. Combining corn with avocado, tomatoes, and onion: In the bowl with the corn, add the diced avocado, cherry tomatoes, and chopped red onion. Mix them gently. This makes the salad colorful and fresh.
2. Incorporating jalapeño for heat: If you like a spicy kick, add the finely minced jalapeño. Adjust the amount based on your taste. Mix it in to add some heat to the dish.
Dressing the Salad
1. Drizzling with lime juice and olive oil: Now it’s time to dress the salad. Drizzle the freshly squeezed lime juice and olive oil over the ingredients. This gives the salad a bright and zesty flavor.
2. Seasoning with salt and pepper: Sprinkle salt and freshly cracked pepper over the mixture. Stir gently to combine. This step enhances all the flavors in the salad.
Final Touches
1. Gently mixing the salad: Use a large spoon to mix everything together. Be careful not to mash the avocado. You want to keep those lovely pieces intact.
2. Adding cilantro before serving: Finally, fold in the chopped cilantro. This adds a fresh herb taste that brings everything together. Your salad is now ready to serve!
Tips & Tricks
Enhancing Flavor
To make your corn salad shine, always use fresh ingredients. Fresh corn adds sweetness and crunch. Look for bright, plump kernels at the market. For extra flavor, mix in fresh herbs like basil or parsley. These greens bring a bright taste and a burst of color. You can even try mint for a refreshing twist!
Preventing Browning
To keep your avocado fresh, use lime juice. The acid slows down browning. Cut the avocado just before serving to keep it bright green. If you prep ahead, store it in an airtight container. Place a piece of plastic wrap directly on the avocado to limit air exposure.
Serving Suggestions
Presentation matters. Serve the salad in a large bowl or individual cups. This makes it look appealing. Top it with crumbled feta for extra taste and nice texture. Pair this salad with grilled chicken or fish for a full meal. You can also serve it with tortilla chips for a fun appetizer.
Try this salad for a fresh, summer vibe!
Variations
Ingredient Substitutions
You can switch up the veggies in this salad. Try adding bell peppers or cucumbers. They add nice crunch and color. You can also use green onions instead of red onion for a milder taste. If you want a different dressing, mix olive oil with red wine vinegar. This will give the salad a tangy twist.
Adding Protein
Want to make this salad heartier? Add protein! Grilled chicken or shrimp works well. You can also use black beans or chickpeas for a plant-based option. Adding protein boosts the salad’s nutrition. It makes the dish filling and satisfying.
Vegan and Gluten-Free Options
This salad is easy to make vegan. Just skip the feta cheese or use a plant-based option. For gluten-free needs, make sure all your ingredients are certified gluten-free. This way, everyone can enjoy this tasty dish without worry.
Storage Info
Refrigeration Guidelines
Store leftovers in an airtight container. This keeps the salad fresh for a day or two. If you want to keep the avocado from browning, add lime juice directly to it. Place the salad in the fridge as soon as you finish eating. This helps maintain the crispness of the corn and the creaminess of the avocado.
Freezing Options
Can this salad be frozen? No, I don’t recommend freezing it. The texture of corn and avocado changes when frozen. Instead, you can freeze corn and avocado separately. For corn, cut it off the cob and freeze in a bag. For avocado, mash it with lime juice before freezing to keep it fresh.
Reheating Suggestions
The best way to enjoy leftovers is cold. If you want to warm up the corn, place it in a pot over low heat. Stir gently until warm. When serving leftovers, add fresh lime juice and more cilantro. This refreshes the flavors and makes it taste like new again.
FAQs
How long will the corn salad last in the fridge?
This corn salad stays fresh for about 3 days in the fridge. Make sure to store it in an airtight container. If you notice the avocado turning brown, it may still taste good, but the look won’t be as nice. Enjoy it within this time for the best flavor.
Can I make the salad ahead of time?
Yes, you can prep the salad a few hours before serving. Just wait to add the diced avocado until right before you serve it. This will keep it fresh and green. If you mix in the avocado too early, it might brown and change the taste.
What can I serve with this salad?
This salad pairs well with grilled chicken, fish, or tacos. You can also serve it with tortilla chips for a crunchy side. For drinks, try lemonade or iced tea. Both will complement the flavors of the salad nicely.
Is this salad suitable for meal prep?
Absolutely! You can prepare this salad in bulk. Just keep the dressing separate until you’re ready to eat. This way, the salad stays crisp and fresh. Store the salad in meal prep containers for easy grab-and-go meals. You can enjoy a taste of summer any day!
This blog post covered the key ingredients to make a fresh corn salad. We explored how to prepare each component and mix them for a great flavor. I shared tips to enhance taste and keep ingredients fresh. You can adapt the salad with protein or various veggies. Remember, proper storage is essential for leftovers. Use this quick guide to create a vibrant, delicious dish. Enjoy your cooking adventure and let your creativity shine!


