Do you crave crunchy, homemade pickles with a sweet and tangy kick? Look no further! In this article, I’ll show you how to make easy Bread and Butter Pickles that are perfect for snacking or adding to meals. With simple ingredients and step-by-step instructions, you’ll impress family and friends with your pickling skills. Get ready to bring flavor to your table—let’s dive in!
Ingredients
Essential Ingredients for Easy Bread and Butter Pickles
To make the best bread and butter pickles, you’ll need some basic ingredients. Here’s what you should gather:
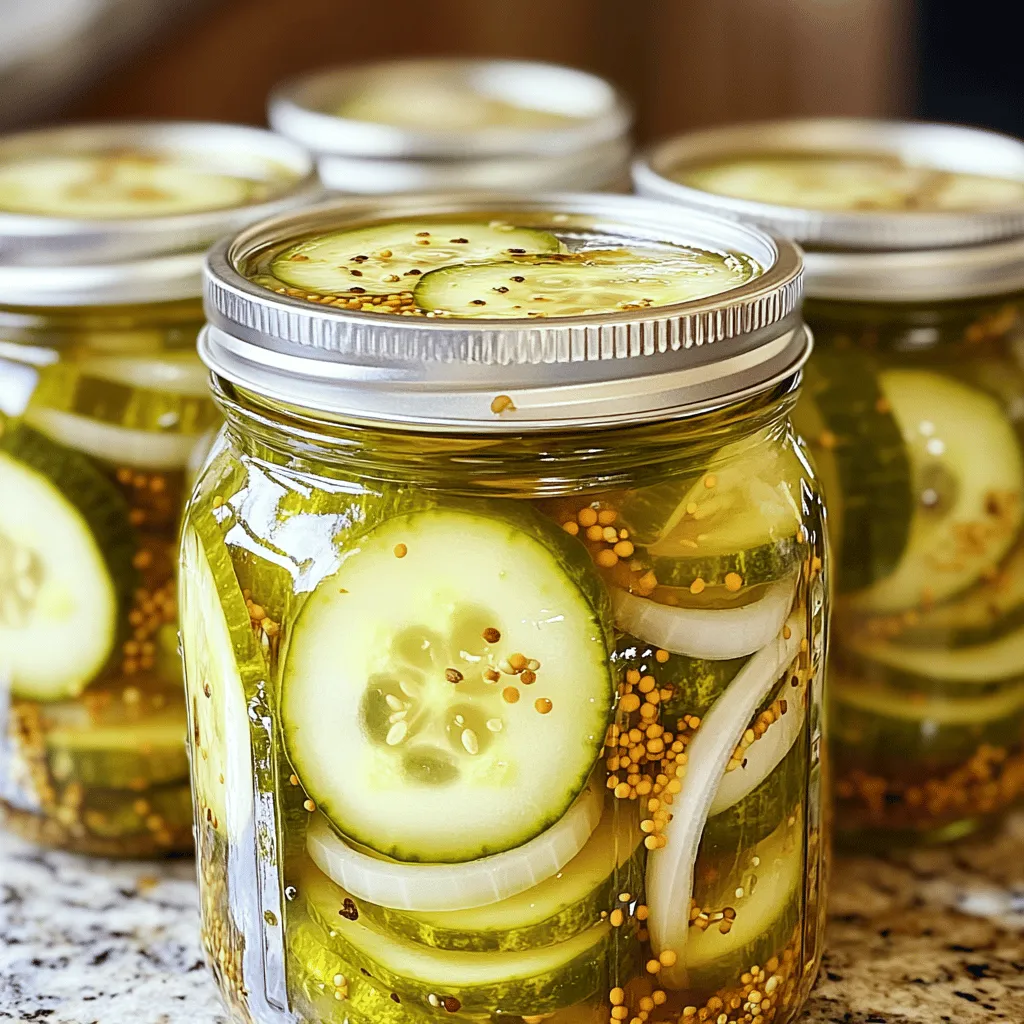
– 4 cups cucumbers, sliced into thin rounds
– 1 medium onion, thinly sliced
– 1 cup granulated sugar
– 1 cup apple cider vinegar
– 1 tablespoon mustard seeds
– 1 tablespoon celery seeds
– ½ teaspoon ground turmeric
– ½ teaspoon kosher salt
– ¼ teaspoon freshly ground black pepper
– 1 clove garlic, thinly sliced (optional)
These ingredients come together to create a sweet and tangy flavor that really shines.
Optional Ingredients for Customization
You can customize your pickles with a few optional ingredients. Here are some ideas:
– Fresh dill for a herbal note
– Red pepper flakes for heat
– Carrot slices for added crunch
– Bell pepper strips for color
Feel free to mix and match based on your taste. The fun part of making pickles is putting your spin on it!
Tips for Selecting Fresh Cucumbers
Choosing the right cucumbers is key to crunchy pickles. Look for these signs:
– Firmness: Pick cucumbers that feel firm and solid.
– Skin: Choose cucumbers with smooth, dark green skin.
– Size: Smaller cucumbers are often crunchier. Aim for 4 to 6 inches long.
Fresh cucumbers make the biggest difference in taste and texture. Trust me, you’ll want the best for your homemade pickles.
Step-by-Step Instructions
Preparing the Cucumbers and Onions
Start with fresh cucumbers. I prefer the small, firm ones for a great crunch. Wash them well and slice them into thin rounds. Aim for uniform thickness to ensure even pickling. Next, take a medium onion and slice it thinly. Combine the cucumbers and onions in a large mixing bowl. Gently toss them together. This step helps mix the flavors.
Making the Brine Mixture
Now, let’s make the brine. In a medium saucepan, add sugar, apple cider vinegar, mustard seeds, celery seeds, ground turmeric, kosher salt, and black pepper. If you love garlic, add a clove, thinly sliced. Place the saucepan on medium heat. Stir the mixture until the sugar dissolves completely. Once dissolved, allow it to boil gently. This will create a tasty brine that will soak into the veggies.
Combining and Storing the Pickles
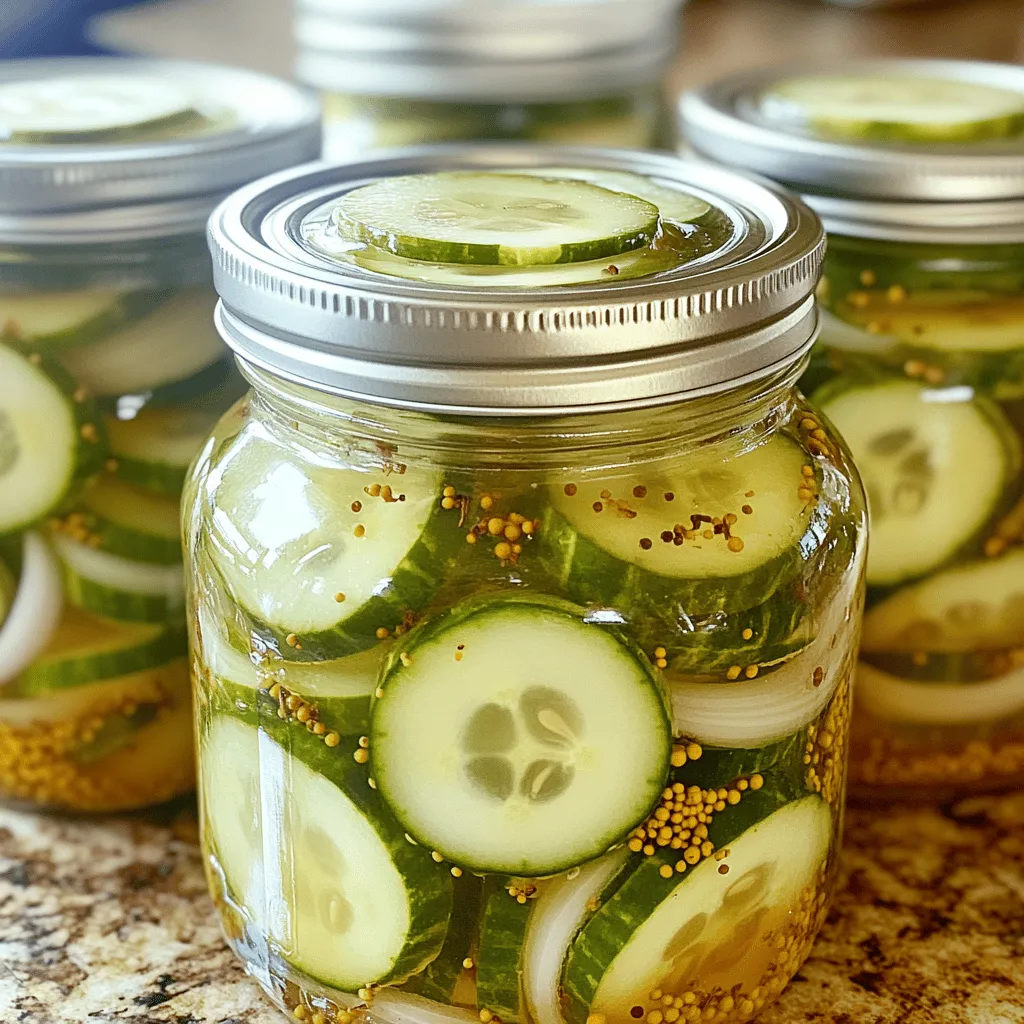
Carefully pour the hot brine over the cucumbers and onions. Make sure every piece is covered. This helps them absorb the flavor. Let the mixture sit at room temperature for about 30 minutes. Stir it occasionally to cool it evenly. Once cooled, transfer the cucumbers and onions into clean, sterilized jars. Fill them up with the brine. Seal the jars tightly with their lids.
Now, refrigerate the pickles for at least 24 hours. This waiting time allows the flavors to blend well. For the best taste, enjoy them after a few days. The longer they chill, the better they get!
Tips & Tricks
How to Ensure Crispiness in Pickles
To get crunchy pickles, start with fresh cucumbers. Look for firm ones with no soft spots. Slice them thinly, about a quarter-inch thick. The thinner the slice, the better they soak up flavor. You can soak the slices in ice water for about two hours before pickling. This can help keep them crisp. After soaking, drain them well before adding to your brine.
Best Practices for Safety and Sterilization
Safety is key when making pickles. Always use clean jars and lids. Wash them in hot, soapy water, then rinse well. For extra safety, you can sterilize jars by placing them in boiling water for ten minutes. Let them cool down before using. When filling jars, leave a little space at the top. This helps create a seal. Always store your pickles in the fridge and eat them within a few weeks.
Flavor Enhancement Tips and Tricks
Want to boost the taste of your pickles? Add spices! Mustard seeds and celery seeds are great choices. You can also try adding a pinch of red pepper flakes for heat. Fresh herbs like dill or thyme can add a nice touch too. For a twist, try adding sliced jalapeños or ginger to the brine. Just remember, the longer the pickles sit, the more intense the flavor!
Variations
Spicy Bread and Butter Pickles
To make your pickles spicy, add some heat. You can include sliced jalapeños or crushed red pepper flakes. Start with one tablespoon of flakes for a mild kick. Adjust to your taste. The spice will blend well with the sweetness, giving you a fantastic flavor.
Sweet and Tangy Alternative
If you want a different taste, use honey instead of sugar. Honey adds a nice depth to the brine. You can also add a splash of lemon juice for extra tang. This twist creates a unique balance that many love.
Creative Add-ins and Flavor Combinations
Don’t be afraid to experiment with flavors. Try adding fresh dill for a herby note. You can also use sliced ginger for a zesty touch. Whole peppercorns can add a nice crunch. Each add-in brings a new layer to the classic taste of bread and butter pickles. Explore these ideas to find your favorite mix.
Storage Info
Best Refrigeration Practices
Store your bread and butter pickles in the fridge. Use clean, sterilized jars to keep them fresh. Make sure the cucumbers are fully submerged in the brine. This helps them stay crunchy and flavorful. Tighten the jar lids well to keep air out. Always label your jars with the date. This way, you know when you made them.
Shelf Life of Homemade Pickles
Homemade bread and butter pickles last about two months in the fridge. After this time, their flavor and crunch may fade. For the best taste, eat them within this time. If you want to keep them longer, consider canning them. However, this requires special equipment and methods to ensure safety.
How to Tell if Pickles Have Spoiled
Check your pickles for signs of spoilage. If you see any mold, toss them out. A foul odor is also a sign they are bad. The brine should smell tangy and fresh. If the pickles feel mushy, they have spoiled too. Always trust your senses. When in doubt, it’s safer to throw them away. Remember, you want your pickles to be crunchy and tasty!
FAQs
How long do I need to wait before eating the pickles?
You should wait at least 24 hours before eating your pickles. This time allows the cucumbers to soak up the brine. If you wait longer, the flavors will grow even better. I like to let them sit for three days. The taste will be richer and more balanced.
Can I can these pickles for long-term storage?
Yes, you can can these pickles for long-term storage. Use proper canning jars and lids. Make sure to process them in a boiling water bath for 10-15 minutes. This will help seal the jars and keep your pickles safe. Just remember, once you open them, store them in the fridge.
What can I use these pickles for besides eating straight?
These pickles are great in many dishes! You can add them to sandwiches and burgers. They also work well in salads or on charcuterie boards. Try mixing them into potato salad for a nice crunch. You can even chop them up for a tangy relish. The options are endless!
Other common user questions related to Easy Bread and Butter Pickles
– Can I use other vegetables for pickling? Yes, you can experiment with onions, carrots, or even peppers.
– What if I don’t have apple cider vinegar? You can use white vinegar, but it may change the taste slightly.
– Can I reduce the sugar? Yes, but the pickles may taste less sweet and tangy.
– How do I know if my pickles are crunchy? They should have a firm bite and not feel mushy.
In this post, we explored making easy bread and butter pickles. We covered essential and optional ingredients, ensuring you find the best cucumbers. You learned step-by-step instructions for preparing and brining your pickles, plus tips for crispiness and safe storage. Don’t forget the fun variations to try!
Now, you have all you need to craft delicious pickles. Enjoy your tasty creations and share them with friends!


