Skip to content
About
Contact
Cookie Policy
Copyright Policy
Disclaimer
Search
Home
Dinner
Appetizer
Desserts
Drinks
About
Contact
Privacy Policy
Toggle Menu
Home
/
Drinks
- Page 7
Drinks
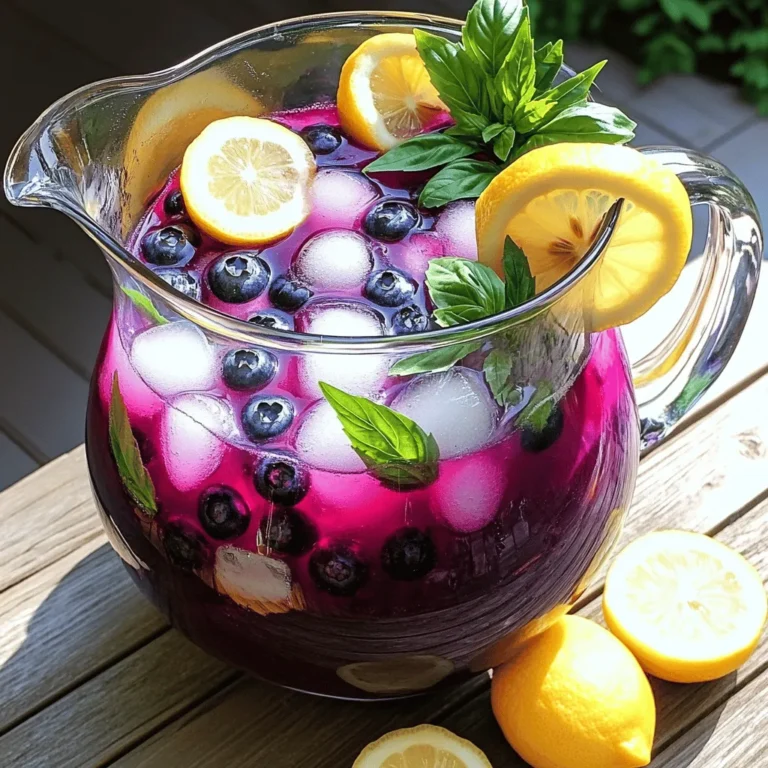
Blueberry Basil Lemonade Refreshing Summer Drink
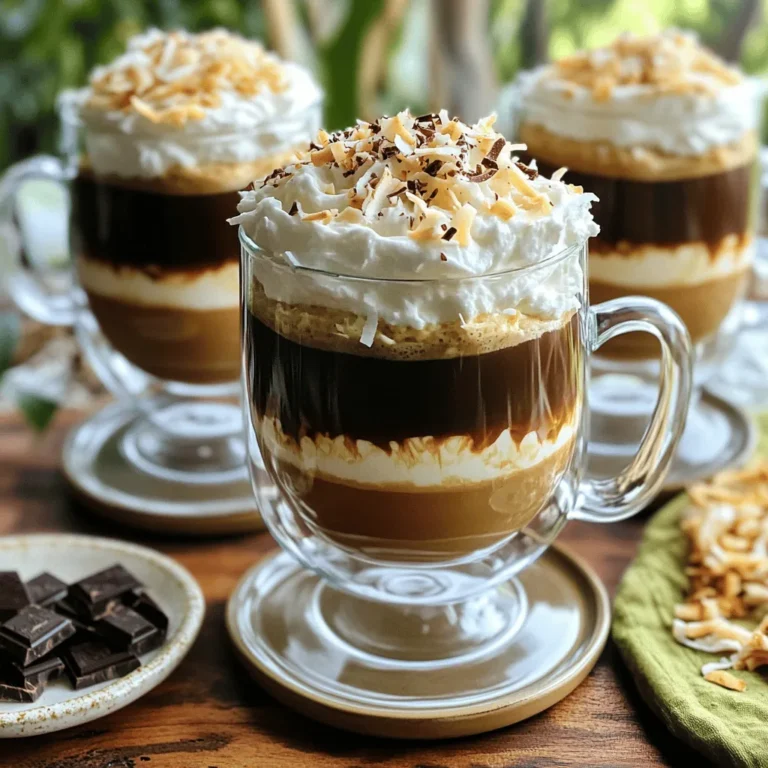
Coconut Mocha Daydream Dreamy Coffee Delight Recipe
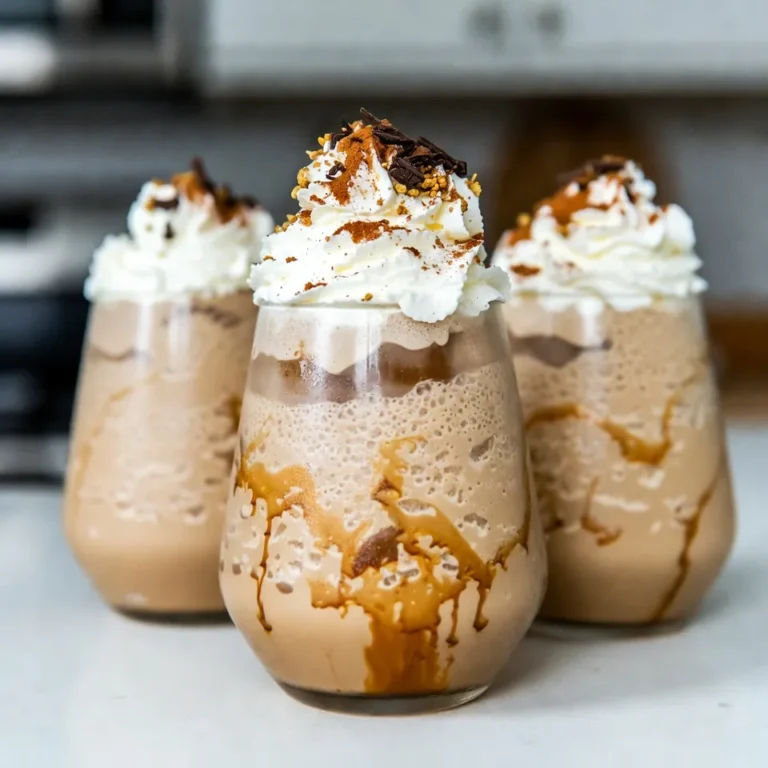
Spiked Eggnog Milkshakes Festive and Creamy Treat
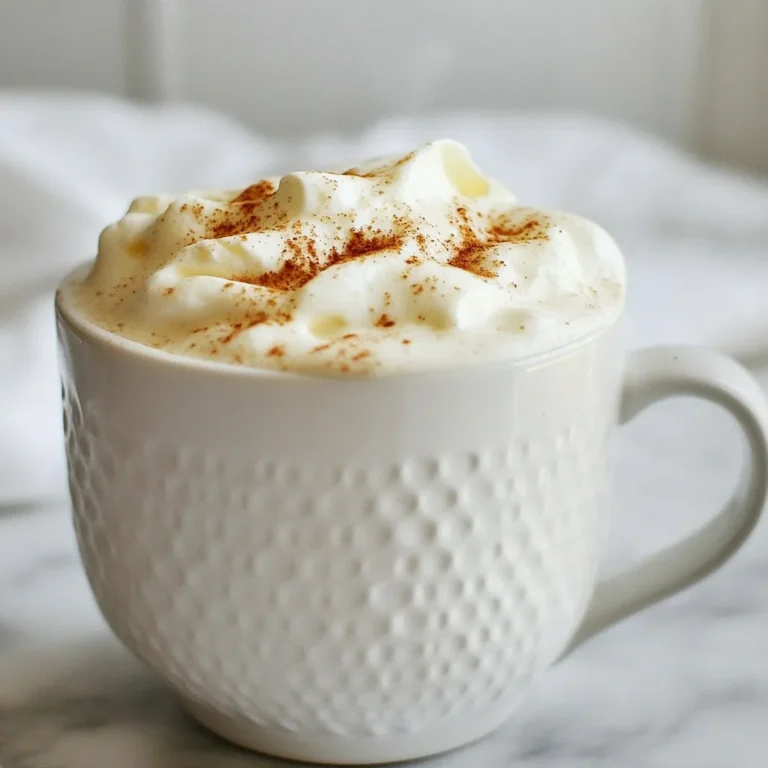
Chai Spiced Coconut Milk Latte Comforting Drink Recipe
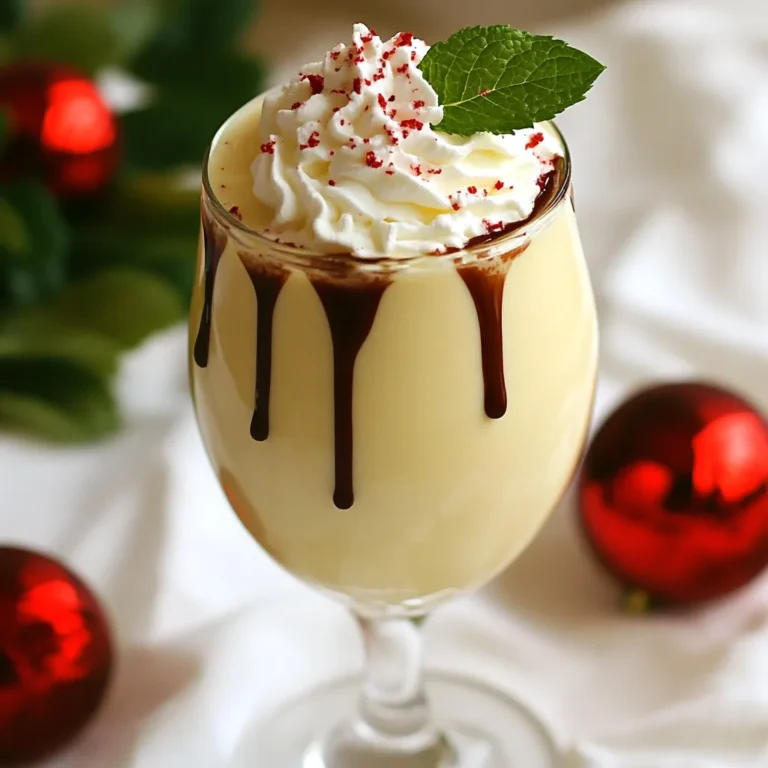
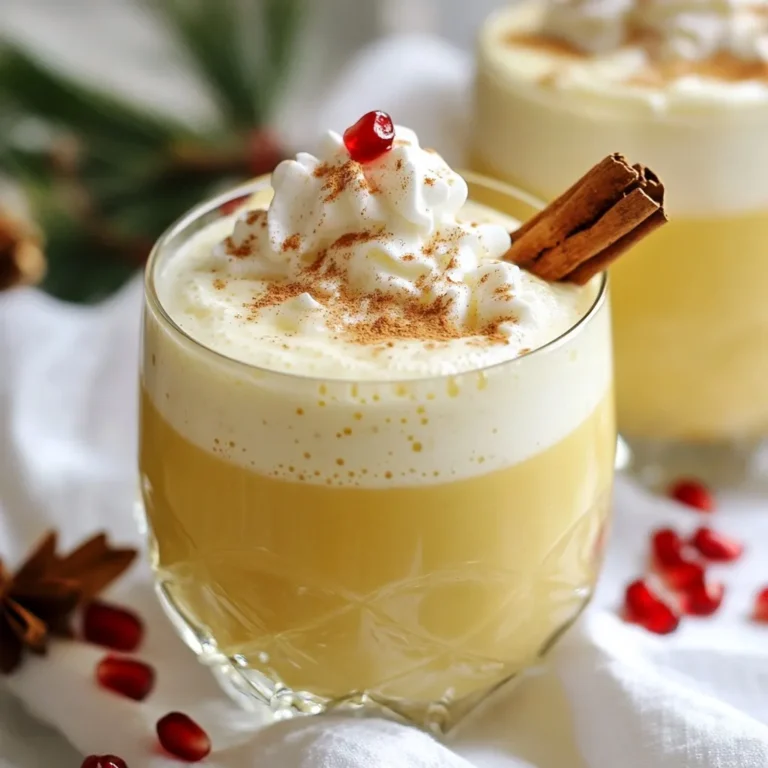
Creamy Peppermint Eggnog Martini Festive Holiday Drink
Iced Gingerbread Oat Chai Latte Tasty Festive Drink
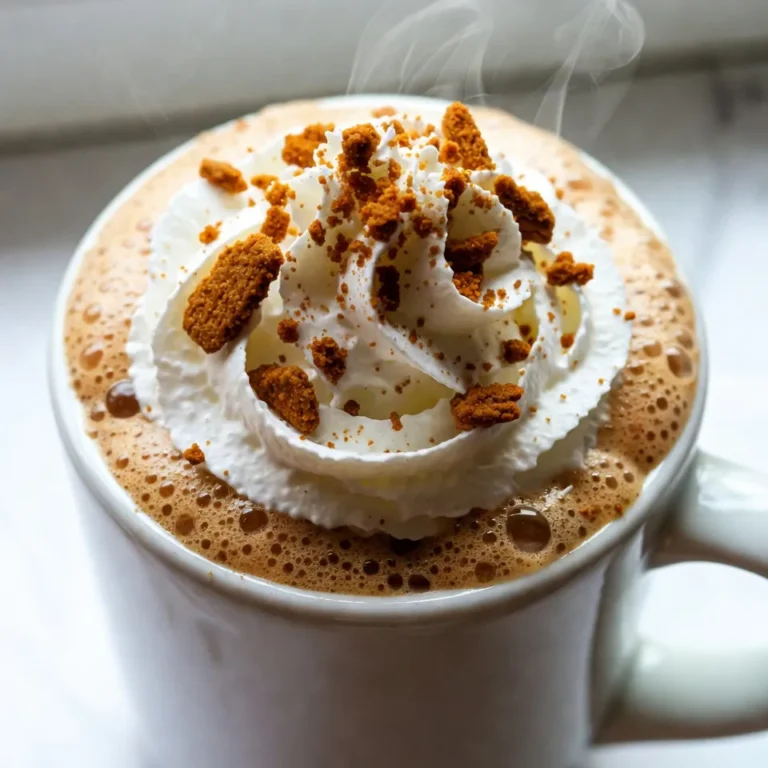
Hot Spiced Gingerbread Coffee Cozy and Flavorful Drink
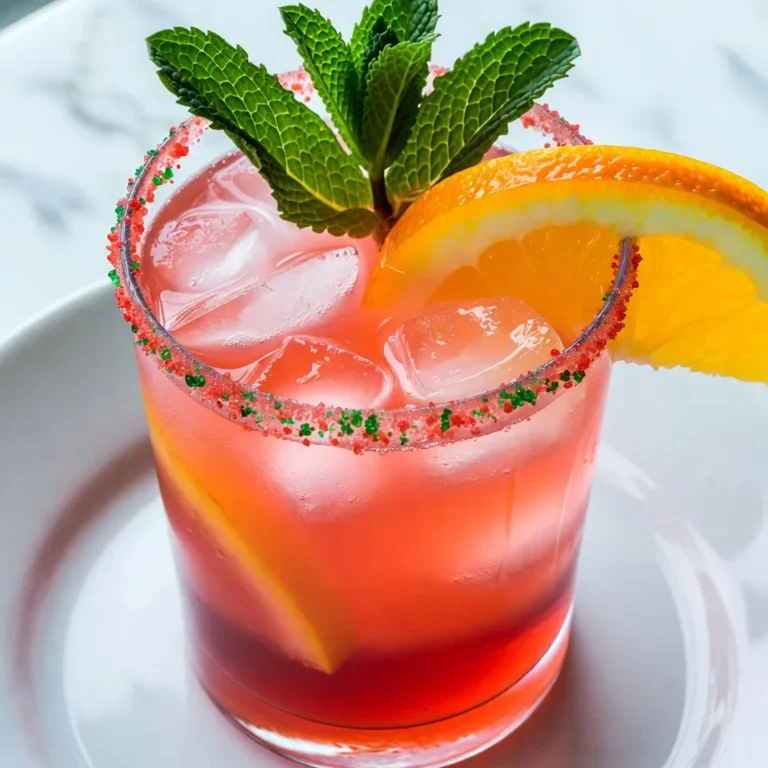
Drunken Rudolph Cocktail Festive Holiday Delight
Eggnog Champagne Fizz Festive and Fun Holiday Drink
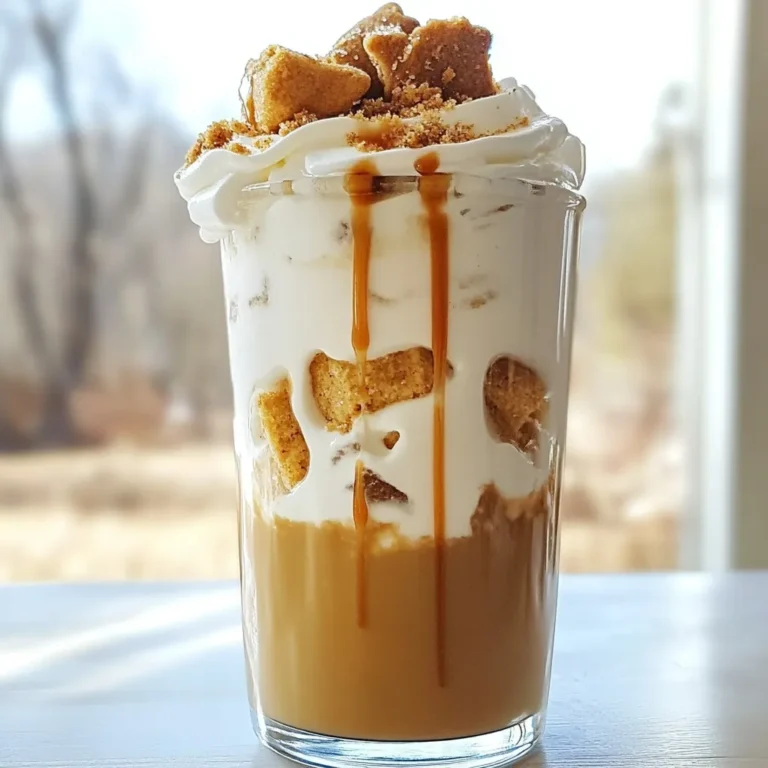
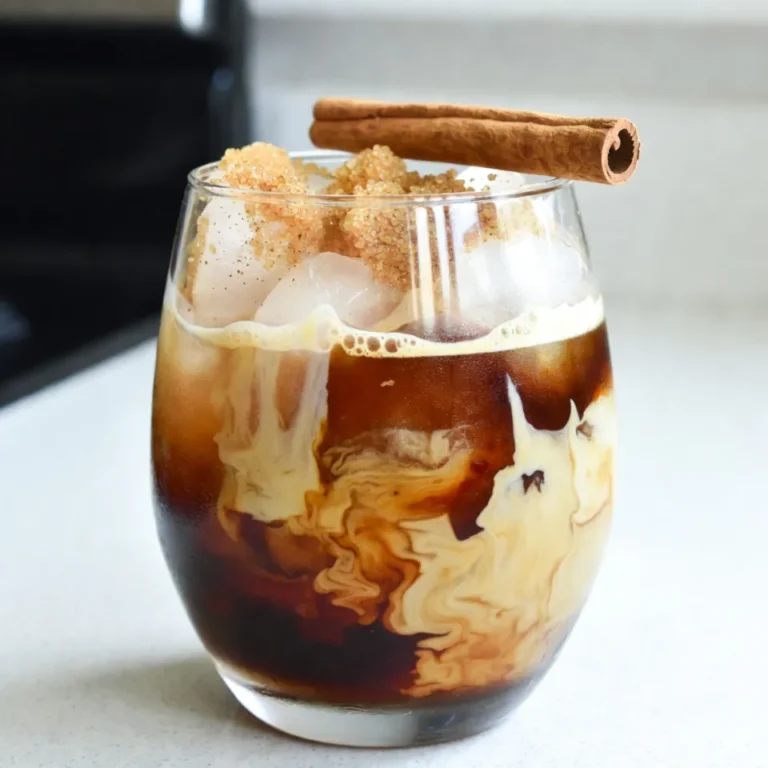
Brown Sugar Shaken Espresso Tasty and Easy Recipe
Page navigation
Previous Page
Previous
1
…
5
6
7
8
9
Next Page
Next
Home
Dinner
Appetizer
Desserts
Drinks
About
Contact
Privacy Policy
Toggle Menu Close
Search for:
Search