Skip to content
About
Contact
Cookie Policy
Copyright Policy
Disclaimer
Search
Home
Dinner
Appetizer
Desserts
Drinks
About
Contact
Privacy Policy
Toggle Menu
Home
/
Drinks
- Page 3
Drinks
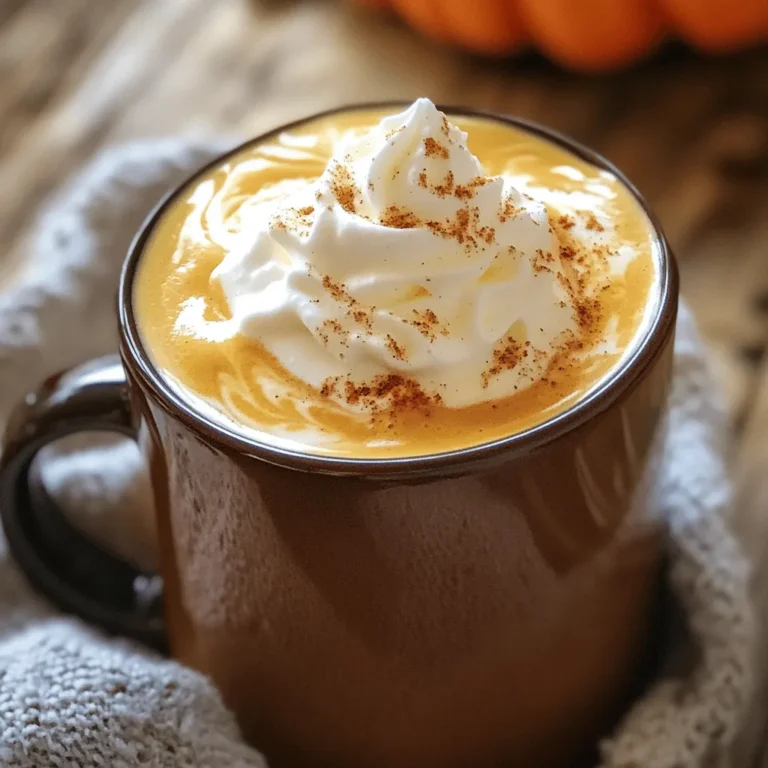
Better Than Starbucks Pumpkin Spice Latte Recipe
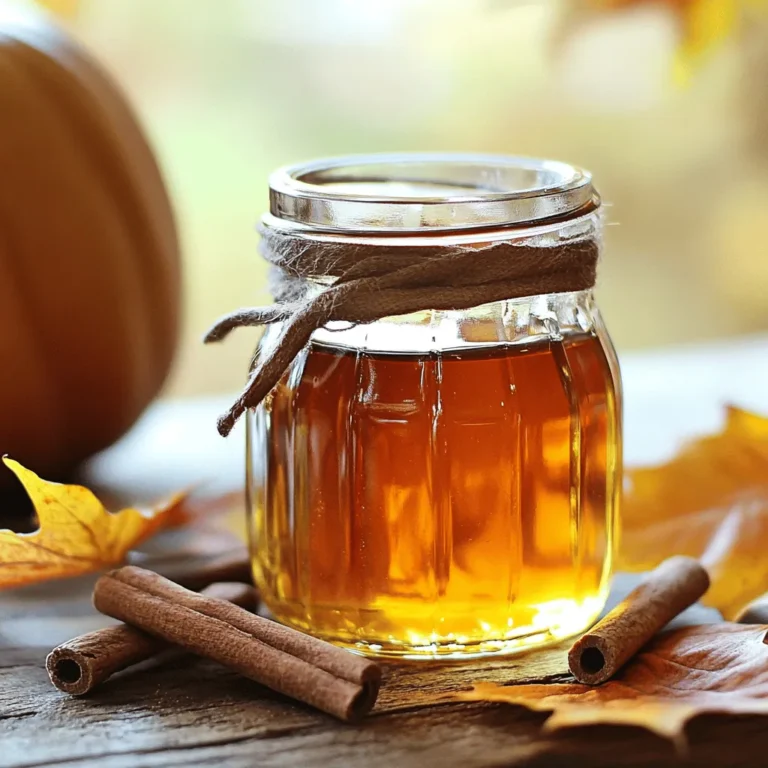
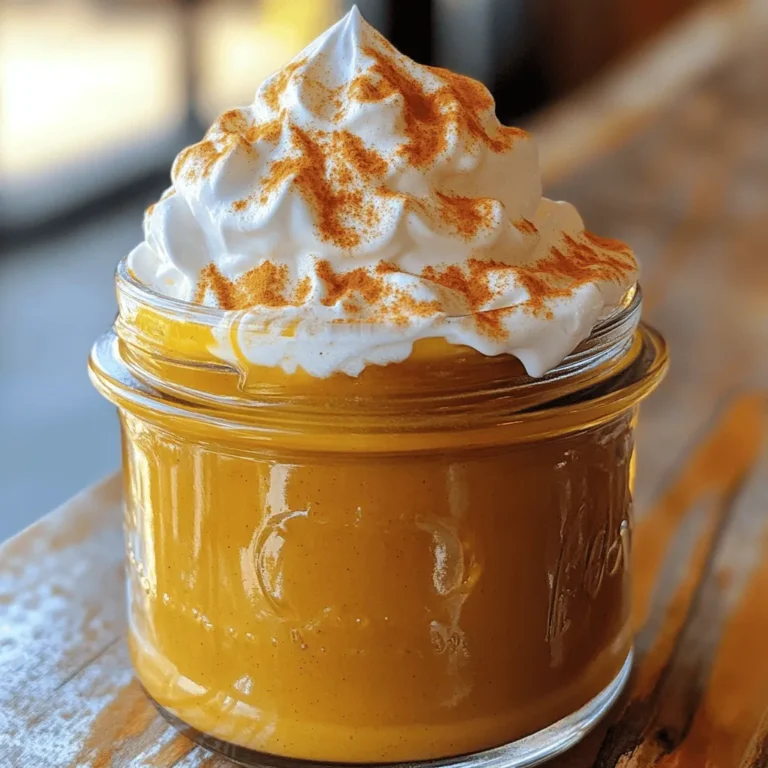
Homemade Pumpkin Spice Syrup Tasty Fall Flavor Boost
Vegan Pumpkin Spice Coffee Syrup Tasty Homemade Delight
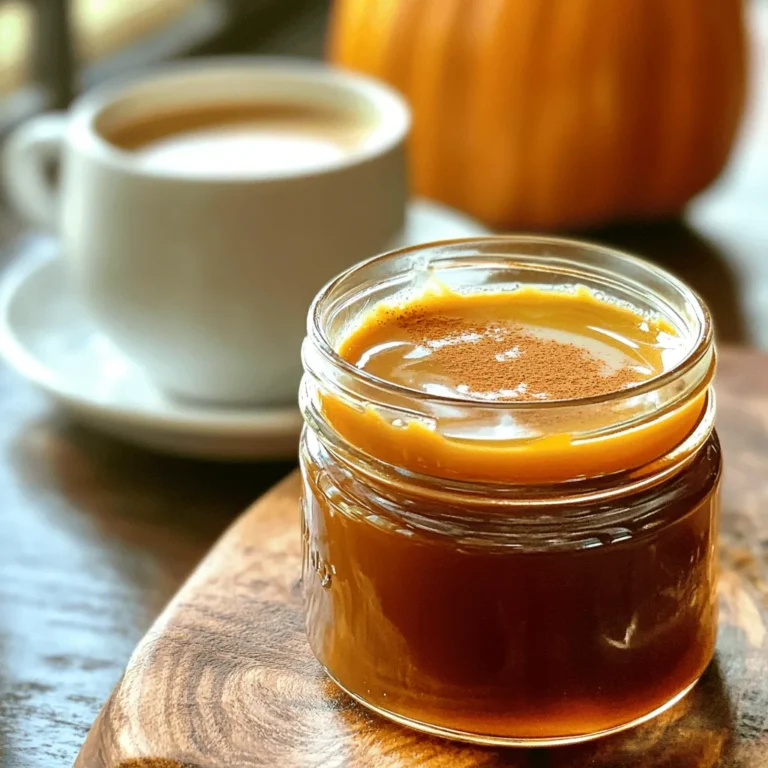
Pumpkin Spice Latte Sauce Flavorful Fall Treat
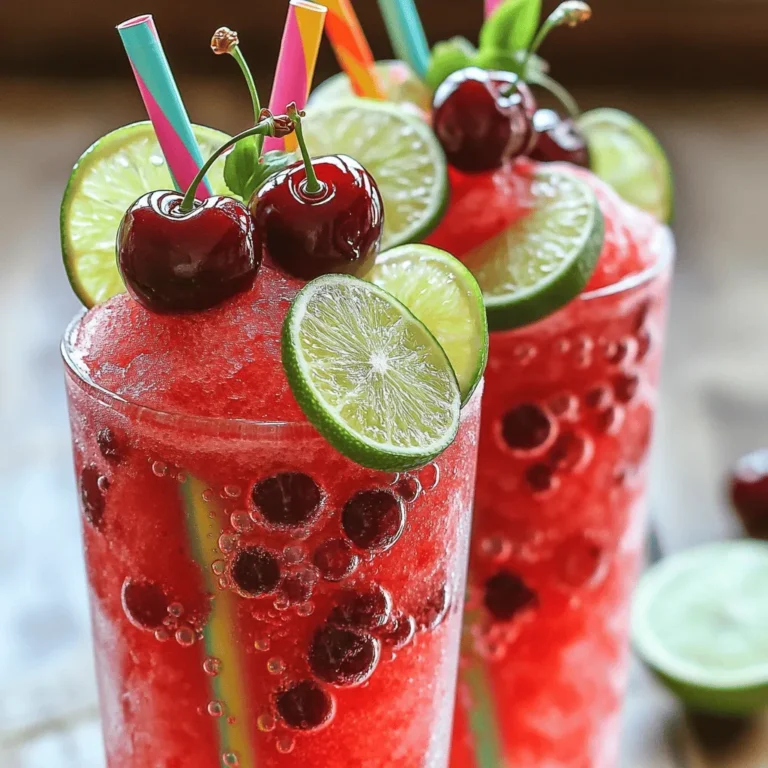
Cherry Lime Soda Slushies Refreshing Summer Treat
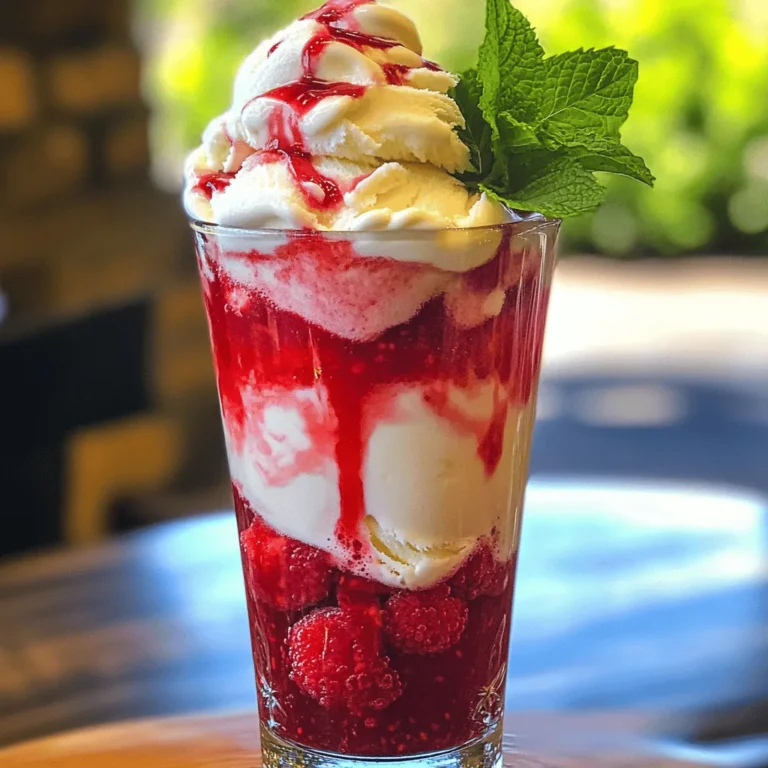
Sparkling Raspberry Cream Soda Float Refreshing Delight
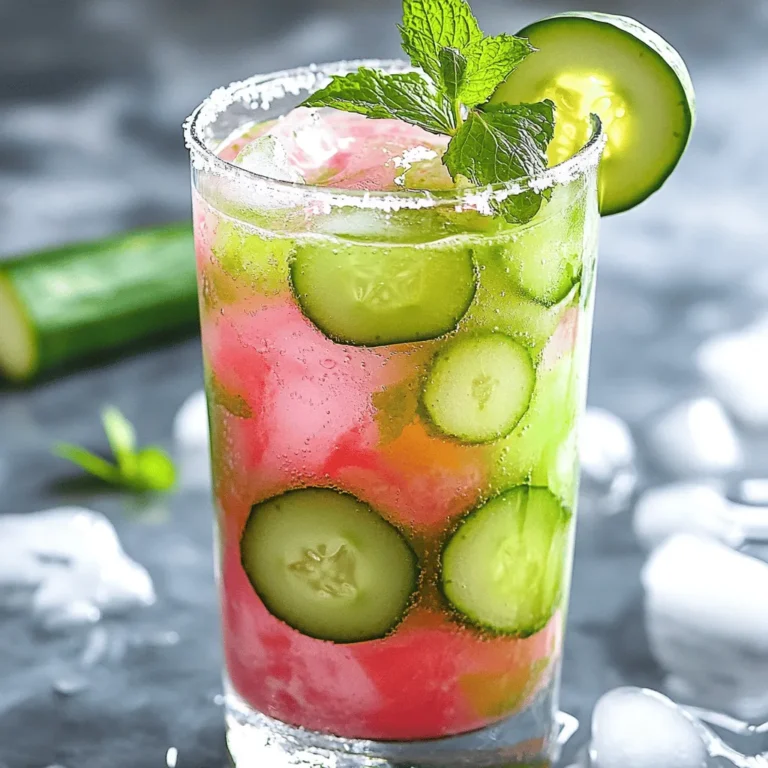
Cucumber Melon Detox Glow Juice Refreshing Delight
Strawberry Cheesecake Frappuccino Delightful Recipe
Hibiscus Mocktail Refreshing and Easy Recipe Guide
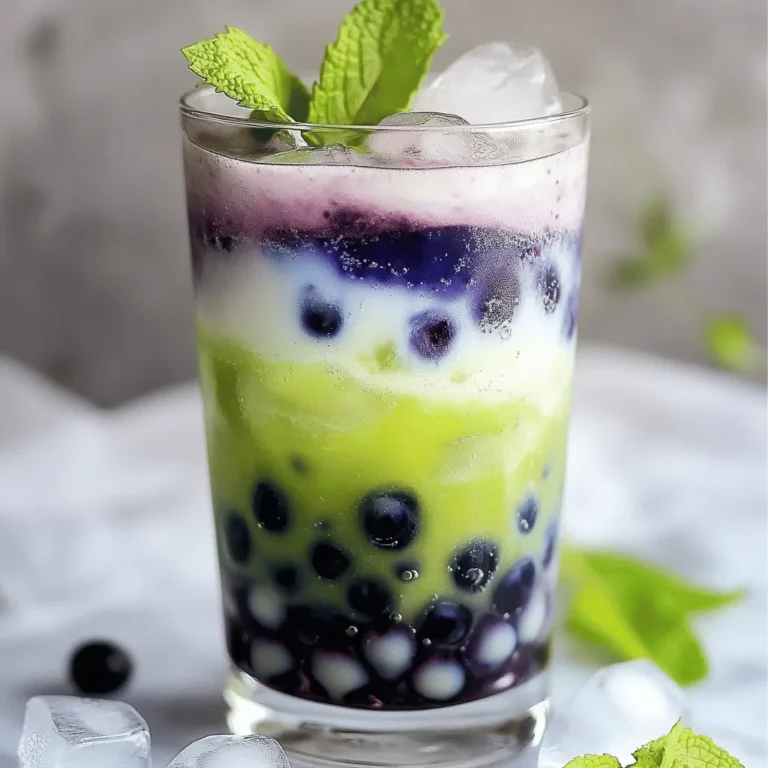
Blueberry Boba Drink Refreshing and Flavorful Treat
Page navigation
Previous Page
Previous
1
2
3
4
5
…
9
Next Page
Next
Home
Dinner
Appetizer
Desserts
Drinks
About
Contact
Privacy Policy
Toggle Menu Close
Search for:
Search

![- Dried hibiscus flowers - Water - Honey or agave syrup - Freshly squeezed lime juice - Sparkling water - Fresh mint leaves - Lime slices To create a hibiscus mocktail, you need simple ingredients. Dried hibiscus flowers are the star of the drink. They give a deep red color and a tart flavor. You will also need water to steep the flowers. Honey or agave syrup adds sweetness, so choose what you prefer. Freshly squeezed lime juice brings in a zesty kick. Sparkling water gives it a bubbly touch that makes it refreshing. For garnishing, fresh mint leaves and lime slices add a nice look and extra flavor. This recipe is easy to follow, and you can find the full recipe above for more details. Each ingredient plays a role in making the mocktail vibrant and tasty. Enjoy crafting this delightful drink! 1. Boiling the water Start by boiling 4 cups of water in a medium pot. This gets the process rolling and ensures you have hot water for steeping. 2. Steeping the hibiscus flowers Once the water boils, add 2 cups of dried hibiscus flowers. Reduce the heat to a simmer. Let these flowers steep for about 15 minutes. This step is key to getting that rich color and flavor. 3. Straining the mixture After steeping, remove the pot from the heat. Use a fine mesh sieve to strain the tea into a large bowl. Discard the used flowers. You’ll be left with a beautiful, deep red liquid. 4. Sweetening the tea While the tea is warm, add in 1/2 cup of honey or agave syrup. Stir until it fully dissolves. Adjust the sweetness to fit your taste. 5. Chilling the mocktail Let the sweetened tea cool to room temperature. For a refreshing drink, chill it in the fridge for at least 30 minutes. This helps all the flavors blend nicely. 6. Serving suggestions To serve, fill glasses with ice. Pour the chilled hibiscus mixture until it’s about 3/4 full. Add 1-2 cups of sparkling water on top. This adds a fun fizz! Garnish Finish off with fresh mint leaves and a slice of lime. This adds a pop of color and a zesty aroma. This recipe is a fun way to make a delicious drink at home. Check out the Full Recipe for a detailed guide. Enjoy your refreshing hibiscus mocktail! - Adjusting sweetness levels The key to a great hibiscus mocktail is balance. You can tweak the sweetness to your taste. Start with half a cup of honey or agave syrup. Taste it after mixing in the lime juice. If it’s too tart, add more sweetener slowly. Mix well after each addition. Remember, everyone has different preferences! - Choosing the right garnish Garnishes can elevate your drink. Fresh mint leaves add a pop of green and a lovely aroma. Lime slices make it bright and colorful. You can also use edible flowers for a stunning look. Choose what you love and what fits your vibe. A well-garnished mocktail looks as good as it tastes! - Serving suggestions for gatherings When serving at a party, think about presentation. Use tall glasses filled with ice for a cool effect. A pitcher of the hibiscus mix makes it easy to serve. Guests can add their own sparkling water to taste. This way, everyone can enjoy a refreshing drink made just for them. Plus, it’s a fun way to get people involved! You can find the full recipe to make this refreshing drink in the earlier sections. Enjoy crafting your perfect hibiscus mocktail! {{image_4}} You can make the hibiscus mocktail even more exciting. Adding different flavors can create fun twists. Here are some great ideas. - Adding fruit blends: You can mix in berries like strawberries or blueberries. Orange juice also works well and adds a sweet touch. Just blend these fruits into the hibiscus tea. They will give your drink a fruity punch and vibrant color. - Herbal modifications: Herbs can add a unique taste. Try including fresh basil or rosemary. Add a few leaves to your glass before pouring the drink. The aroma from the herbs will enhance your experience. - Using flavored sparkling water: Instead of plain sparkling water, try flavored versions. Options like lime, lemon, or berry-flavored sparkling water can boost the flavor. This small change can make your mocktail stand out. Feel free to mix and match these ideas. Experimenting can lead to your new favorite drink! For an easy start, check out the Full Recipe. Storing your hibiscus mocktail properly keeps it fresh and tasty. Here’s how to do it: - Refrigeration tips: First, pour any leftover mocktail into a clean glass jar. Seal it tightly with a lid. You can store it in the fridge for up to three days. The cold will help maintain its bright flavor. - Freezing options for hibiscus tea: If you want to keep it longer, freeze the hibiscus tea. Pour the tea into ice cube trays. Once frozen, transfer the cubes to a freezer bag. This way, you can add them to drinks later. - Best practices for maintaining freshness: Always keep your mocktail in an airtight container. Avoid direct sunlight and heat. This helps prevent spoilage and keeps the flavor bright. You can find the [Full Recipe] to make this delightful drink at any time! What is a hibiscus mocktail? A hibiscus mocktail is a non-alcoholic drink made with hibiscus tea. It is bright red and has a tart, fruity flavor. You can enjoy it on hot days or at parties. This drink is refreshing and easy to make. What are the health benefits of hibiscus? Hibiscus is rich in vitamins and minerals. It can help lower blood pressure and improve heart health. It also has antioxidants that support overall wellness. Plus, it is low in calories, making it a great choice for a healthy drink. Can I make hibiscus tea ahead of time? Yes, you can make hibiscus tea ahead of time. Prepare it, cool it, and store it in the fridge. It will stay fresh for about three to five days. This way, you can have it ready for your mocktail anytime. Is there a caffeine content in hibiscus? No, hibiscus is caffeine-free. This makes it a perfect choice for anyone avoiding caffeine. You can enjoy a hibiscus mocktail at any time of day without worrying about keeping you awake. For the complete recipe, check out the Full Recipe section. This blog post covered how to make a refreshing hibiscus mocktail. We discussed the key ingredients and steps to create it, from boiling water to sweetening and chilling. I shared tips to adjust sweetness and serve the perfect drink at gatherings. You also learned some fun variations to mix up flavors. Finally, I offered storage advice to keep leftovers fresh. Enjoy making this fun drink and experimenting with your own twists! It's a great way to stay cool and healthy.](https://fastmealmate.com/wp-content/uploads/2025/07/6370854b-b453-4acd-b9ab-c5472d702266-768x768.webp)