Skip to content
About
Contact
Cookie Policy
Copyright Policy
Disclaimer
Search
Home
Dinner
Appetizer
Desserts
Drinks
About
Contact
Privacy Policy
Toggle Menu
Home
/
Dinner
- Page 9
Dinner
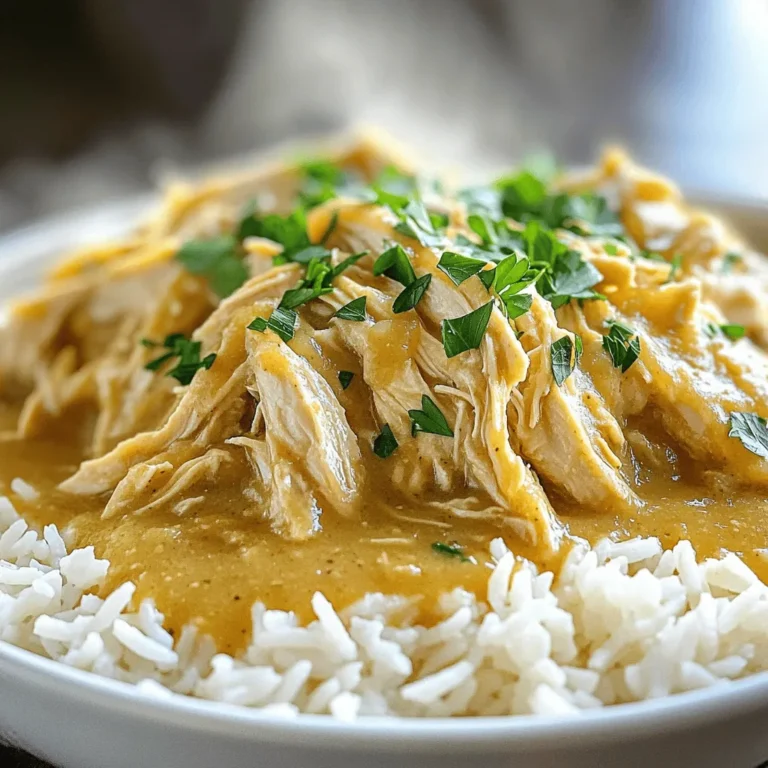
Best Crockpot Chicken and Gravy Flavorful Comfort Dish
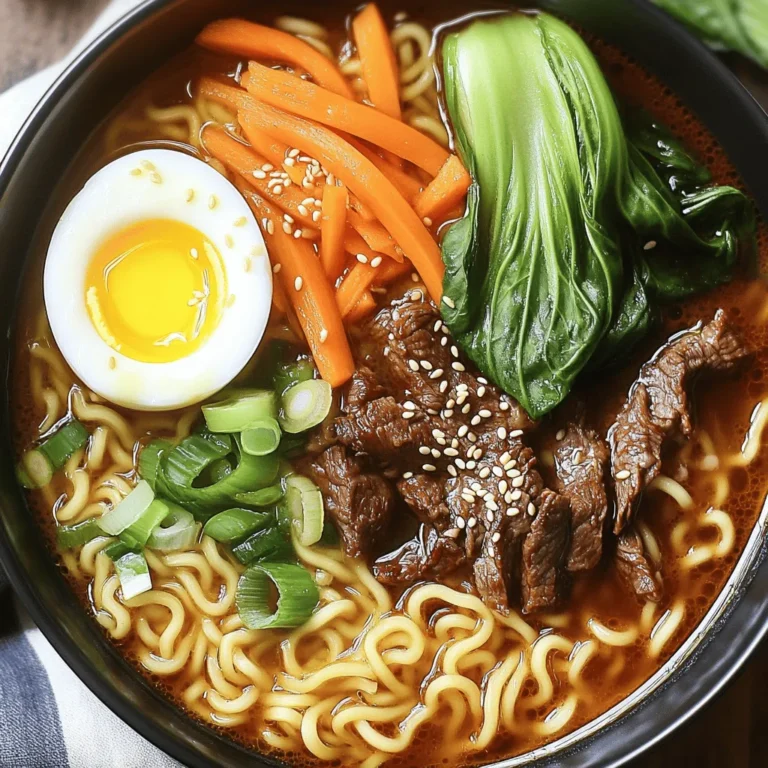
Spicy Korean Beef Ramen Flavorful and Satisfying Meal
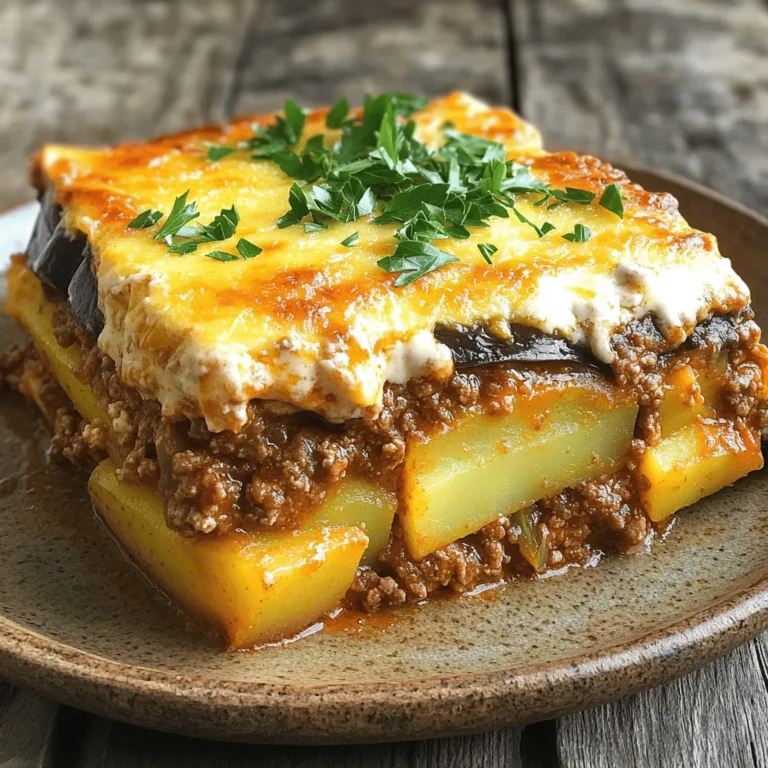
Ultimate Greek Moussaka Flavorful Comfort Food Dish
Creamy Herb Roasted Chicken with Mushrooms Delight
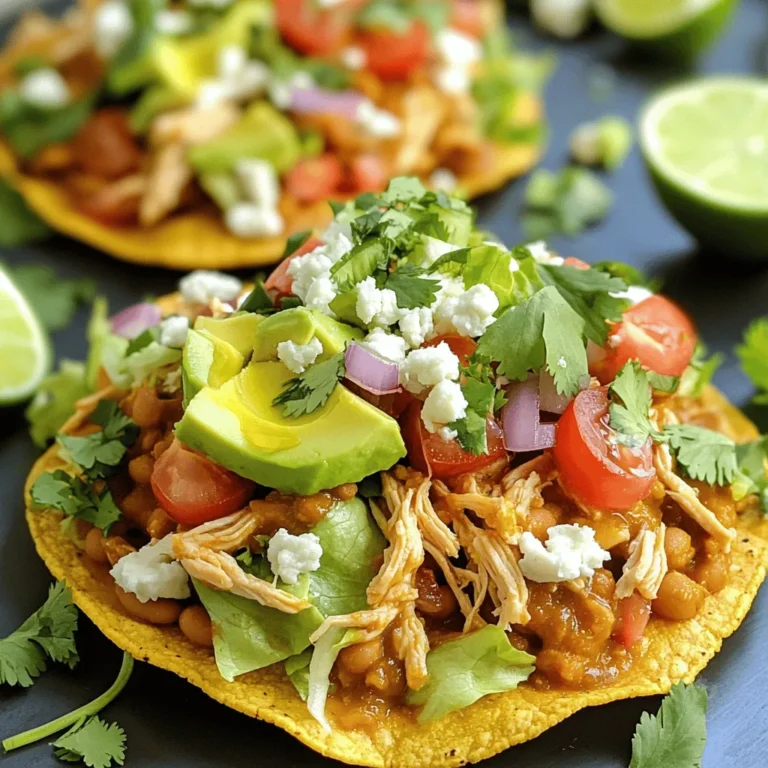
Rotisserie Chicken Tostadas Crispy and Flavorful Meal
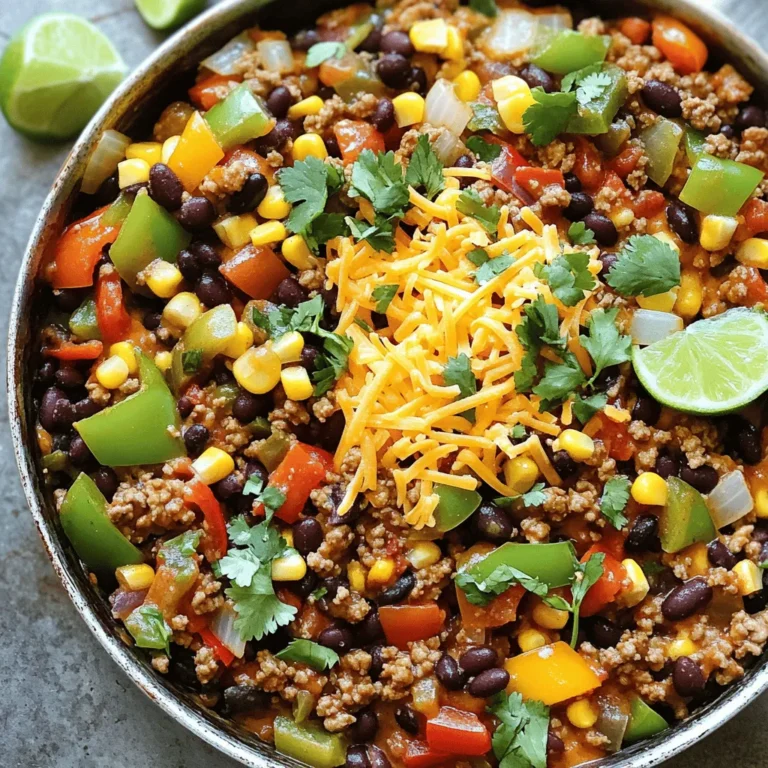
Ground Turkey Taco Skillet Delightful and Simple Meal
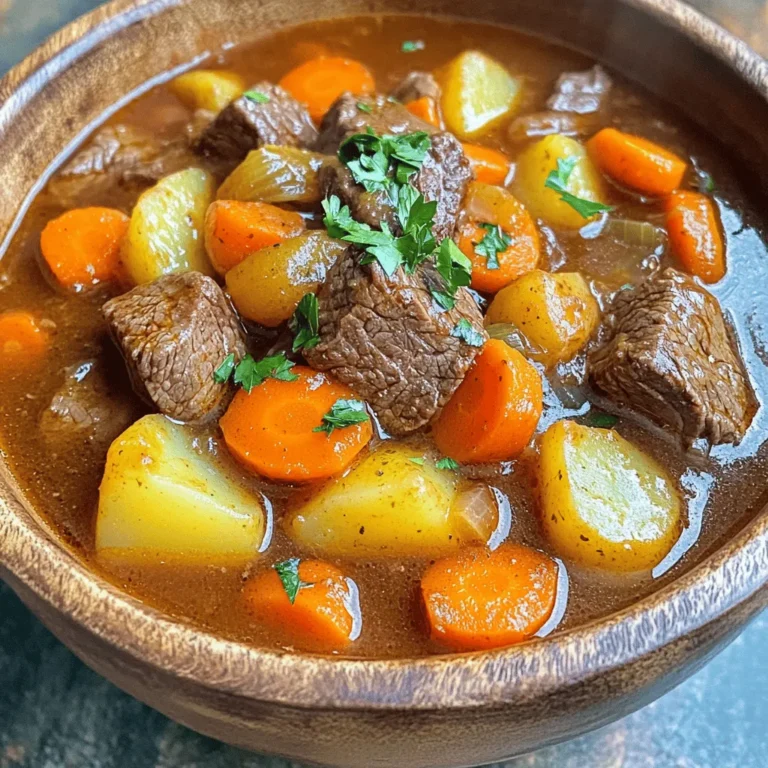
Instant Pot Beef Stew Flavorful and Easy Recipe
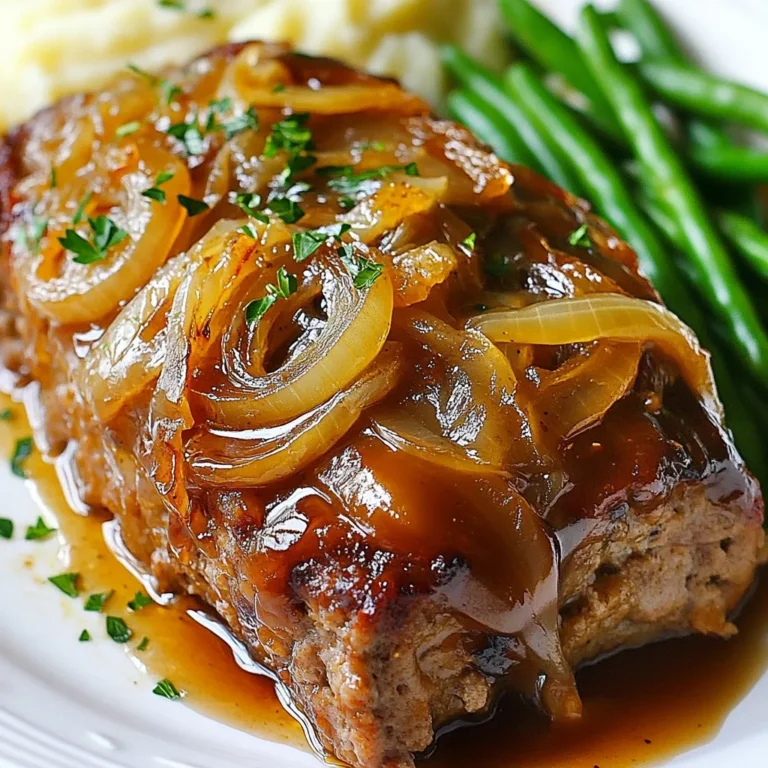
French Onion Meatloaf Hearty and Flavorful Recipe
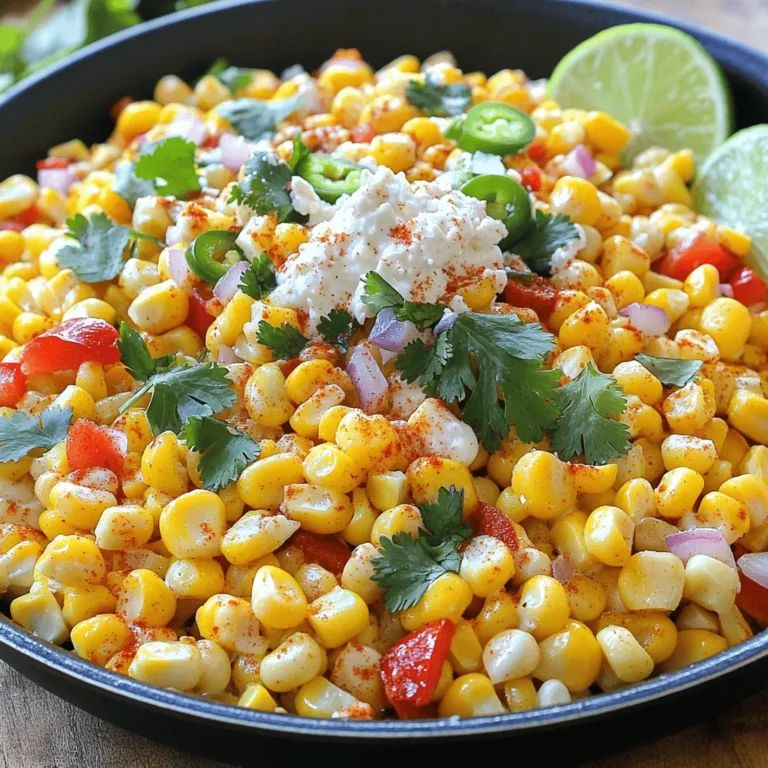
Savory One-Pan Mexican Street Corn Skillet Recipe
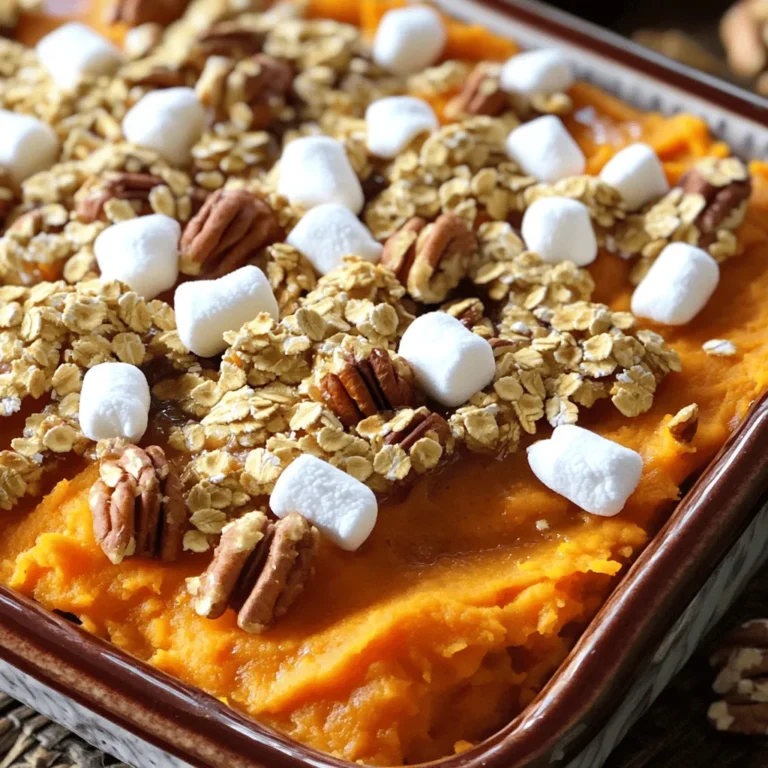
Southern Maple Sweet Potato Casserole Delight Recipe
Page navigation
Previous Page
Previous
1
…
7
8
9
10
11
…
36
Next Page
Next
Home
Dinner
Appetizer
Desserts
Drinks
About
Contact
Privacy Policy
Toggle Menu Close
Search for:
Search