Skip to content
About
Contact
Cookie Policy
Copyright Policy
Disclaimer
Search
Home
Dinner
Appetizer
Desserts
Drinks
About
Contact
Privacy Policy
Toggle Menu
Home
/
Dinner
- Page 8
Dinner
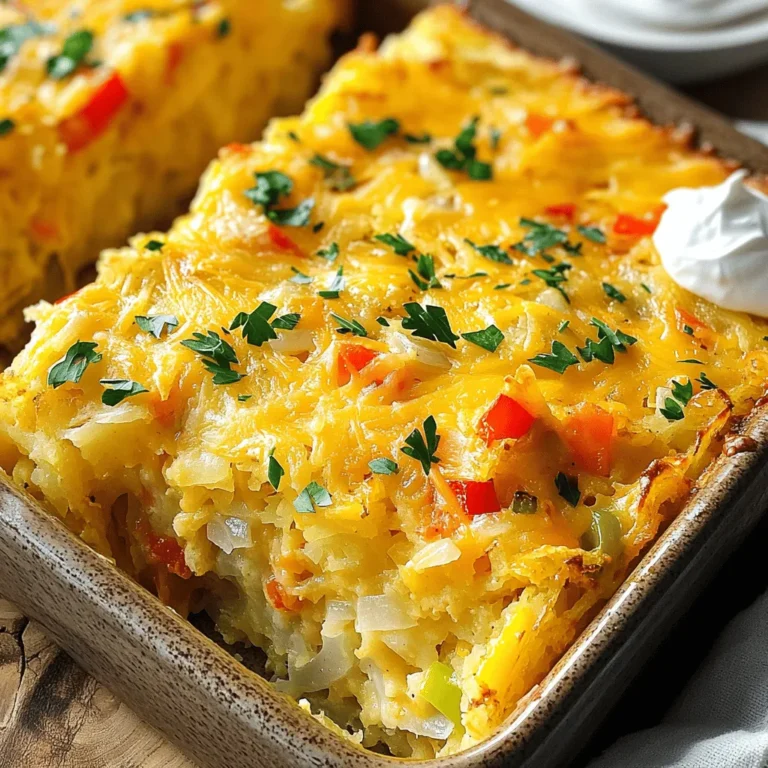
Hash Brown Breakfast Casserole Tasty Morning Meal
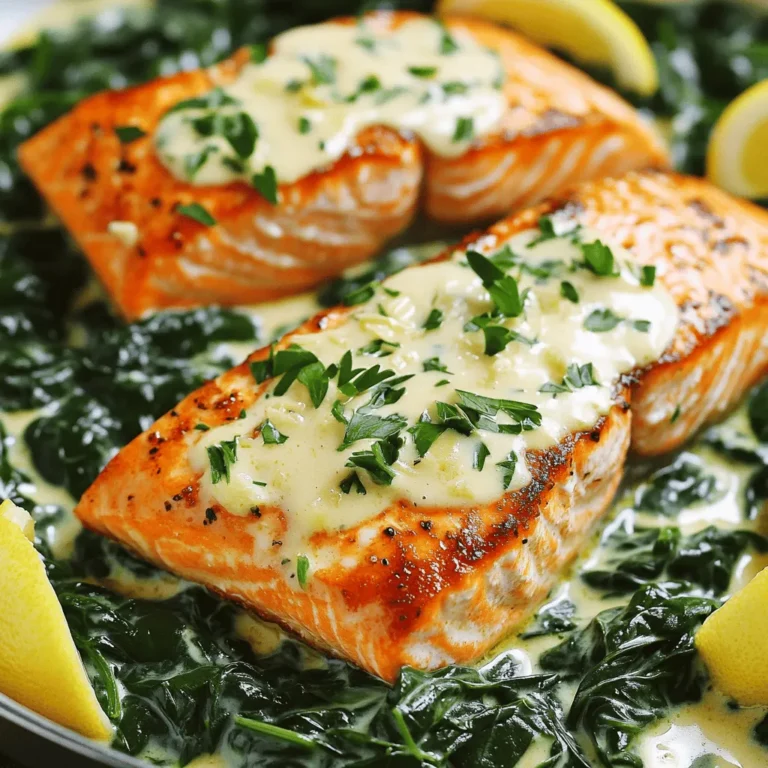
Easy Creamy Salmon Florentine Irresistible Weeknight Meal
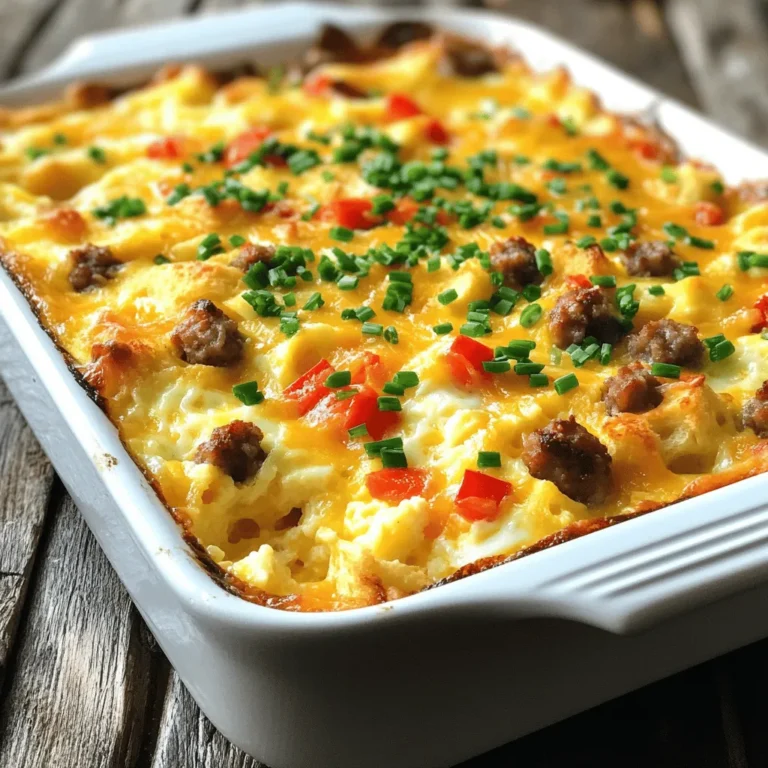
Ultimate Breakfast Casserole Easy and Tasty Recipe
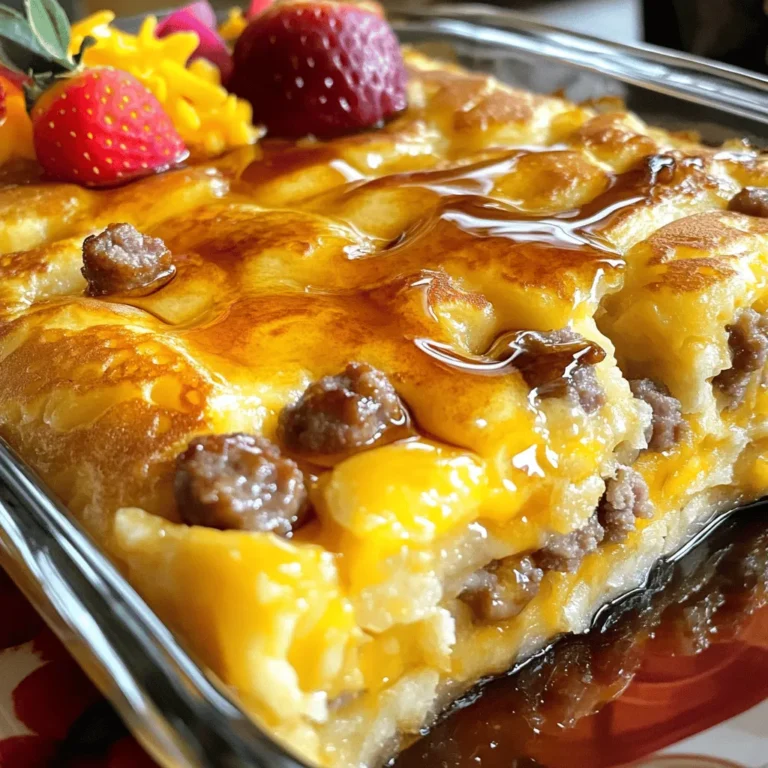
Sausage Pancake Breakfast Casserole Easy Family Meal
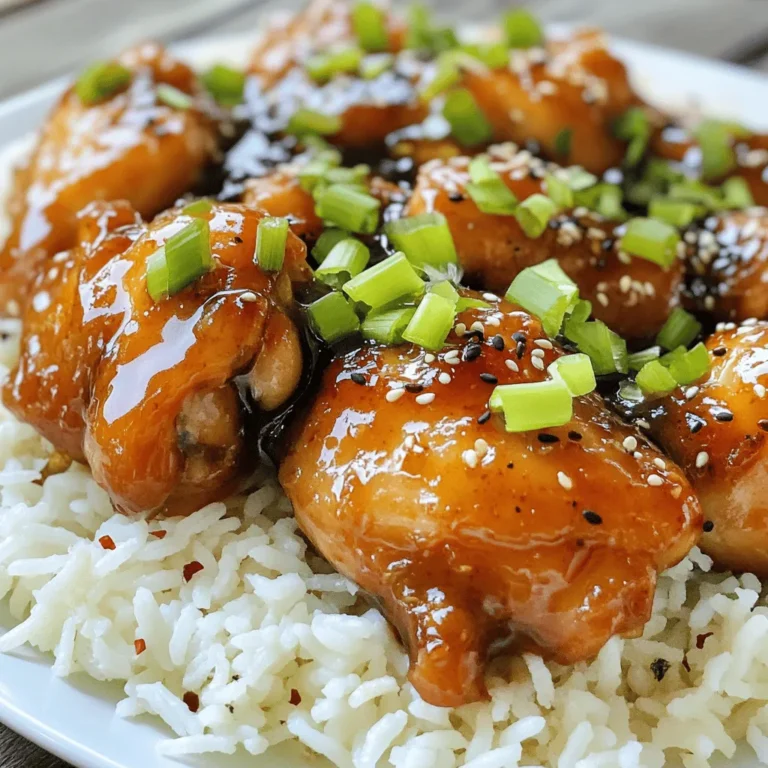
Bourbon Chicken Copycat Easy and Flavorful Recipe
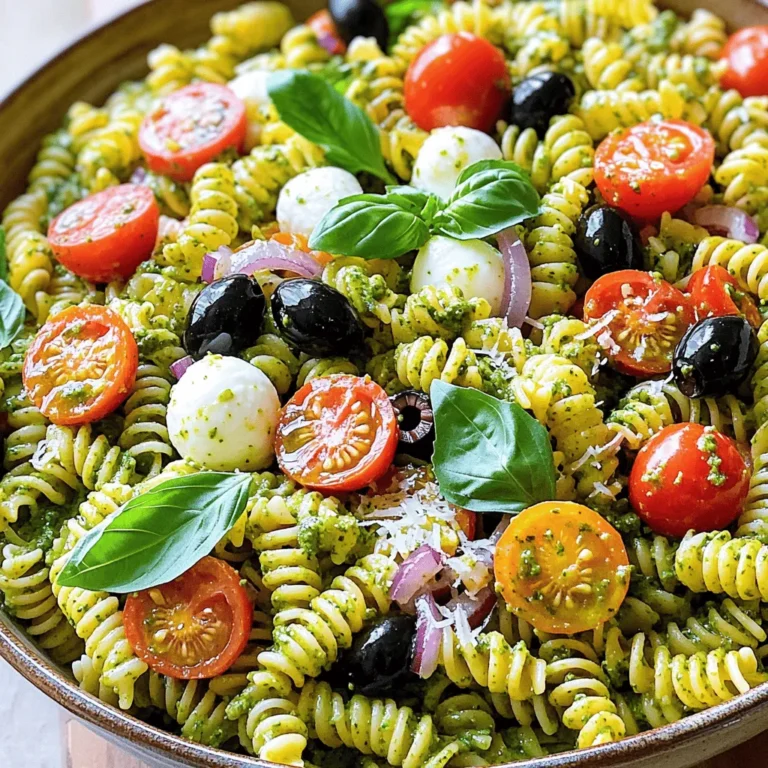
Pesto Pasta Salad Fresh and Flavorful Side Dish
Garlic Butter Steak Bites & Potatoes Simple Delight
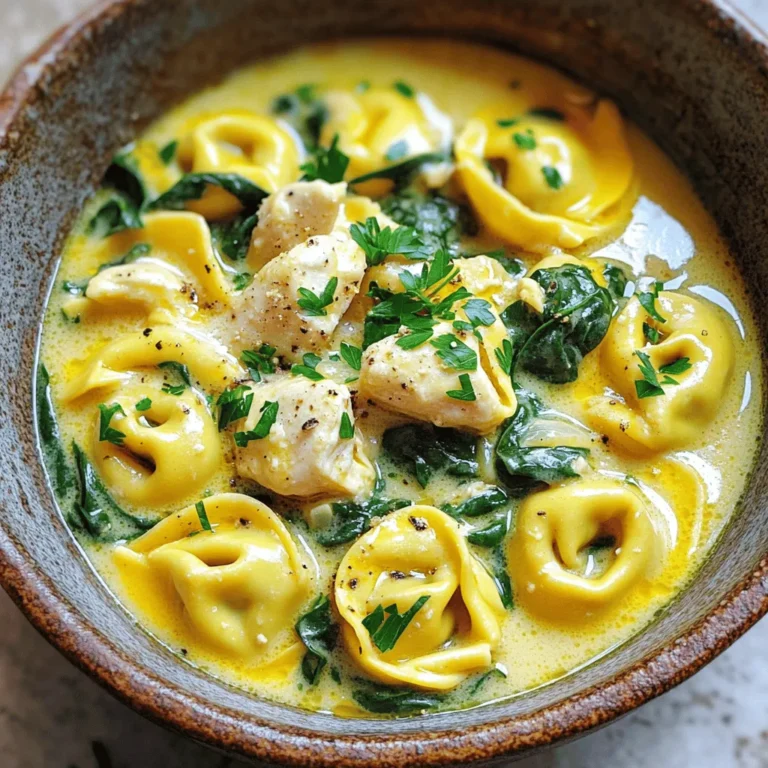
Creamy Garlic Parmesan Chicken Tortellini Delight
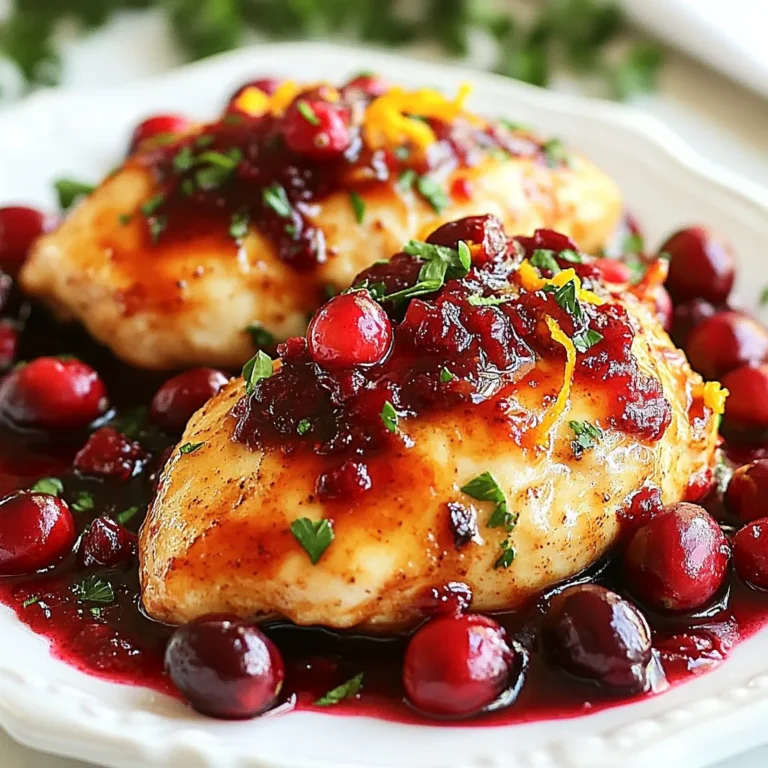
Cranberry Orange Chicken Flavorful Dinner Delight
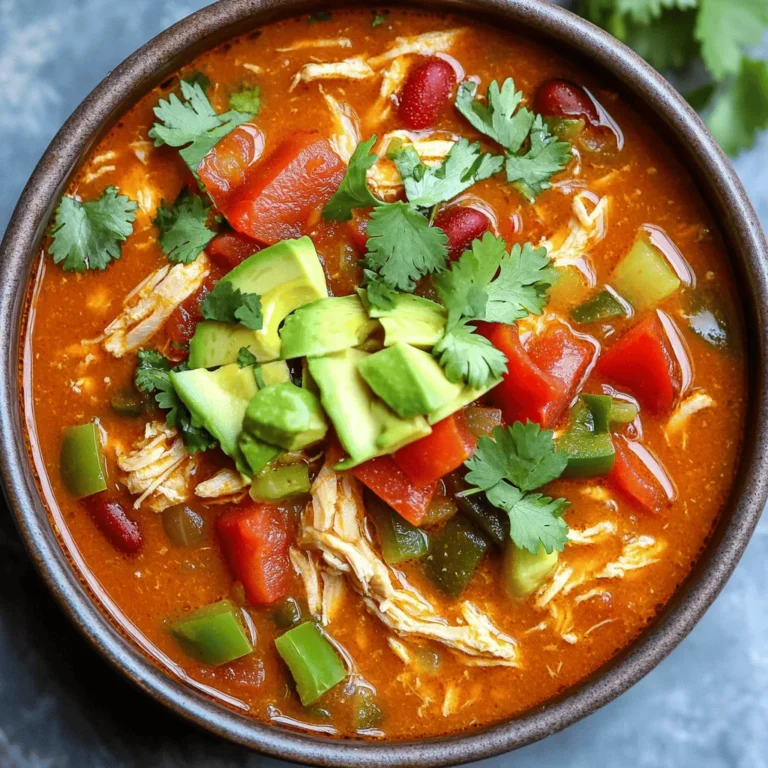
Whole30 Slow Cooker Chicken Chili Flavorful Delight
Page navigation
Previous Page
Previous
1
…
6
7
8
9
10
…
36
Next Page
Next
Home
Dinner
Appetizer
Desserts
Drinks
About
Contact
Privacy Policy
Toggle Menu Close
Search for:
Search