Skip to content
About
Contact
Cookie Policy
Copyright Policy
Disclaimer
Search
Home
Dinner
Appetizer
Desserts
Drinks
About
Contact
Privacy Policy
Toggle Menu
Home
/
Dinner
- Page 7
Dinner
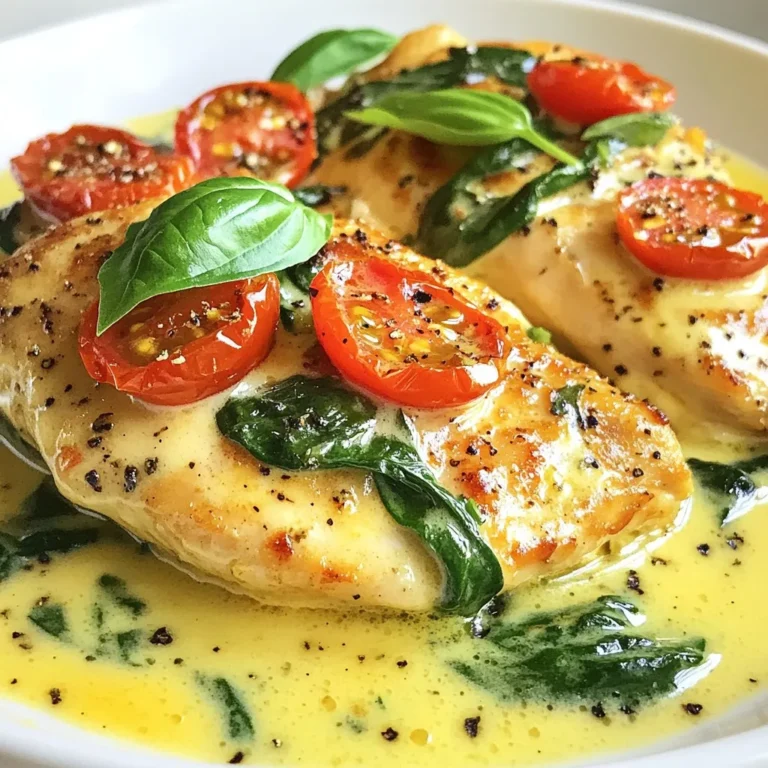
Creamy Garlic Tuscan Chicken Flavorful Dinner Recipe
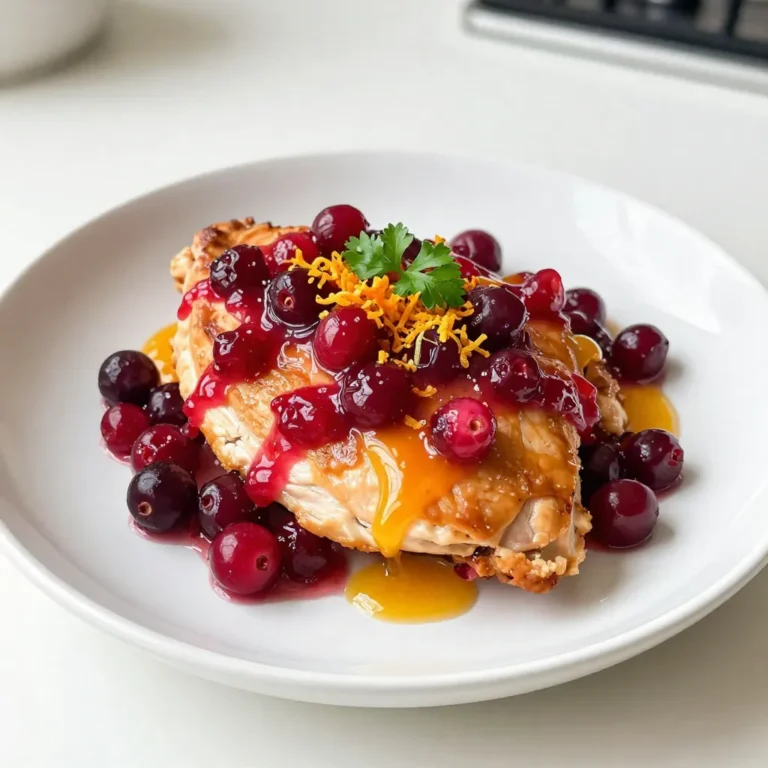
Cranberry Orange Chicken Flavorful and Simple Recipe
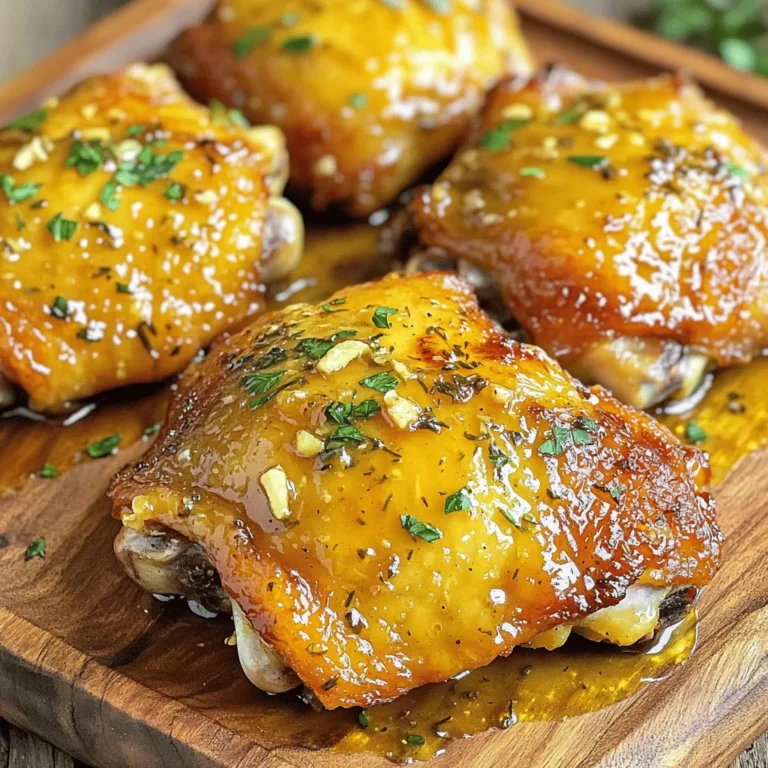
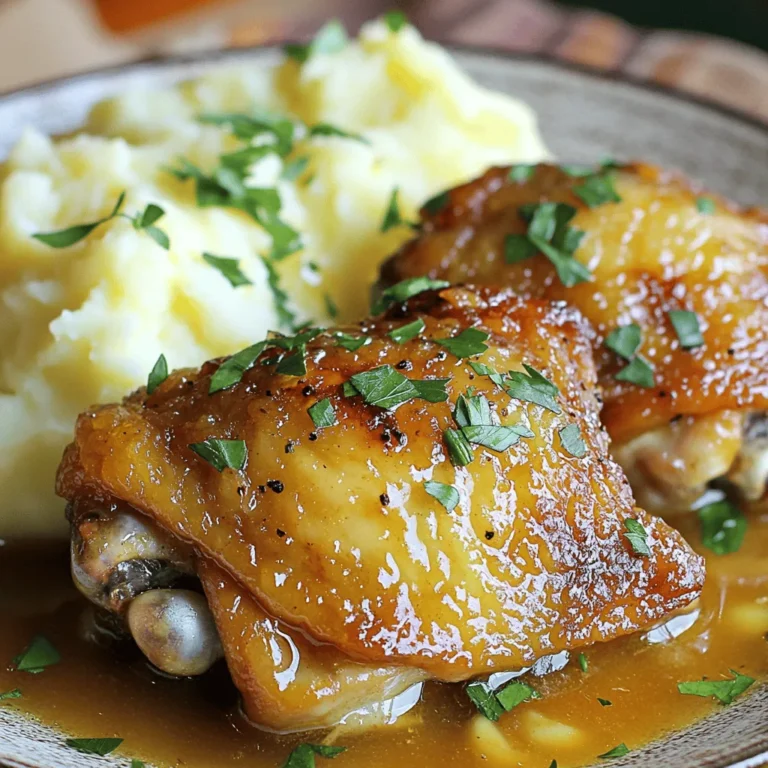
Savory Slow Cooker Maple Dijon Chicken Thighs Recipe
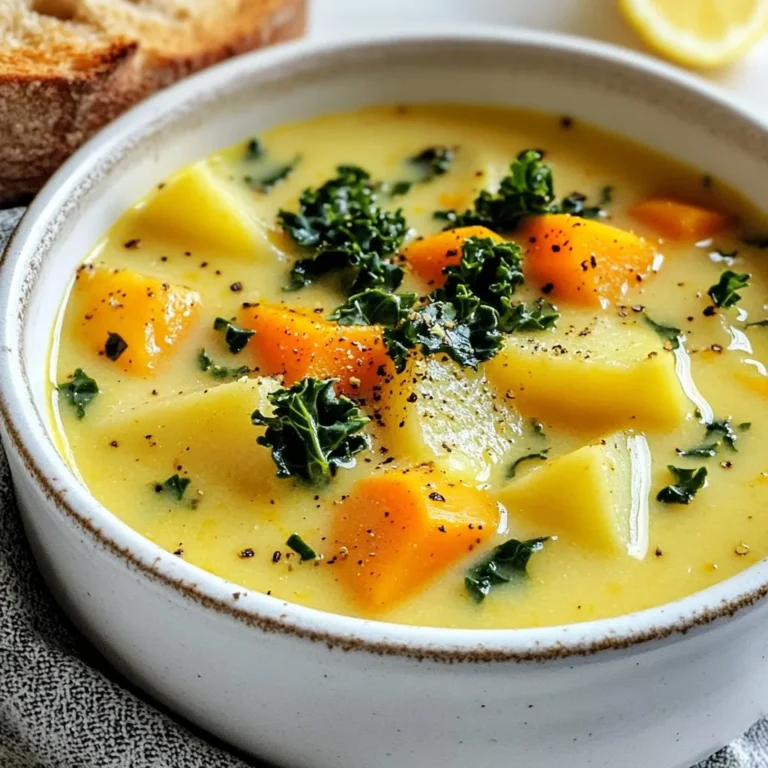
Easy Fall Vegetable Soup Cozy and Comforting Recipe
Apple Cider Braised Chicken Thighs with Garlic Herbs Delight
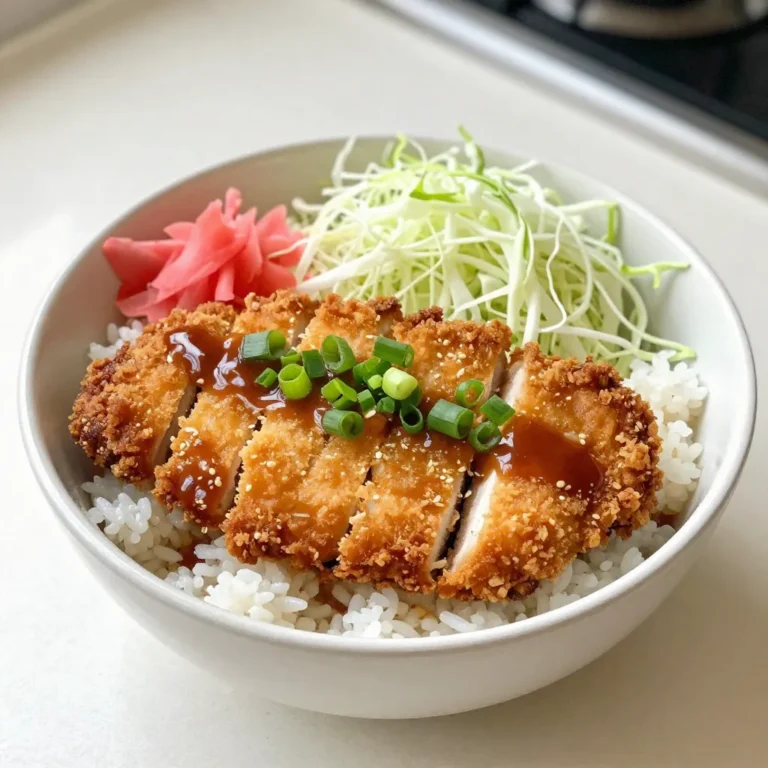
Crispy Chicken Katsu Bowls Easy and Flavorful Recipe
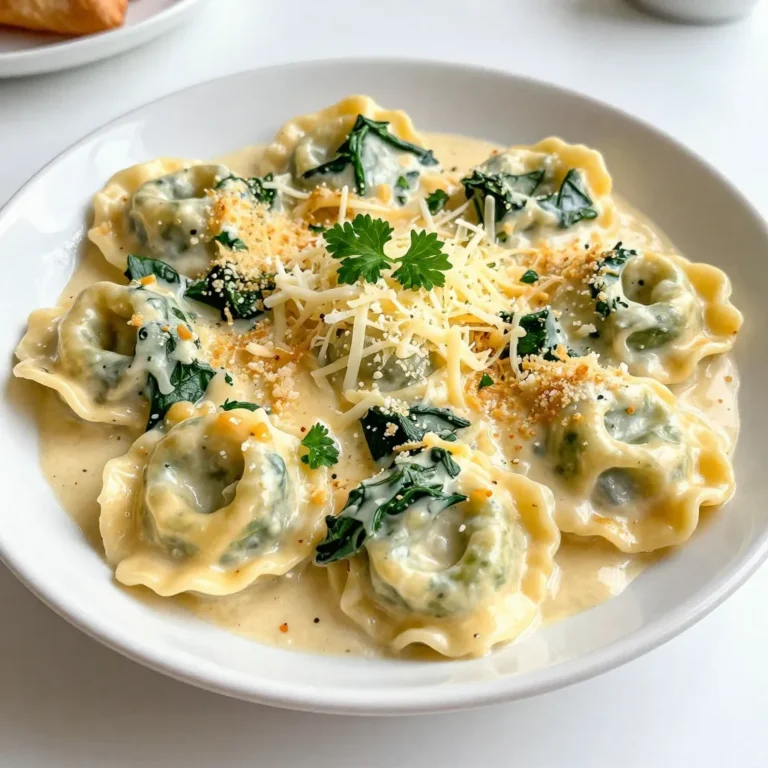
Cheesy Alfredo Tortellini Bake Quick and Tasty Recipe
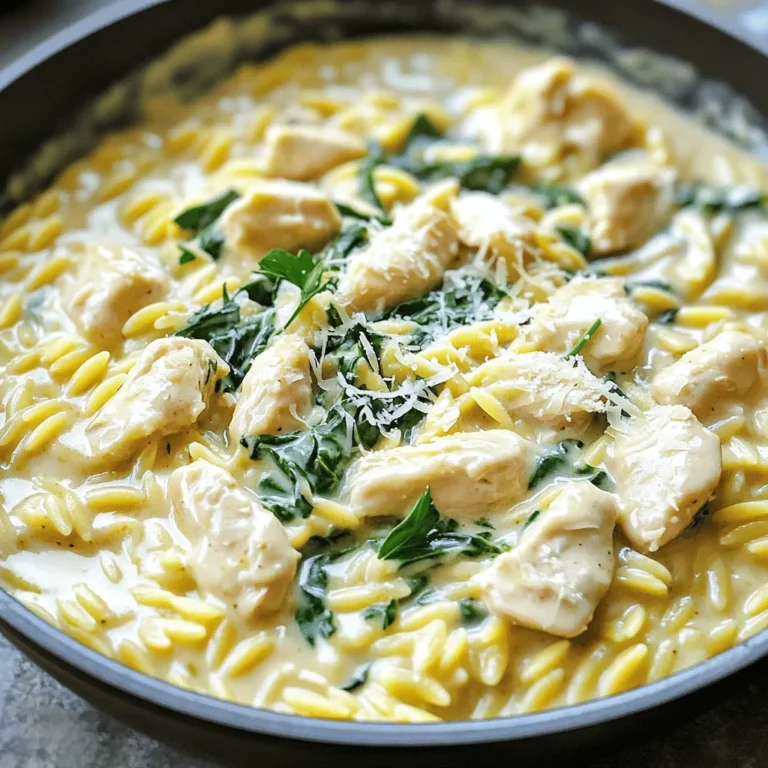
Creamy Garlic Butter Chicken Orzo Skillet Delight
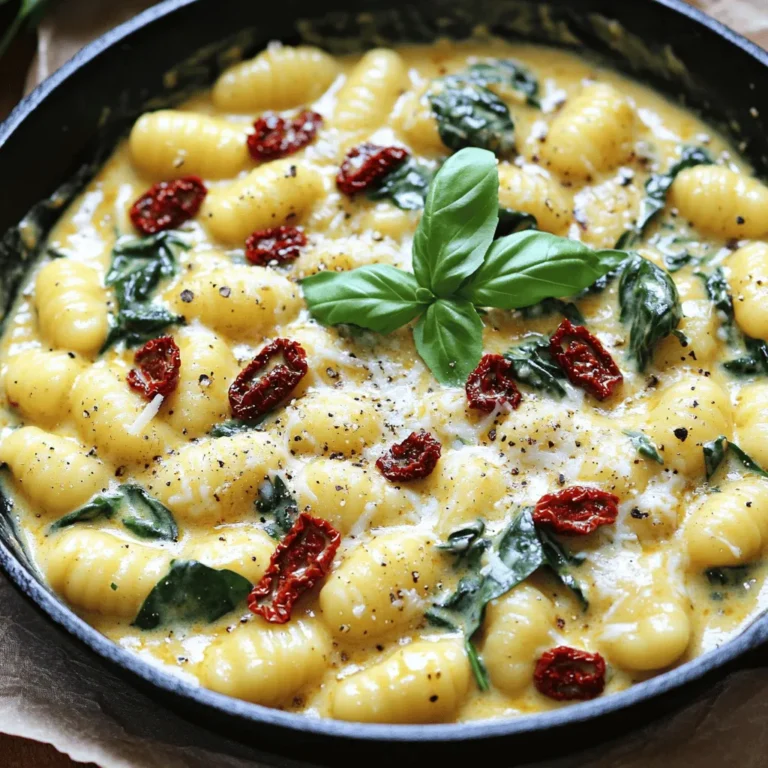
Creamy Sun-Dried Tomato Gnocchi Skillet Delight
Air Fryer Lemon Pepper Chicken Thighs Flavor Bliss
Page navigation
Previous Page
Previous
1
…
5
6
7
8
9
…
36
Next Page
Next
Home
Dinner
Appetizer
Desserts
Drinks
About
Contact
Privacy Policy
Toggle Menu Close
Search for:
Search