Skip to content
About
Contact
Cookie Policy
Copyright Policy
Disclaimer
Search
Home
Dinner
Appetizer
Desserts
Drinks
About
Contact
Privacy Policy
Toggle Menu
Home
/
Dinner
- Page 6
Dinner
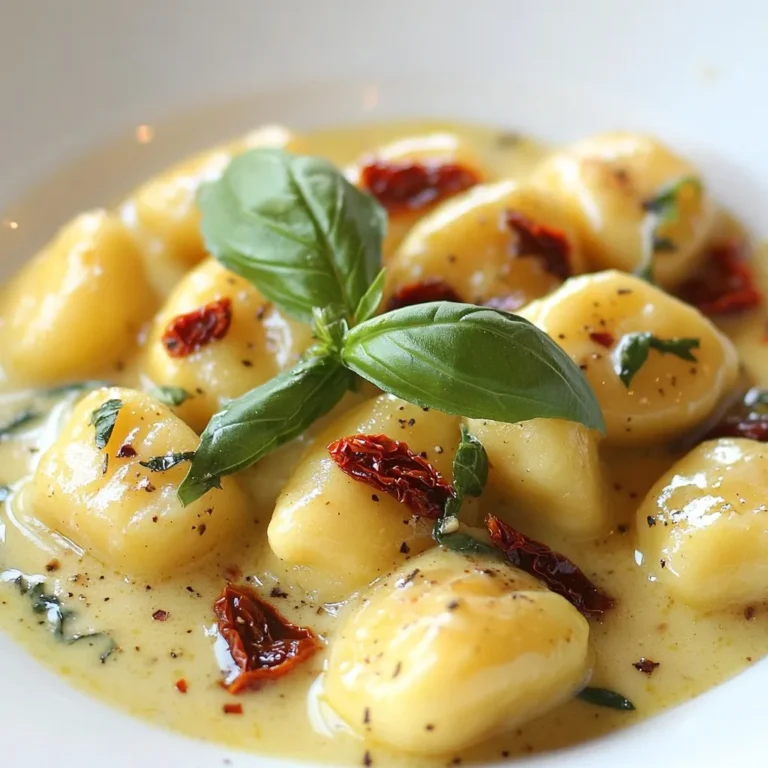
Delicious Millionaire Gnocchi with Creamy Sauce Recipe
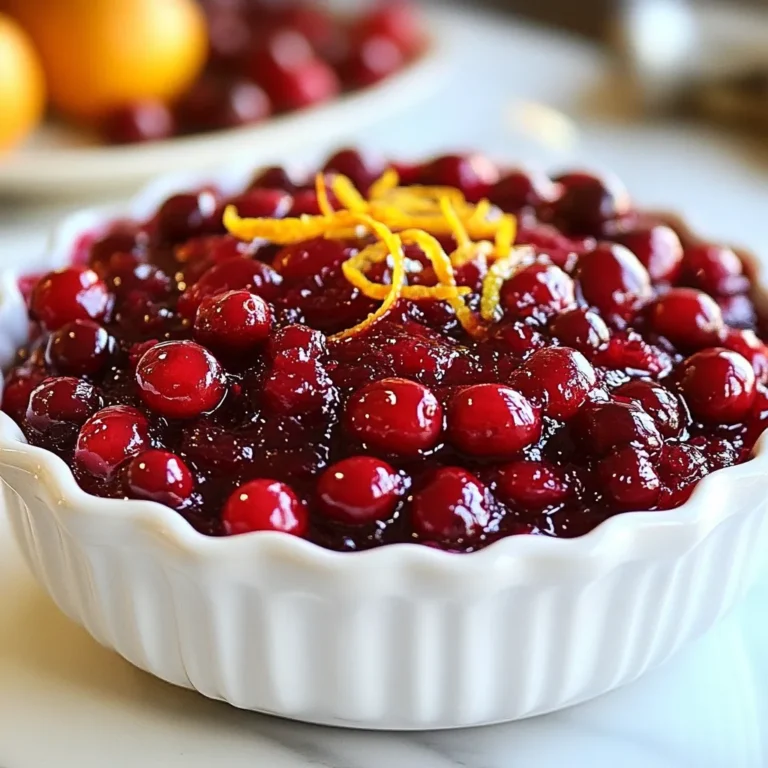
Minute Maple Cranberry Sauce Tasty and Simple Recipe
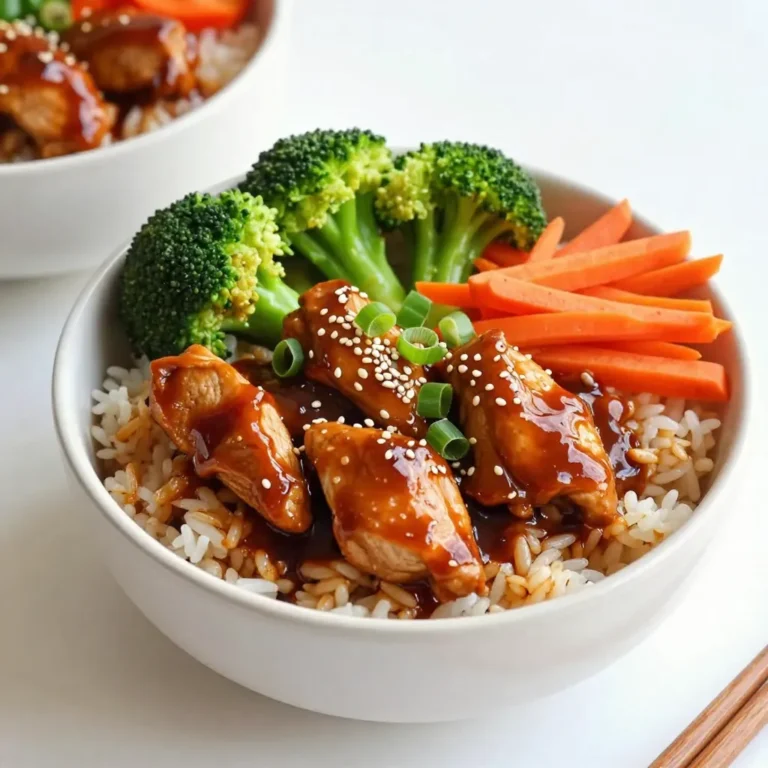
Healthy Teriyaki Chicken Rice Bowls Quick and Easy Meal
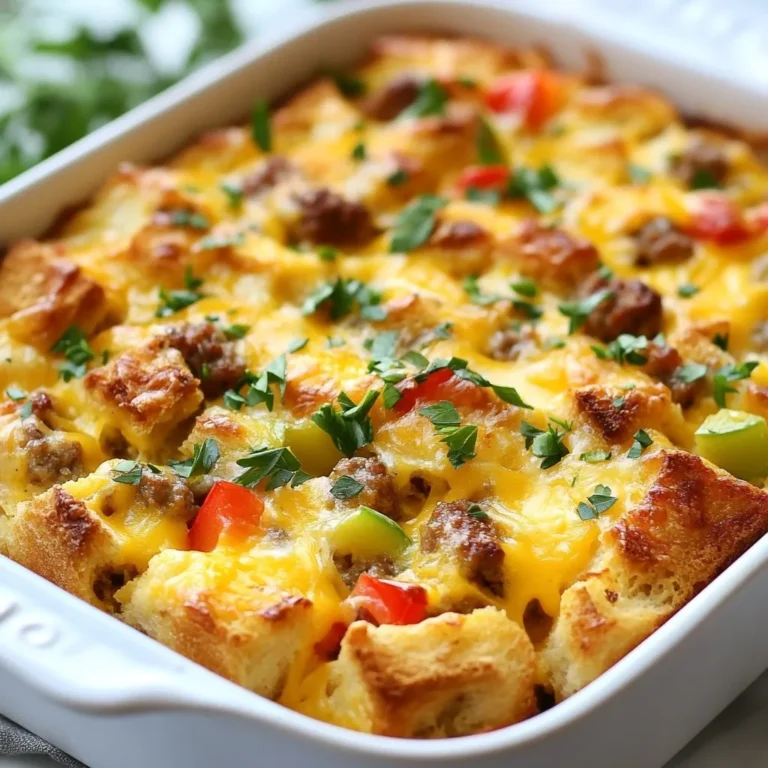
Cheesy Sausage Breakfast Casserole Flavorful Delight
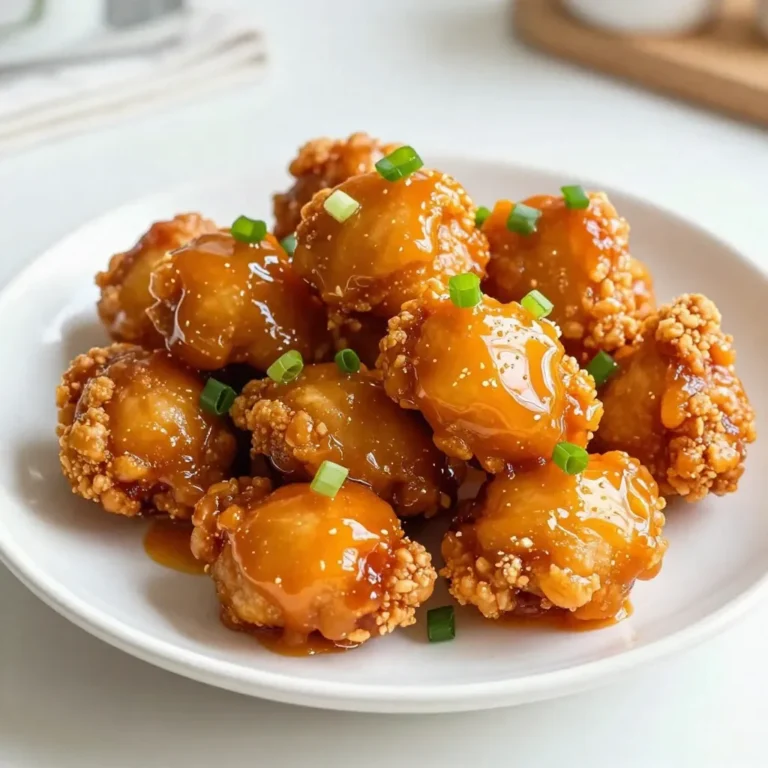
Minute Crispy Orange Chicken Easy and Flavorful Dish
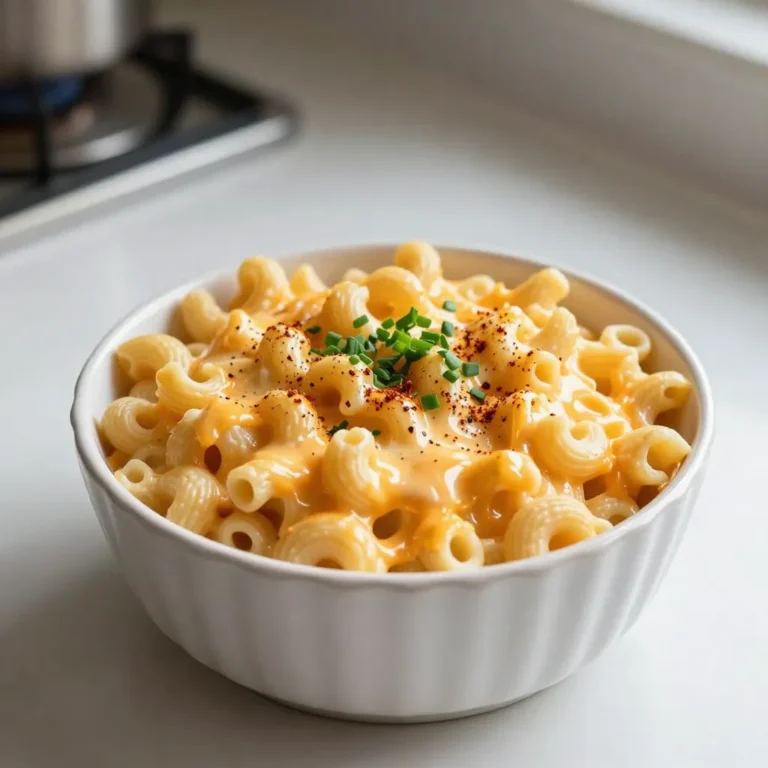
Mini Crockpot Lunch Mac and Cheese Quick Comfort Dish
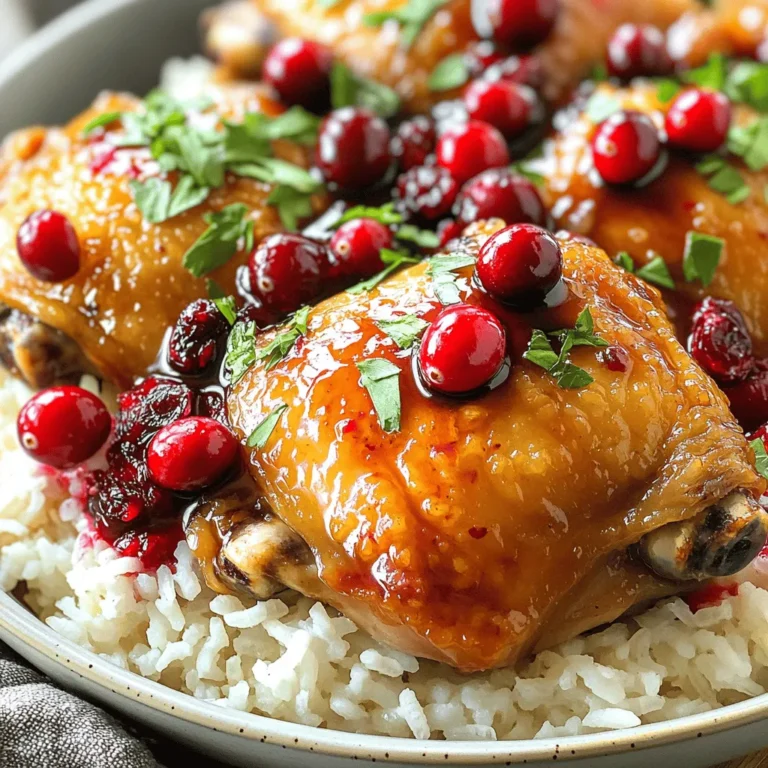
Slow Cooker Cranberry Balsamic Chicken Thighs Delight
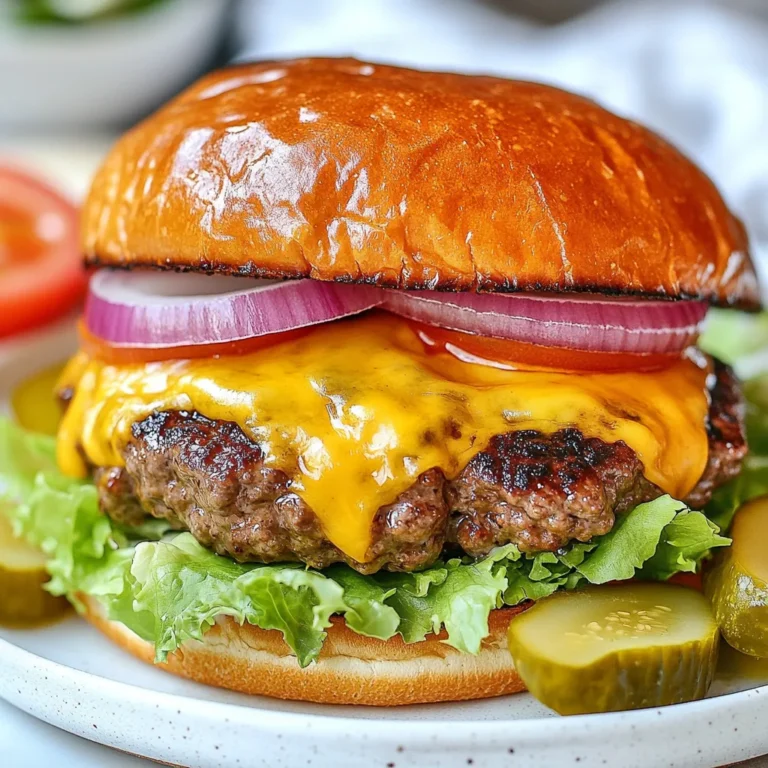
Crack Burgers Supreme Tasty and Simple Recipe Guide
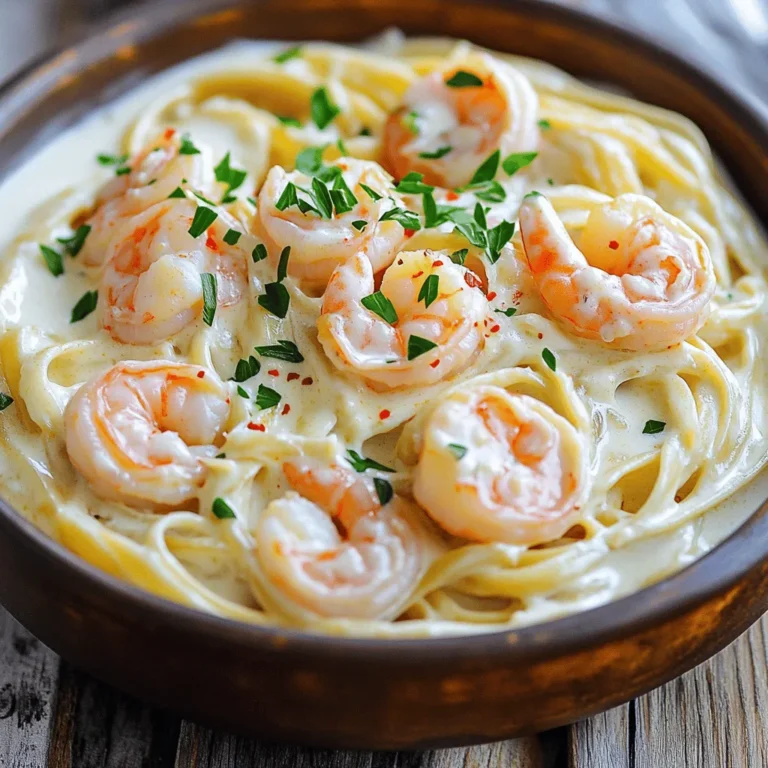
Creamy Garlic Shrimp Linguine Delicious Dinner Recipe
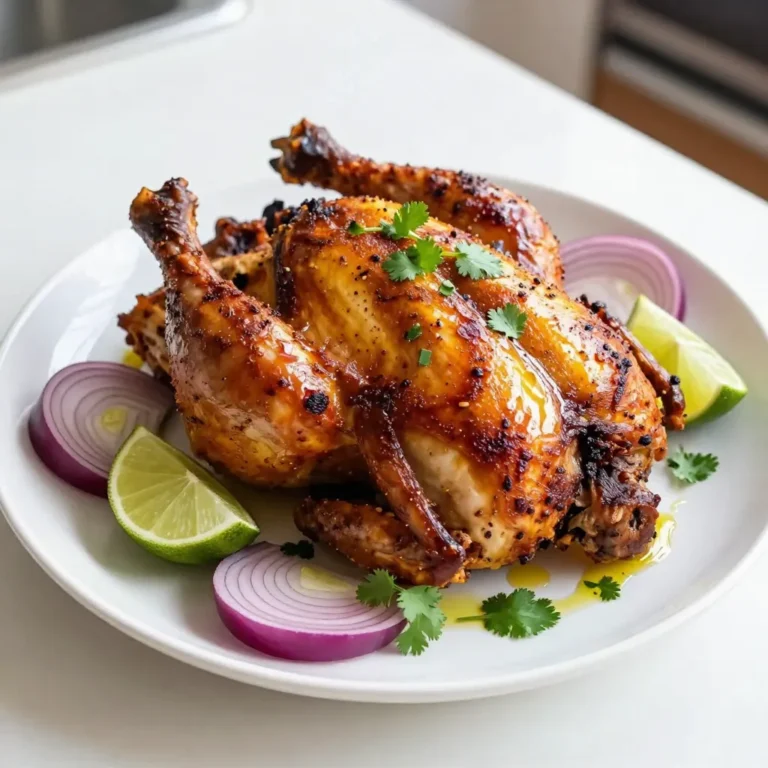
Peruvian Roasted Chicken Flavorful and Savory Delight
Page navigation
Previous Page
Previous
1
…
4
5
6
7
8
…
36
Next Page
Next
Home
Dinner
Appetizer
Desserts
Drinks
About
Contact
Privacy Policy
Toggle Menu Close
Search for:
Search