Skip to content
About
Contact
Cookie Policy
Copyright Policy
Disclaimer
Search
Home
Dinner
Appetizer
Desserts
Drinks
About
Contact
Privacy Policy
Toggle Menu
Home
/
Dinner
- Page 5
Dinner
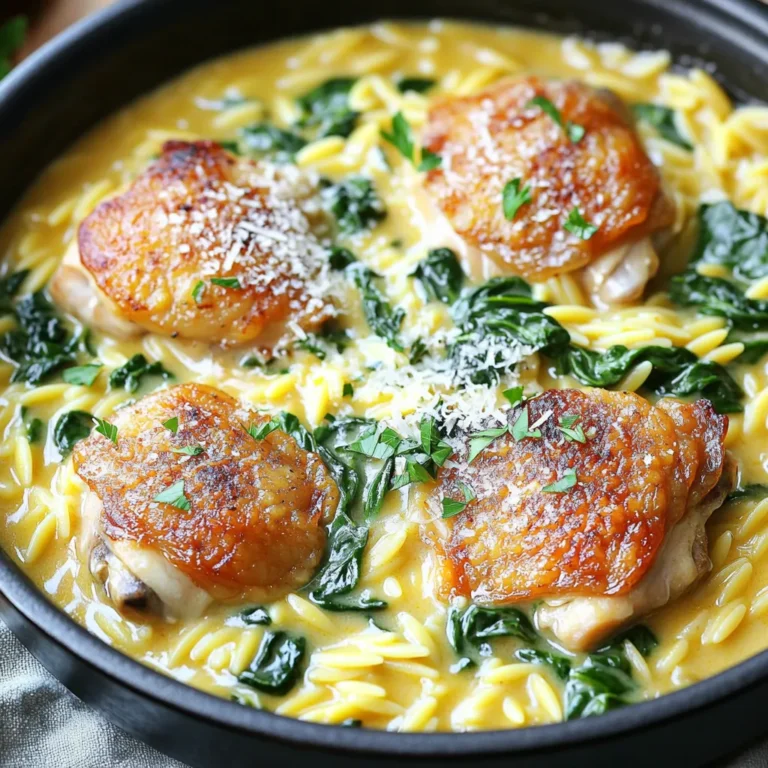
One-Pot Creamy Garlic Butter Chicken Orzo Delight
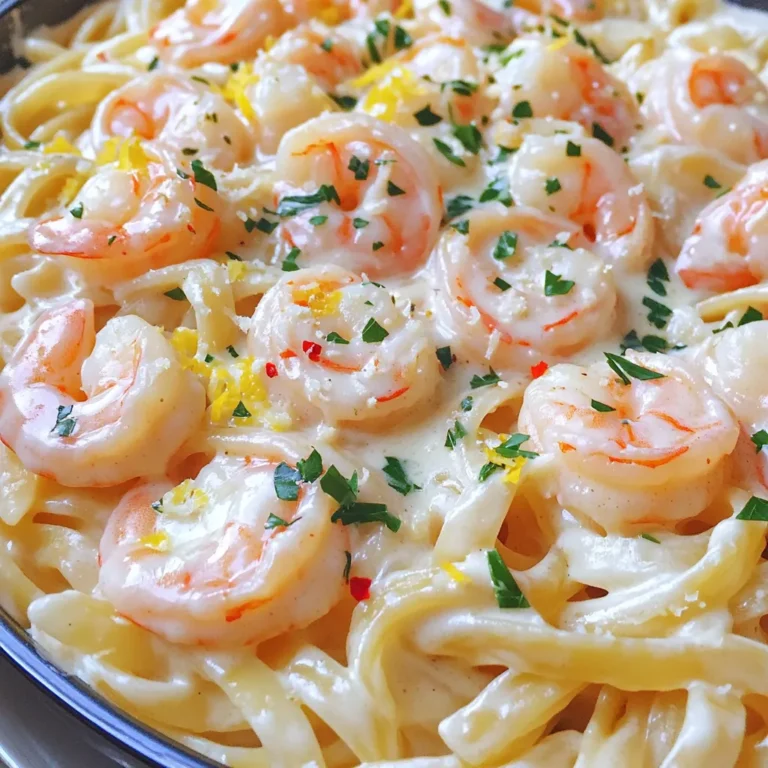
Creamy Garlic Butter Shrimp Linguine Delicious Dinner
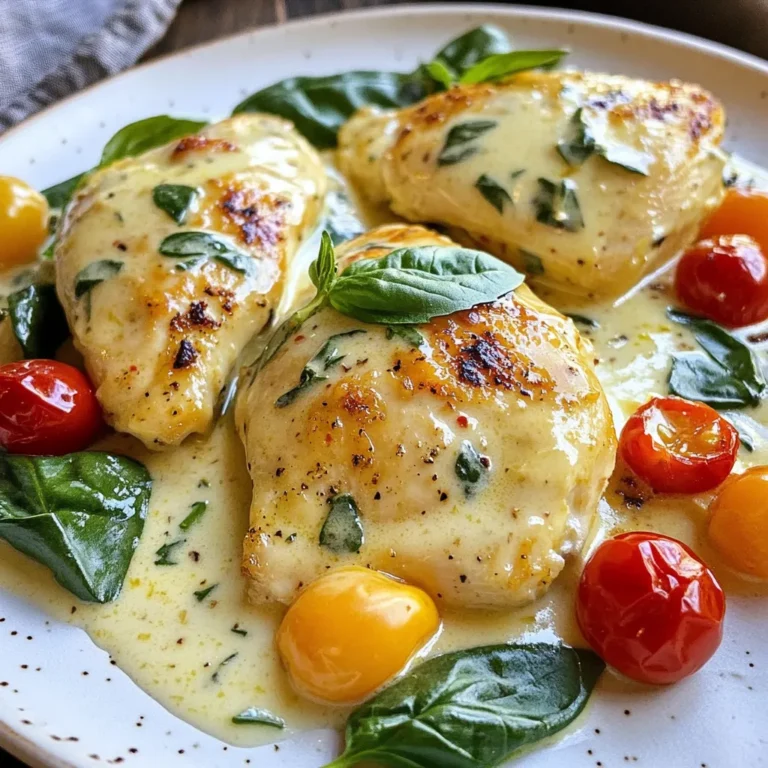
Creamy Garlic Tuscan Chicken Flavorful Dinner Recipe
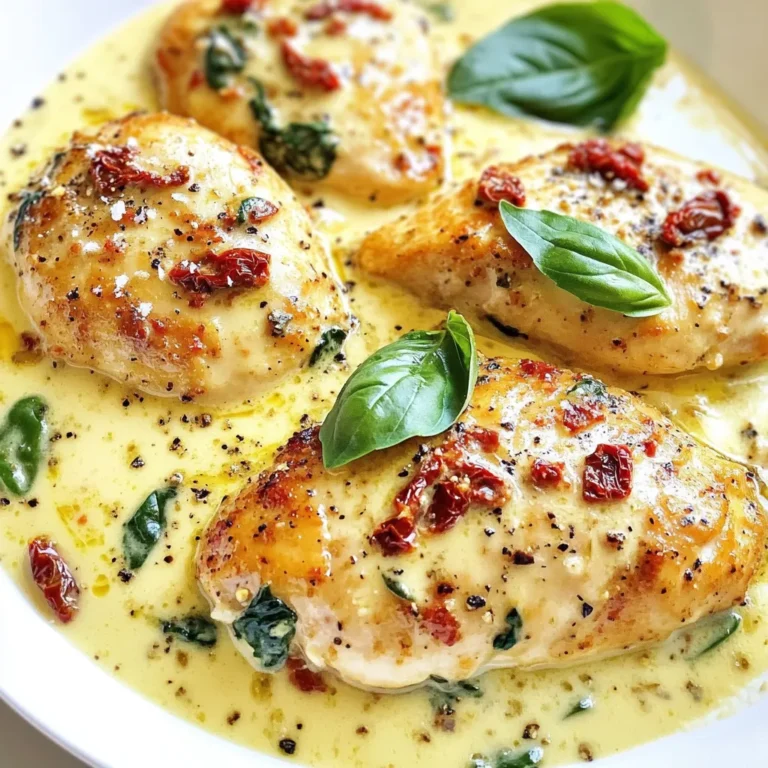
Creamy Garlic Tuscan Chicken Savory and Simple Recipe
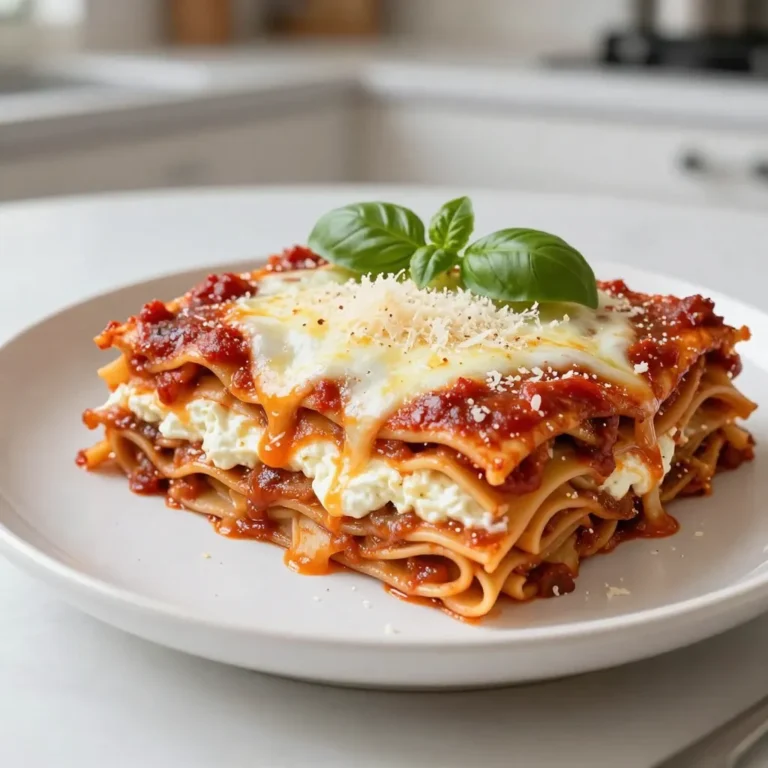
Easy Comfort Lasagna Simple Guide to Deliciousness
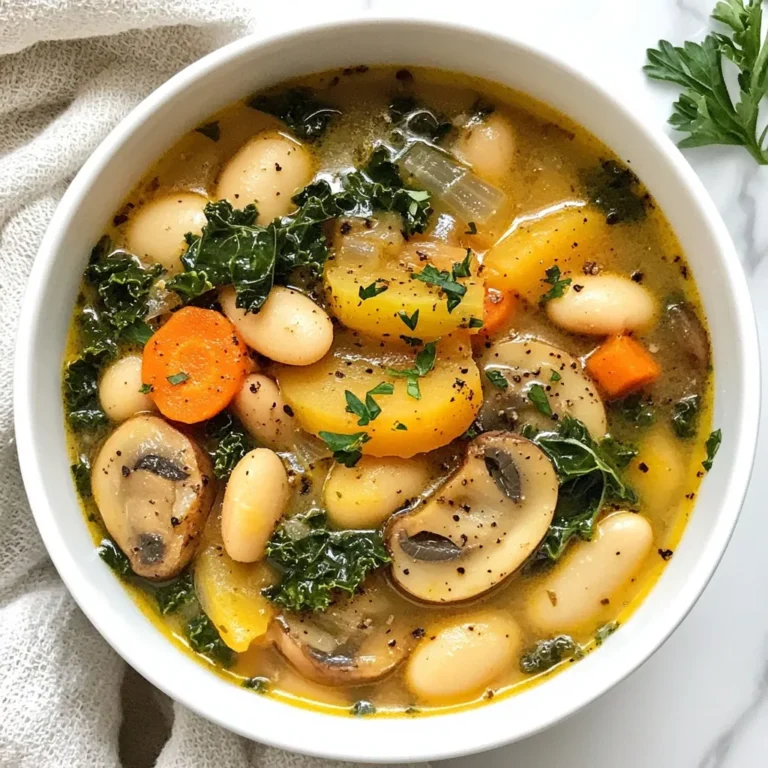
Cozy White Bean Mushroom Stew Comfort in a Bowl
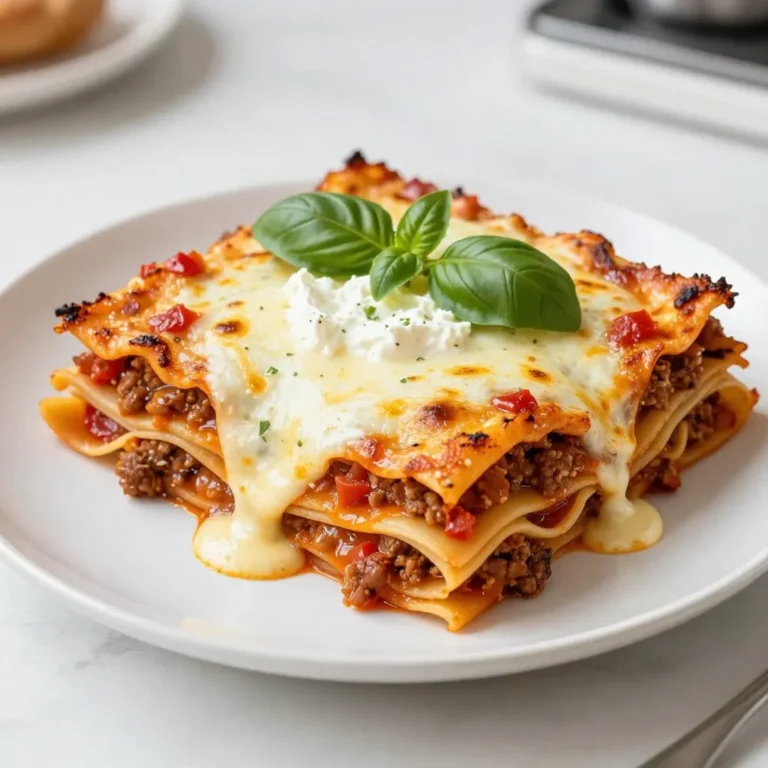
Cheesy Baked Lasagna Delightful and Easy Recipe
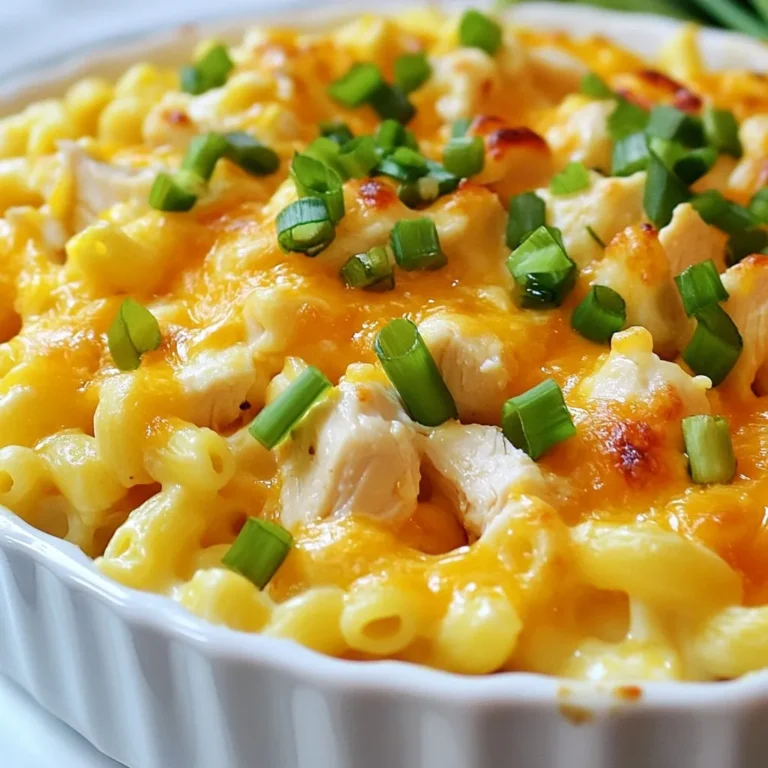
High-Protein Honey Garlic Butter Chicken Mac & Cheese Delight
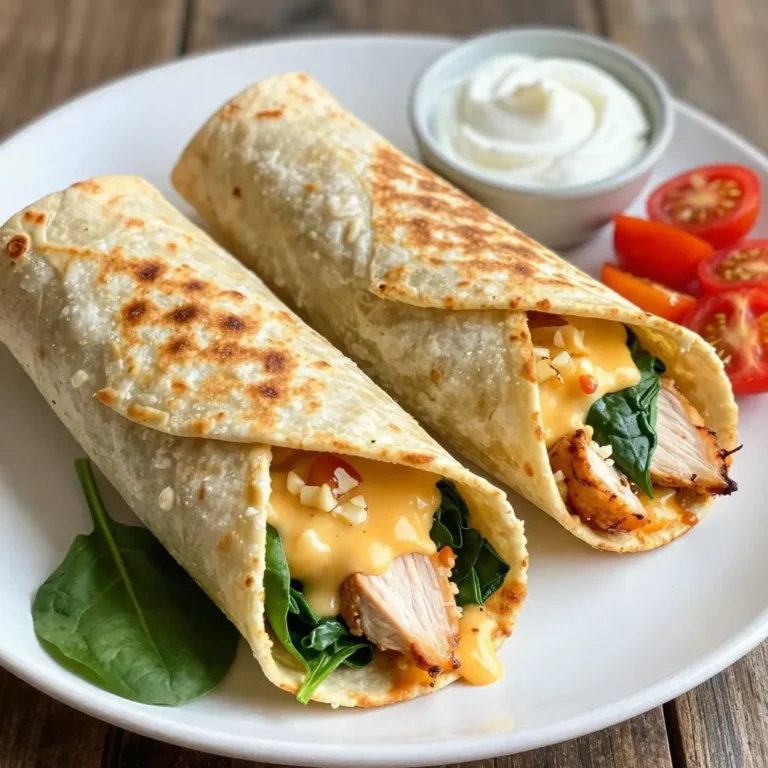
Cheesy Garlic Chicken Wraps Flavorful and Easy Meal
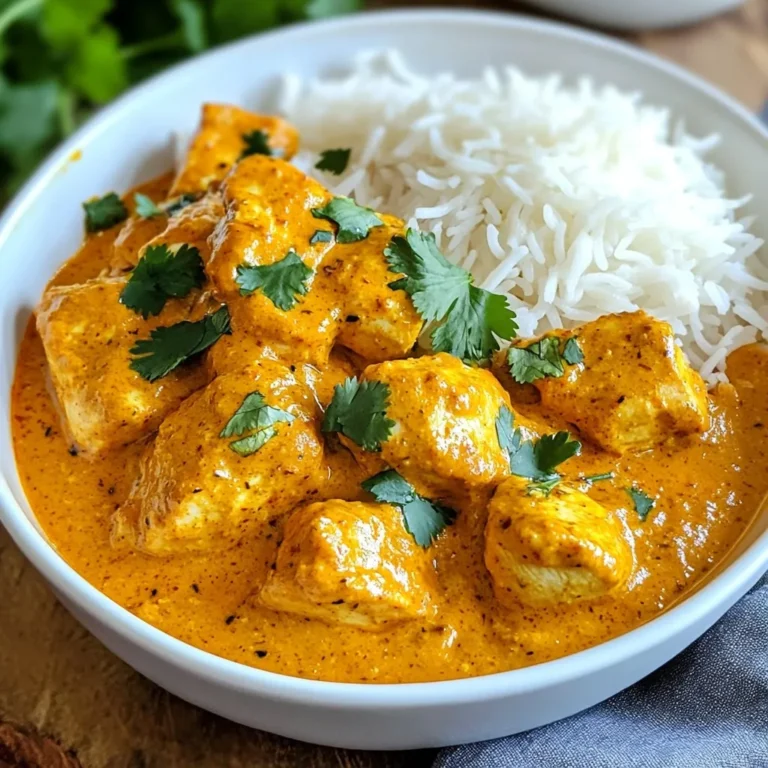
Gordon Ramsay Style Chicken Tikka Masala Flavor Burst
Page navigation
Previous Page
Previous
1
…
3
4
5
6
7
…
36
Next Page
Next
Home
Dinner
Appetizer
Desserts
Drinks
About
Contact
Privacy Policy
Toggle Menu Close
Search for:
Search