Skip to content
About
Contact
Cookie Policy
Copyright Policy
Disclaimer
Search
Home
Dinner
Appetizer
Desserts
Drinks
About
Contact
Privacy Policy
Toggle Menu
Home
/
Dinner
- Page 4
Dinner
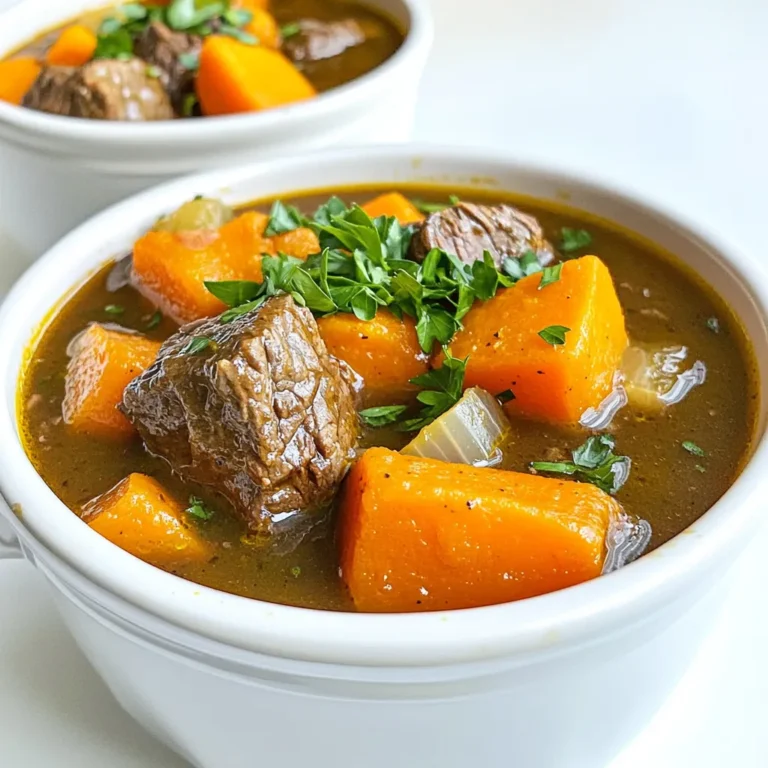
Slow Cooker Harvest Beef Stew with Root Vegetables
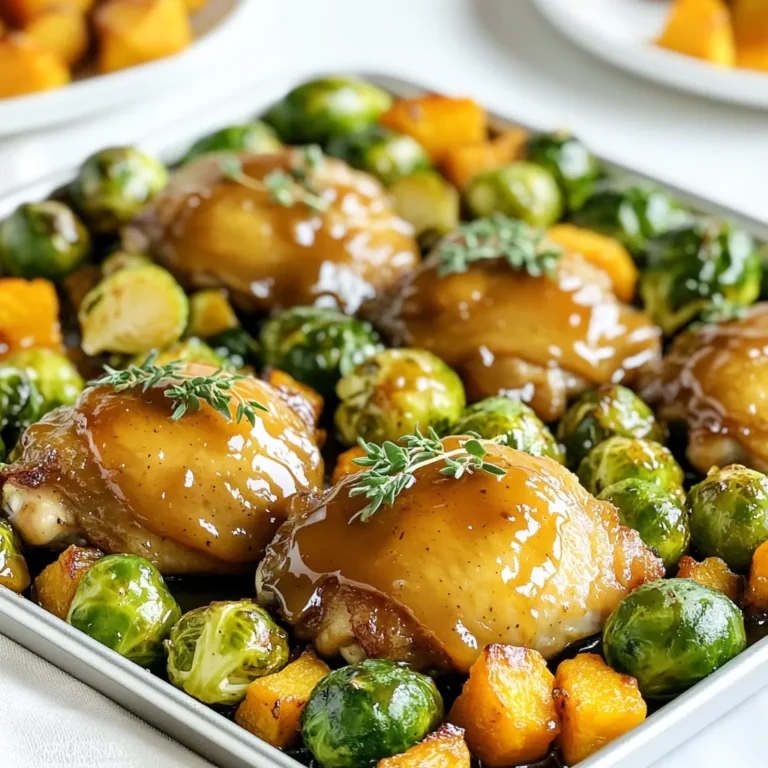
Sheet-Pan Maple Dijon Chicken with Sprouts and Squash
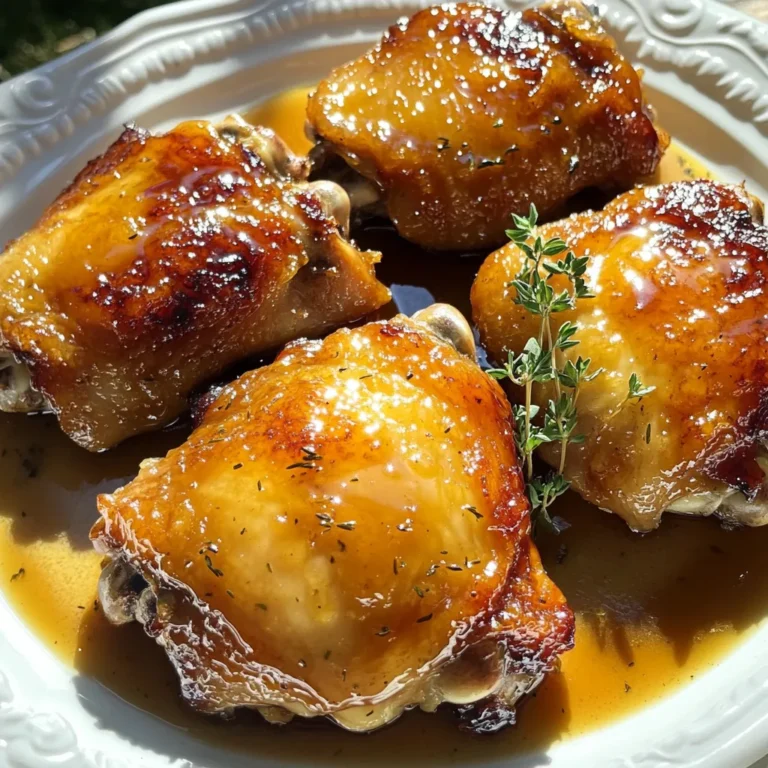
Slow Cooker Maple Dijon Chicken Thighs Flavor Boost
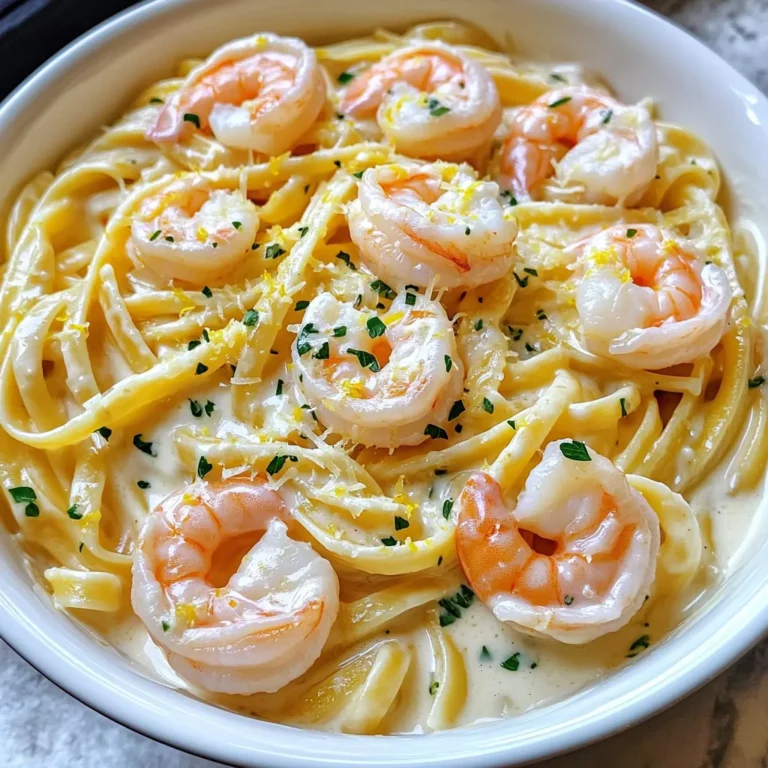
Creamy Garlic Shrimp Pasta Quick and Flavorful Meal
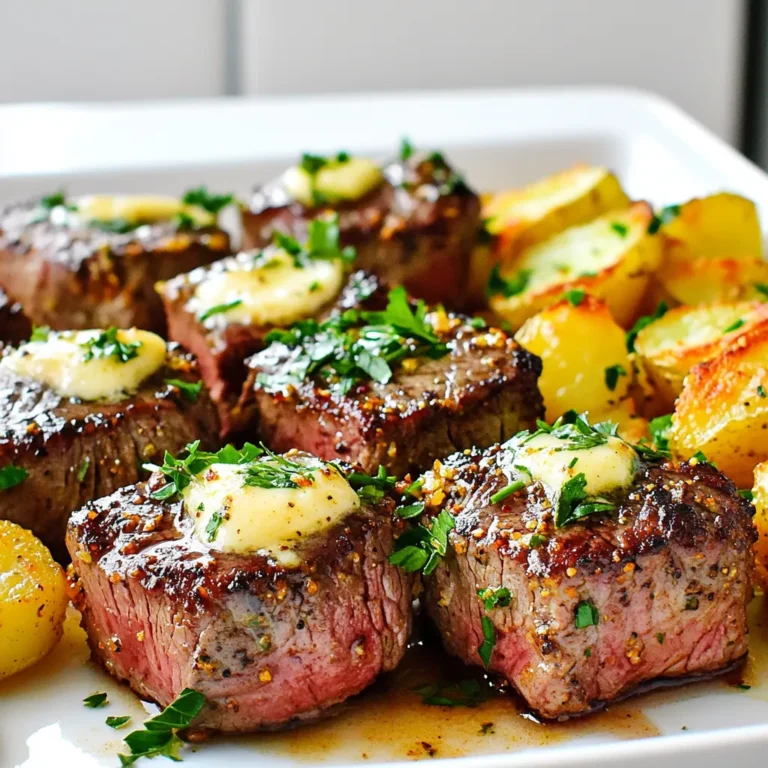
Flavorful Air Fryer Garlic Butter Steak Bites with Crispy Potatoes
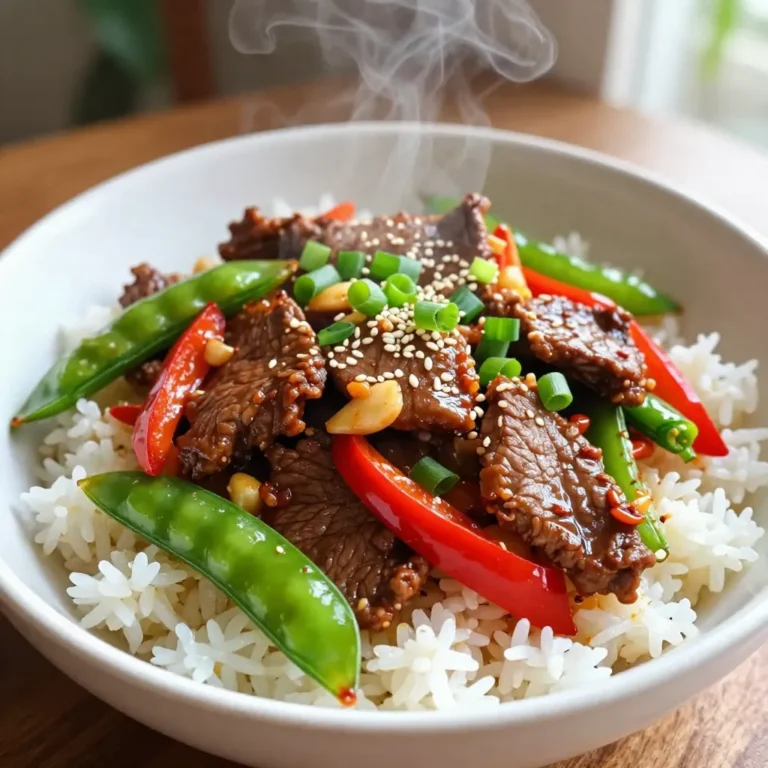
Spicy Beef Garlic Stir-Fry Bowls Flavorful and Quick Meal
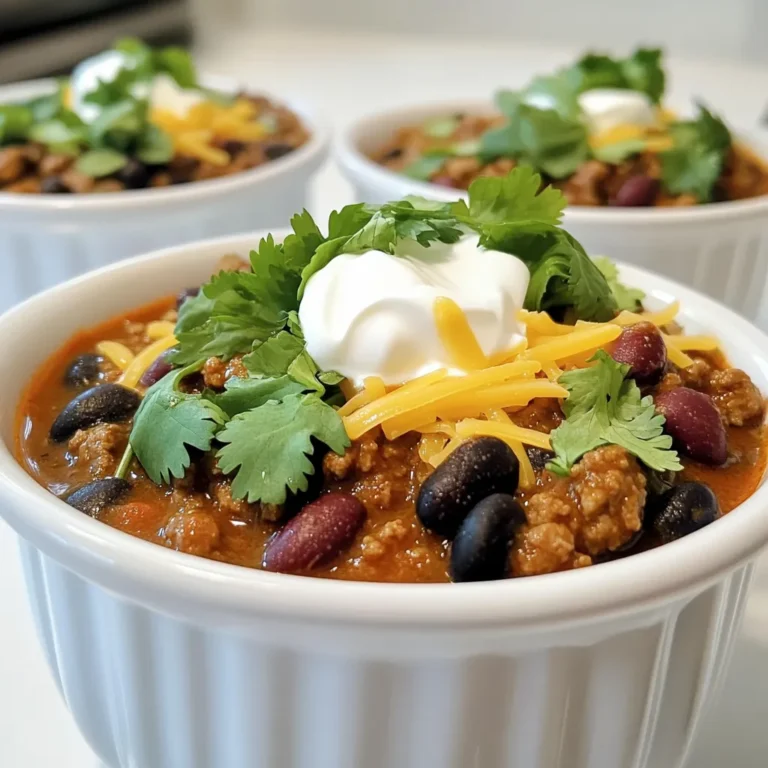
Smoky Chipotle Beef Chili Slow Cooker Comfort Meal
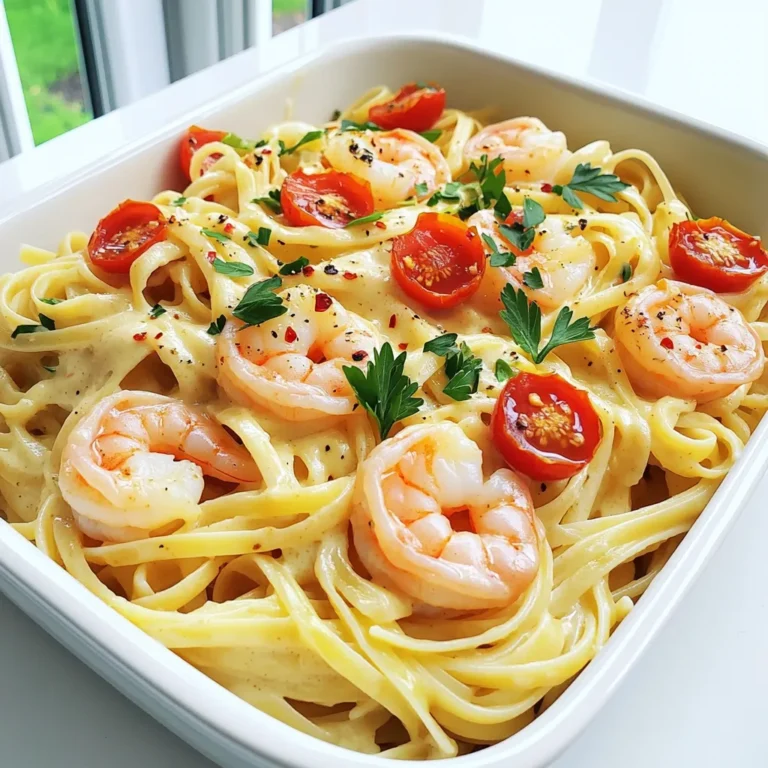
Creamy Garlic Butter Shrimp Linguine Simple Delight
Cozy Autumn Wild Rice Soup Comfort in a Bowl
Air Fryer Sweet Chili Shrimp Tacos Fresh and Tasty
Page navigation
Previous Page
Previous
1
2
3
4
5
6
…
36
Next Page
Next
Home
Dinner
Appetizer
Desserts
Drinks
About
Contact
Privacy Policy
Toggle Menu Close
Search for:
Search