Skip to content
About
Contact
Cookie Policy
Copyright Policy
Disclaimer
Search
Home
Dinner
Appetizer
Desserts
Drinks
About
Contact
Privacy Policy
Toggle Menu
Home
/
Dinner
- Page 35
Dinner
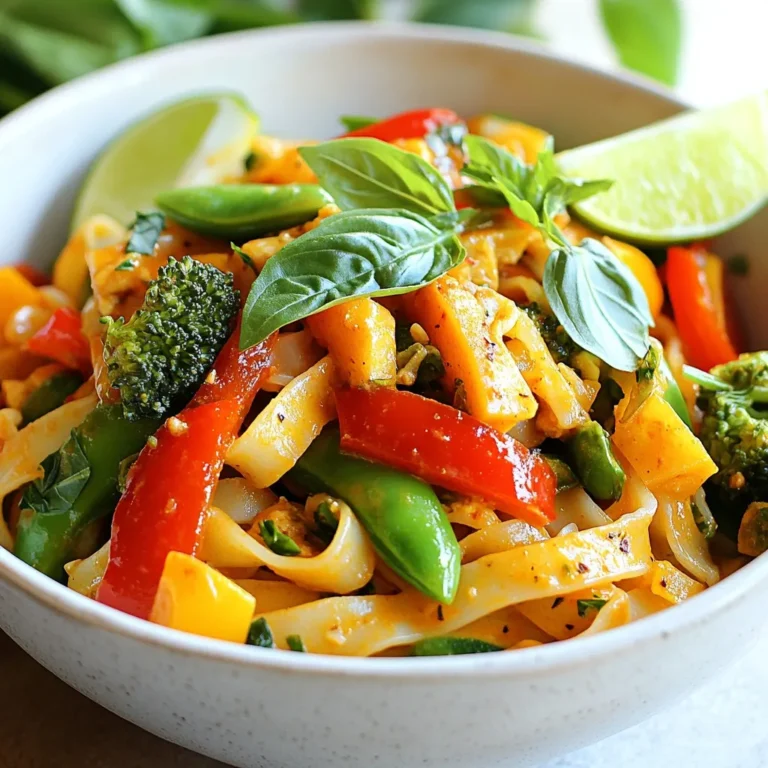
Thai Drunken Noodles Quick and Tasty Recipe Guide
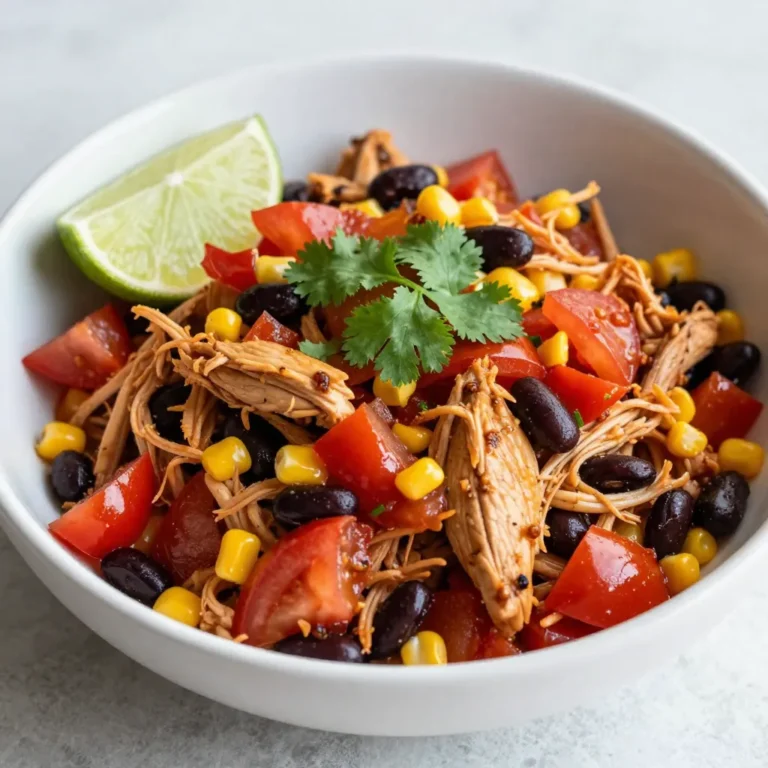
Dump-and-Go Chicken Crockpot Dinner Recipe Delight
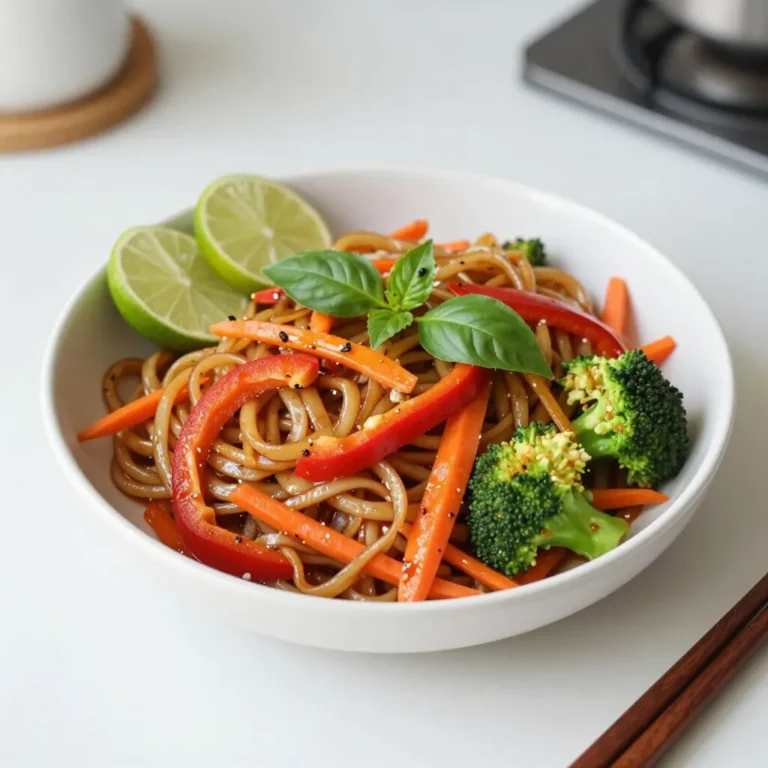
Thai Drunken Noodles Flavorful and Quick Recipe Guide
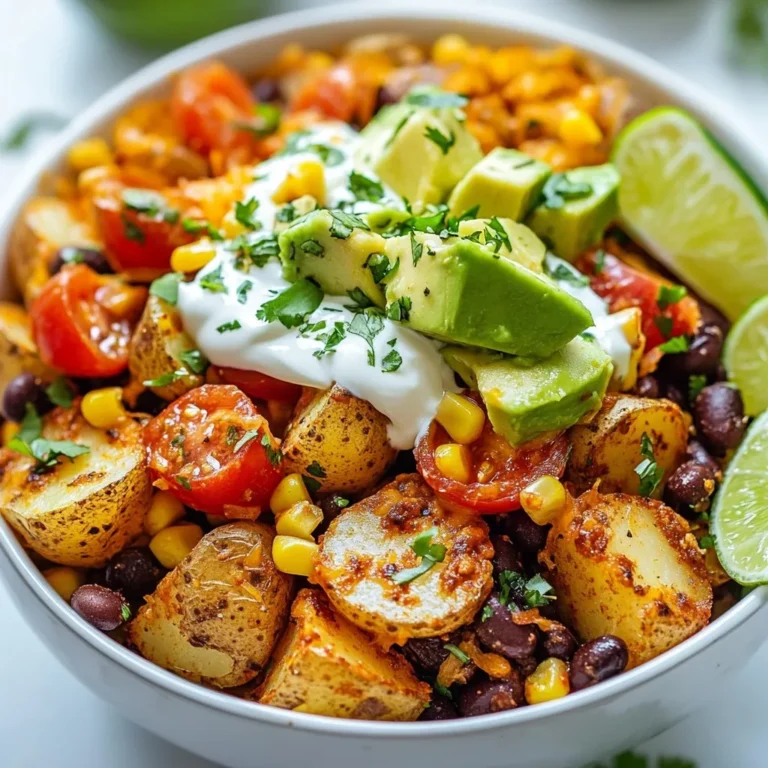
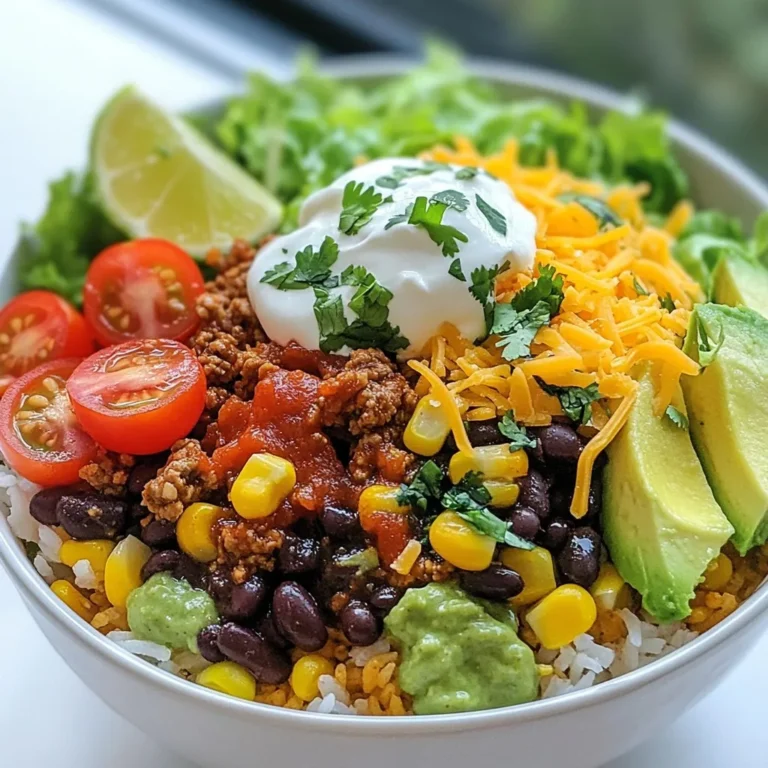
Loaded Potato Taco Bowl Tasty and Satisfying Meal
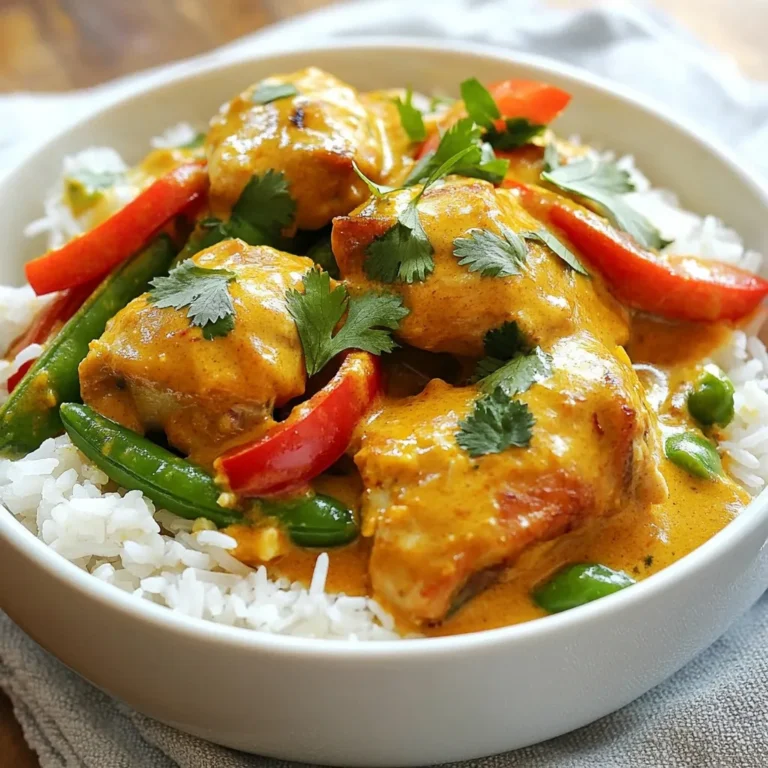
Thai Peanut Curry Chicken Flavorful and Easy Recipe
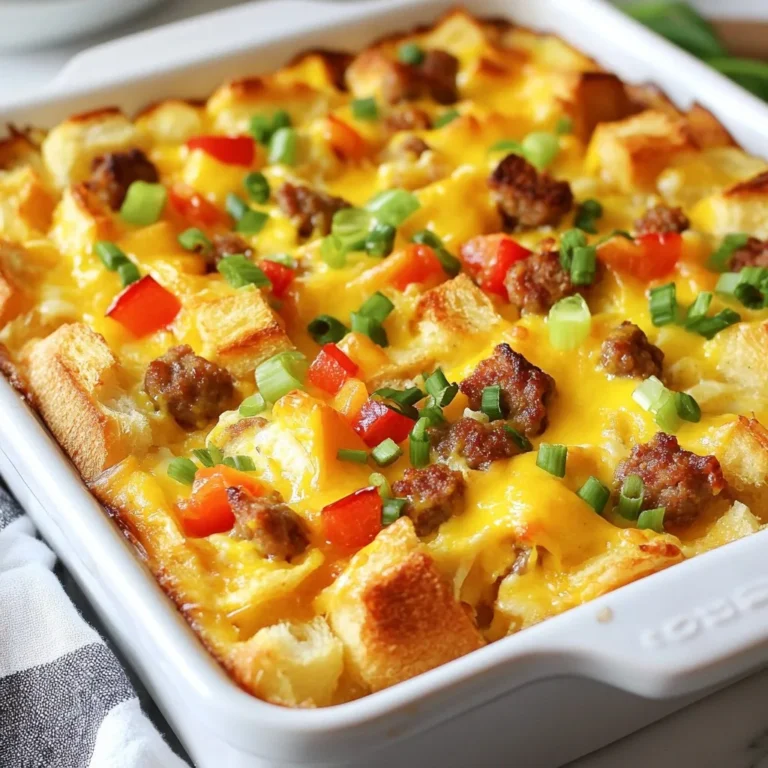
Cheesy Sausage Breakfast Casserole Easy Family Meal
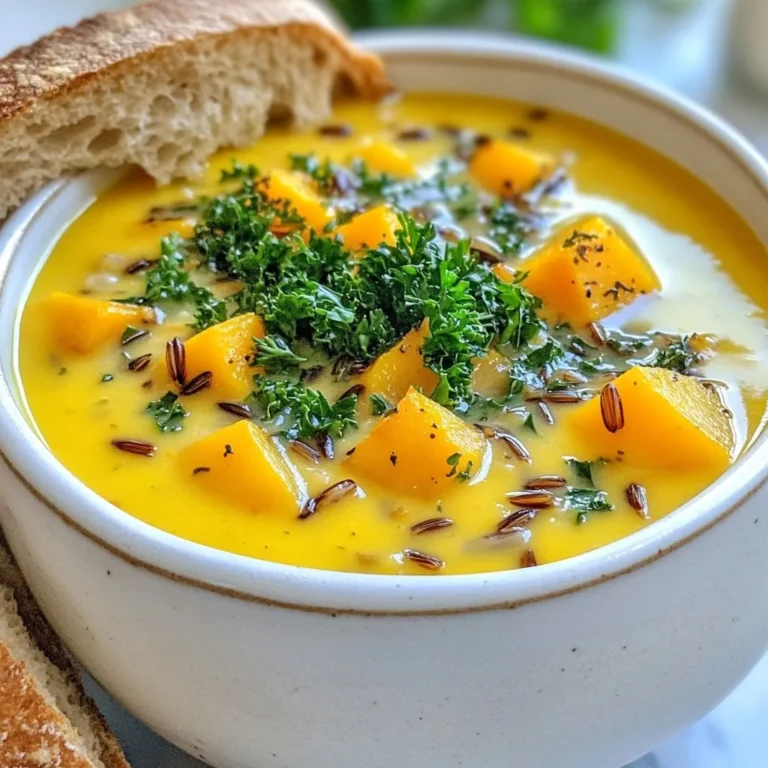
Cozy Autumn Wild Rice Soup Heartwarming Recipe Guide
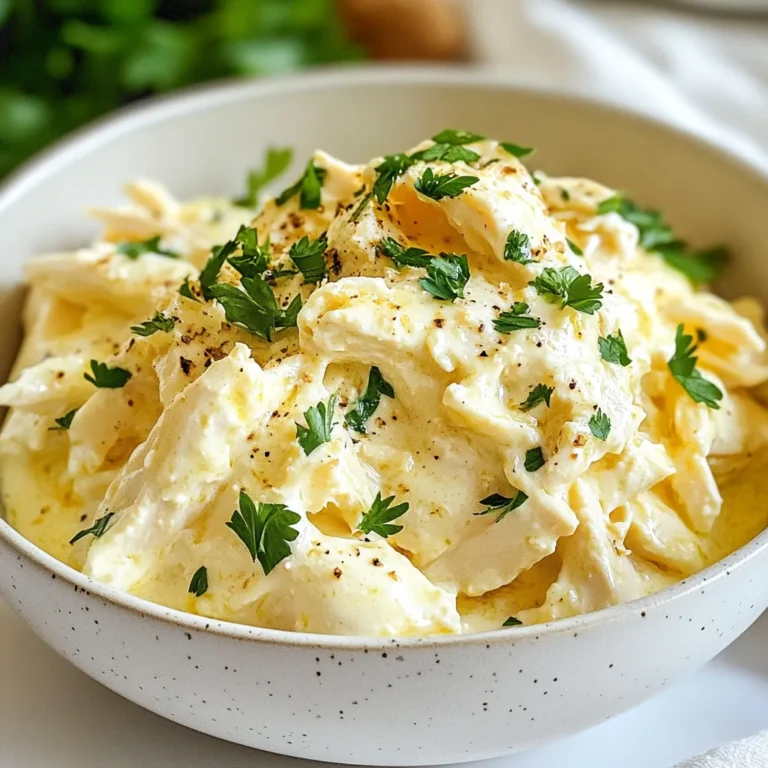
Crockpot Creamy Garlic Parmesan Chicken Delight
Taco Rice Bowl Flavorful Meal in Minutes
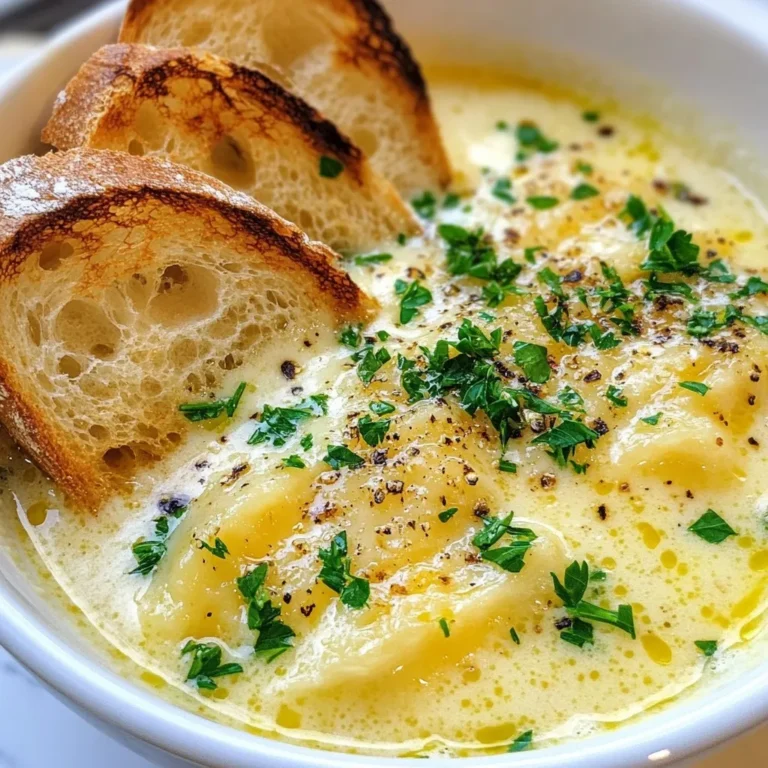
Rustic French Garlic Soup Comforting and Simple Dish
Page navigation
Previous Page
Previous
1
…
33
34
35
36
Next Page
Next
Home
Dinner
Appetizer
Desserts
Drinks
About
Contact
Privacy Policy
Toggle Menu Close
Search for:
Search