Skip to content
About
Contact
Cookie Policy
Copyright Policy
Disclaimer
Search
Home
Dinner
Appetizer
Desserts
Drinks
About
Contact
Privacy Policy
Toggle Menu
Home
/
Dinner
- Page 31
Dinner
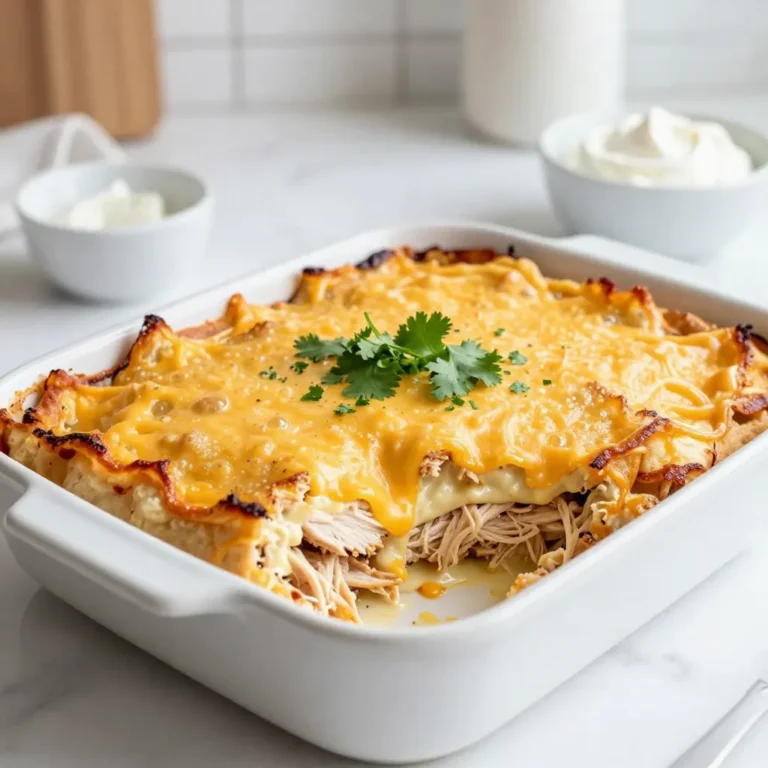
King Ranch Chicken Casserole Flavorful Comfort Meal
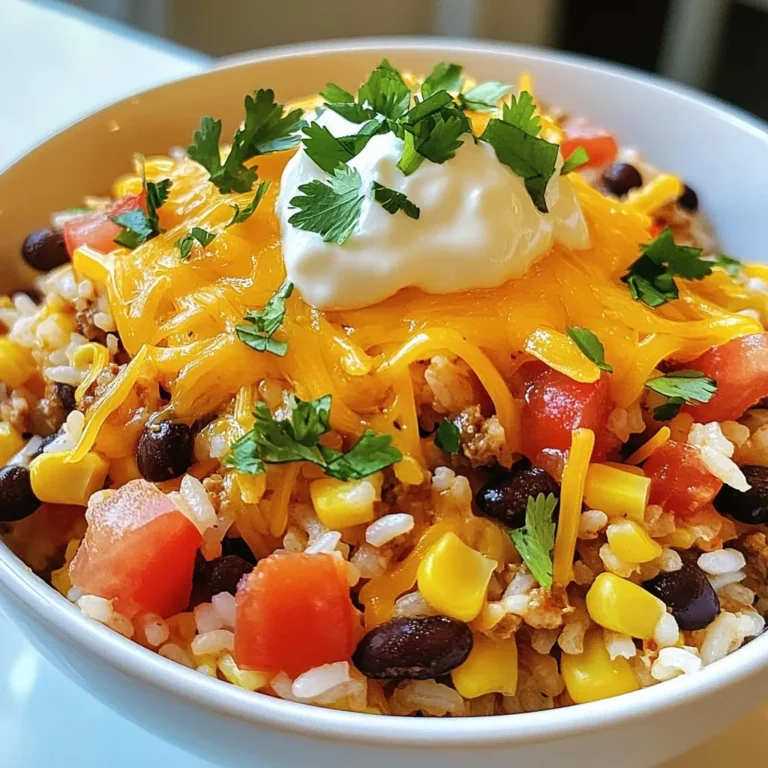
Cheesy Taco Rice Flavorful and Simple Weeknight Meal
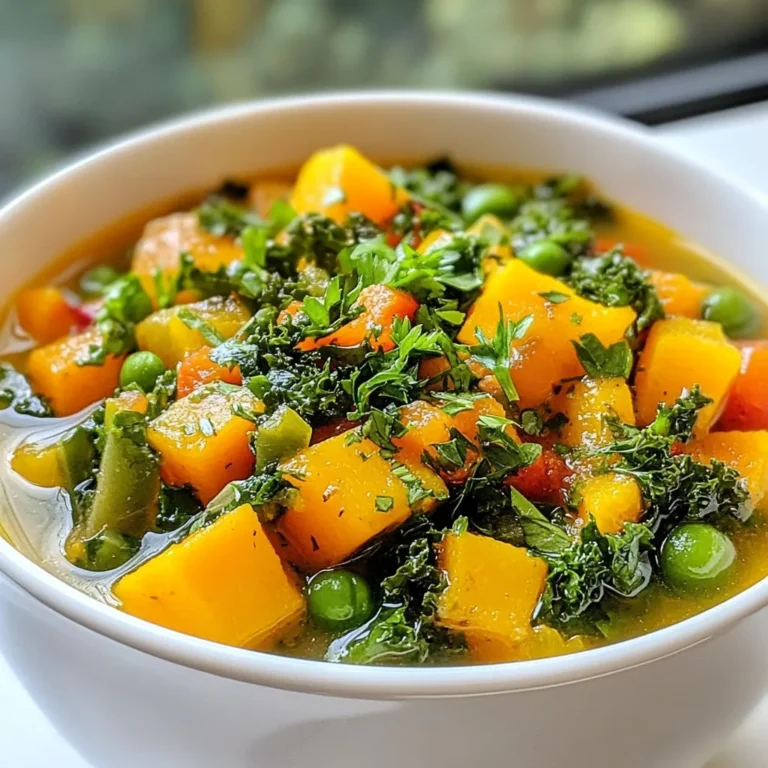
Healthy Autumn Soup Collection for Cozy Meals
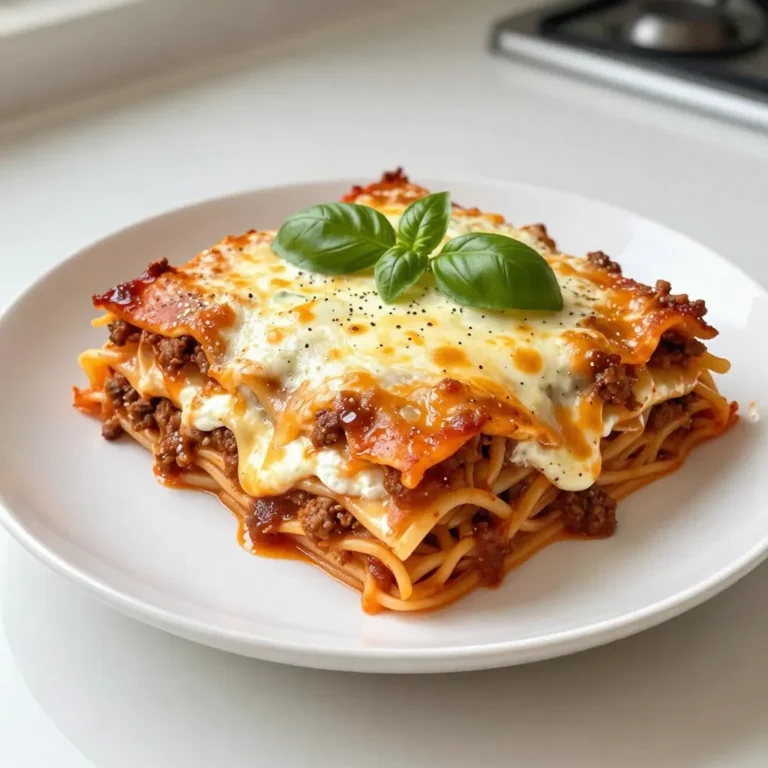
Cheesy Weeknight Lasagna Simple and Quick Recipe
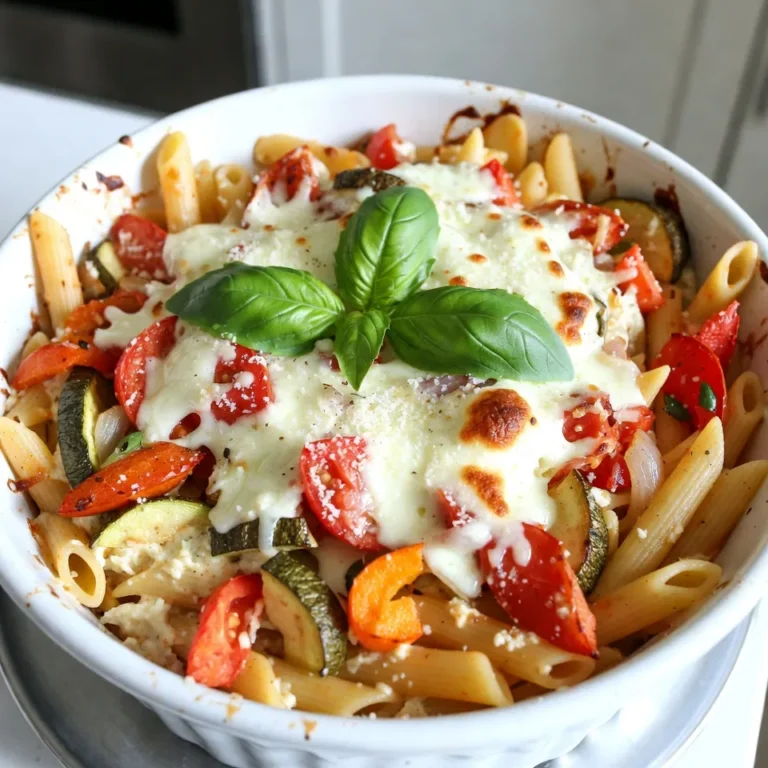
Weeknight Baked Pasta Casserole Cozy Comfort Meal
Jalapeno Popper Soup Creamy and Flavorful Delight
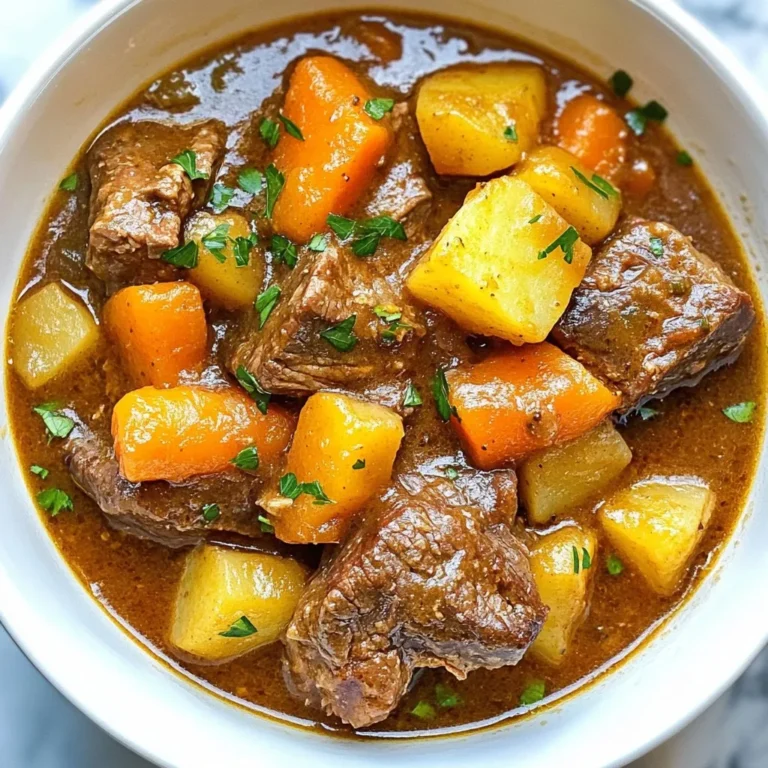
Instant Pot Beef Stew Rich and Hearty Comfort Dish
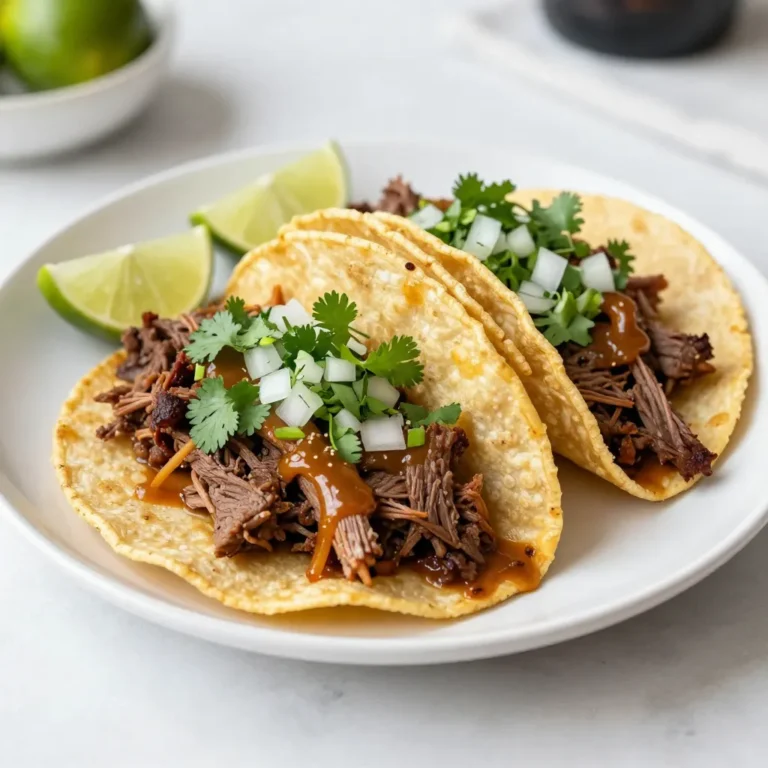
Slow Cooker Birria Tacos Flavorful and Easy Recipe
Thai Coconut Curry Dumpling Soup Flavorful Comfort Meal
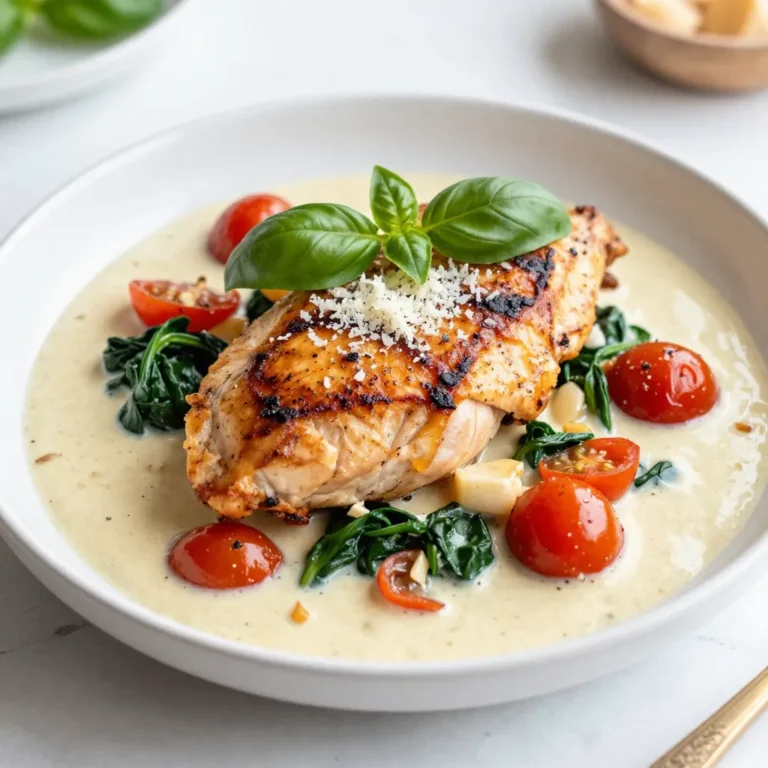
Creamy Garlic Tuscan Chicken Flavorful Dinner Delight
Page navigation
Previous Page
Previous
1
…
29
30
31
32
33
…
36
Next Page
Next
Home
Dinner
Appetizer
Desserts
Drinks
About
Contact
Privacy Policy
Toggle Menu Close
Search for:
Search