Skip to content
About
Contact
Cookie Policy
Copyright Policy
Disclaimer
Search
Home
Dinner
Appetizer
Desserts
Drinks
About
Contact
Privacy Policy
Toggle Menu
Home
/
Dinner
- Page 30
Dinner
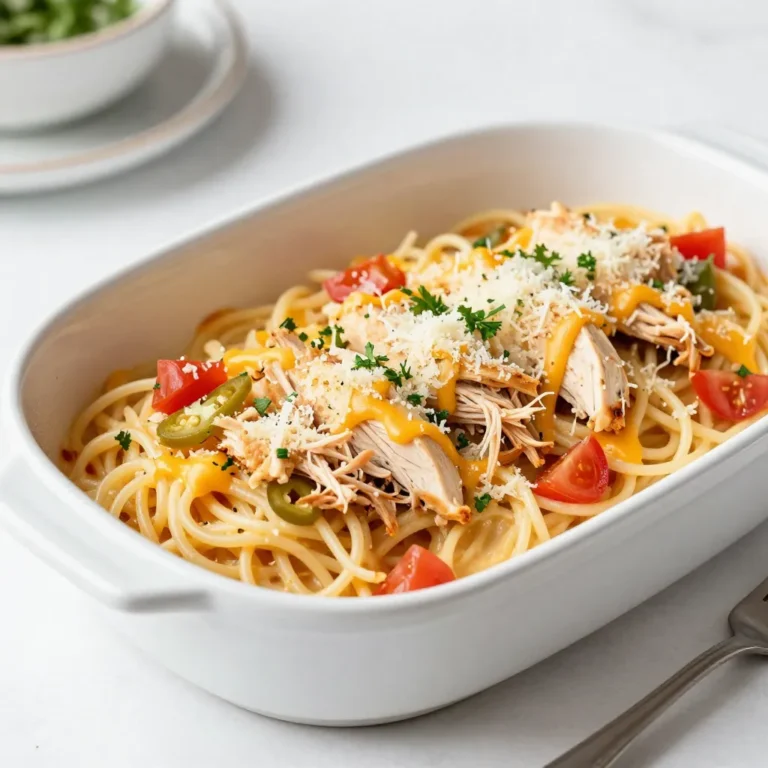
Million Dollar Chicken Spaghetti Comfort Food Delight
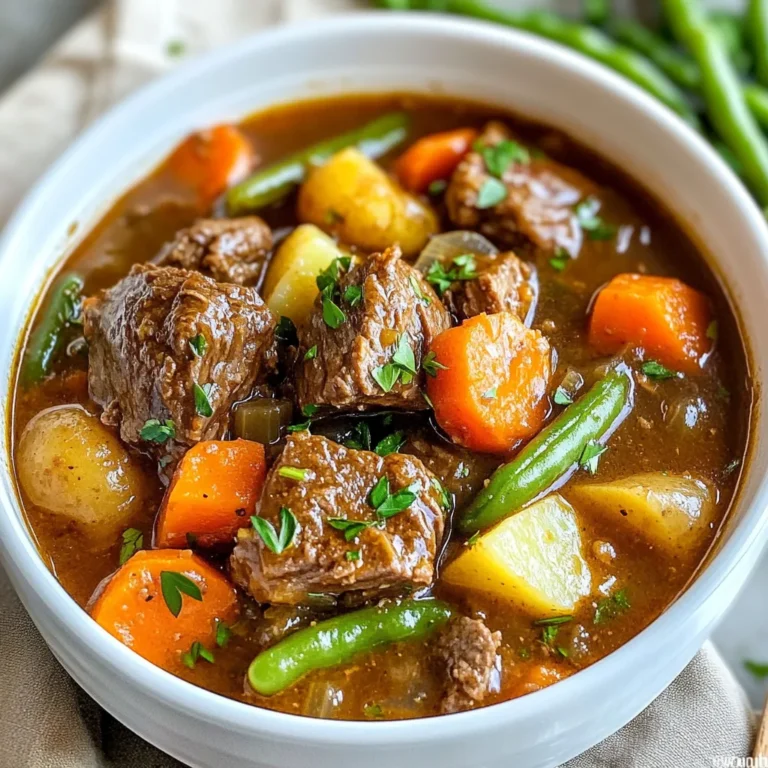
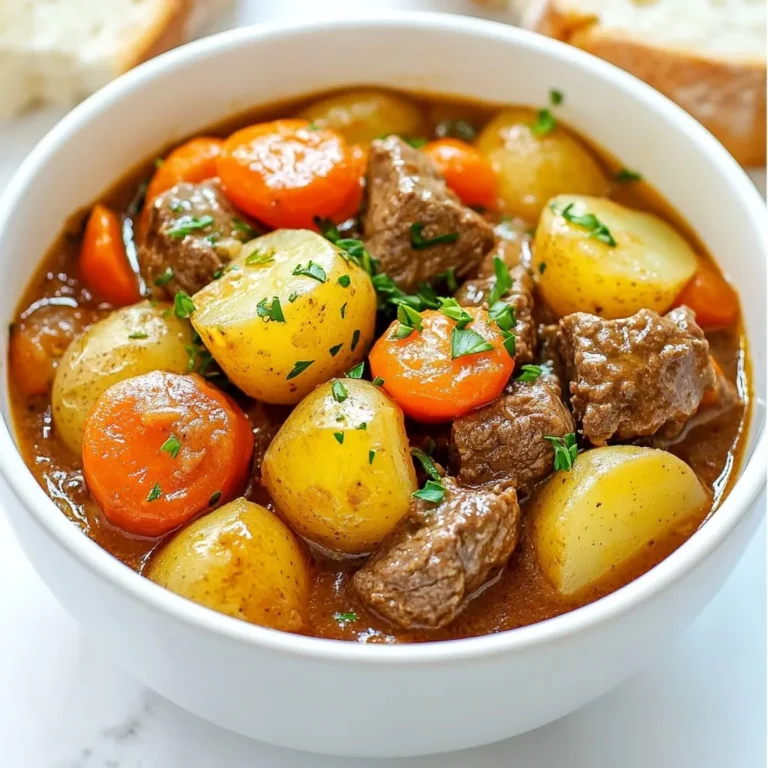
Instant Pot Beef Stew Flavorful and Hearty Meal
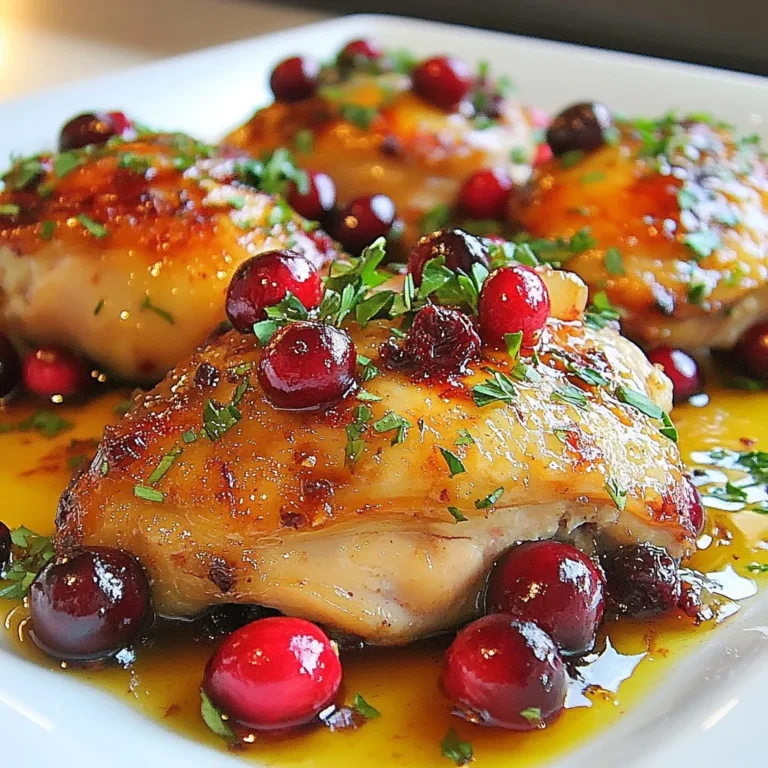
Roasted Cranberry Chicken Savory and Simple Dinner
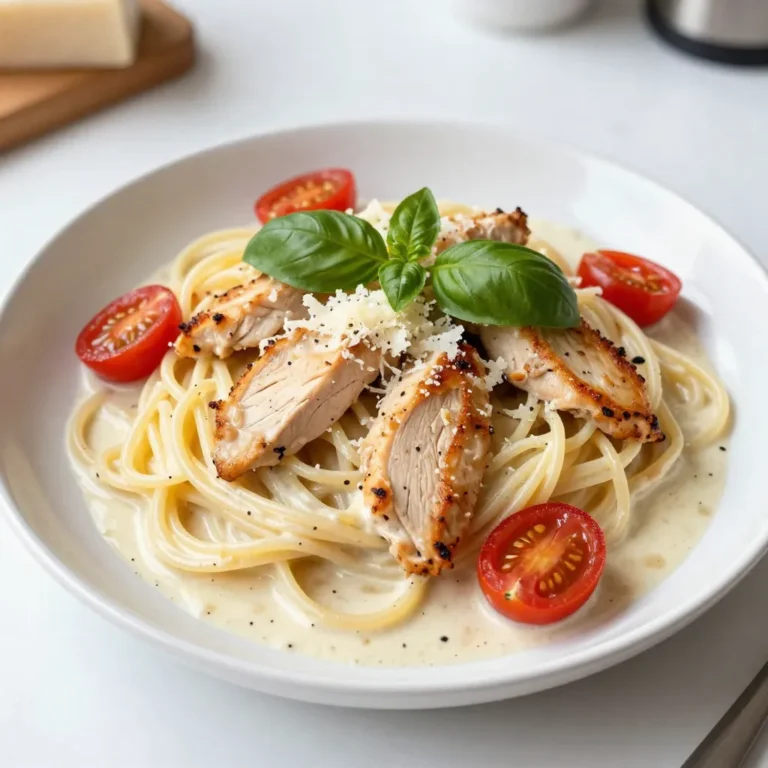
Easy Chicken Spaghetti Quick and Creamy Meal Guide
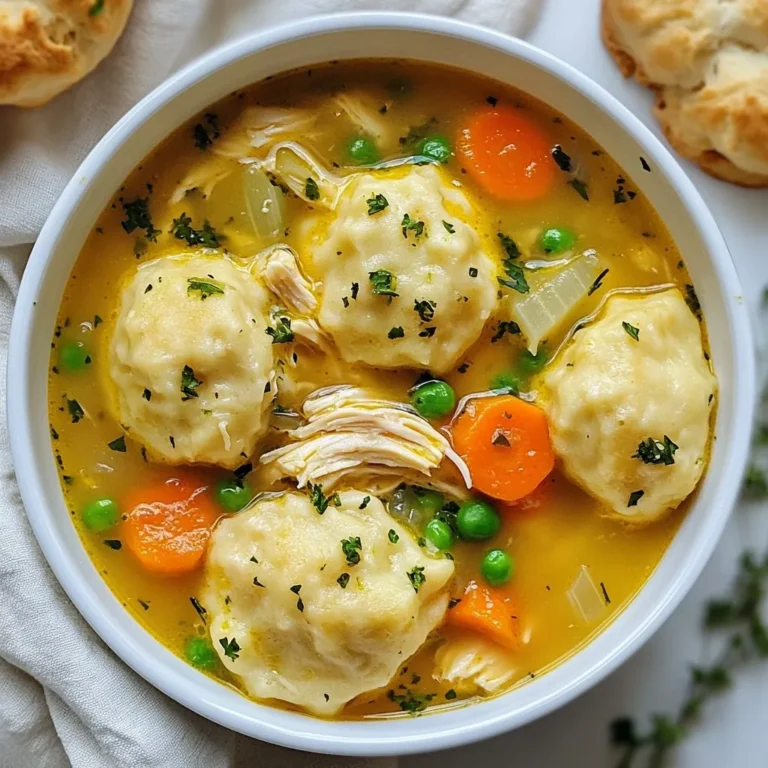
Chicken Dumpling Soup with Biscuits Comfort Recipe
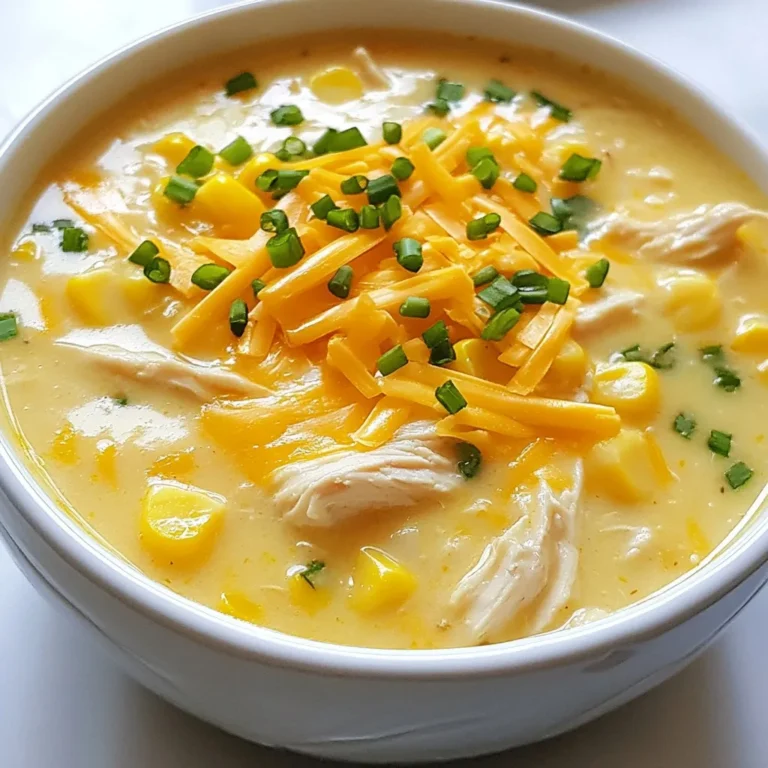
Crockpot Chicken Corn Chowder Flavorful Comfort Dish
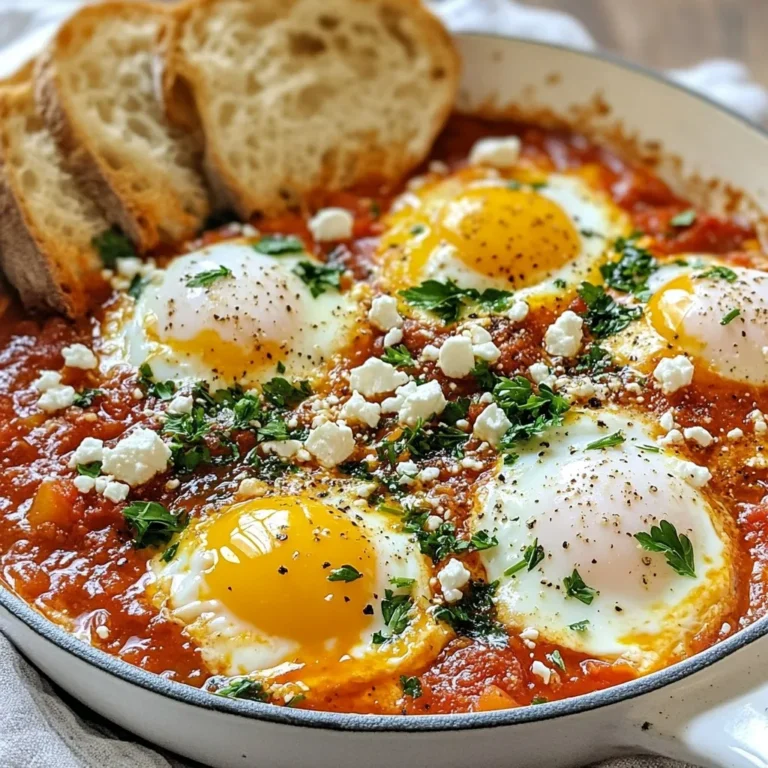
Spiced Tomato Shakshuka Flavorful and Simple Recipe
Tangy Orange Chicken Simple and Flavorful Recipe
Instant Pot Beef Stew Flavorful and Hearty Meal
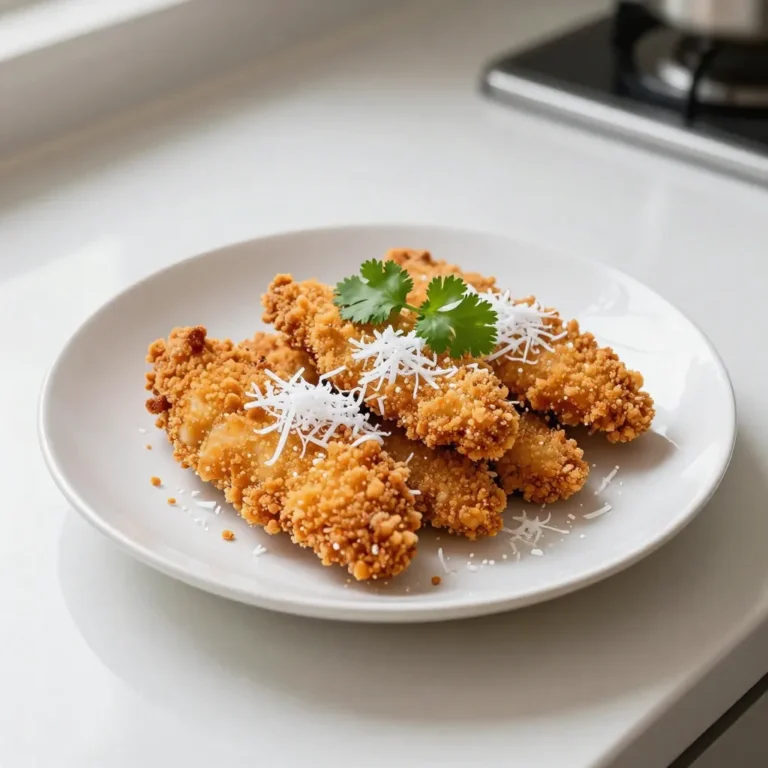
Coconut Crunch Chicken Crispy Delightful Dish
Page navigation
Previous Page
Previous
1
…
28
29
30
31
32
…
36
Next Page
Next
Home
Dinner
Appetizer
Desserts
Drinks
About
Contact
Privacy Policy
Toggle Menu Close
Search for:
Search