Skip to content
About
Contact
Cookie Policy
Copyright Policy
Disclaimer
Search
Home
Dinner
Appetizer
Desserts
Drinks
About
Contact
Privacy Policy
Toggle Menu
Home
/
Dinner
- Page 29
Dinner
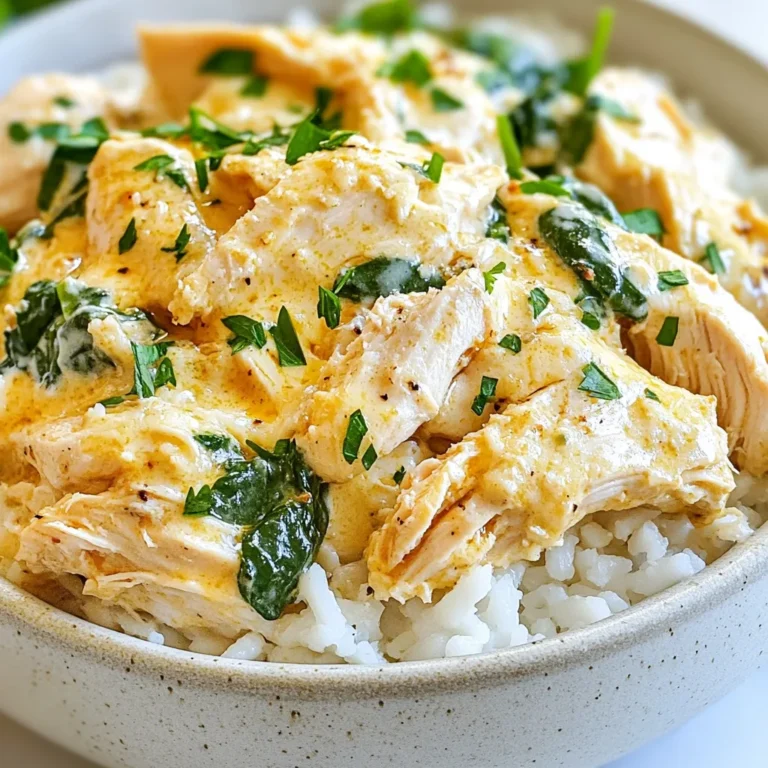
Creamy Garlic Parmesan Crockpot Chicken Delight
Feta Spinach Rolled Chicken Delightful Dinner Recipe
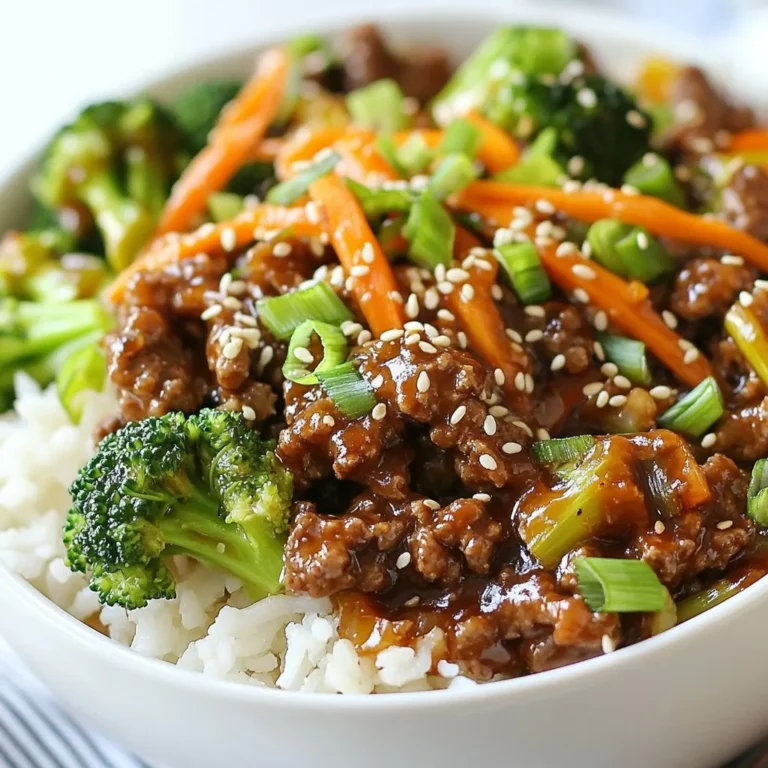
Korean Ground Beef Bowls Flavor-Packed and Easy Recipe
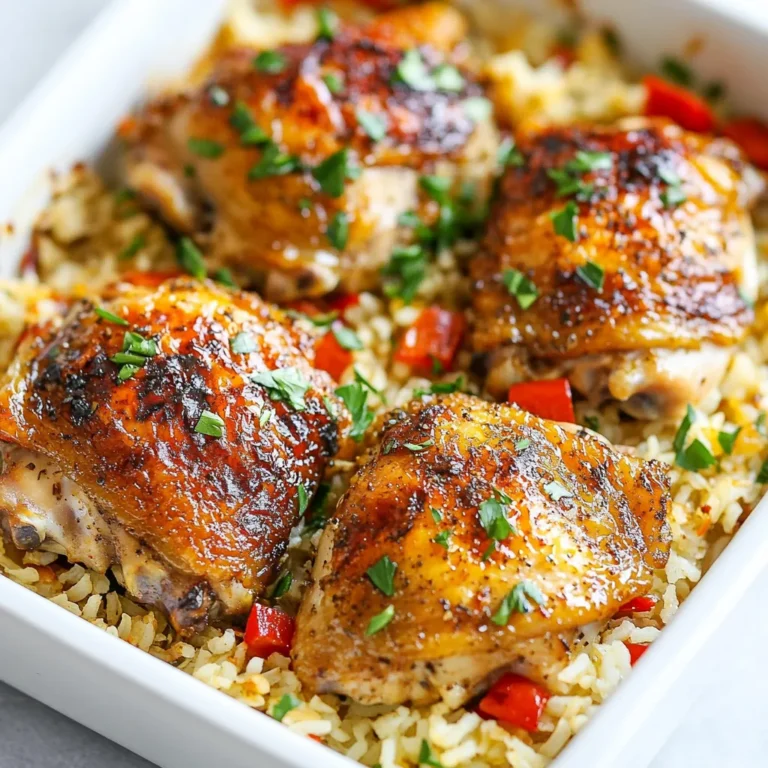
Oven Baked Chicken and Rice Tasty Family Meal
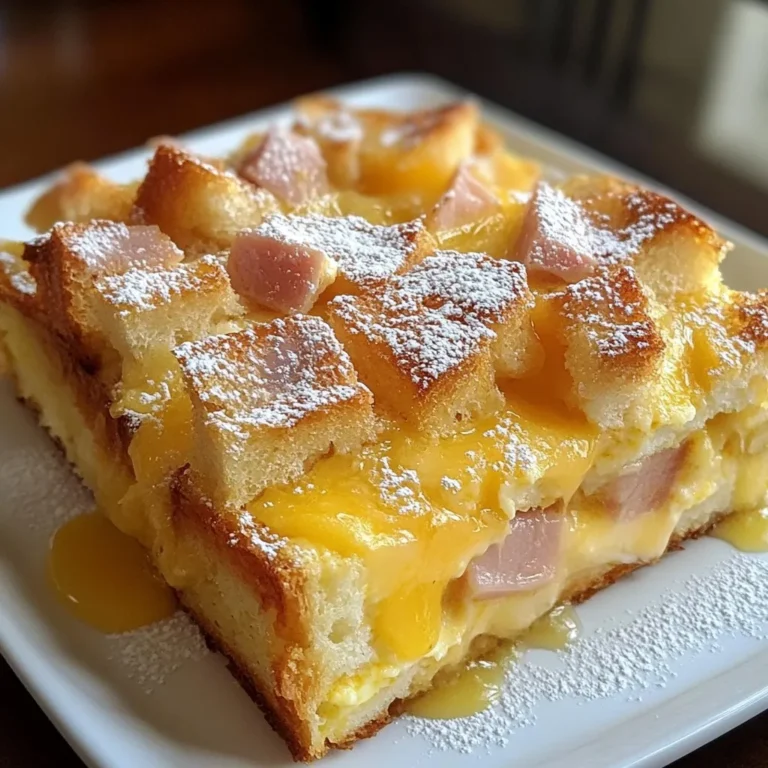
Monte Cristo Breakfast Casserole Flavorful and Easy Dish
Easy Chicken Broccoli Alfredo Bake Simple Comfort Food
Cajun Smoked Sausage Alfredo Pasta Velvety Dish
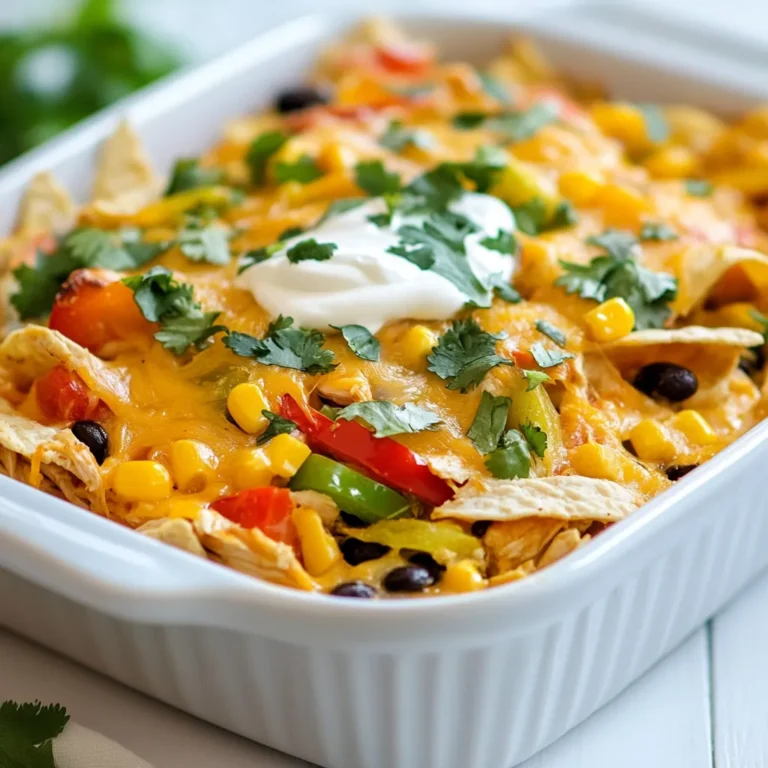
Fajita Chicken Casserole Savory and Satisfying Dish
Fluffy Make-Ahead Breakfast Rolls Easy and Tasty Treat
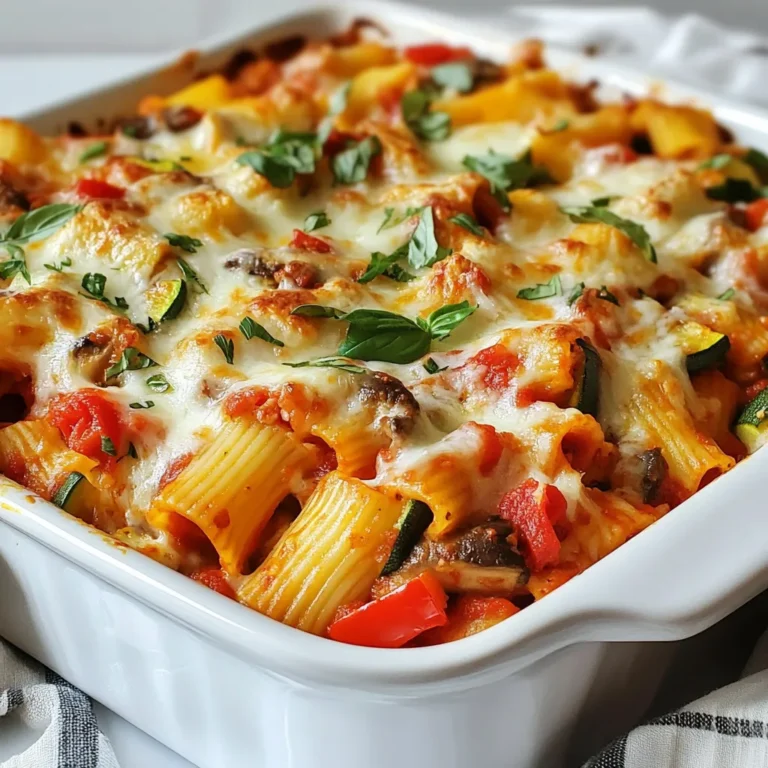
Loaded Veggie Baked Ziti Flavorful Family Dinner
Page navigation
Previous Page
Previous
1
…
27
28
29
30
31
…
36
Next Page
Next
Home
Dinner
Appetizer
Desserts
Drinks
About
Contact
Privacy Policy
Toggle Menu Close
Search for:
Search