Skip to content
About
Contact
Cookie Policy
Copyright Policy
Disclaimer
Search
Home
Dinner
Appetizer
Desserts
Drinks
About
Contact
Privacy Policy
Toggle Menu
Home
/
Dinner
- Page 2
Dinner
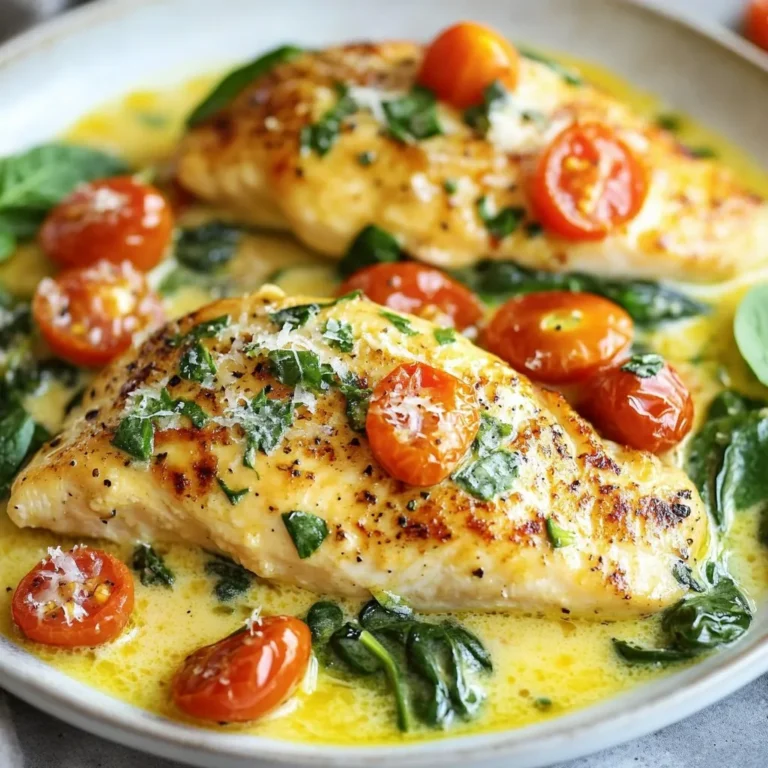
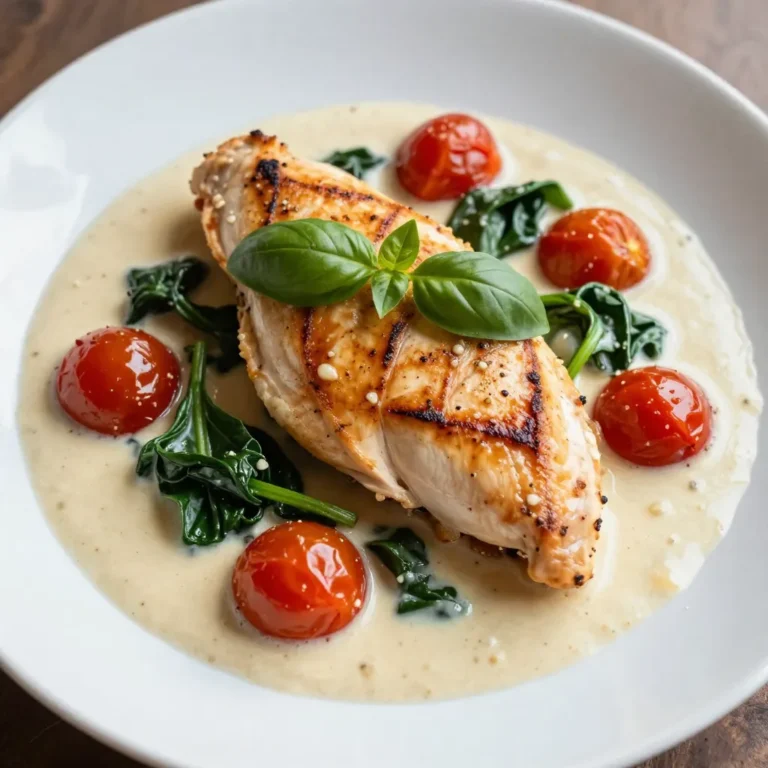
Creamy Garlic Tuscan Chicken Flavorful Dinner Delight
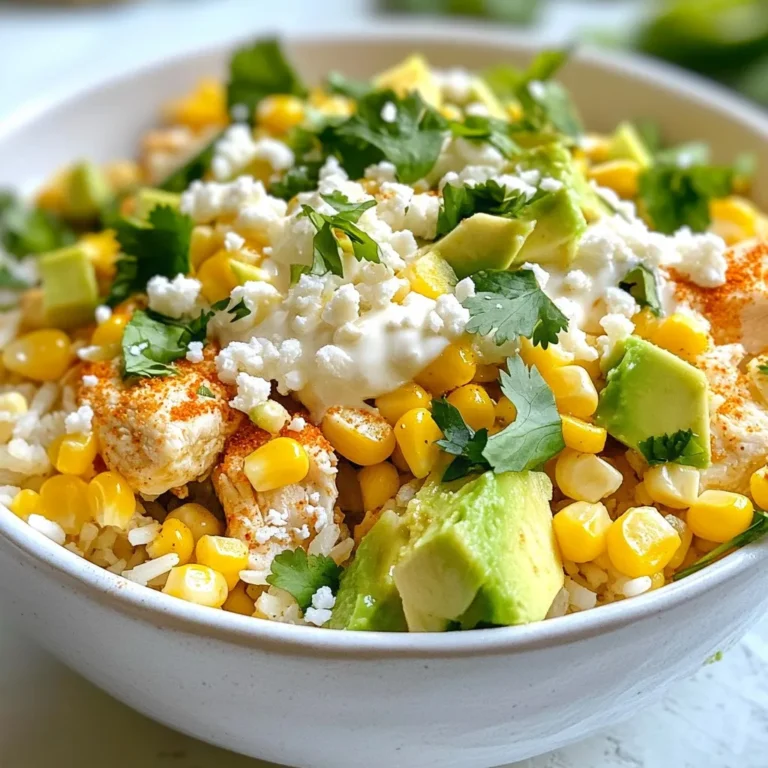
Creamy Street Corn Chicken Bowls Flavorful Meal Idea
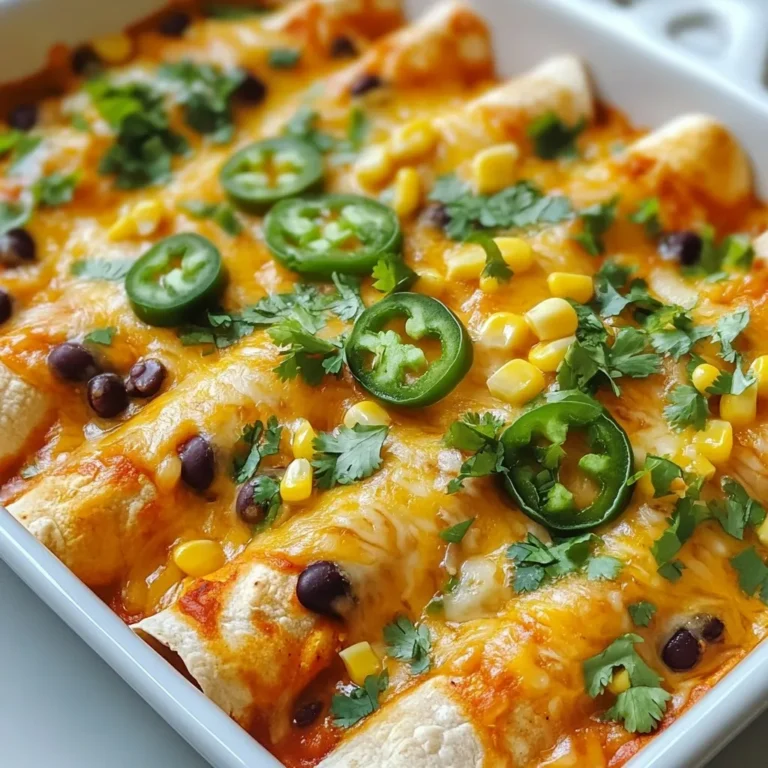
Quick Chicken Enchiladas Tasty and Simple Recipe
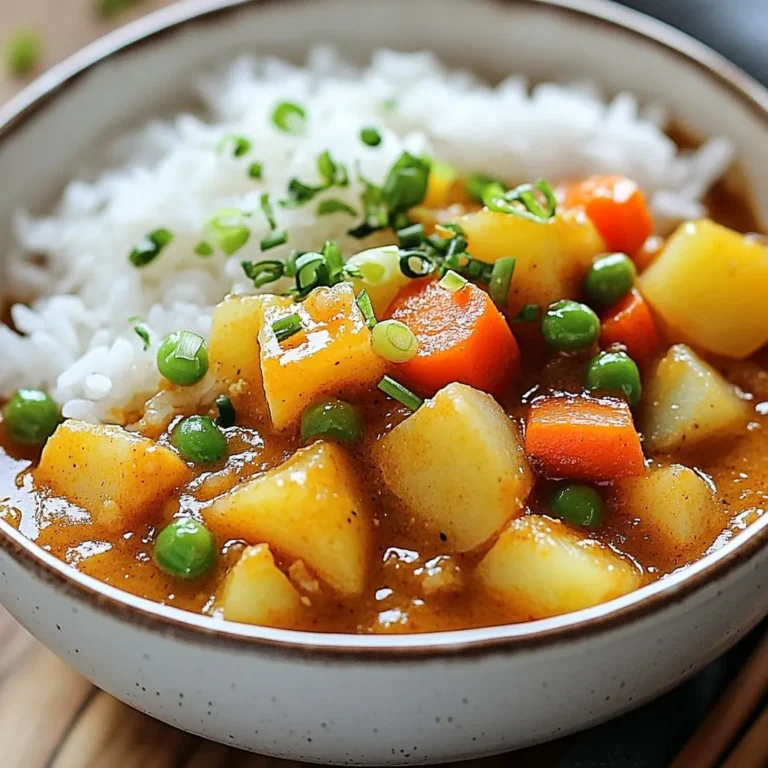
Cozy Japanese Curry Rice Bowl Simple and Tasty Meal
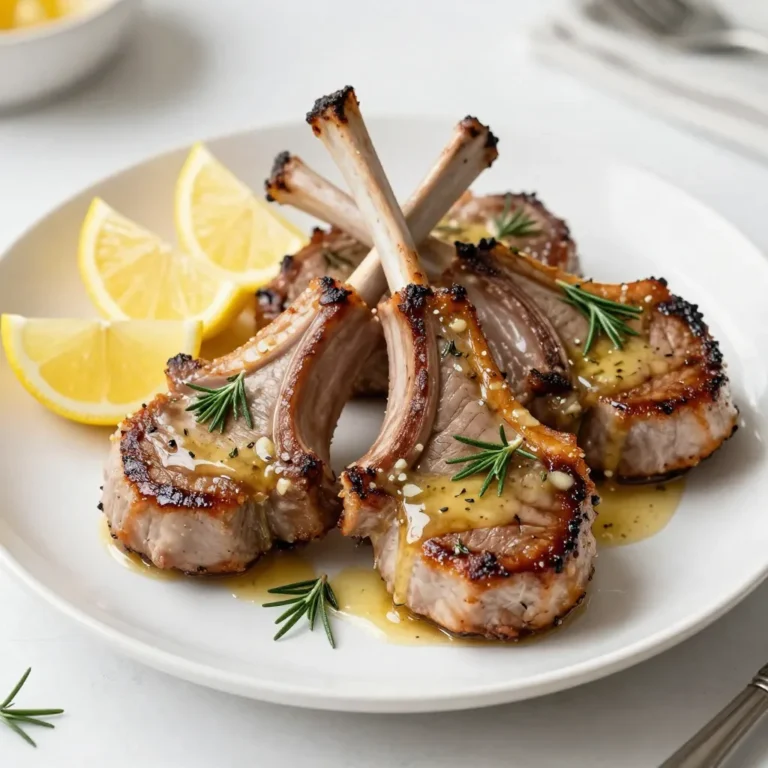
Garlic Butter Lamb Chops Rich and Flavorful Delight
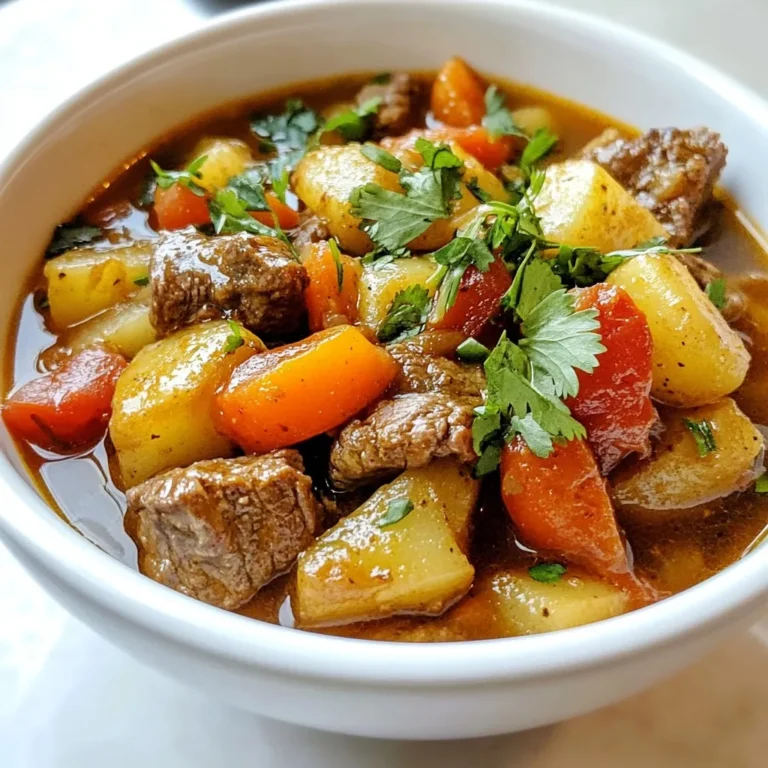
Caldillo Mexican Beef Stew Flavorful Comfort Dish
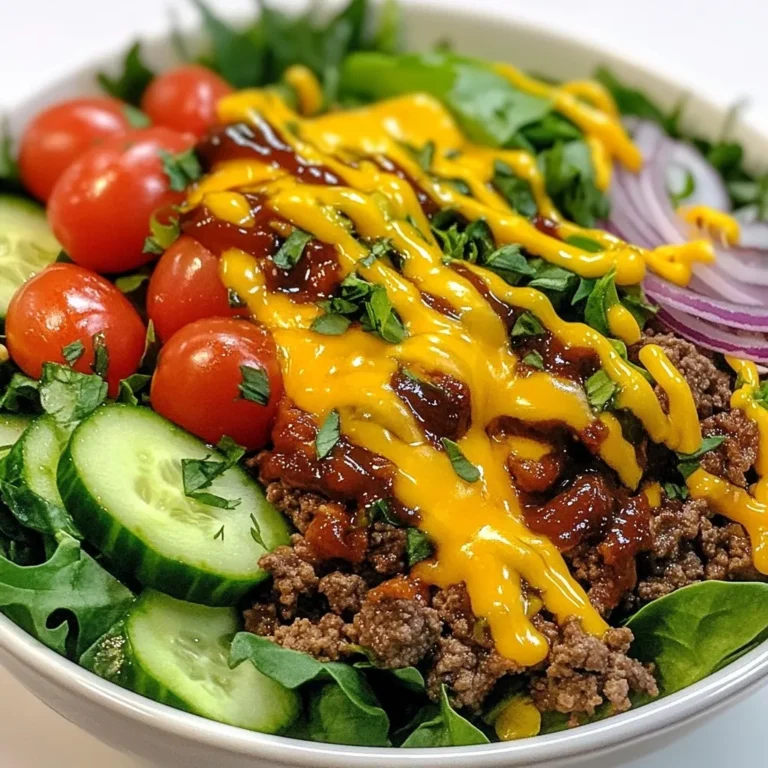
Loaded Burger Bowl Flavorful and Filling Meal Idea
Classic Flaky Crust Quiche Simple and Savory Recipe
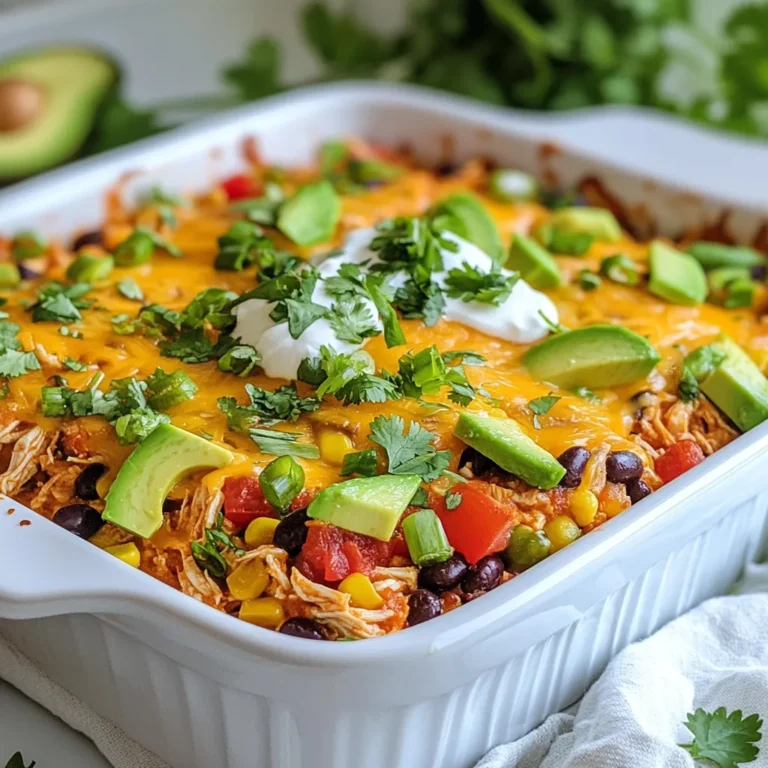
Mexican Chicken Casserole Flavorful and Hearty Meal
Creamy Garlic Tuscan Chicken Flavorful Dinner Recipe
Page navigation
Previous Page
Previous
1
2
3
4
…
36
Next Page
Next
Home
Dinner
Appetizer
Desserts
Drinks
About
Contact
Privacy Policy
Toggle Menu Close
Search for:
Search