Skip to content
About
Contact
Cookie Policy
Copyright Policy
Disclaimer
Search
Home
Dinner
Appetizer
Desserts
Drinks
About
Contact
Privacy Policy
Toggle Menu
Home
/
Dinner
- Page 19
Dinner
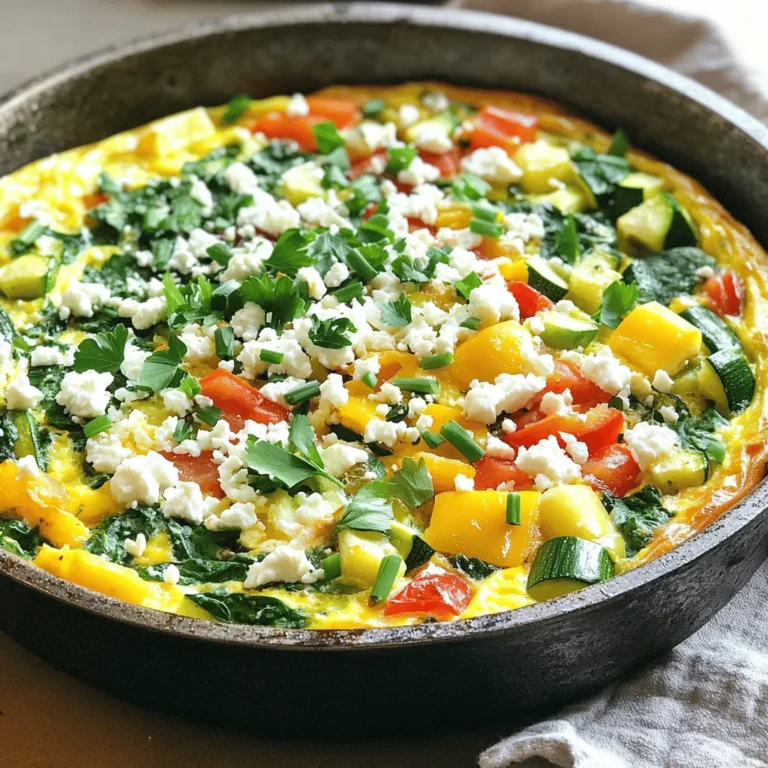
Vegetable Frittata with Feta Perfect Breakfast Idea
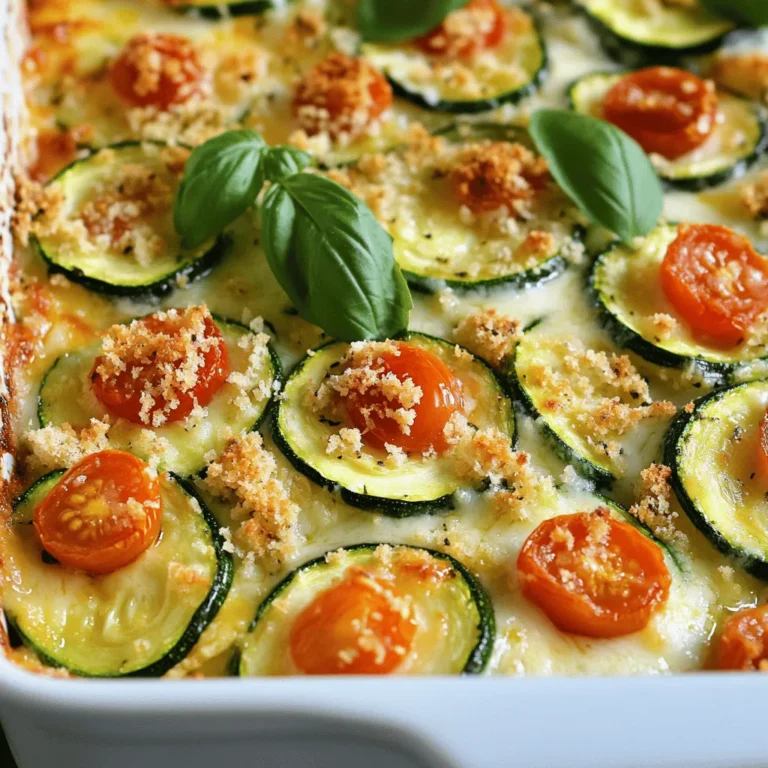
Baked Zucchini Casserole Deliciously Simple Dish
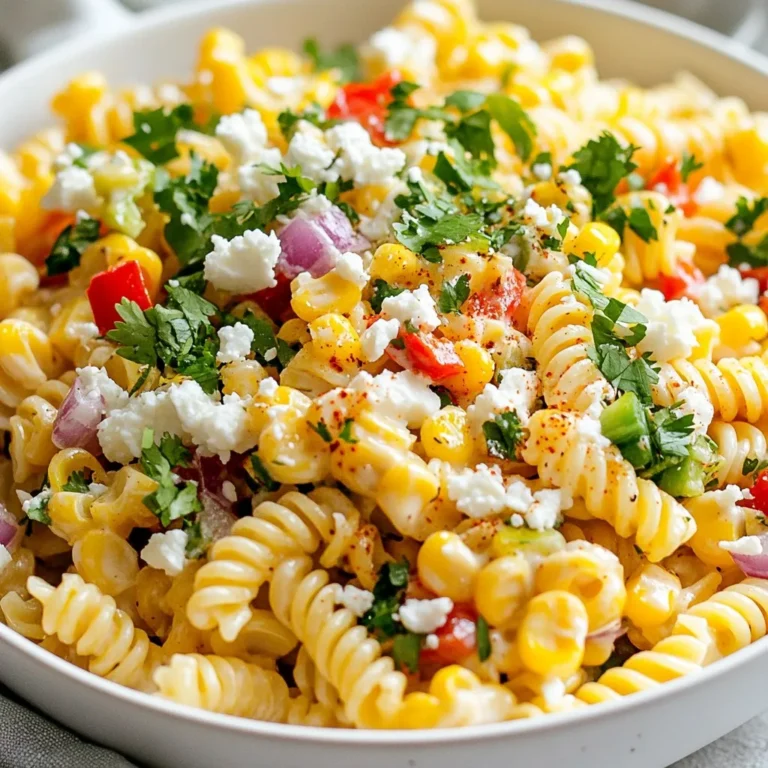
Street Corn Pasta Salad Flavorful and Fresh Dish
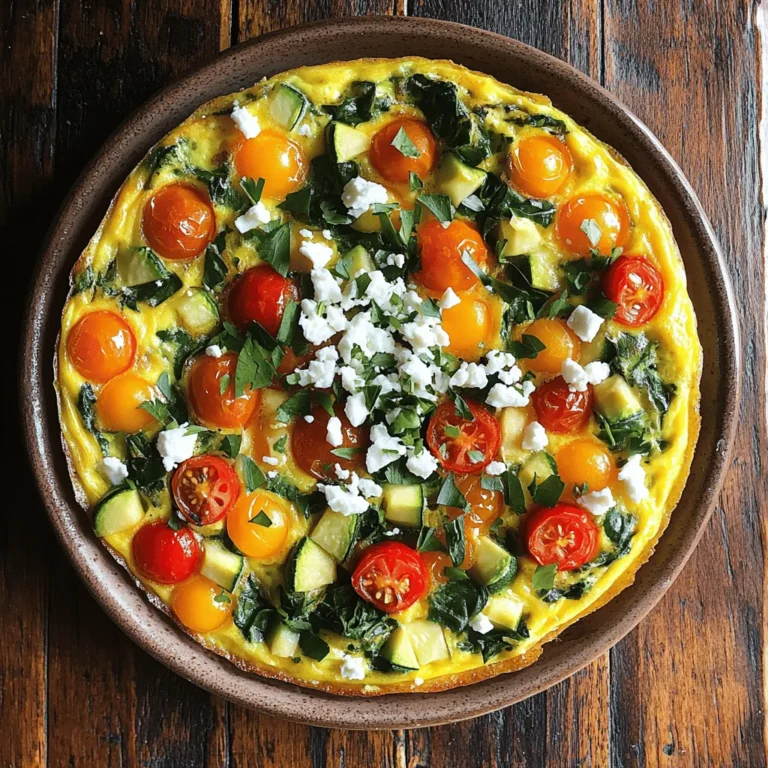
Healthy Veggie Frittata Simple and Tasty Meal Idea
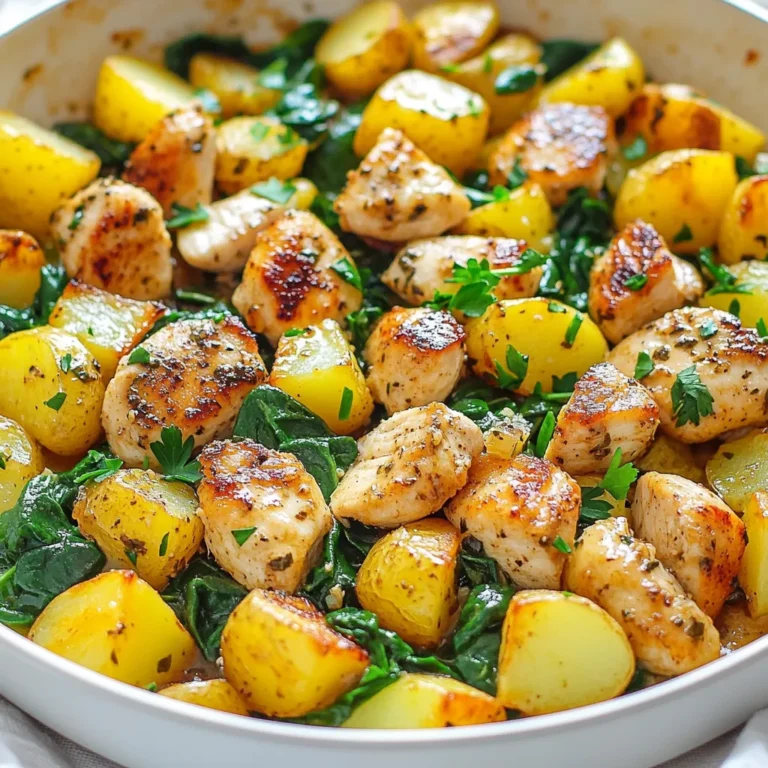
Garlic Butter Chicken Potato Skillet Flavorful Dish
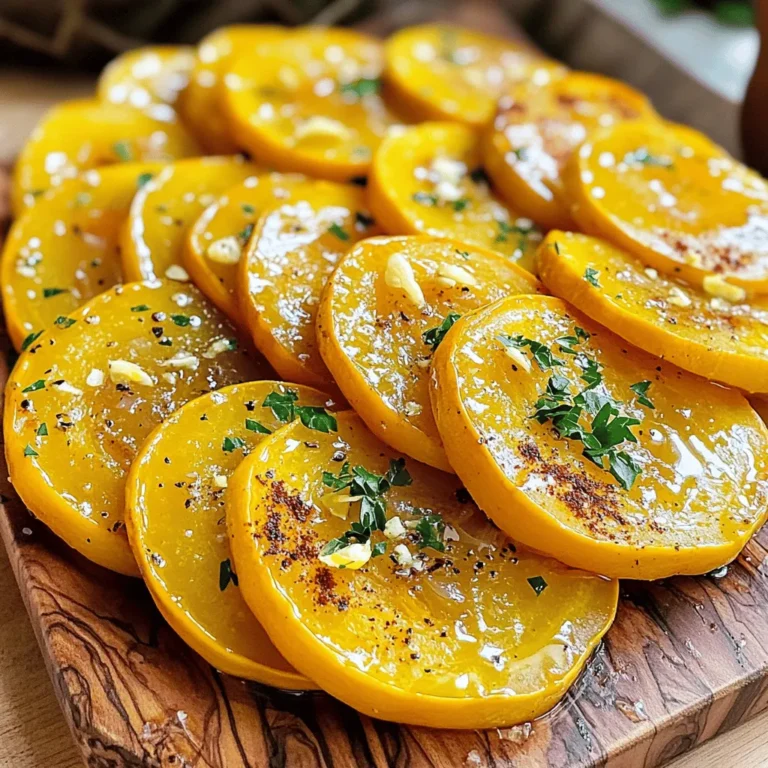
Roasted Yellow Squash Flavorful and Simple Dish
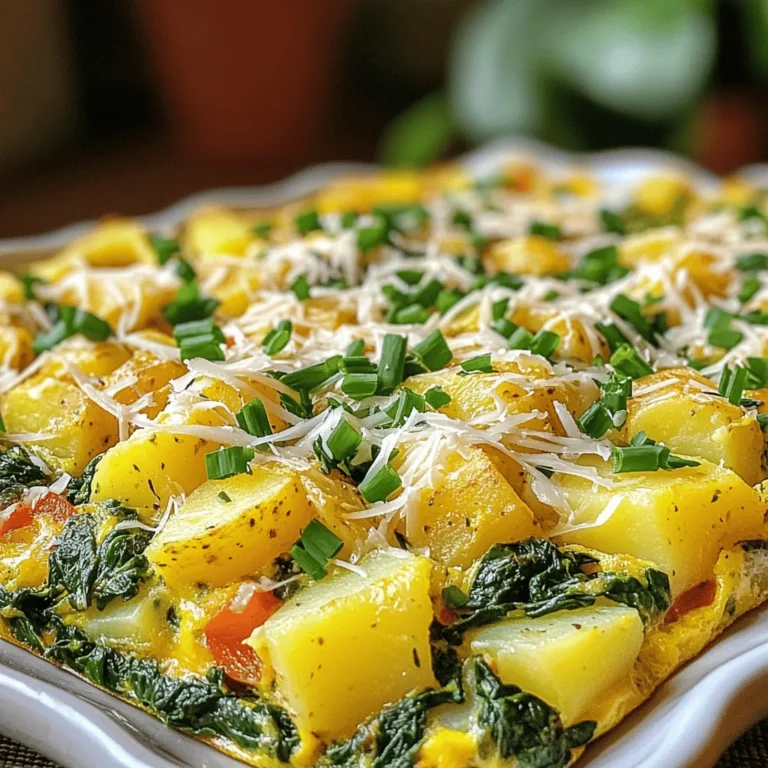
Savory Potato Spinach Frittata Healthy and Flavorful Dish
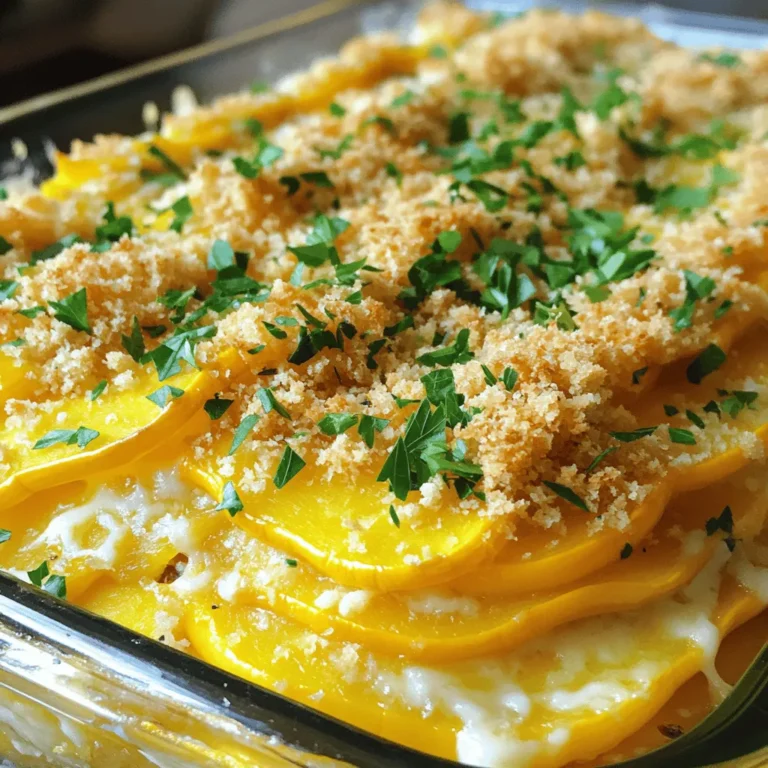
Cheesy Yellow Squash Bake Flavorful and Easy Delight
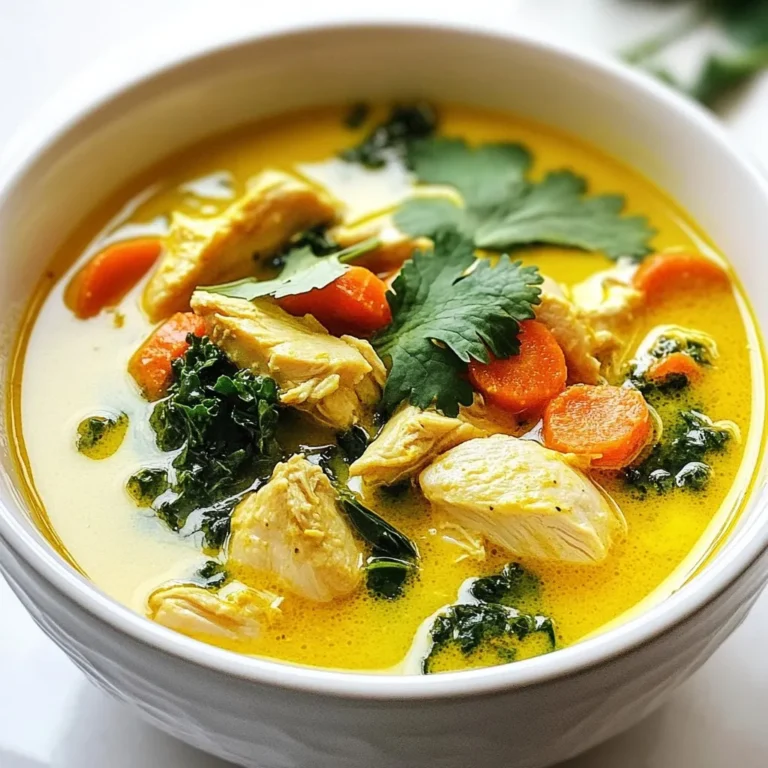
Turmeric Chicken Soup Packed with Flavor and Comfort
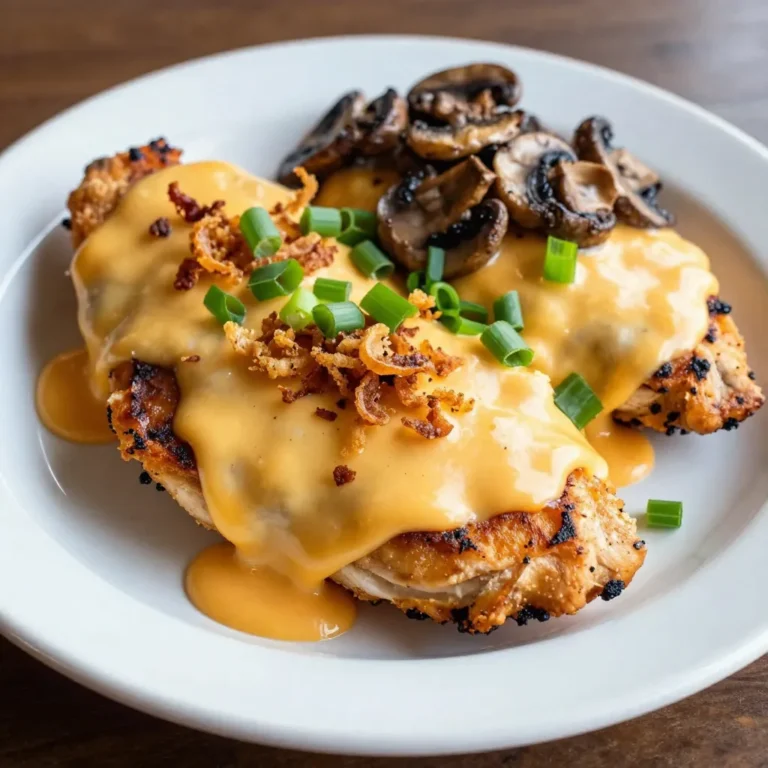
Texas Roadhouse Smothered Chicken Delight Recipe
Page navigation
Previous Page
Previous
1
…
17
18
19
20
21
…
36
Next Page
Next
Home
Dinner
Appetizer
Desserts
Drinks
About
Contact
Privacy Policy
Toggle Menu Close
Search for:
Search