Skip to content
About
Contact
Cookie Policy
Copyright Policy
Disclaimer
Search
Home
Dinner
Appetizer
Desserts
Drinks
About
Contact
Privacy Policy
Toggle Menu
Home
/
Dinner
- Page 15
Dinner
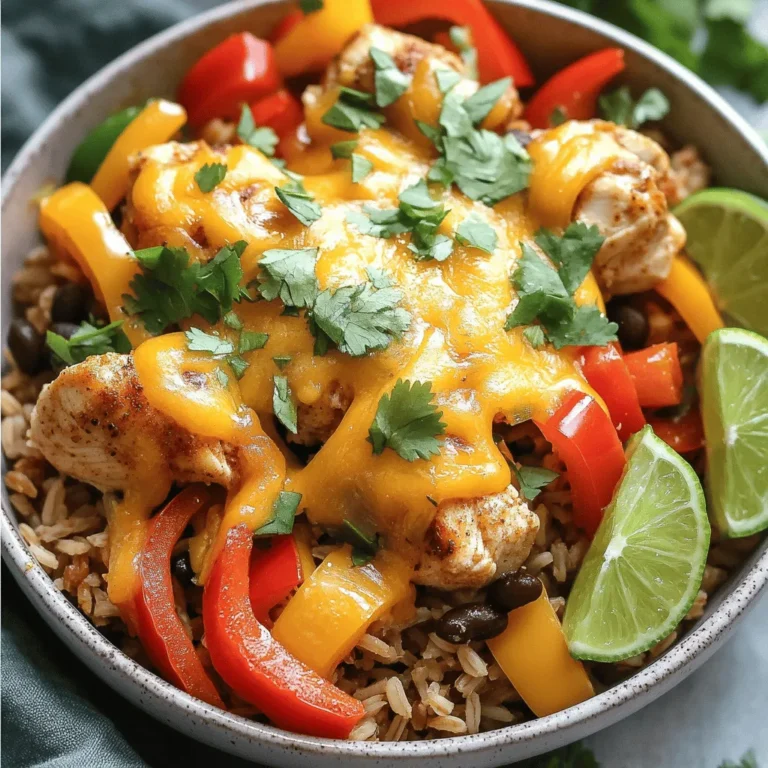
One-Pan Chicken Burrito Bowl Flavorful and Easy Meal
Crockpot Birria Tacos Delicious and Flavorful Meal
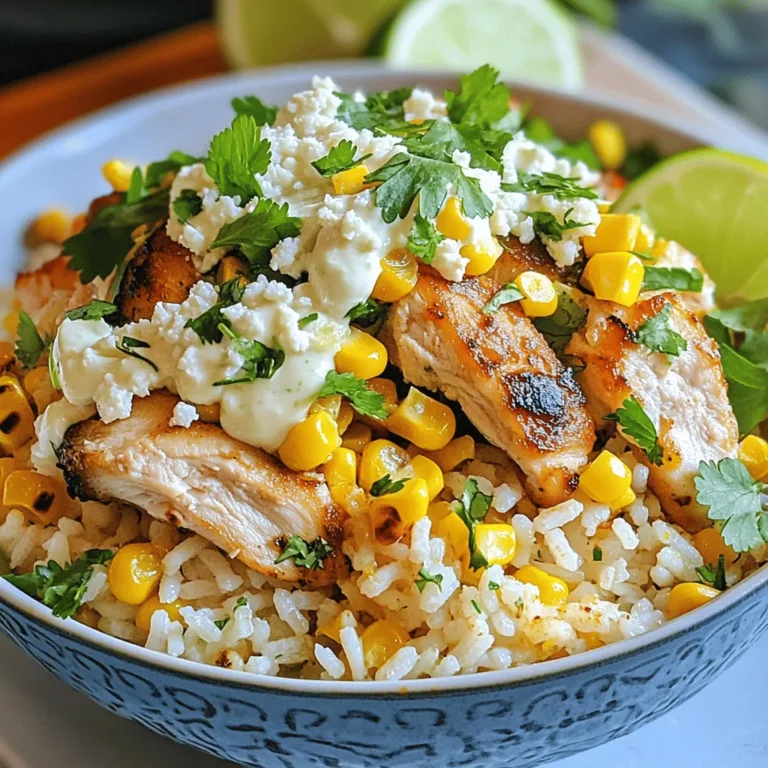
Flavorful Street Corn Chicken Rice Bowl Recipe
Crockpot Garlic Parmesan Chicken & Potatoes Delight
Crockpot Bourbon Chicken Flavorful and Simple Recipe
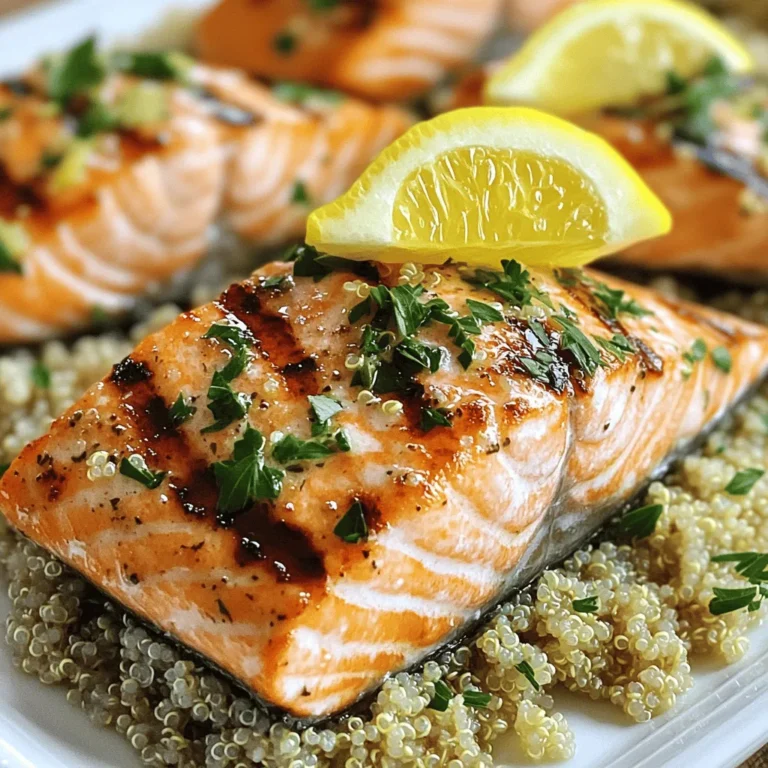
Lemon Grilled Salmon Fresh and Flavorful Delight
Spicy Honey BBQ Sausage Pasta Skillet Delightful Meal
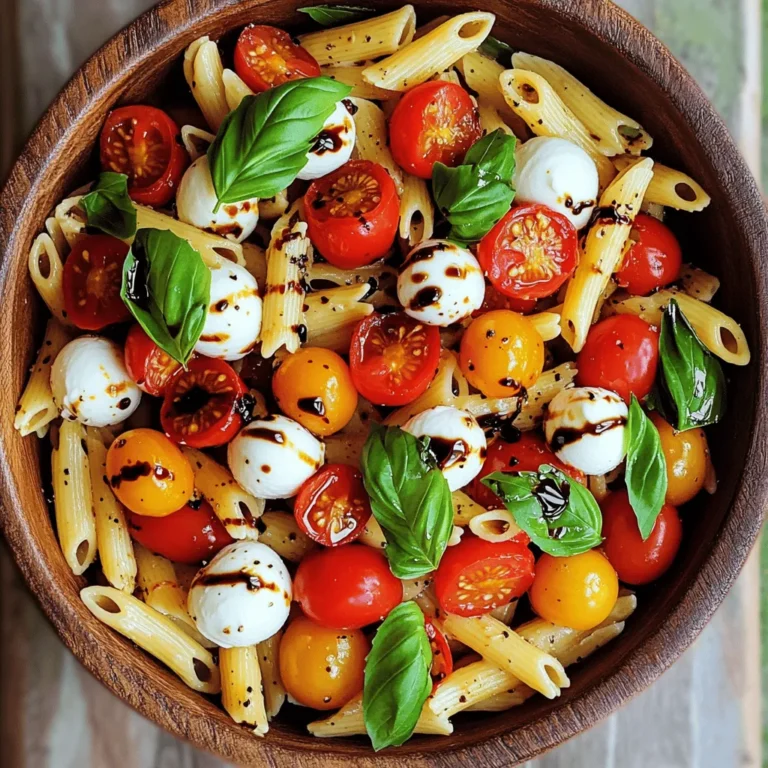
Caprese Pasta Salad with Balsamic Glaze Delight
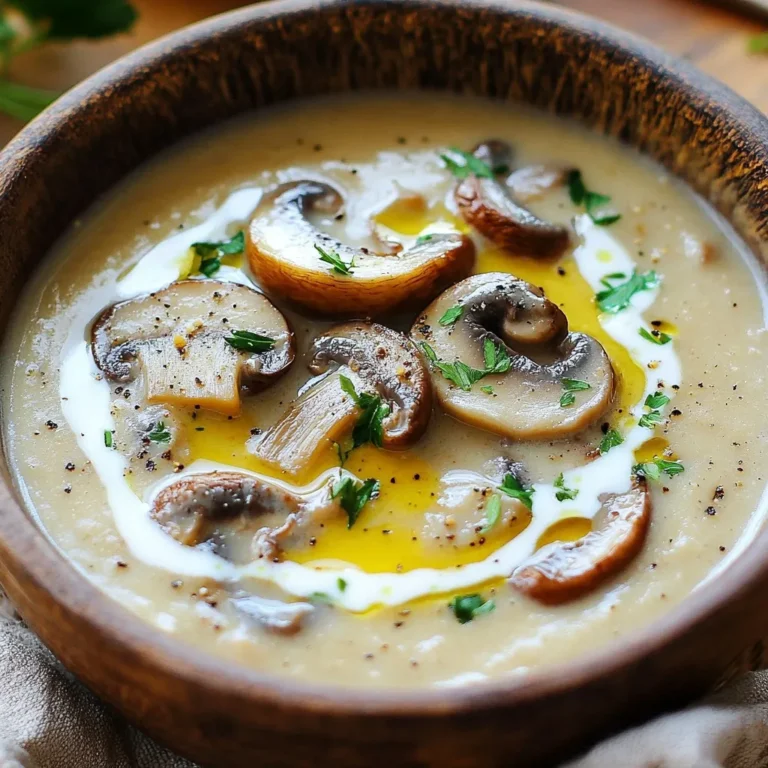
Ultimate Creamy Mushroom Soup Tasty Comfort Dish
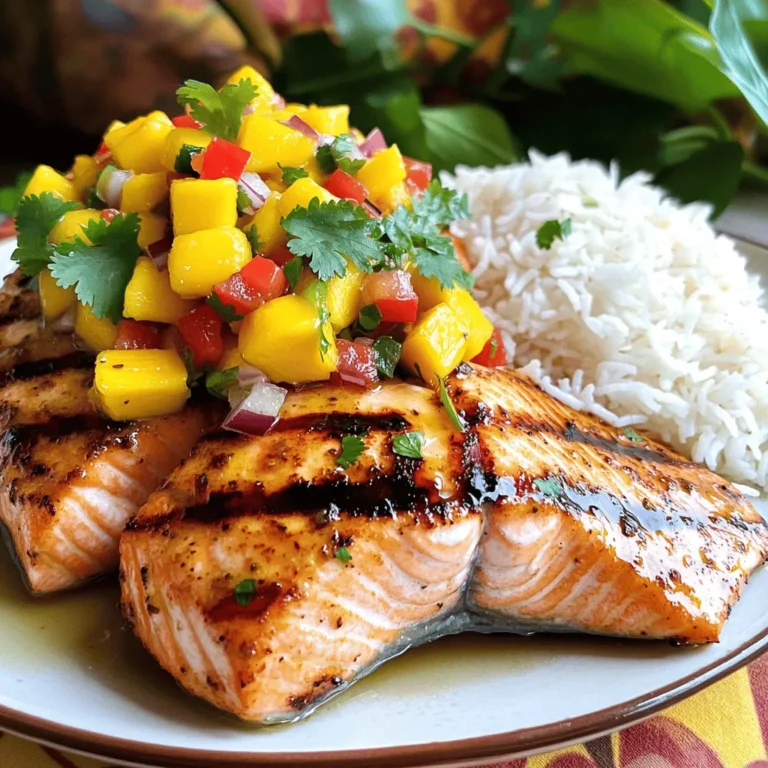
Grilled Salmon with Mango Salsa and Coconut Rice Delight
Page navigation
Previous Page
Previous
1
…
13
14
15
16
17
…
36
Next Page
Next
Home
Dinner
Appetizer
Desserts
Drinks
About
Contact
Privacy Policy
Toggle Menu Close
Search for:
Search

. This recipe is friendly for all cooks. The steps are simple and clear. Even beginners can make great tacos. Preparing the ingredients takes a short time. The slow cooker does most of the work. You don't need to worry about constant stirring or checking. It’s an easy way to impress friends and family. - Prep Time: 20 minutes - Cook Time: 8 hours (low) or 4 hours (high) - Servings: 8-10 tacos With a bit of time, you will have a tasty meal ready to enjoy! This blog post guides you through making delicious birria tacos. You learned the key ingredients, like beef, chilies, and spices. I provided step-by-step instructions, including how to prepare chilies and cook the beef. You also discovered tips for storing leftovers and variations to try. Now, you can enjoy tasty birria tacos at home. With practice, you'll create the perfect meal for friends and family. Dive in and savor each bite!](https://fastmealmate.com/wp-content/uploads/2025/07/26480268-fadb-491b-986e-82dbbe9ddeca-768x768.webp)

![To make Spicy Honey BBQ Sausage Pasta Skillet, you need some key items. Here’s what you will use: - 8 oz penne pasta - 2 tablespoons olive oil - 1 lb spicy Italian sausage, casings removed - 1 medium onion, diced - 3 cloves garlic, minced - 1 bell pepper (red or yellow), diced - 1 cup corn kernels (fresh or frozen) - 1 cup cherry tomatoes, halved - 1/2 cup BBQ sauce - 2 tablespoons honey - 1 teaspoon crushed red pepper flakes - Salt and pepper to taste You can add extra flavor or texture with these ingredients: - Chopped fresh parsley for garnish - Grated Parmesan cheese for serving To prepare this dish, you will need a few handy tools: - Large pot for boiling pasta - Large skillet for cooking sausage and veggies - Colander for draining pasta - Spatula for mixing and breaking up sausage Start by boiling a large pot of salted water. Once it reaches a rolling boil, add 8 oz of penne pasta. Cook it for about 8-10 minutes until it is al dente. Drain the pasta in a colander and set it aside for later. In a large skillet, heat 2 tablespoons of olive oil over medium heat. When the oil shimmers, add 1 lb of spicy Italian sausage. Break the sausage apart with a spatula. Cook until it browns nicely, which should take around 5-7 minutes. Add 1 diced medium onion and 1 diced bell pepper to the skillet. Stir everything together and sauté for about 3-4 minutes. This will help the veggies soften. Then, add 3 minced garlic cloves and cook for another 1-2 minutes until the garlic smells amazing. Next, stir in 1 cup of corn kernels and 1 cup of halved cherry tomatoes. Pour in 1/2 cup of BBQ sauce and 2 tablespoons of honey. Sprinkle in 1 teaspoon of crushed red pepper flakes for heat. Mix it all well and let it simmer for about 5 minutes. This helps the flavors blend together. Once the sauce is bubbling, add the cooked penne pasta to the skillet. Toss everything gently until the pasta is coated with the sauce. Taste it, and adjust the seasoning with salt and pepper as you like. Take the skillet off the heat. Garnish your dish with chopped fresh parsley for a burst of color. If you want, add some grated Parmesan cheese on top. Serve hot and enjoy your Spicy Honey BBQ Sausage Pasta Skillet! For the full recipe, check [Full Recipe]. To get the right heat, start with the crushed red pepper flakes. I suggest using one teaspoon first. You can always add more if you want extra kick. Taste as you go. This dish should be spicy but not overpowering. Adjust it to suit your taste buds. Seasoning is key. Use salt and pepper to bring out the flavors. I often add a dash of garlic powder for extra depth. Fresh herbs like parsley can brighten the dish. Don’t forget to taste before serving. A little tweak can make a big difference. Cooking times can vary based on your stove. When cooking the sausage, look for a golden brown color. For the veggies, aim for a soft texture without losing crunch. The pasta should be al dente. Always keep an eye on your skillet. This way, you won’t overcook any ingredients. For the full recipe, check out the complete list of steps. {{image_4}} You can easily switch out ingredients in this dish. If you can't find spicy Italian sausage, use any sausage you like. Chicken sausage or turkey sausage works well too. For a lighter option, try ground turkey or beef. If you're vegan, use plant-based sausage. Honey can be swapped for maple syrup for a different sweet touch. You can also use low-sugar BBQ sauce if you're watching your sugar intake. Penne pasta is great, but many other options exist. Try fusilli or rigatoni for fun shapes. Gluten-free pasta works too if you need it. You can also use whole wheat pasta for added fiber. Just keep an eye on cooking times, as they may vary. Want to boost the nutrition? Add more veggies! Spinach or kale can wilt nicely into the dish. You can toss in zucchini or mushrooms for added flavor. Carrots or peas can add sweetness too. Feel free to get creative with what you have on hand. Each choice adds color and nutrients, making the meal even better. For the full recipe, check out the Spicy Honey BBQ Sausage Pasta Skillet! After you enjoy your Spicy Honey BBQ Sausage Pasta Skillet, let any leftovers cool. Transfer them to an airtight container. You can keep it in the fridge for up to three days. Make sure to seal the container well. This keeps the flavors fresh and tasty. To reheat, simply take the pasta out of the fridge. Place it in a skillet over medium heat. Add a splash of water or broth to keep it moist. Stir often until it’s heated through. You can also use a microwave. Heat it in short bursts, stirring in between. This way, it warms evenly. If you want to store the dish for longer, freezing is a great option. Let the pasta cool completely first. Then, put it in a freezer-safe container. You can also use freezer bags. Just remove as much air as possible. It can last up to three months in the freezer. When you're ready to eat, thaw it overnight in the fridge before reheating. It makes for a quick meal later! For the full recipe, check out the details above. Yes, you can use different types of sausage. If you prefer mild flavors, use sweet Italian sausage. Chicken or turkey sausage also works well. You can even try smoked sausage for a unique twist. Just make sure to cook it fully before mixing it with the pasta. To kick up the heat, add more crushed red pepper flakes. You can also use spicy BBQ sauce instead of regular BBQ sauce. Adding diced jalapeños or a splash of hot sauce will give your dish extra spice. Adjust the heat to match your taste. This dish pairs well with a simple green salad. Garlic bread is great for sopping up the sauce. You can also serve it with roasted vegetables or a side of coleslaw for a crunchy contrast. Each adds a nice touch to your meal. Yes, you can make a vegetarian version easily. Substitute sausage with plant-based sausage or diced mushrooms. Use vegetable broth instead of meat-based sauces. You can also add more veggies like zucchini or spinach for extra flavor. This keeps the dish hearty and satisfying. For the full recipe, visit the section above. Now you know how to make a tasty Spicy Honey BBQ Sausage Pasta Skillet. We covered essential and optional ingredients, cooking tools, and step-by-step instructions. You learned tips for spice levels and enhancing flavors. We also explored variations, storage info, and common questions. I hope you'll try this dish at home. Enjoy experimenting with the flavors and making it your own! Happy cooking!](https://fastmealmate.com/wp-content/uploads/2025/07/3417b746-2870-404b-8959-e56c3fc8d9c9-768x768.webp)