Skip to content
About
Contact
Cookie Policy
Copyright Policy
Disclaimer
Search
Home
Dinner
Appetizer
Desserts
Drinks
About
Contact
Privacy Policy
Toggle Menu
Home
/
Dinner
- Page 11
Dinner
Crispy Parmesan Chicken with Garlic Cream Sauce Delight
Roasted Garlic Mashed Potatoes Creamy and Flavorful Dish
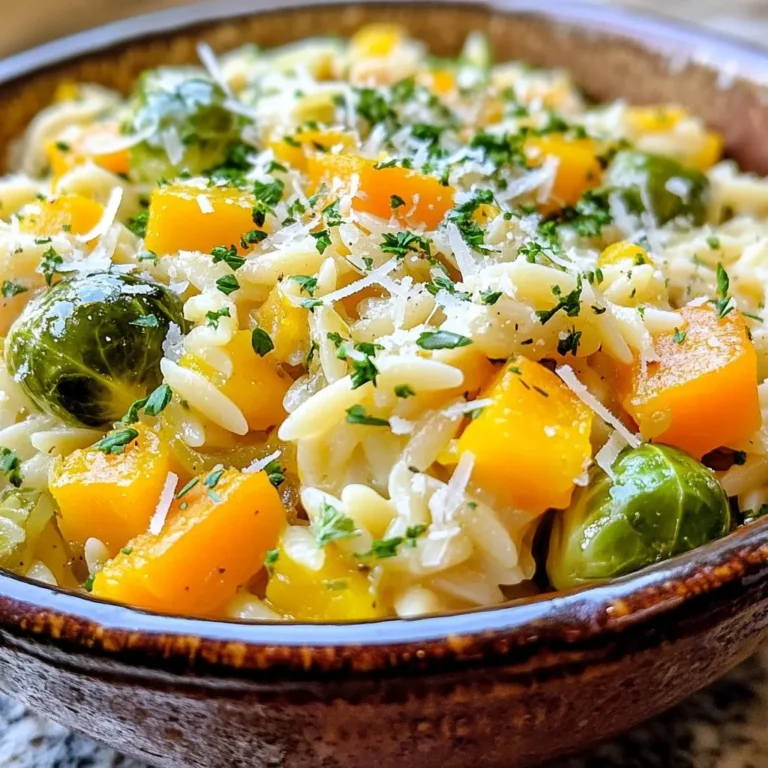
One-Pot Fall Vegetable Orzo Flavorful and Nourishing
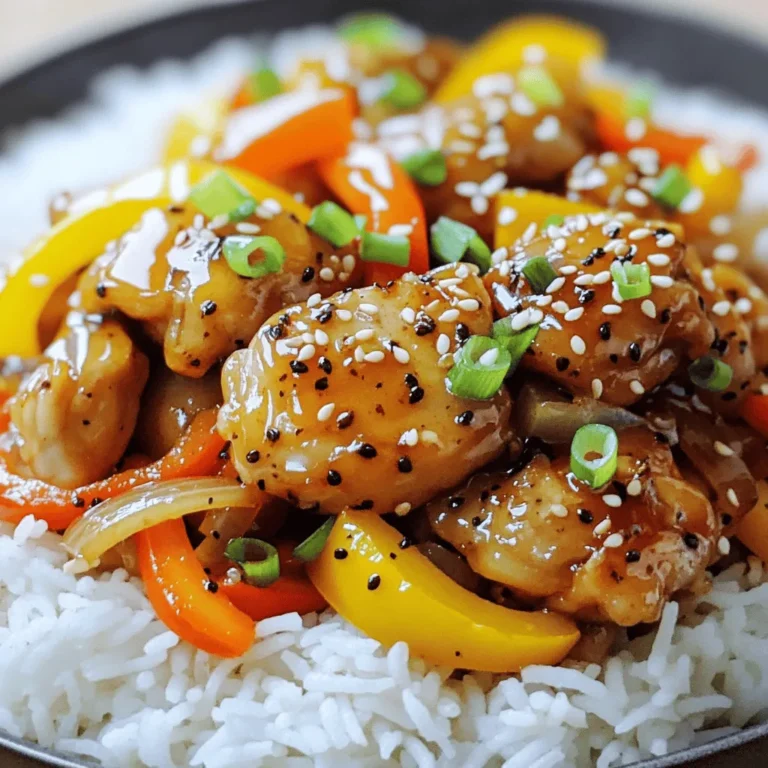
Black Pepper Chicken Flavorful Recipe You’ll Love
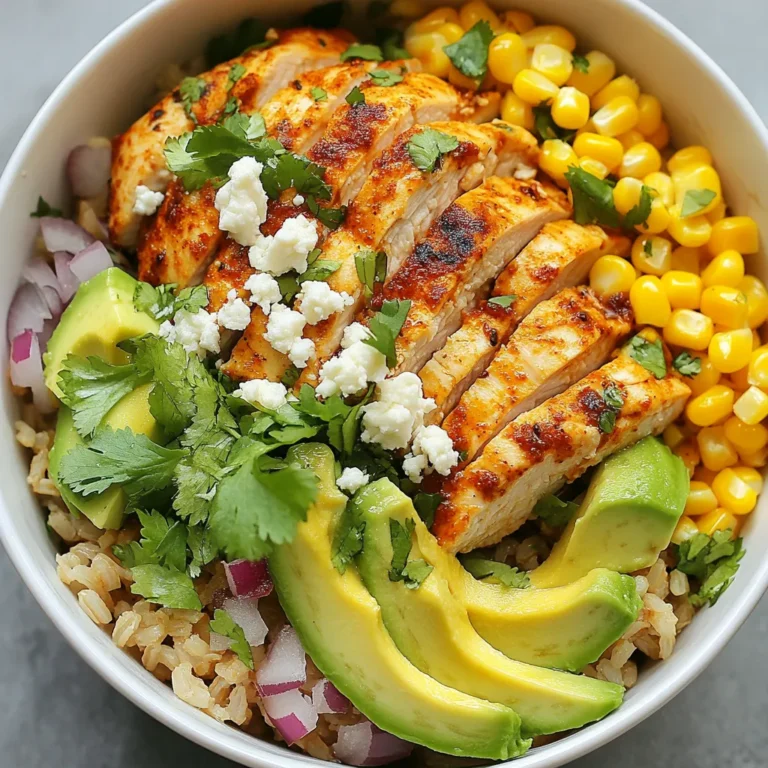
Street Corn Chicken Rice Bowl Flavorful and Filling Dish
Crockpot Kielbasa Green Beans Flavorful Family Meal
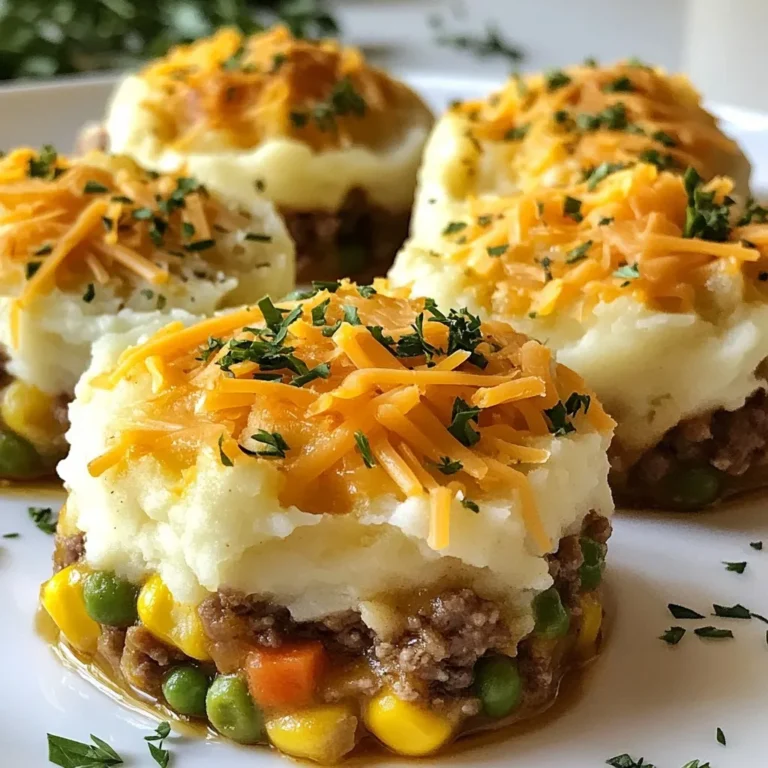
Easy Mini Shepherds Pies Simple Comfort Food Recipe
Garlic Parmesan Cheeseburger Bombs Savory Snack Delight
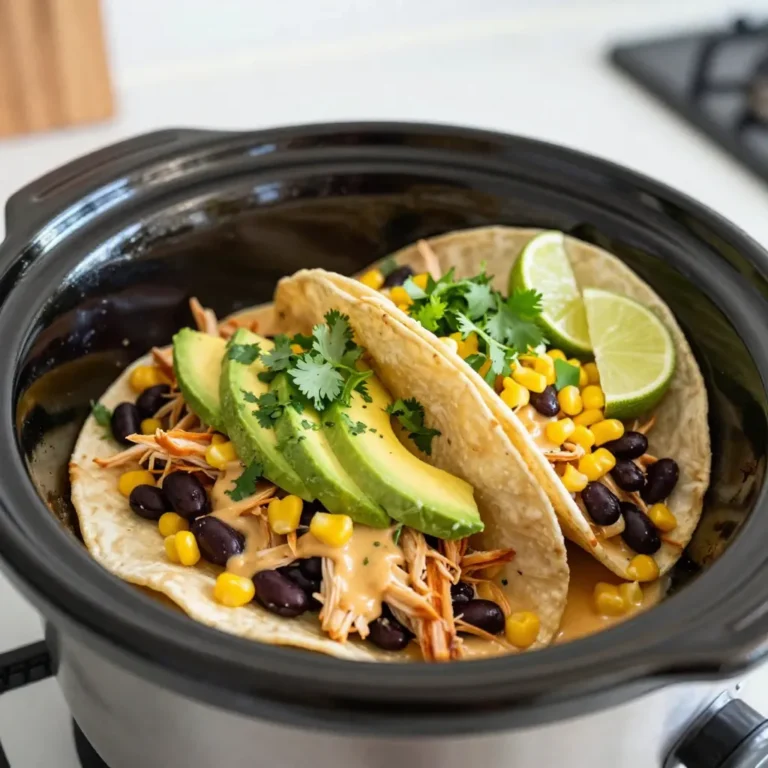
Slow Cooker Queso Chicken Tacos Flavorful and Easy Meal
Creamy Carbonara Ramen Bowls Rich and Flavorful Dish
Page navigation
Previous Page
Previous
1
…
9
10
11
12
13
…
36
Next Page
Next
Home
Dinner
Appetizer
Desserts
Drinks
About
Contact
Privacy Policy
Toggle Menu Close
Search for:
Search


![- 200g ramen noodles - 150g pancetta or guanciale, diced - 2 large eggs The key to this dish starts with the ramen noodles. They add a lovely texture. We use 200g of fresh ramen noodles. You can also use dried noodles if needed. Next, we have the pancetta or guanciale. I prefer guanciale for its rich flavor, but pancetta works great too. You need about 150g, diced into small pieces. Finally, the eggs bind everything together, giving a creamy texture. - 1 cup heavy cream - 1 cup grated Parmesan cheese - 2 cloves garlic, minced For the creamy sauce, use 1 cup of heavy cream. This gives the dish its rich base. Add in 1 cup of grated Parmesan cheese for a salty kick. The cheese melts beautifully into the sauce. Don't forget 2 cloves of minced garlic. Garlic adds depth and a warm aroma. - Fresh black pepper, to taste - Salt, to taste - Fresh parsley, chopped (for garnish) Seasoning is crucial. I recommend using fresh black pepper to taste. It adds a nice heat. You will also need salt to enhance the flavors. Finally, chop some fresh parsley for garnish. It adds color and freshness to the dish. For the full recipe, check out the details provided earlier. To cook ramen noodles properly, I follow the package instructions. I boil water in a pot and add the noodles. I cook them for about 3-4 minutes until they are tender. Then, I drain the noodles but save a small cup of the pasta water. This water helps adjust the sauce later, making it creamy. For crispy pancetta, I heat olive oil in a large skillet over medium heat. I add the diced pancetta and sauté it for 5-7 minutes. The pancetta should turn golden brown and crisp up nicely. Next, I add minced garlic to the skillet. I cook it for just one minute, stirring all the time. This way, the garlic does not burn and turn bitter. Now, I whisk together two large eggs, one cup of heavy cream, and one cup of grated Parmesan cheese in a bowl. I make sure the mixture is smooth. Season with fresh black pepper and a pinch of salt to boost the flavors. This creamy sauce makes the dish rich and tasty. For the full recipe, check out the instructions again. To get that perfect creamy texture, you must mix the egg and cream well. Whisk the eggs, cream, and cheese together until smooth. This will help avoid scrambling the eggs when you add them to the hot noodles. When you mix the sauce with the ramen, keep the heat low. Slowly pour the egg mixture while tossing the noodles. If the sauce seems thick, add a little reserved pasta water. This will make it silky and rich. Using fresh ingredients can greatly change the taste. Fresh pancetta or guanciale adds a deeper flavor. Look for high-quality meat for the best results. When buying pancetta, choose one that is thick-cut and well-marbled. Guanciale is even better, but it can be harder to find. If you can’t get either, good bacon can work too, but it will change the taste slightly. Serve your creamy carbonara ramen right after mixing. This dish tastes best hot and fresh. Once you finish mixing, transfer it to bowls quickly. To know if it’s ready, check if the noodles are coated well and warm. You want to see a glossy sauce, not clumpy or dry. For the best experience, add a sprinkle of fresh parsley right before serving from the [Full Recipe]. This adds color and freshness to your dish. {{image_4}} You can add fresh spinach or green peas to your ramen bowls. They bring color and nutrition. - Spinach: Add it just before serving. It wilts quickly and adds a nice touch. - Peas: Stir them in while cooking the pancetta. They cook fast and add sweetness. Other vegetables can also work. Try sliced mushrooms for umami, or julienned carrots for crunch. If you want a different meat, consider bacon or turkey. They both give a distinct taste. - Bacon: Use it for a smoky flavor. Cook until crispy, just like the pancetta. - Turkey: A leaner choice that still adds great flavor. For a meatless option, use mushrooms or tofu. They absorb flavors well and make the dish hearty. Want some heat? Red pepper flakes are a great start. Add them based on your spice level. - Mild: Start with a pinch. You can always add more later. - Spicy: Use a teaspoon or more for a real kick. You can also try other spices. Fresh herbs like basil or thyme add freshness. Garlic powder or onion powder can boost flavor too. For the complete experience, check the Full Recipe. To keep your Creamy Carbonara Ramen Bowls fresh, store them in the fridge. Use airtight containers to prevent moisture loss. It’s best to eat leftovers within 2-3 days for the best taste. Make sure to cool the dish to room temperature before sealing it up. This helps keep the flavors intact. When reheating, do so gently. Use a skillet over low heat to warm the noodles. Add a splash of cream or pasta water to keep it creamy. Stir often to avoid burning. Never microwave it directly, as it can make the sauce clumpy. You can freeze this dish, but it’s not ideal. The cream may separate when thawed. If you choose to freeze, do so in portions. Use freezer-safe containers and label them. When ready to eat, thaw in the fridge overnight. Then, reheat gently, adding a bit of cream to restore its smooth texture. Yes, you can. To make a vegetarian version, swap the pancetta for mushrooms. Use shiitake or cremini for a rich taste. You can also add spinach or peas for extra color and flavor. Another great option is to use smoked tofu for a protein boost. Parmesan cheese is the classic choice. Its salty and nutty flavor works well. Pecorino Romano is another good option. It’s sharper and adds a nice kick. You can mix both cheeses for a layered taste. To keep your sauce smooth, add pasta water gradually. Start with a small splash and mix it in. This helps create a creamy texture without clumping. Stir quickly to combine and avoid scrambling the eggs. The total time for Creamy Carbonara Ramen Bowls is about 30 minutes. Prep time takes around 10 minutes. Cooking the dish takes about 20 minutes. This quick recipe is perfect for busy nights. Pair this dish with garlic bread for a crunchy side. A fresh green salad also works well. You can add a light vinaigrette to balance the rich flavors. For a fun twist, try pickled vegetables for a tangy contrast. In this article, we explored how to create delicious Creamy Carbonara Ramen Bowls. We covered the main ingredients, including ramen noodles, pancetta, eggs, and a rich sauce made from cream and Parmesan. You learned step-by-step instructions for cooking the noodles, preparing the pancetta, and making the creamy sauce. Remember, using fresh ingredients can greatly enhance the dish's flavor. Try out the variations and tips for success. Enjoy your creamy creation and make it your own!](https://fastmealmate.com/wp-content/uploads/2025/07/91aa5888-7f38-4185-abdc-18228452c956-768x768.webp)