Skip to content
About
Contact
Cookie Policy
Copyright Policy
Disclaimer
Search
Home
Dinner
Appetizer
Desserts
Drinks
About
Contact
Privacy Policy
Toggle Menu
Home
/
Dinner
Dinner
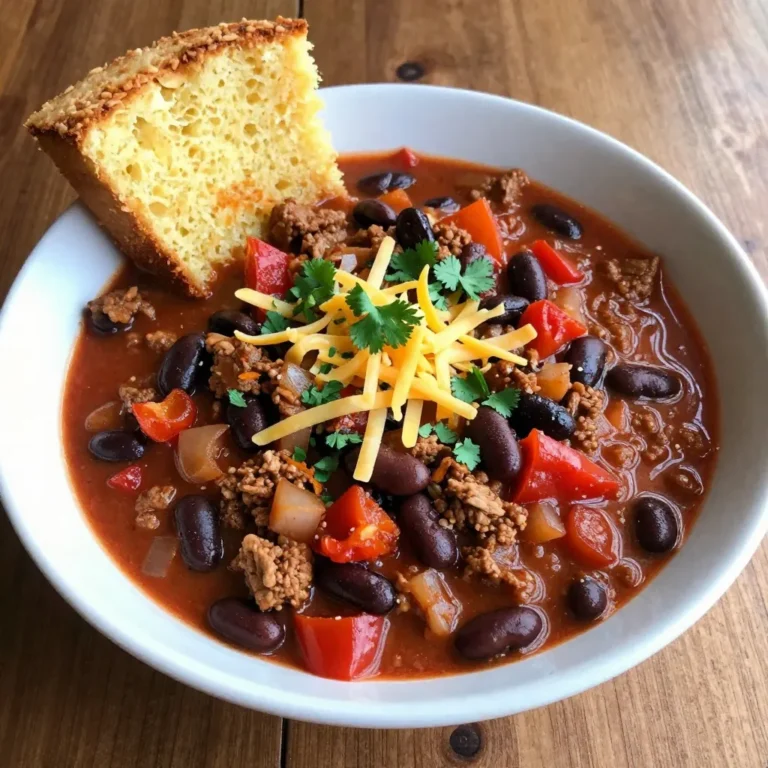
Savory Slow Cooker Chili Simple and Heartwarming Dish
Cranberry Brie Stuffed Chicken Flavorful Dinner Delight
Slow Cooker Honey Garlic Chicken Thighs Flavorful Dish
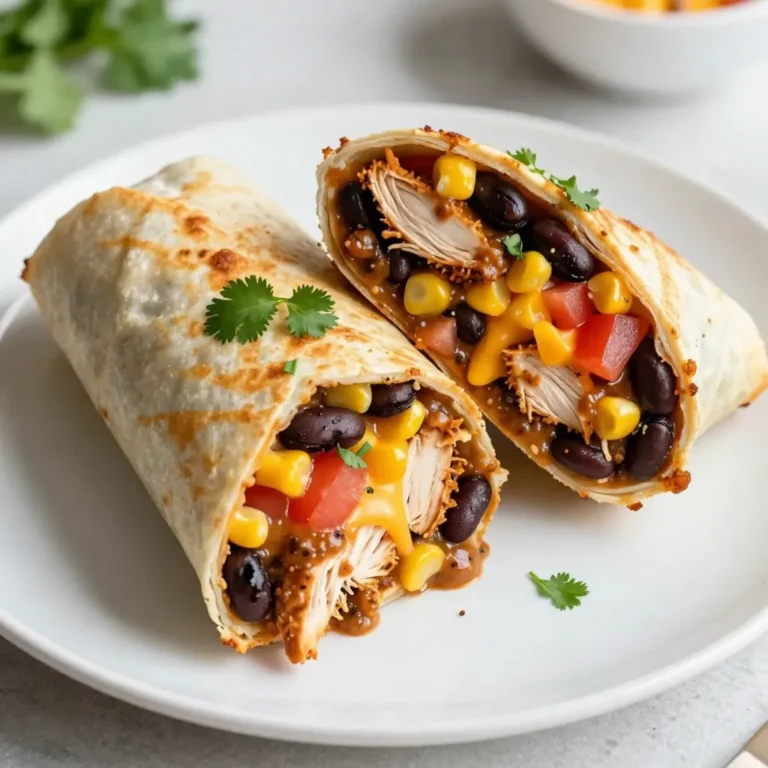
Savory Chipotle Ranch Chicken Burritos Recipe
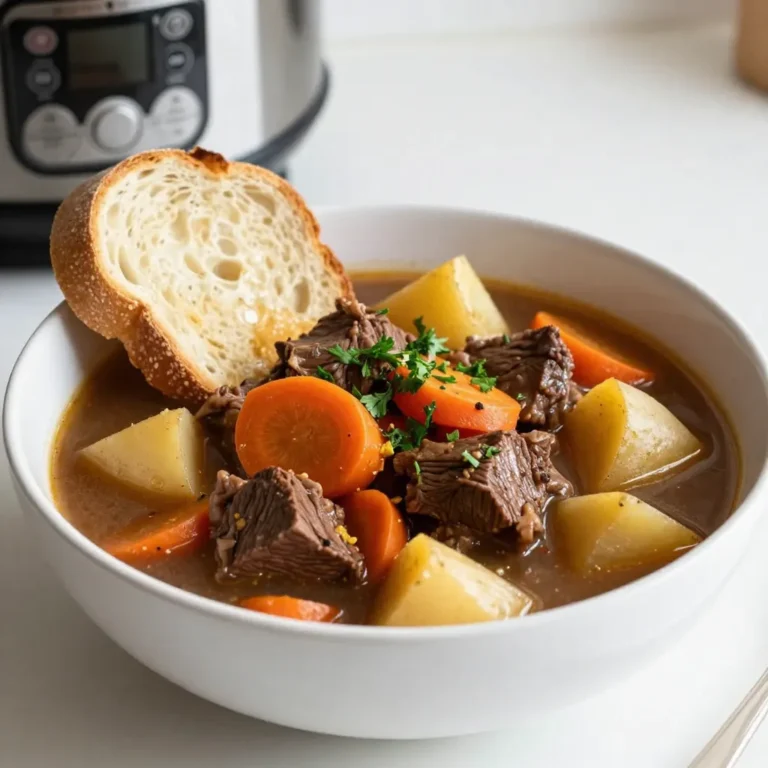
Instant Pot Beef Stew Hearty and Simple Meal
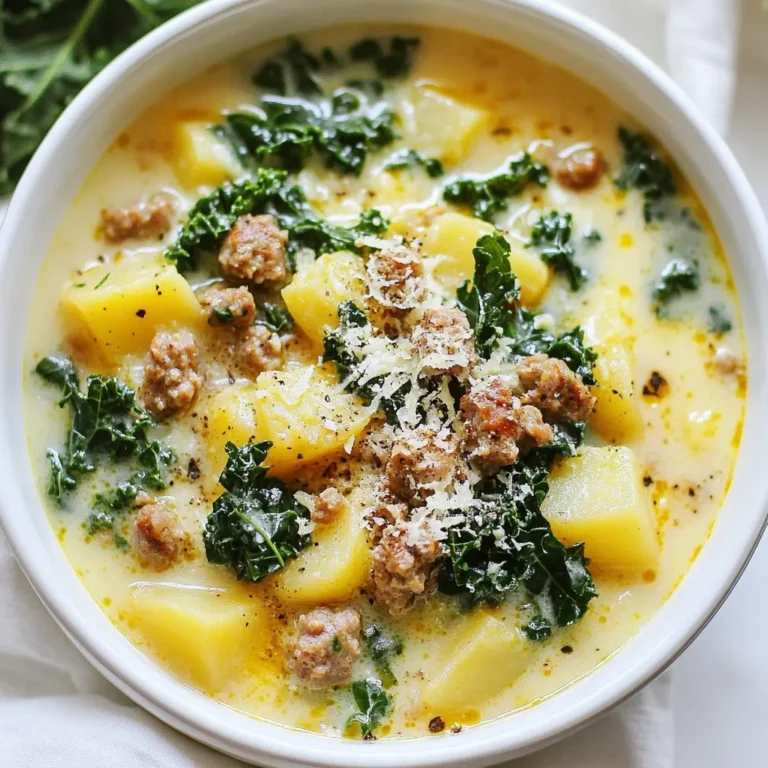
Zuppa Toscana Soup Flavorful Comfort in a Bowl
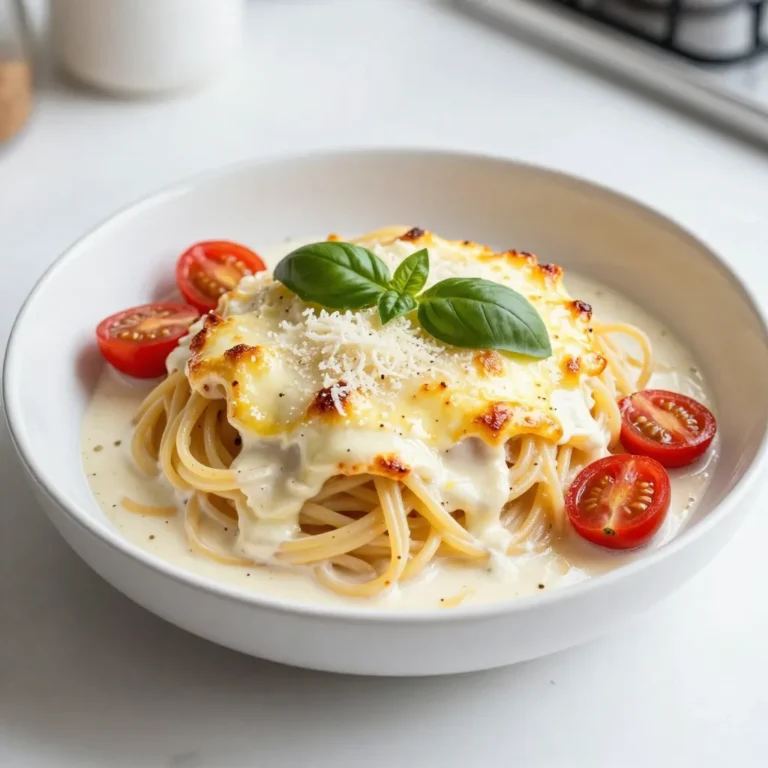
Creamy Baked Spaghetti with Mozzarella Delight
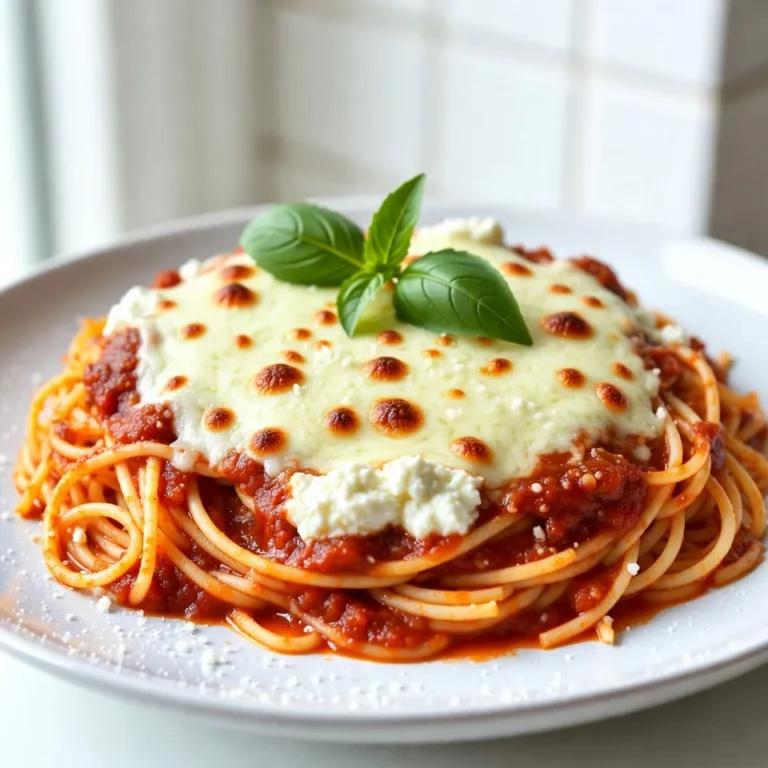
Cheesy Baked Spaghetti Comfort Food for Everyone
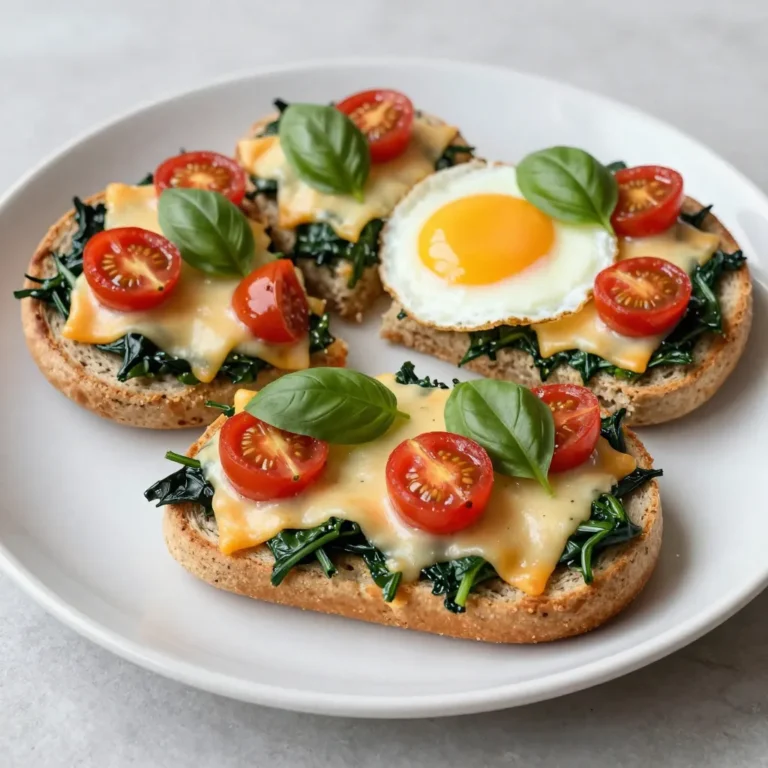
English Muffin Breakfast Pizzas Tasty Morning Treat
Copycat Cracker Barrel Biscuits & Gravy Casserole Recipe
Page navigation
1
2
3
…
36
Next Page
Next
Home
Dinner
Appetizer
Desserts
Drinks
About
Contact
Privacy Policy
Toggle Menu Close
Search for:
Search