Skip to content
About
Contact
Cookie Policy
Copyright Policy
Disclaimer
Search
Home
Dinner
Appetizer
Desserts
Drinks
About
Contact
Privacy Policy
Toggle Menu
Home
/
Desserts
- Page 7
Desserts
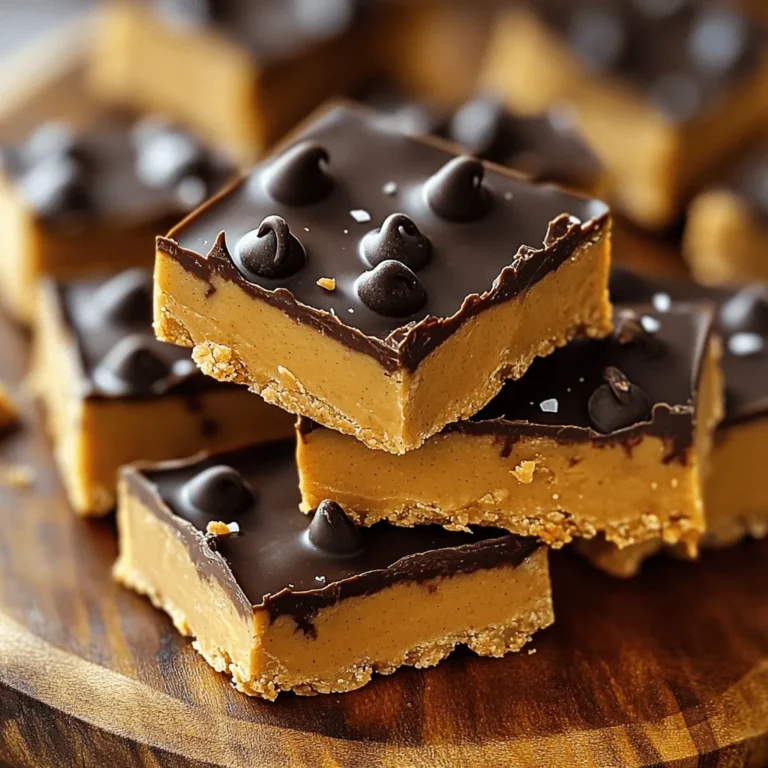
No-Bake Peanut Butter Bars Tasty and Easy Treat
Vanilla French Beignets Irresistible Sweet Treat
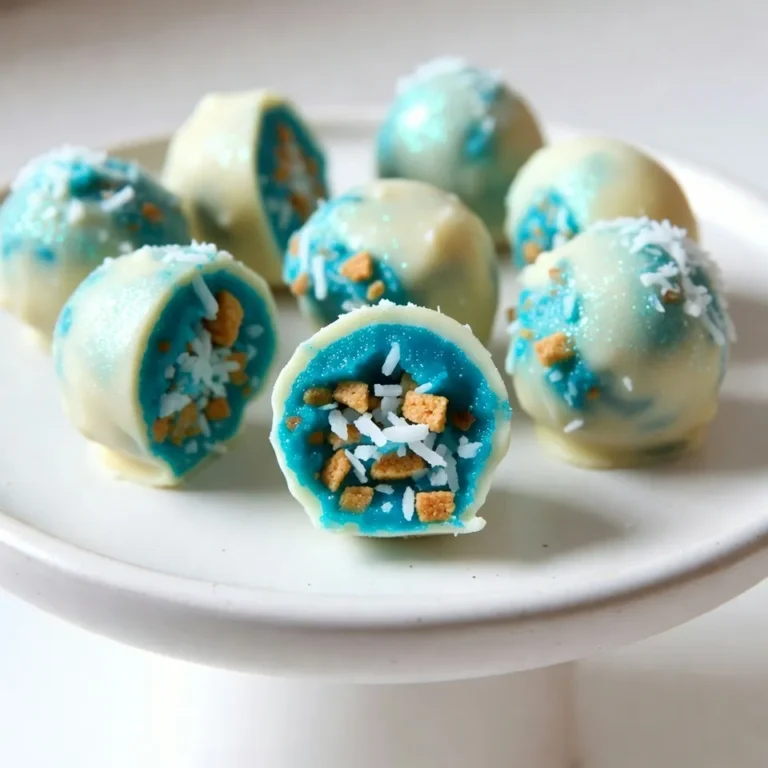
Blue Christmas No-Bake Truffles for Festive Fun
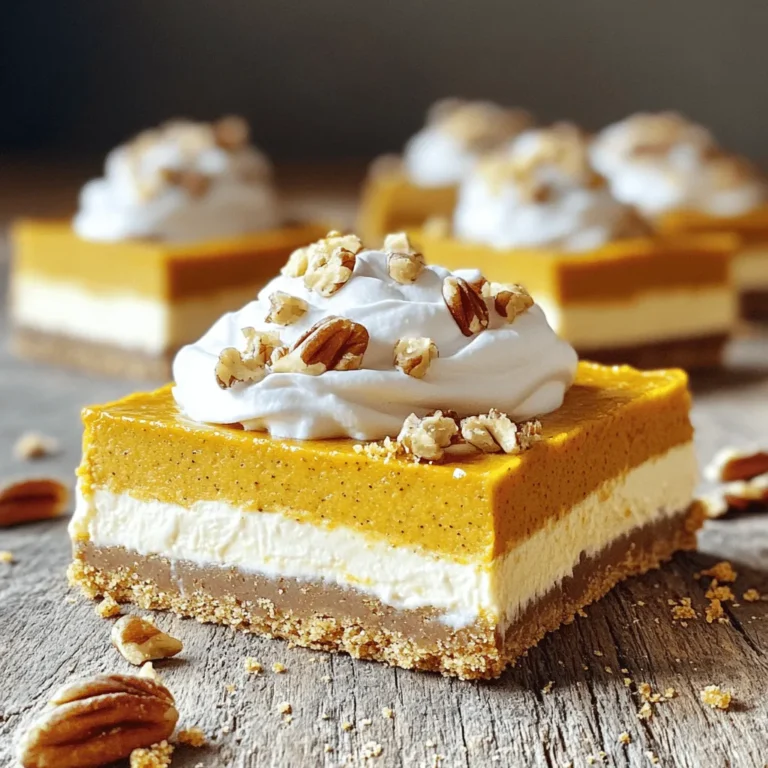
No Bake Pumpkin Cheesecake Bars Delightful Recipe
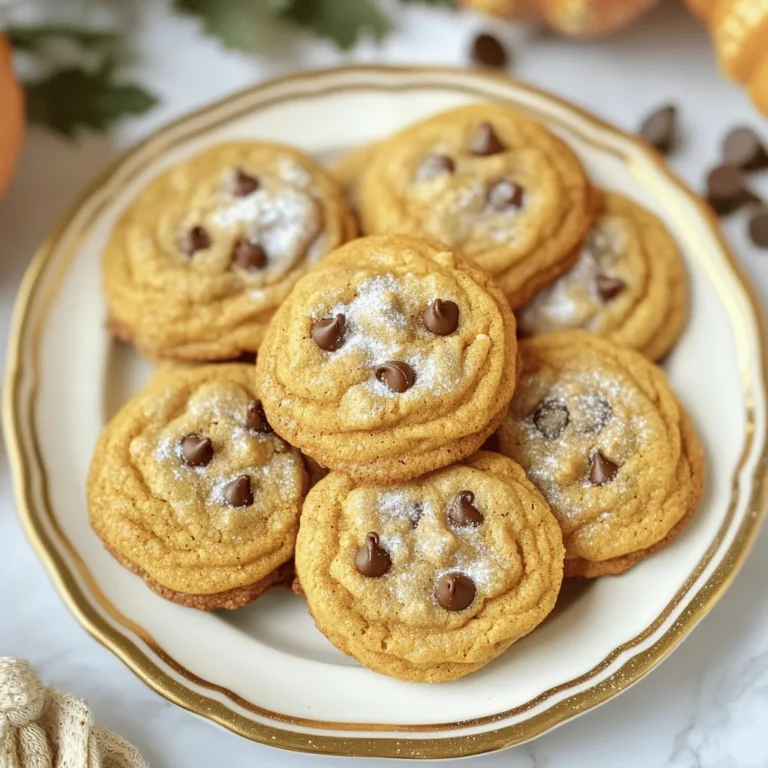
Chewy Pumpkin Spice Cookies Perfect for Fall Baking
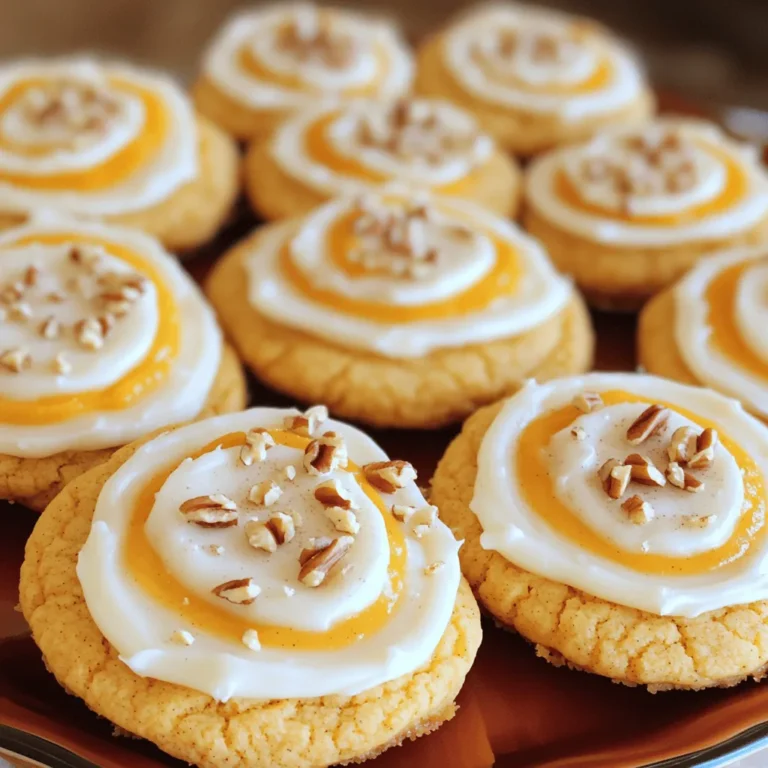
Pumpkin Sugar Cookies with Cream Cheese Icing Delight
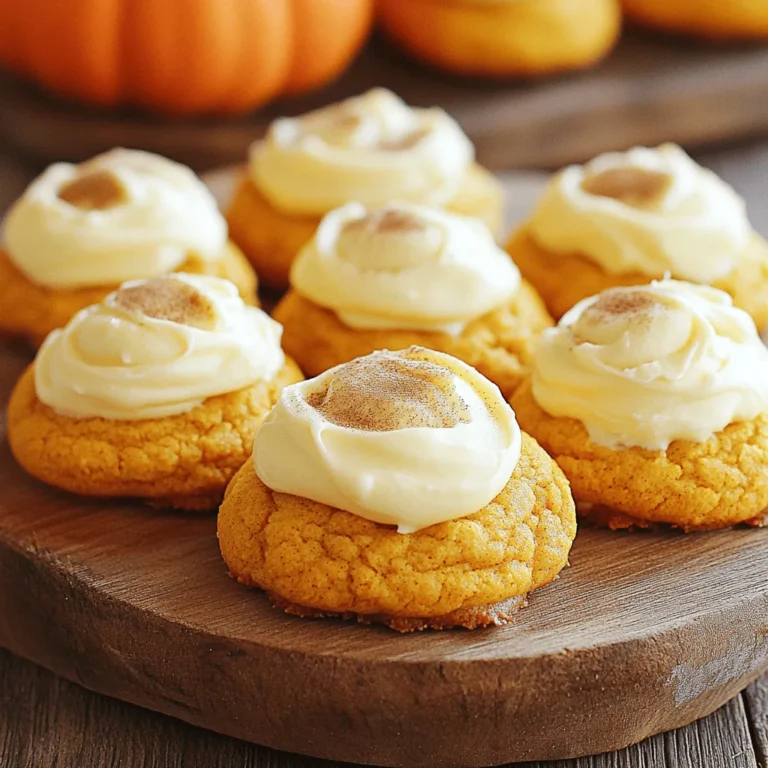
Soft Pumpkin Cookies with Cream Cheese Frosting Delight
Healthy Pumpkin Cream Cheese Muffins Delightful Treat
Starbucks Copycat Pumpkin Cream Cheese Muffins Delight
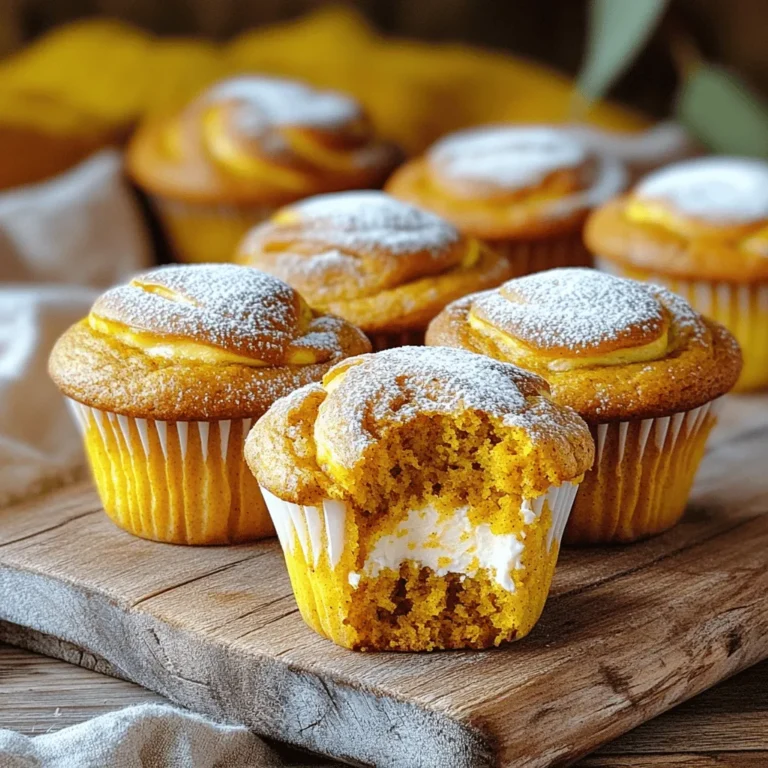
Pumpkin Cream Cheese Muffins Perfect for Fall Baking
Page navigation
Previous Page
Previous
1
…
5
6
7
8
9
…
27
Next Page
Next
Home
Dinner
Appetizer
Desserts
Drinks
About
Contact
Privacy Policy
Toggle Menu Close
Search for:
Search