Skip to content
About
Contact
Cookie Policy
Copyright Policy
Disclaimer
Search
Home
Dinner
Appetizer
Desserts
Drinks
About
Contact
Privacy Policy
Toggle Menu
Home
/
Desserts
- Page 5
Desserts
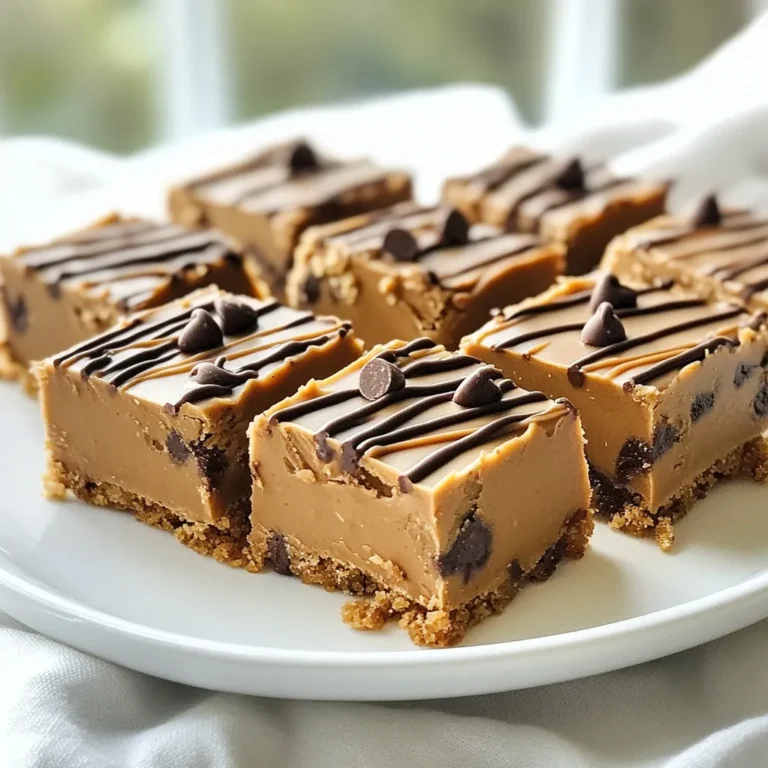
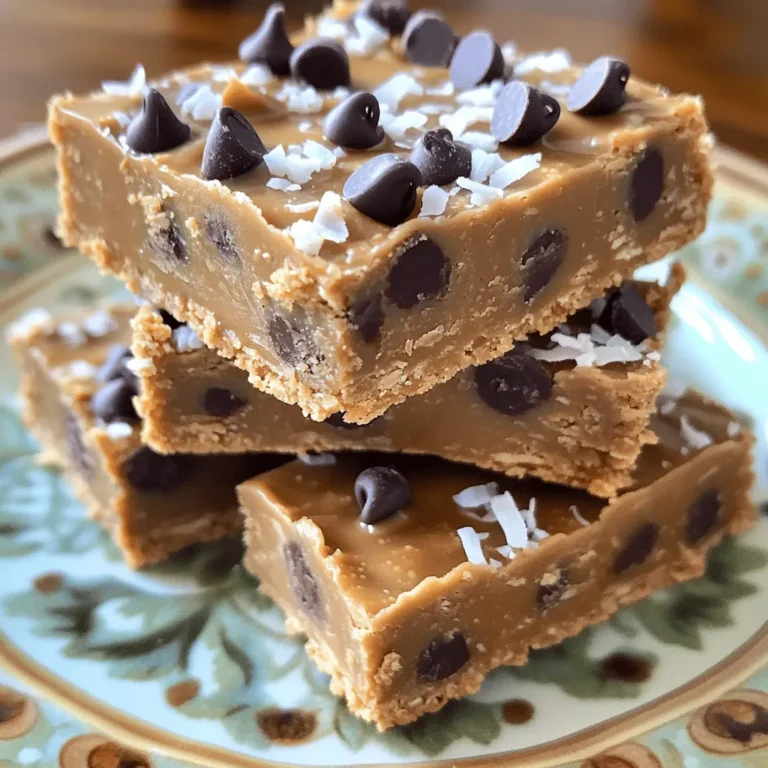
No-Bake Peanut Butter Bars Simple and Tasty Treat
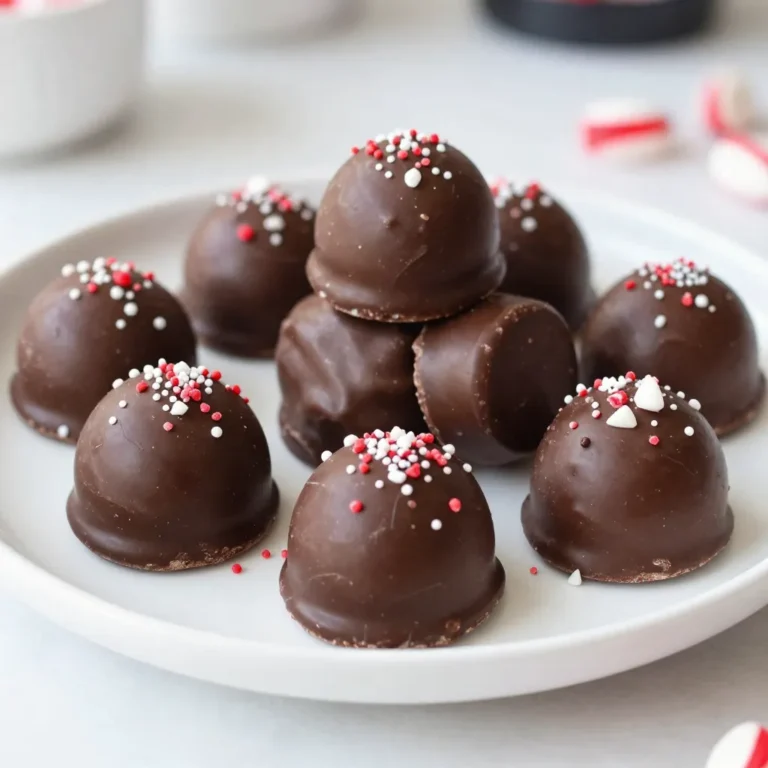
Peppermint Creams Delightful Treat for Everyone
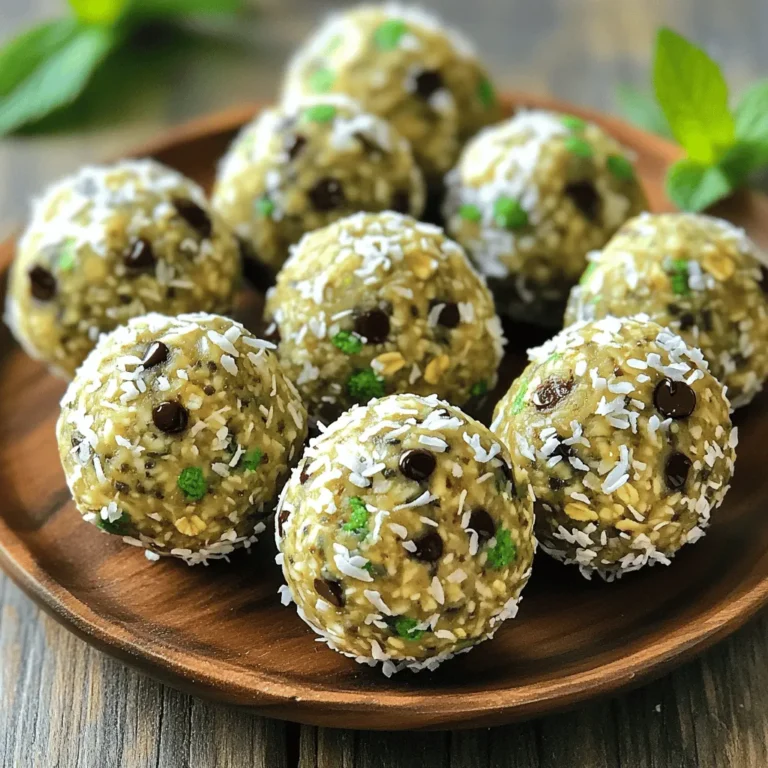
Mint Chocolate Chip Protein Balls Tasty Energy Snack
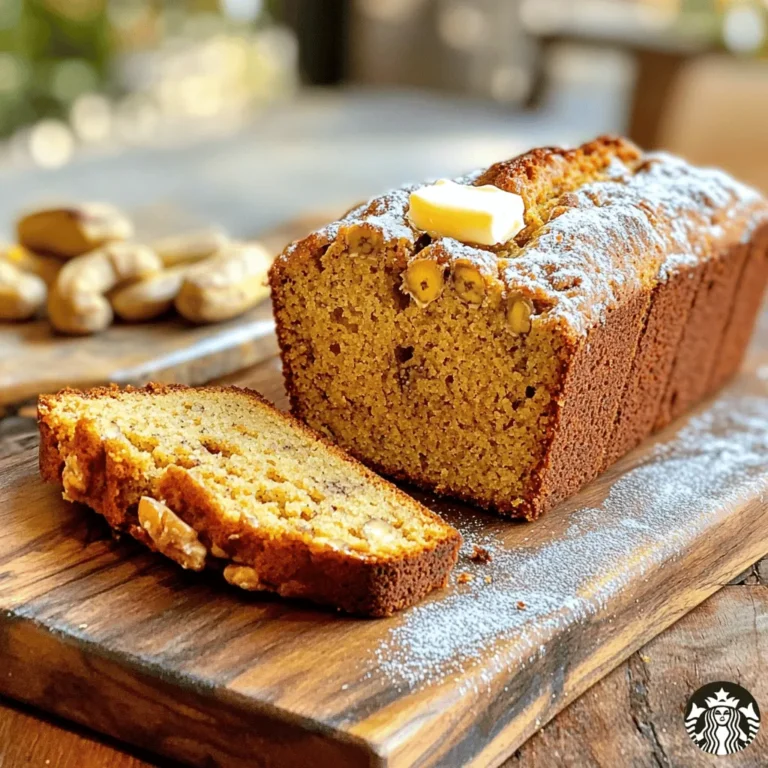
Starbucks Copycat Banana Bread Easy Homemade Recipe
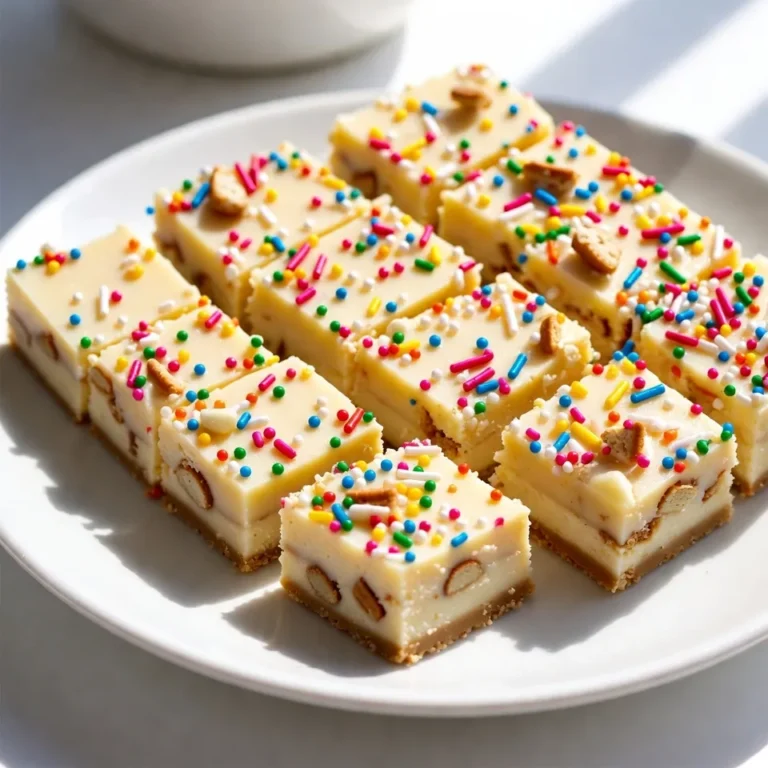
Sugar Cookie Christmas Fudge Festive and Delicious Treat
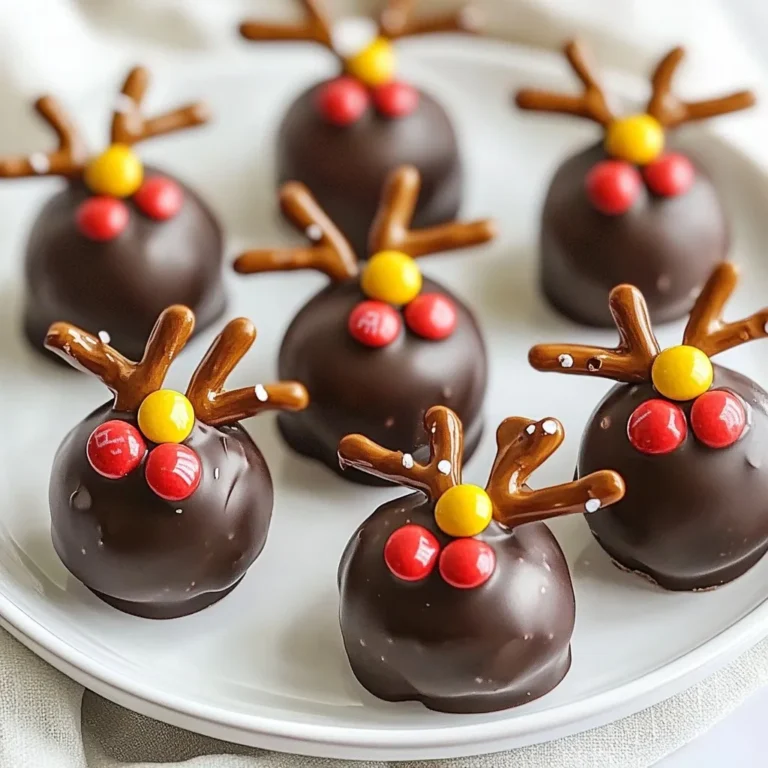
No-Bake Christmas Reindeer Treats Festive and Fun
No-Bake Peanut Butter Bars Healthy and Simple Treat
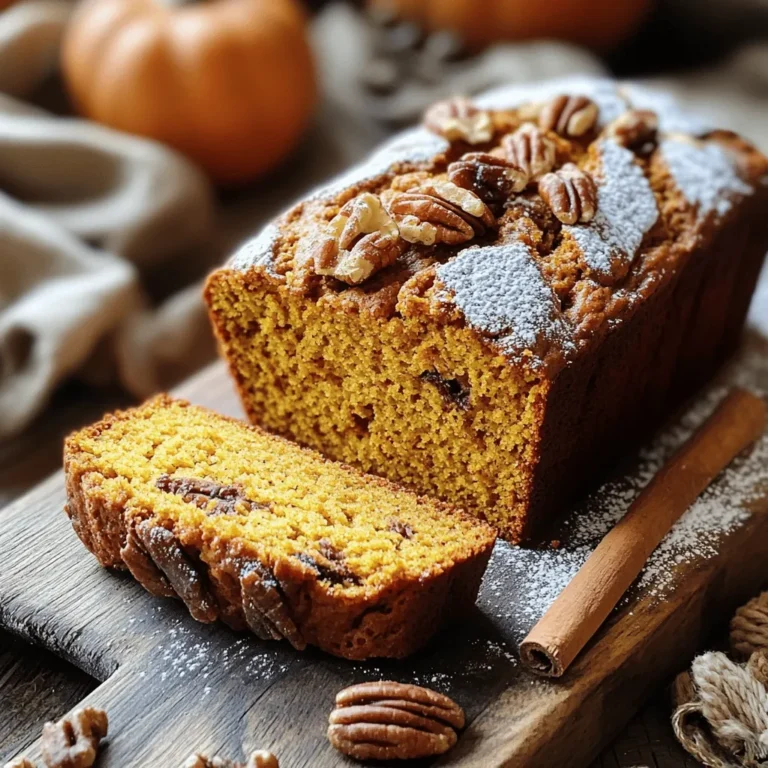
Super Moist Pumpkin Bread Easy and Delicious Recipe
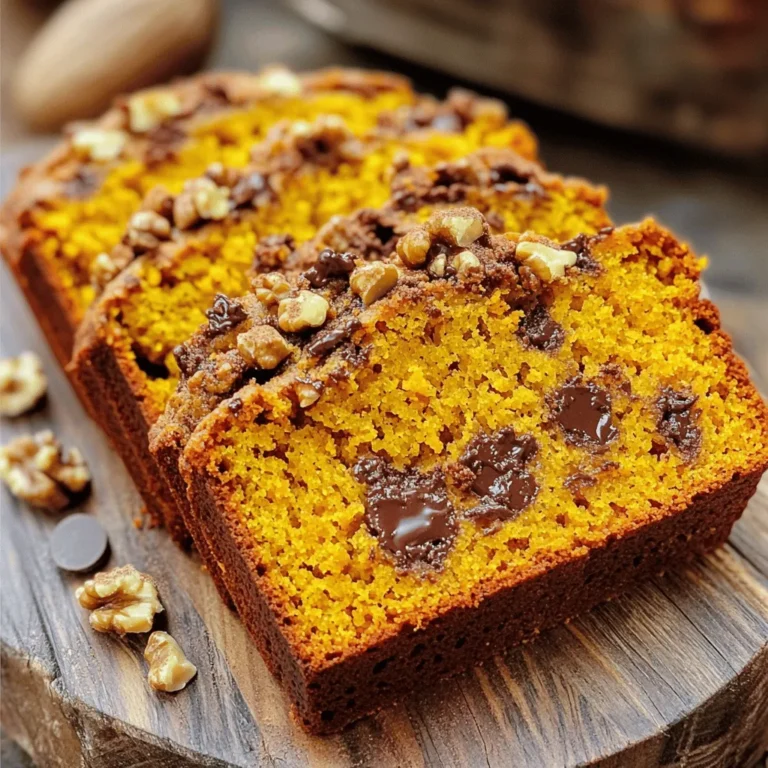
Easy Pumpkin Chocolate Chip Bread Delightful Recipe
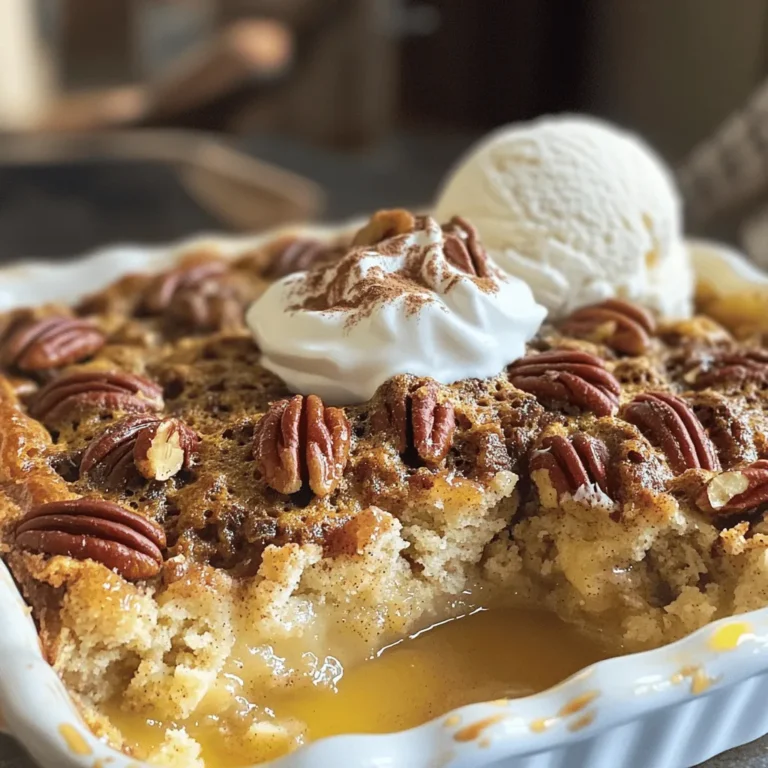
Pecan Pie Dump Cake Irresistible Dessert Delight
Page navigation
Previous Page
Previous
1
…
3
4
5
6
7
…
27
Next Page
Next
Home
Dinner
Appetizer
Desserts
Drinks
About
Contact
Privacy Policy
Toggle Menu Close
Search for:
Search