Skip to content
About
Contact
Cookie Policy
Copyright Policy
Disclaimer
Search
Home
Dinner
Appetizer
Desserts
Drinks
About
Contact
Privacy Policy
Toggle Menu
Home
/
Desserts
- Page 4
Desserts
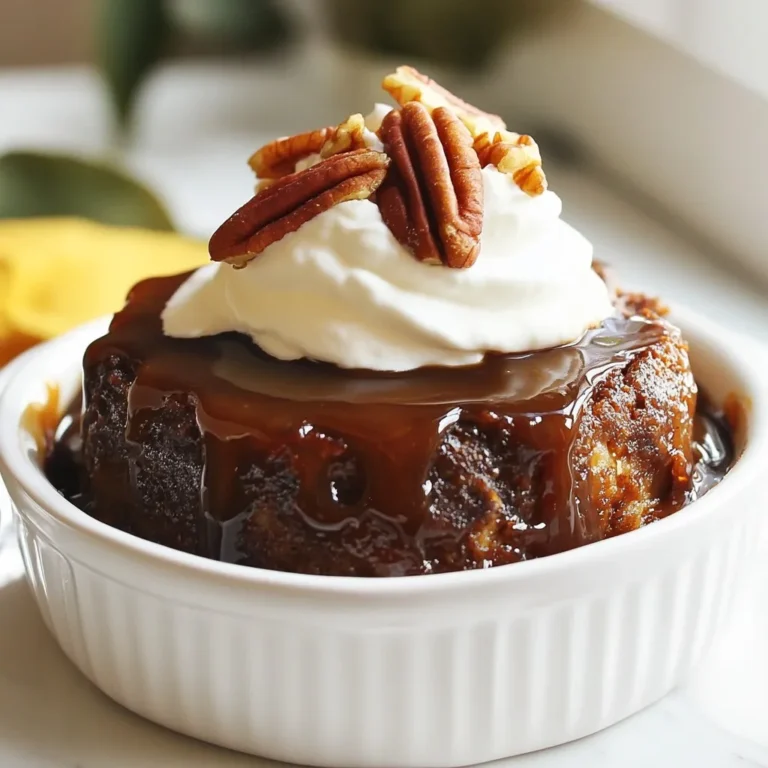
British Sticky Toffee Pudding Simple and Delicious Treat
Cinnamon Swirl Pumpkin Bread Savory and Simple Recipe
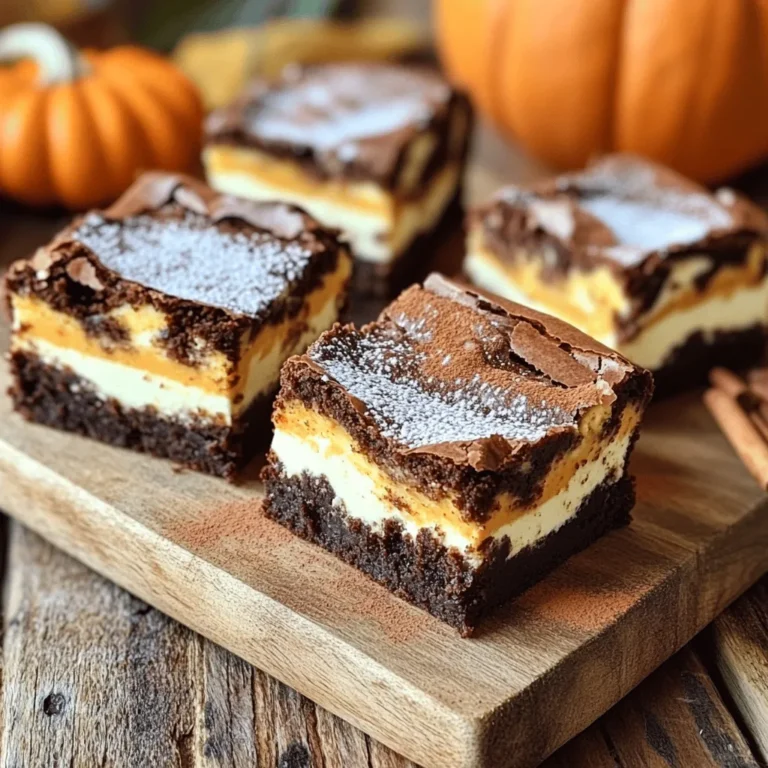
Pumpkin Spice Cream Cheese Brownies Irresistible Treat
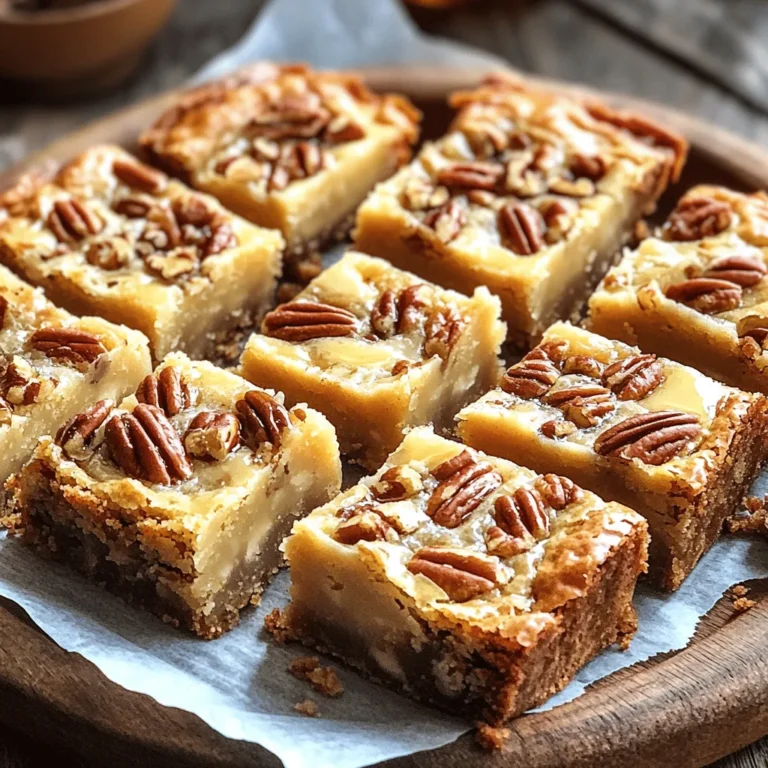
Brown Butter Maple Pecan Blondies Soft and Chewy Treat
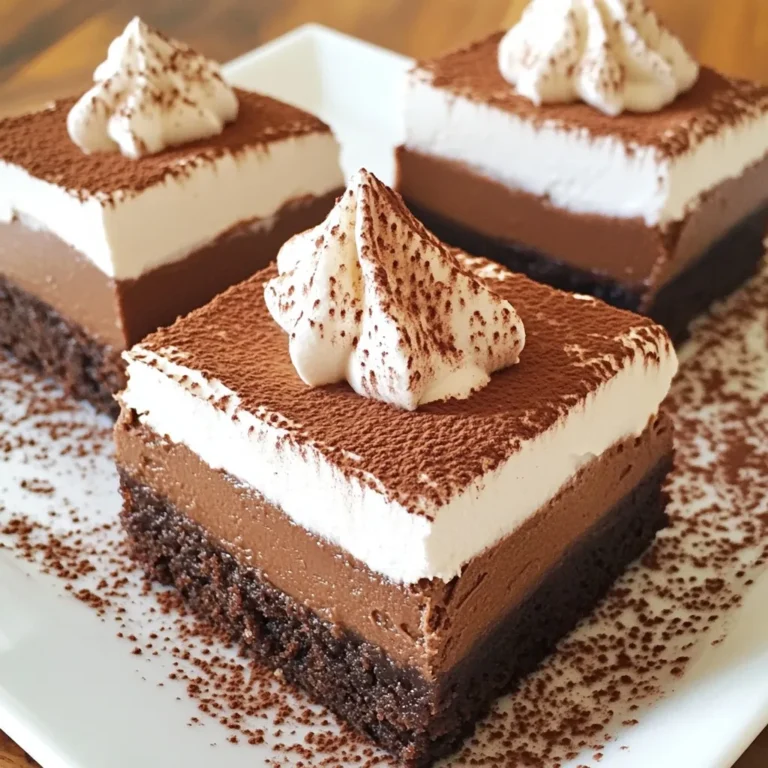
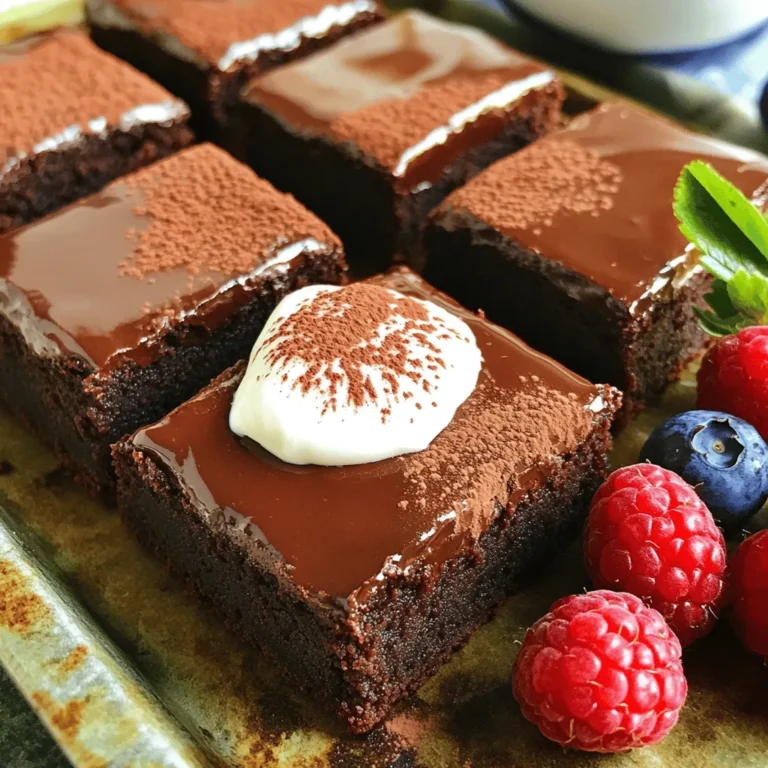
Chocolate Mousse Brownies Rich and Indulgent Delight
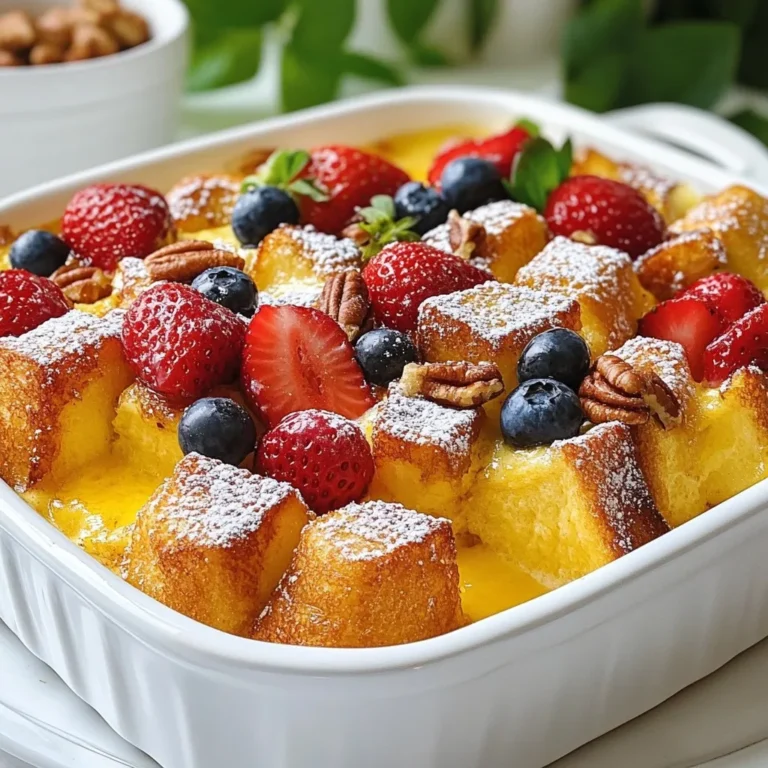
Easy French Toast Casserole Simple and Tasty Dish
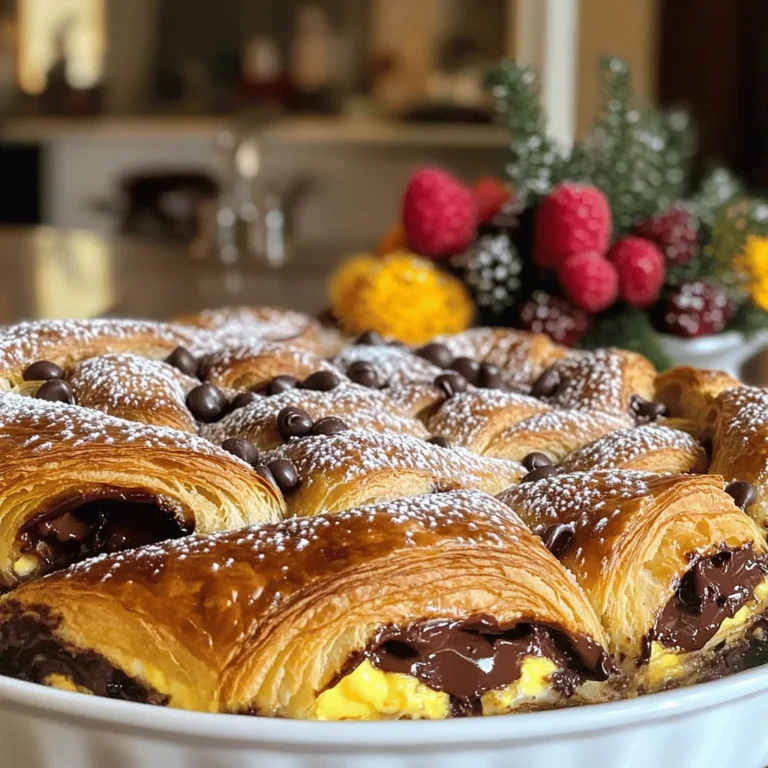
Chocolate Croissant Breakfast Bake Delightful Recipe
Fudgy Greek Yogurt Brownies Rich and Indulgent Treat
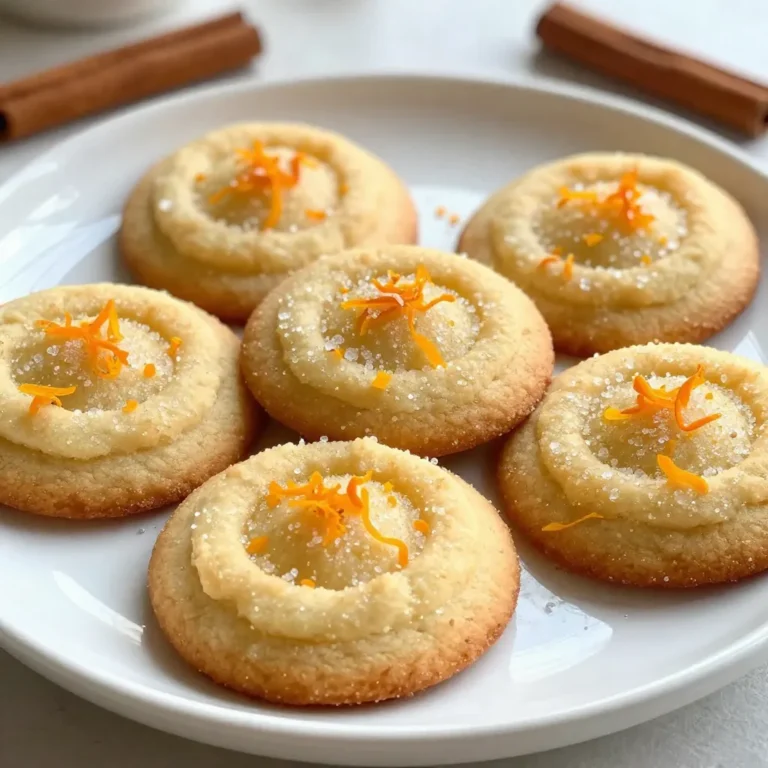
Orange Clove Sugar Cookies Sweet and Simple Treat
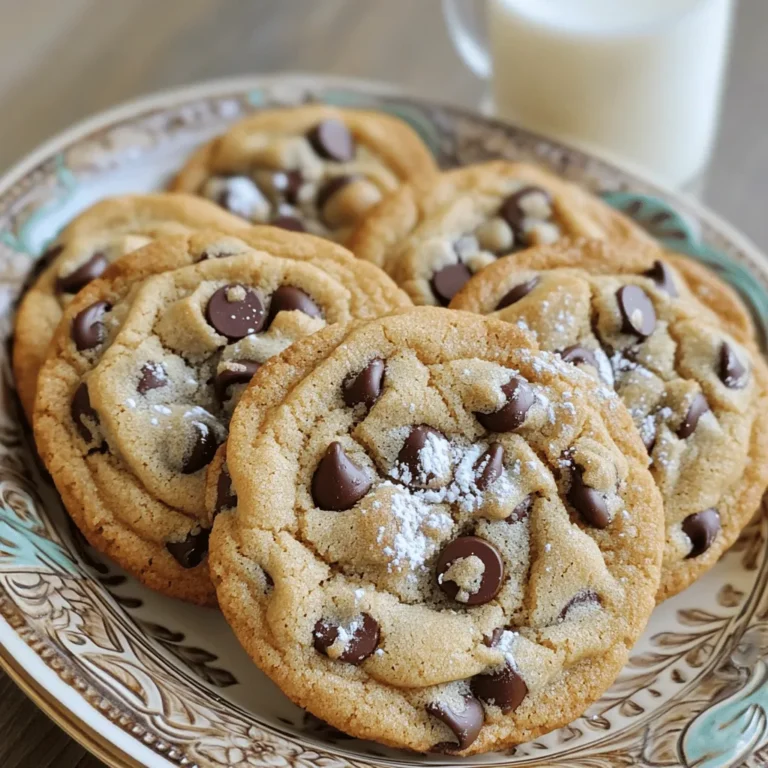
Crispy Chewy Chocolate Chip Cookies Irresistible Recipe
Page navigation
Previous Page
Previous
1
2
3
4
5
6
…
27
Next Page
Next
Home
Dinner
Appetizer
Desserts
Drinks
About
Contact
Privacy Policy
Toggle Menu Close
Search for:
Search