Skip to content
About
Contact
Cookie Policy
Copyright Policy
Disclaimer
Search
Home
Dinner
Appetizer
Desserts
Drinks
About
Contact
Privacy Policy
Toggle Menu
Home
/
Desserts
- Page 3
Desserts
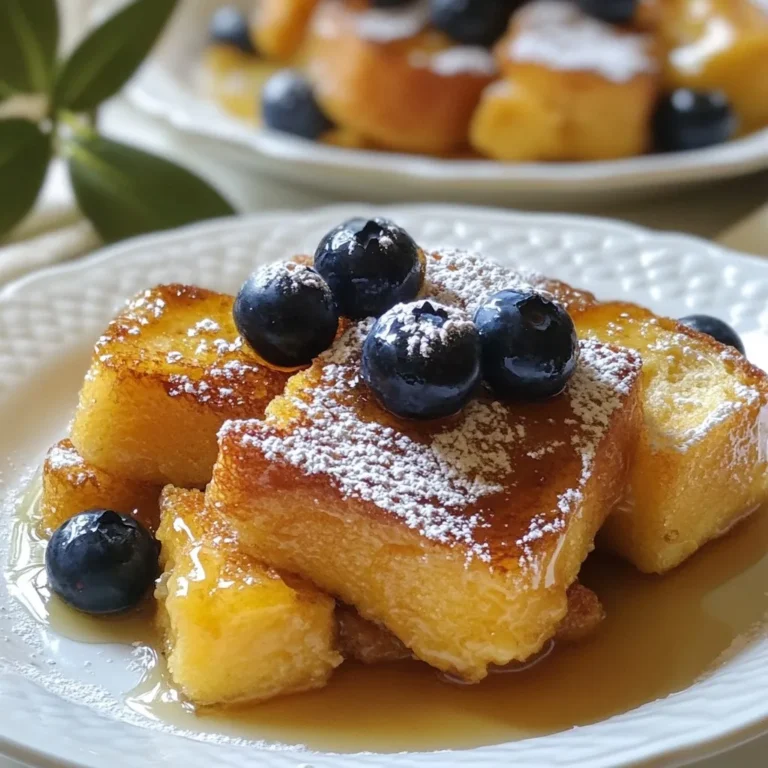
Easy French Toast Casserole Simple and Tasty Bake
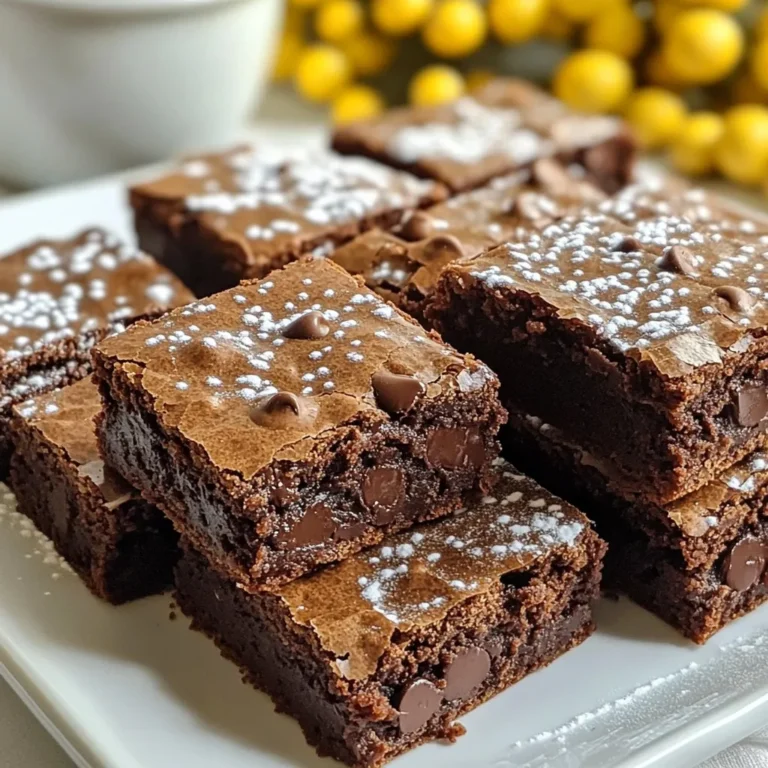
Gingerbread Brownie Bars Festive and Simple Treat
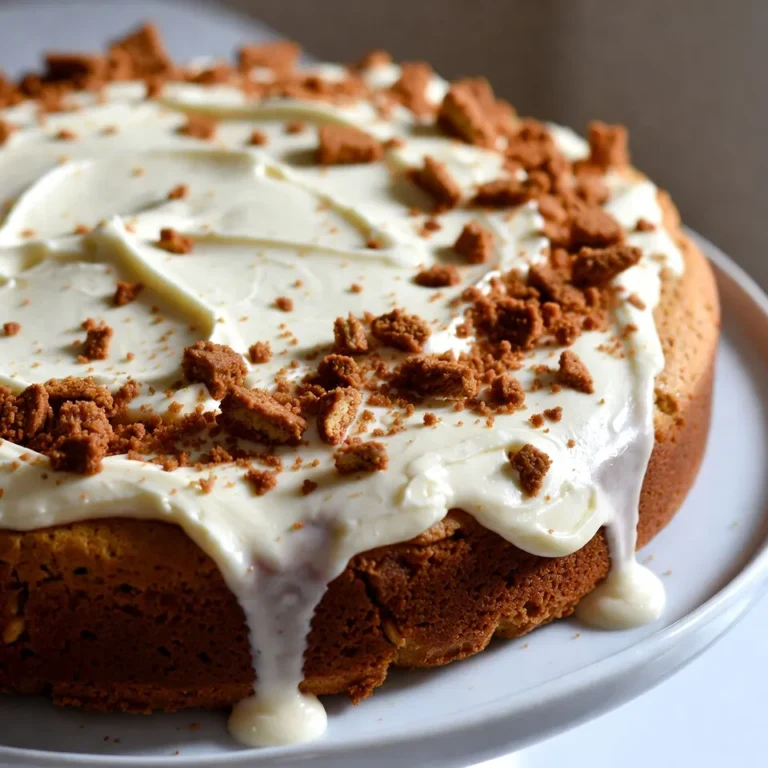
Speculoos Cake with Mascarpone Glaze Delight
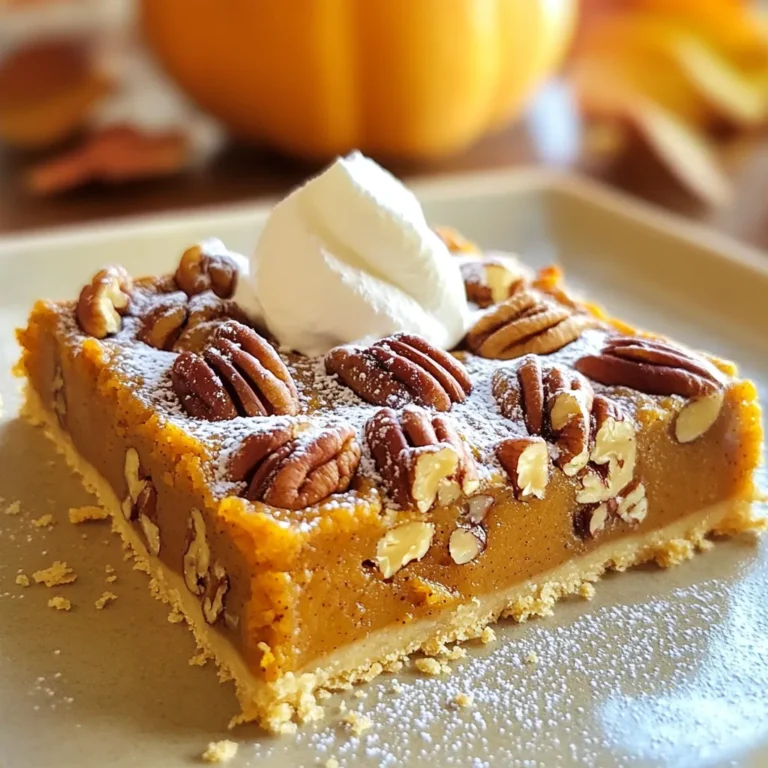
Pumpkin Pecan Pie Bars Flavorful and Simple Delight
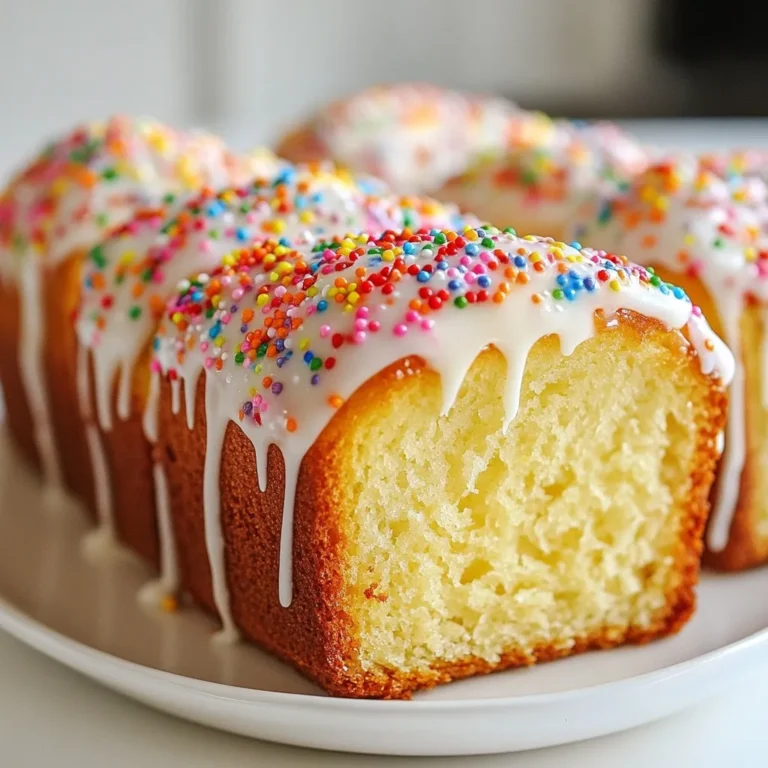
Christmas Sprinkle Vanilla Bread Festive and Flavorful
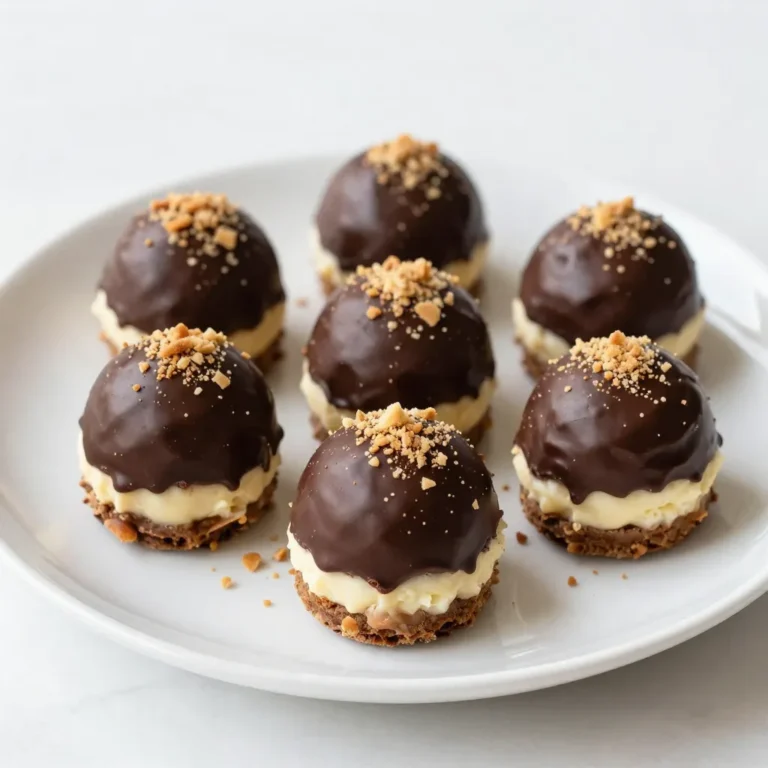
Baileys Cheesecake Truffles Delightful No-Bake Treat
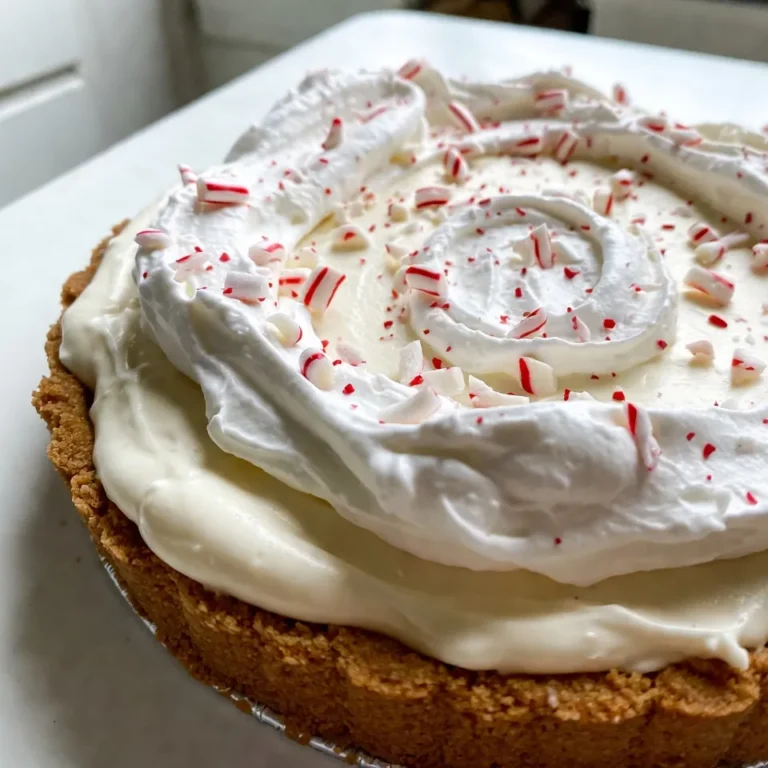
No-Bake Peppermint White Chocolate Mousse Pie Delight
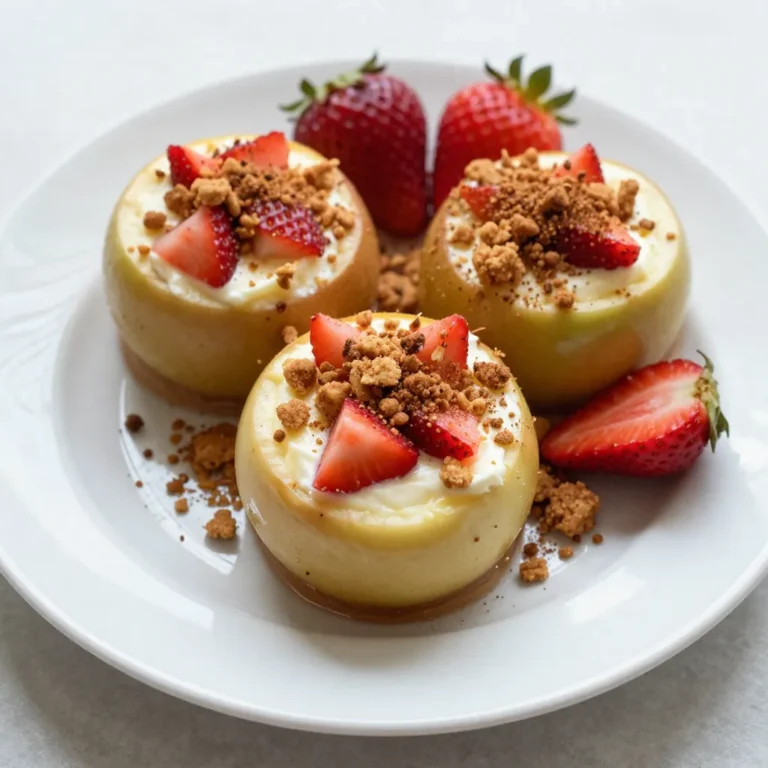
Strawberry Crunch Cheesecake Apples Tasty Dessert Dish
Candy Cane Slice-and-Bake Cookies Easy Holiday Treat
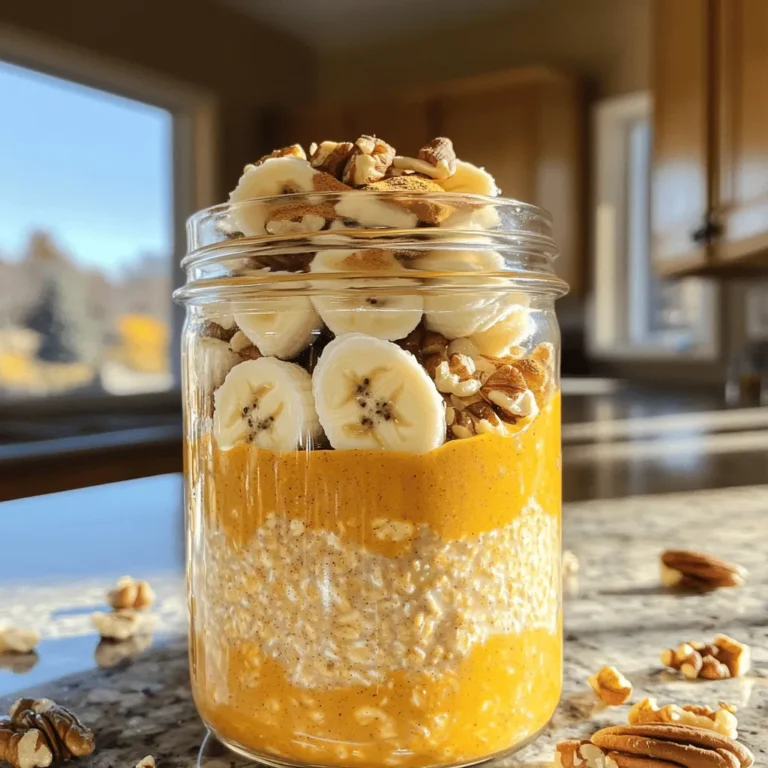
Pumpkin Spice Overnight Oats with Chia Power Boost
Page navigation
Previous Page
Previous
1
2
3
4
5
…
27
Next Page
Next
Home
Dinner
Appetizer
Desserts
Drinks
About
Contact
Privacy Policy
Toggle Menu Close
Search for:
Search