Skip to content
About
Contact
Cookie Policy
Copyright Policy
Disclaimer
Search
Home
Dinner
Appetizer
Desserts
Drinks
About
Contact
Privacy Policy
Toggle Menu
Home
/
Desserts
- Page 27
Desserts
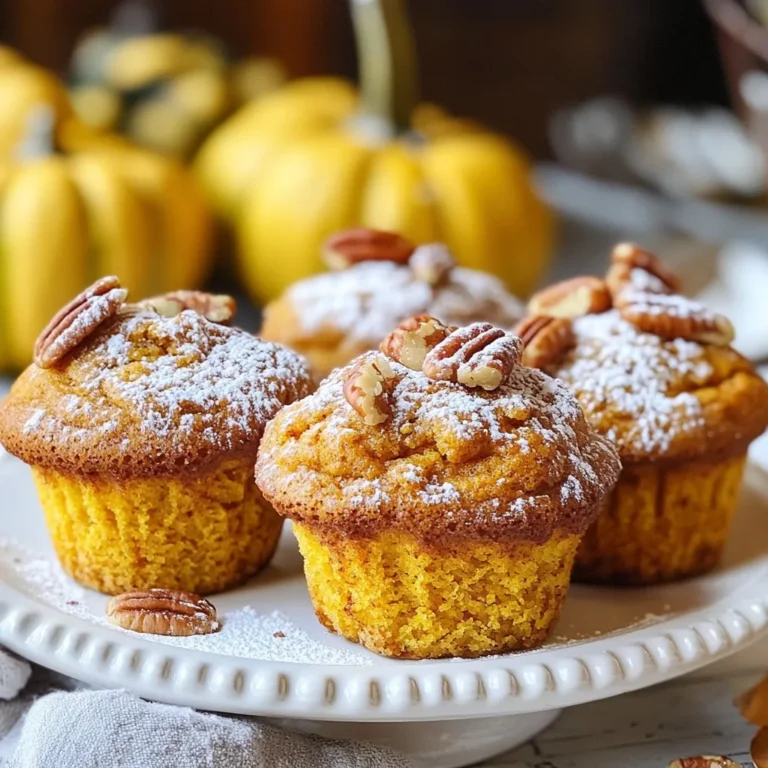
Saftige Kürbismuffins Perfect for Any Occasion
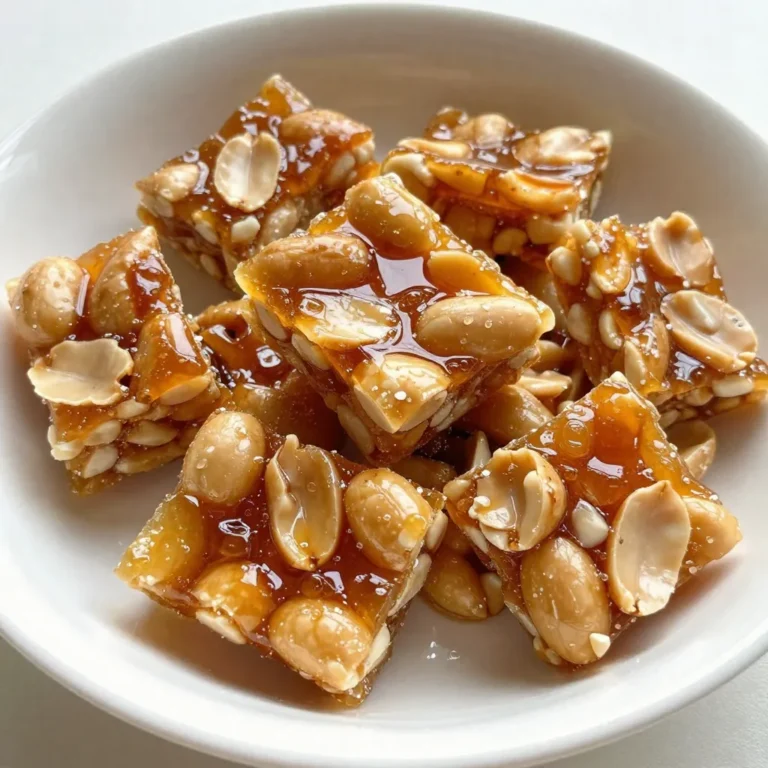
Old-Fashioned Peanut Brittle Crunchy and Tasty Treat
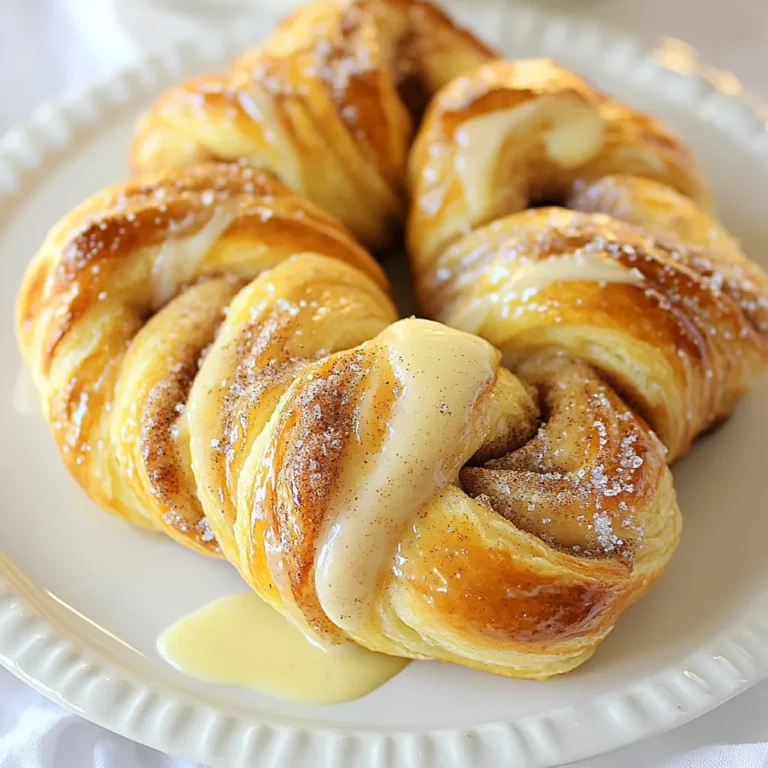
Cinnamon Twist Pastries Delightful Flaky Treats
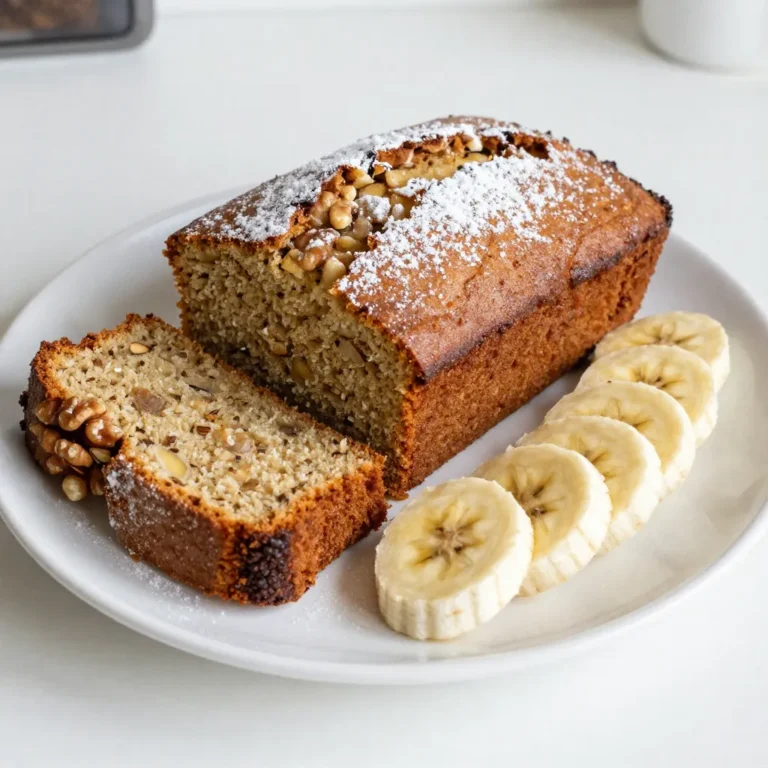
Starbucks Copycat Banana Bread Simple and Tasty Recipe
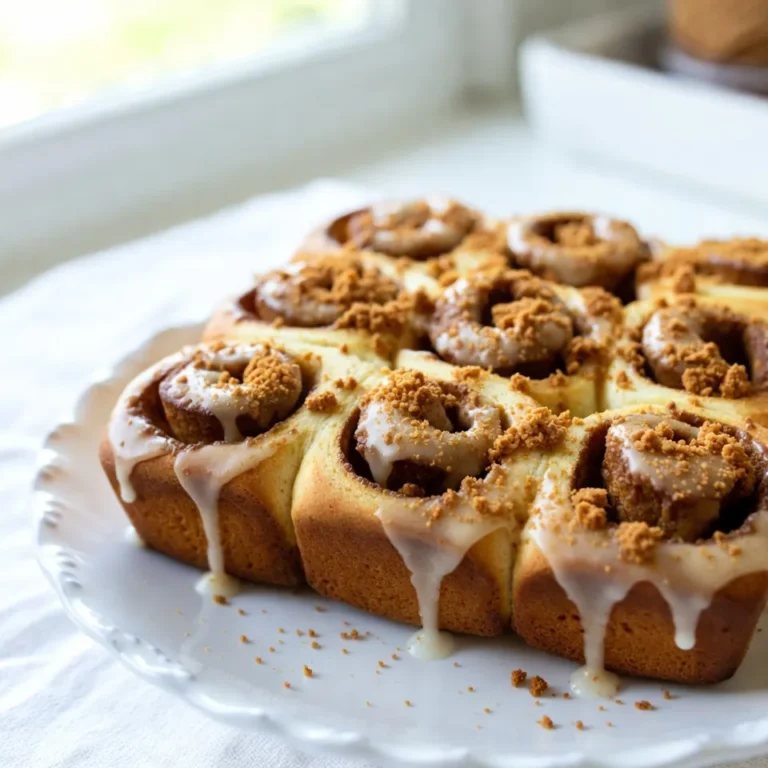
Biscoff Cookie Butter Cinnamon Rolls Delightful Treat
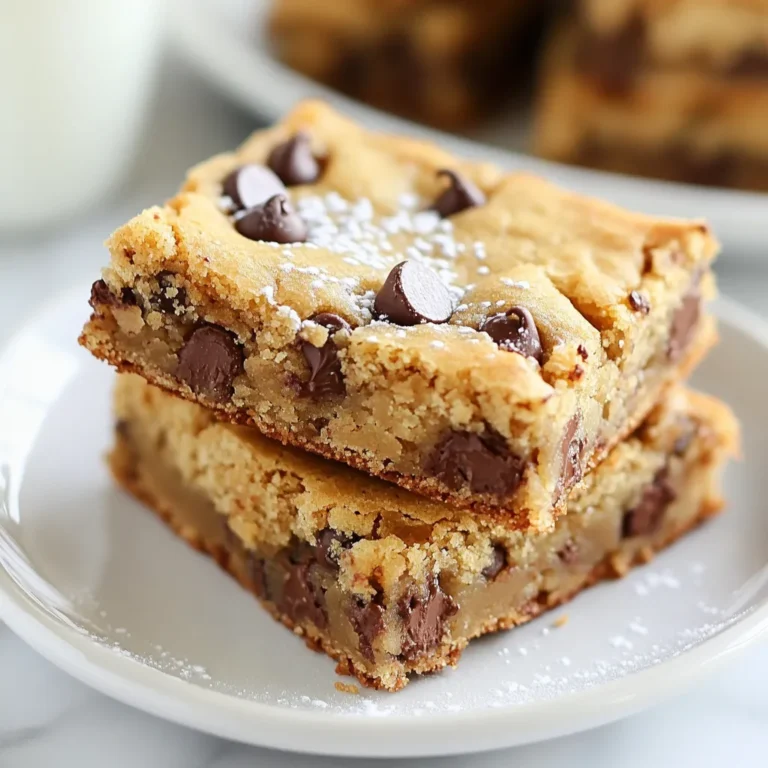
Melt-In-Your-Mouth Chocolate Chip Cookie Bars Recipe
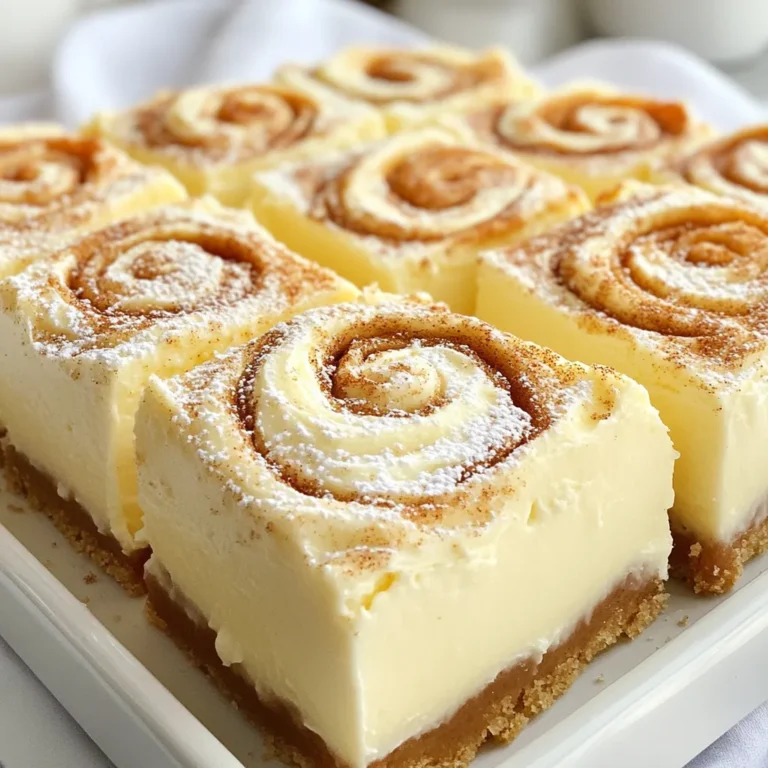
Cinnamon Roll Cheesecake Irresistible Dessert Recipe
Page navigation
Previous Page
Previous
1
…
25
26
27
Home
Dinner
Appetizer
Desserts
Drinks
About
Contact
Privacy Policy
Toggle Menu Close
Search for:
Search