Skip to content
About
Contact
Cookie Policy
Copyright Policy
Disclaimer
Search
Home
Dinner
Appetizer
Desserts
Drinks
About
Contact
Privacy Policy
Toggle Menu
Home
/
Desserts
- Page 26
Desserts
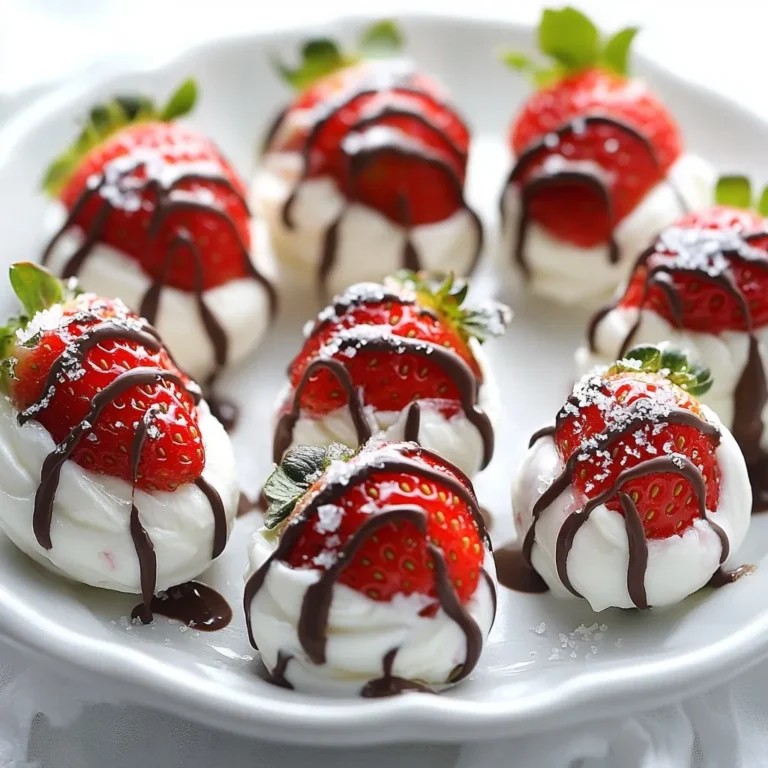
Chocolate Strawberry Yogurt Clusters Delightful Treat
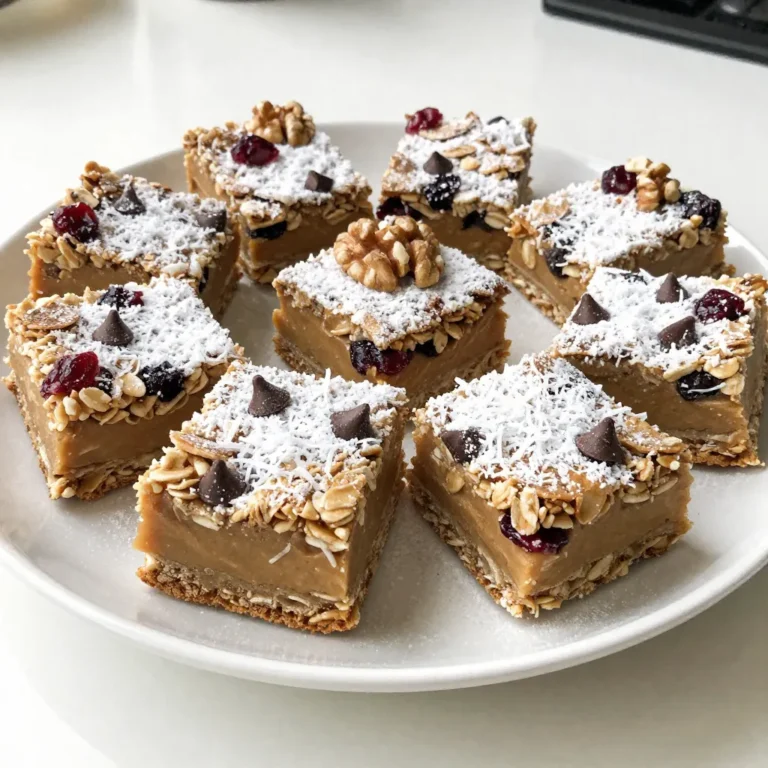
No-Bake Christmas Cookie Medley Festive Holiday Treat
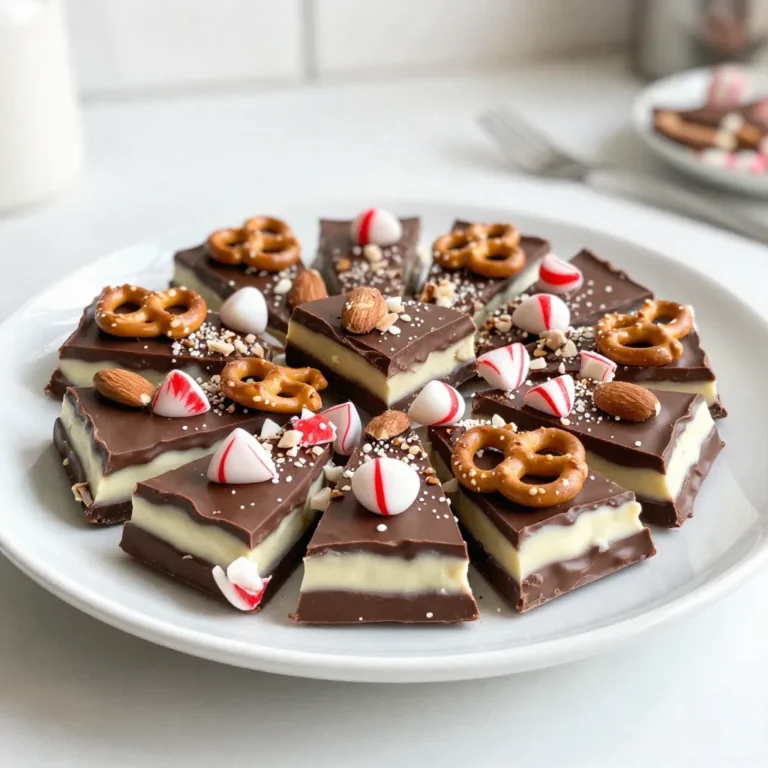
Festive Peppermint Bark Crunch Irresistible Delight
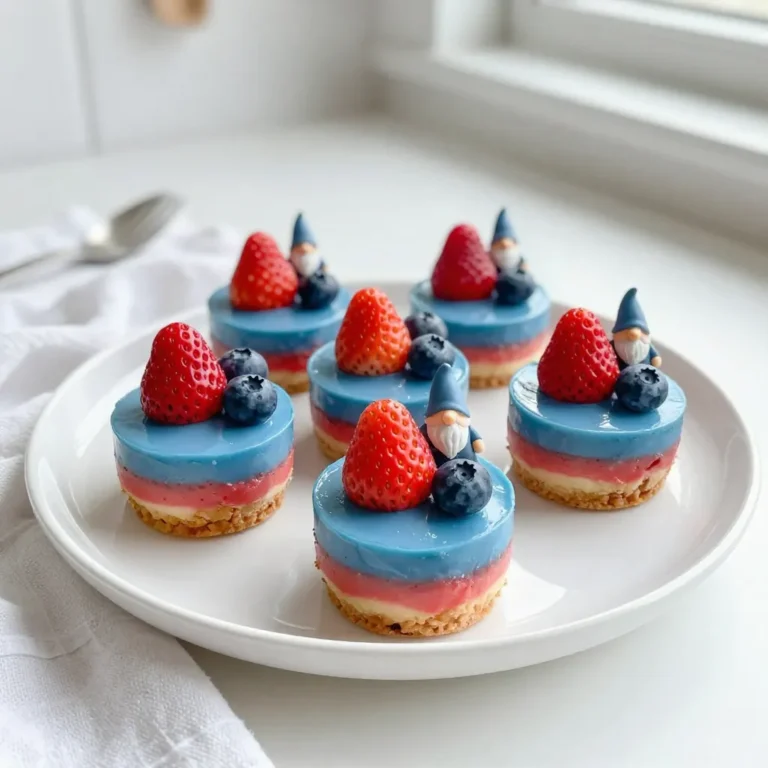
No-Bake Gnome Mini Cheesecakes Delightful Treat
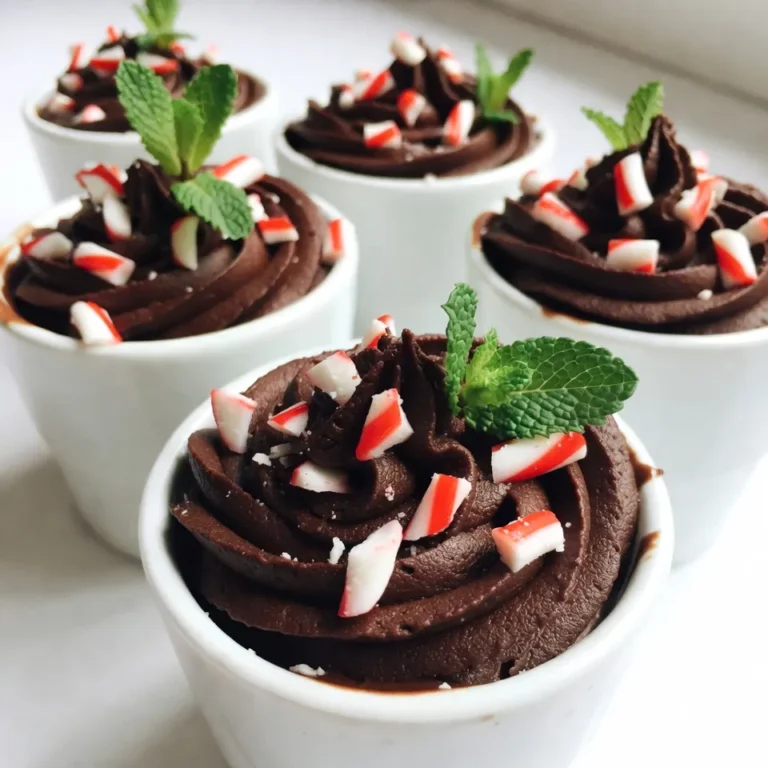
Christmas Chocolate Mousse Cups Festive Holiday Delight
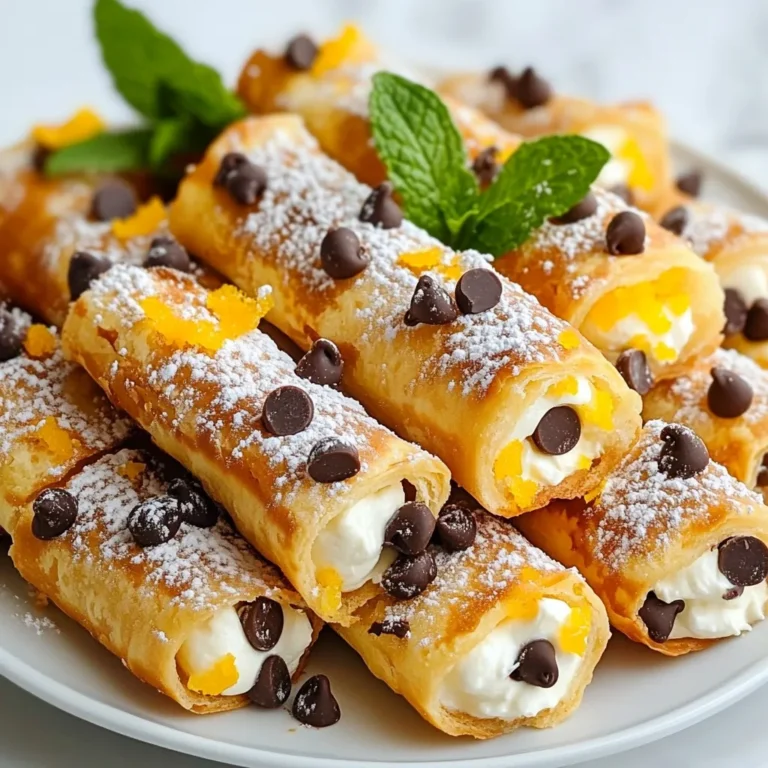
Classic Cannoli Squares Simple and Delicious Dessert
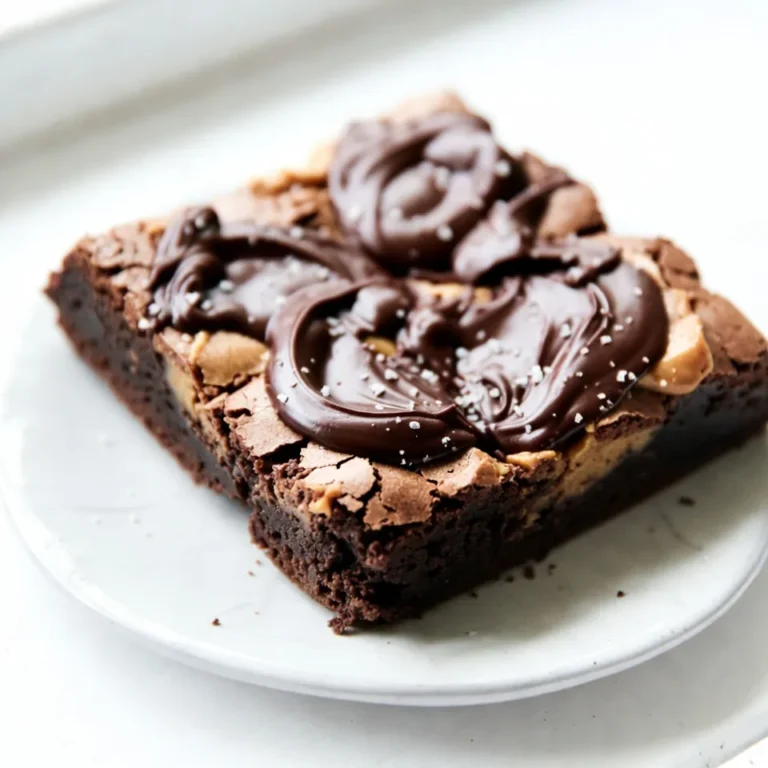
Buckeye Brownies Delightful Chocolate Peanut Treat
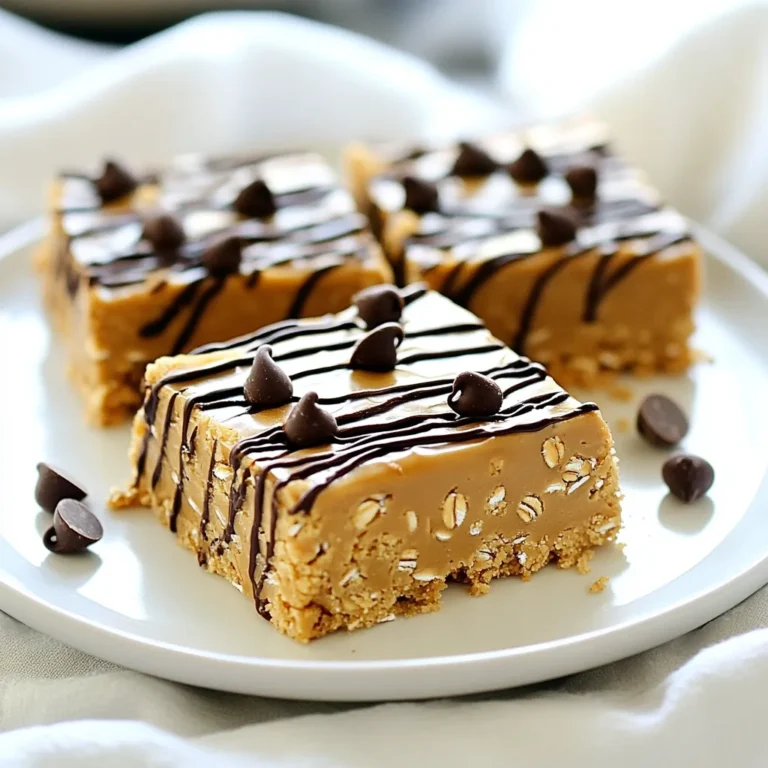
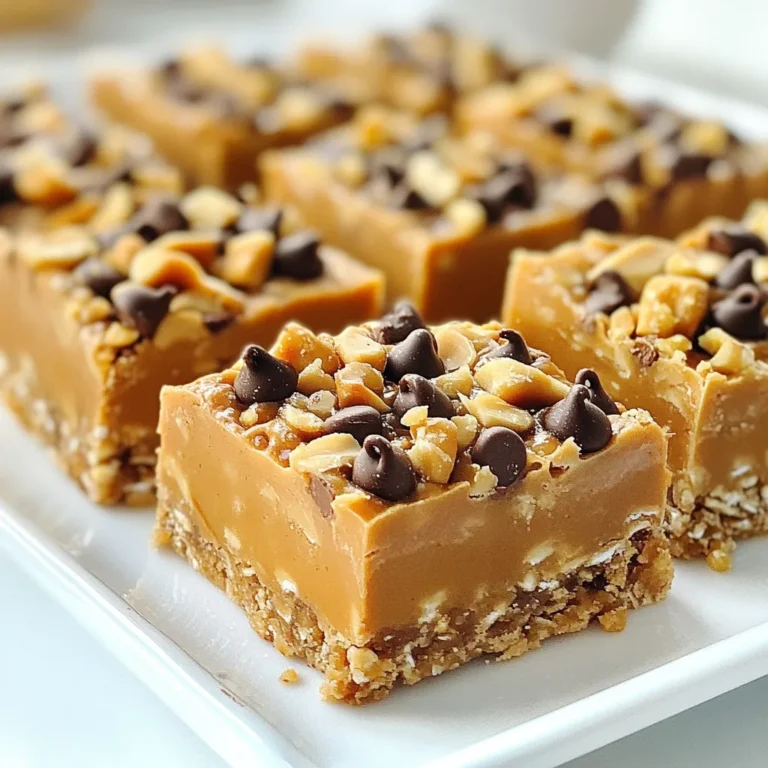
No Bake Peanut Butter Bars Easy and Delicious Treat
No-Bake Peanut Butter Bars Quick and Simple Recipe
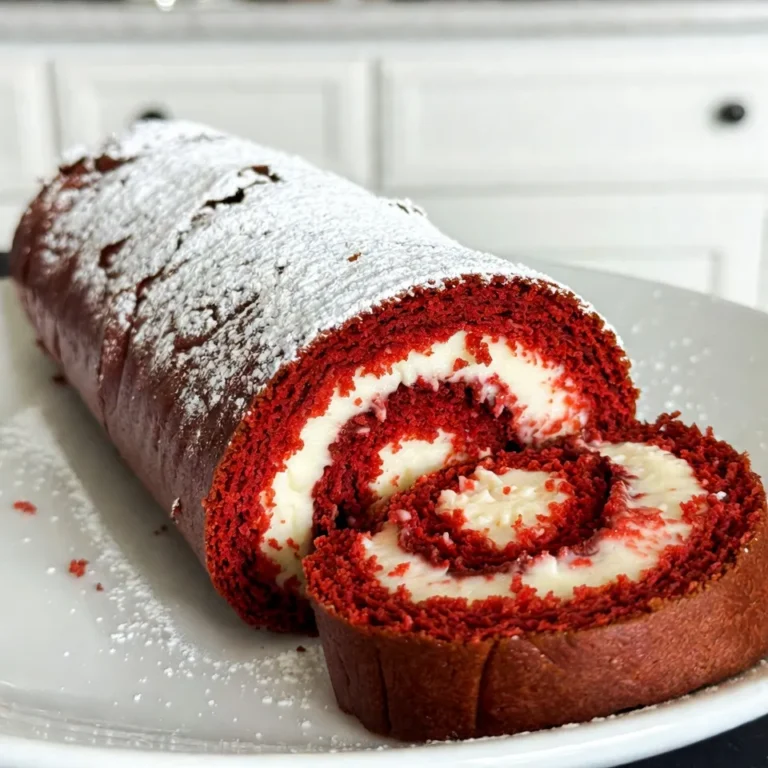
Christmas Red Velvet Cake Roll Delightful Holiday Dessert
Page navigation
Previous Page
Previous
1
…
24
25
26
27
Next Page
Next
Home
Dinner
Appetizer
Desserts
Drinks
About
Contact
Privacy Policy
Toggle Menu Close
Search for:
Search