Skip to content
About
Contact
Cookie Policy
Copyright Policy
Disclaimer
Search
Home
Dinner
Appetizer
Desserts
Drinks
About
Contact
Privacy Policy
Toggle Menu
Home
/
Desserts
- Page 25
Desserts
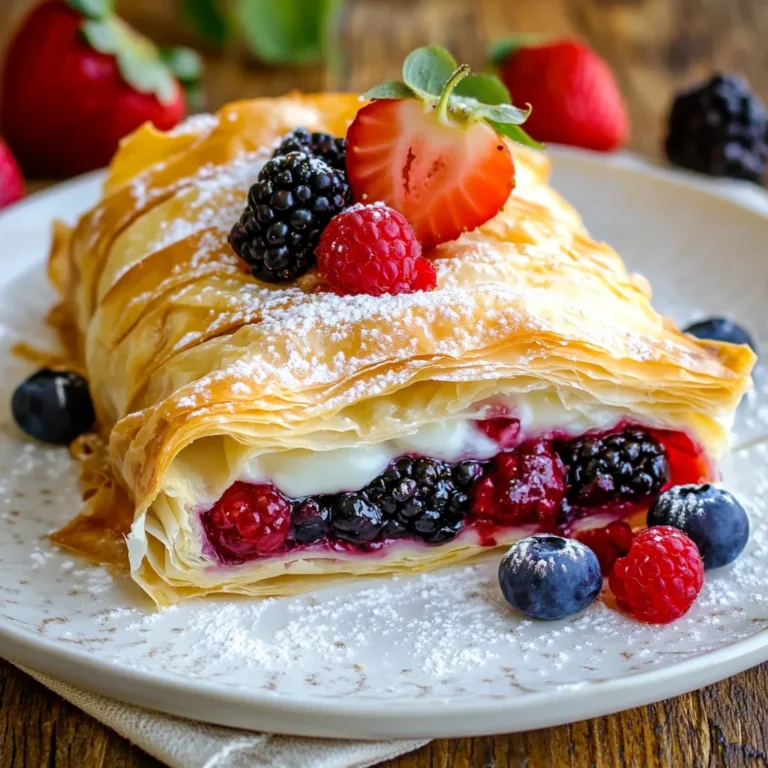
Mixed Berry Strudel with Vanilla Glaze Recipe Delight
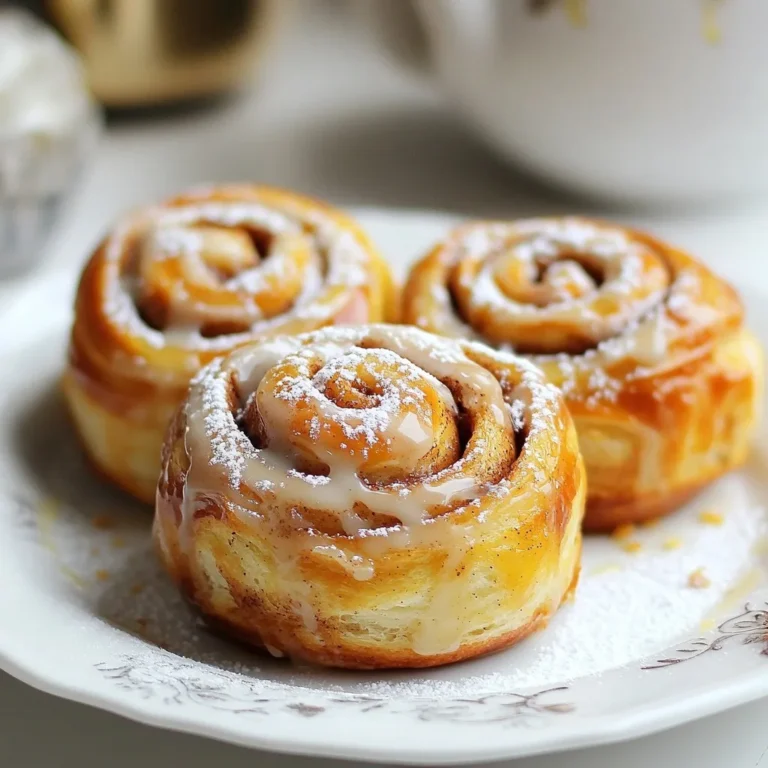
Fluffy Homemade Cinnamon Rolls Easy and Tasty Recipe
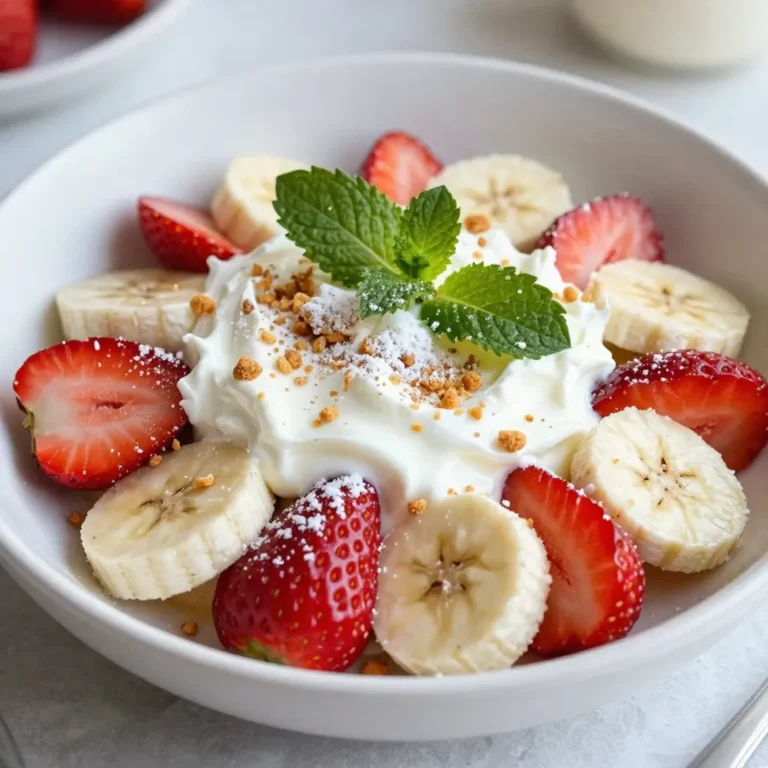
Strawberry Banana Cheesecake Salad Creamy Delight
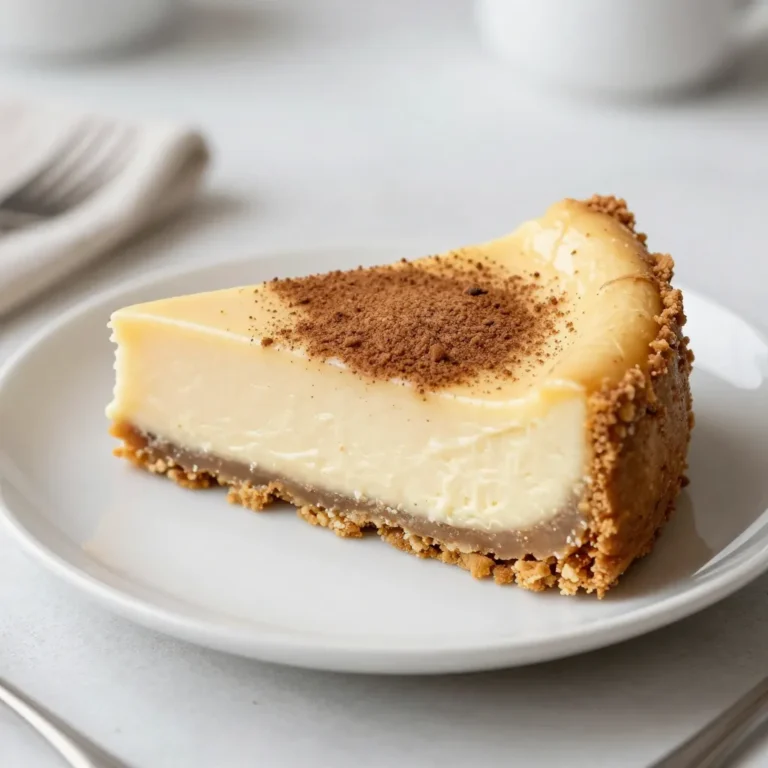
Snickerdoodle Cheesecake Rich and Creamy Delight
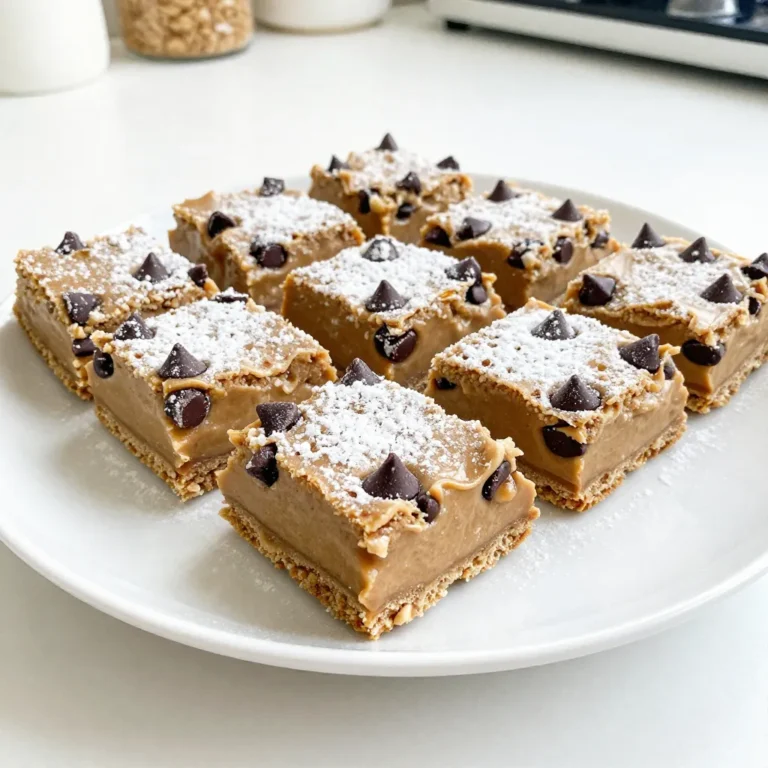
No-Bake Peanut Butter Bars Simple and Tasty Treat
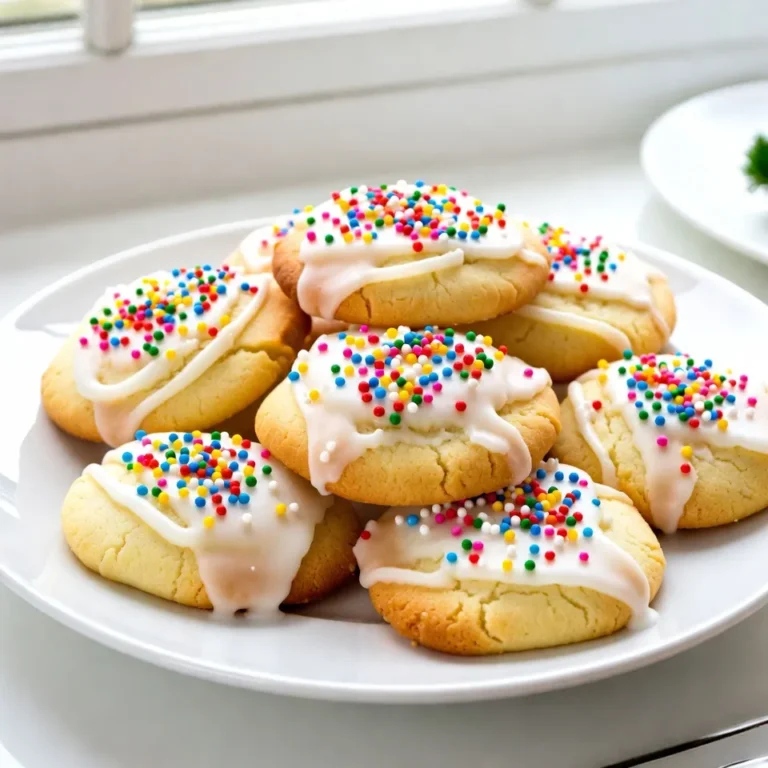
Easy Italian Christmas Cookies Festive Holiday Treat
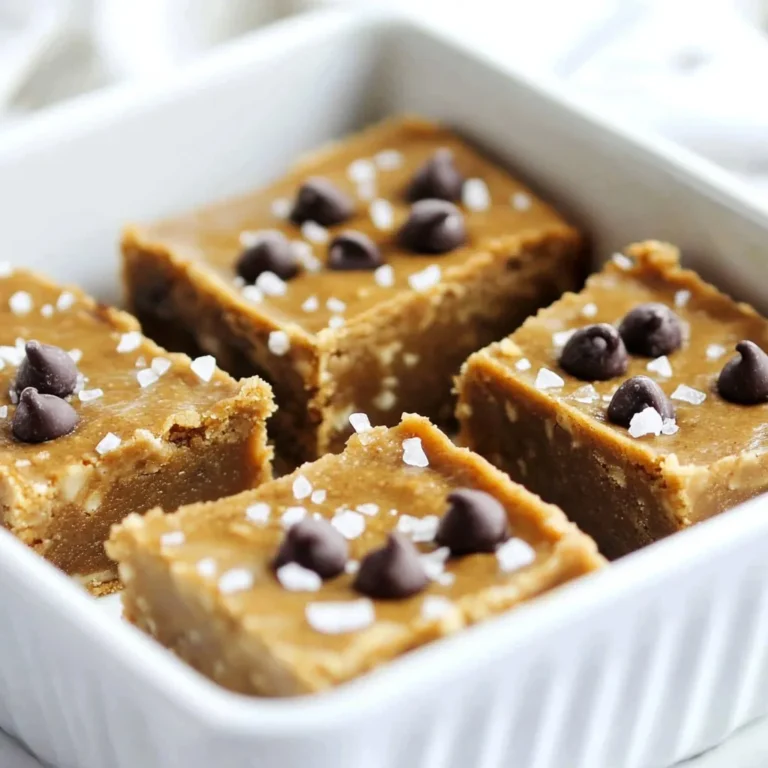
Healthy No-Bake Cookie Dough Bars Delightful Treat
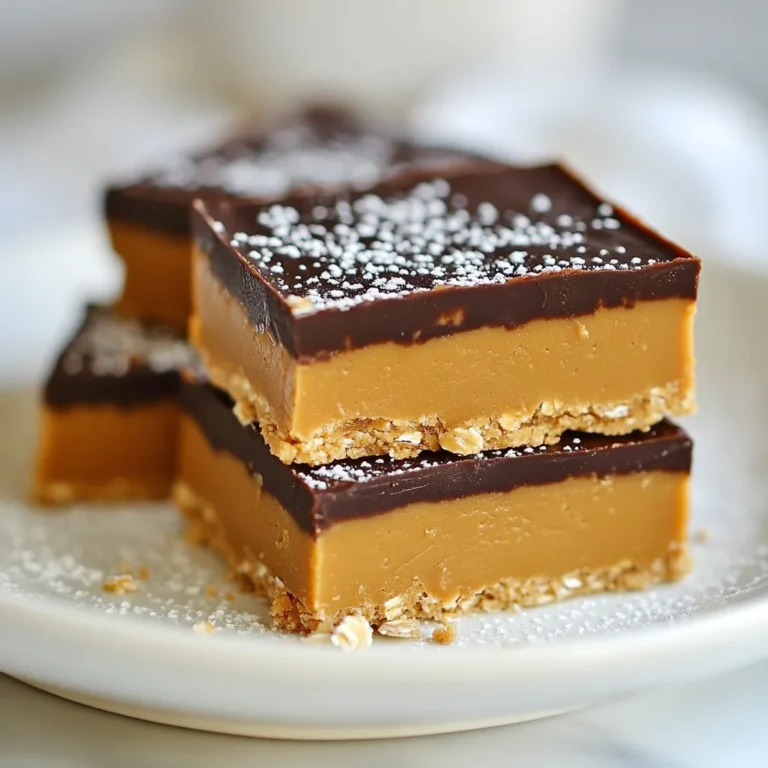
No Bake Peanut Butter Bars Quick and Easy Recipe
Peppermint Bark Puppy Chow Tasty Holiday Treat
Easy Mocha Fudge Quick and Decadent Sweet Treat
Page navigation
Previous Page
Previous
1
…
23
24
25
26
27
Next Page
Next
Home
Dinner
Appetizer
Desserts
Drinks
About
Contact
Privacy Policy
Toggle Menu Close
Search for:
Search