Skip to content
About
Contact
Cookie Policy
Copyright Policy
Disclaimer
Search
Home
Dinner
Appetizer
Desserts
Drinks
About
Contact
Privacy Policy
Toggle Menu
Home
/
Desserts
- Page 24
Desserts
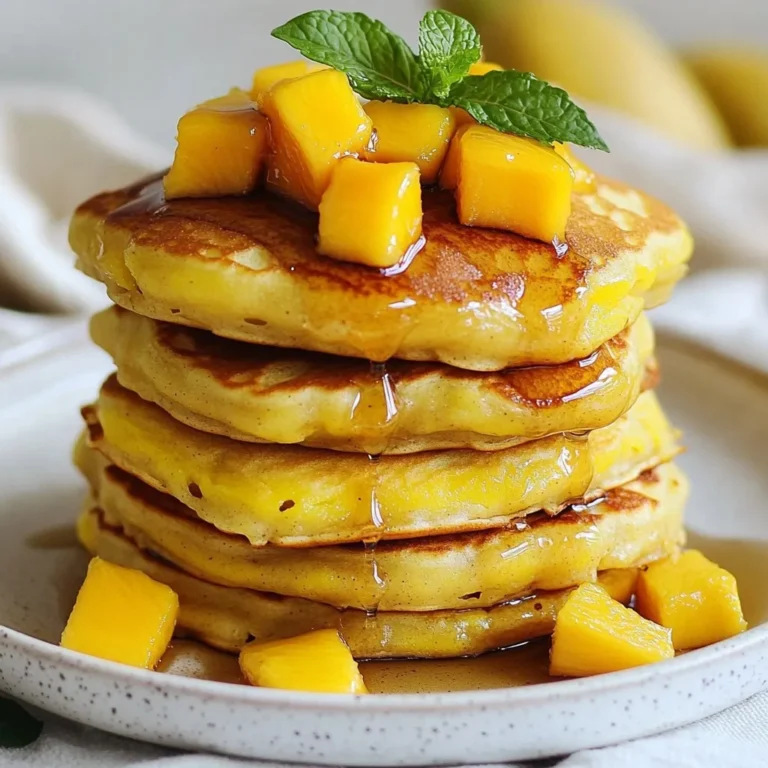
Fluffy Mango Pancakes Delightful and Easy Recipe
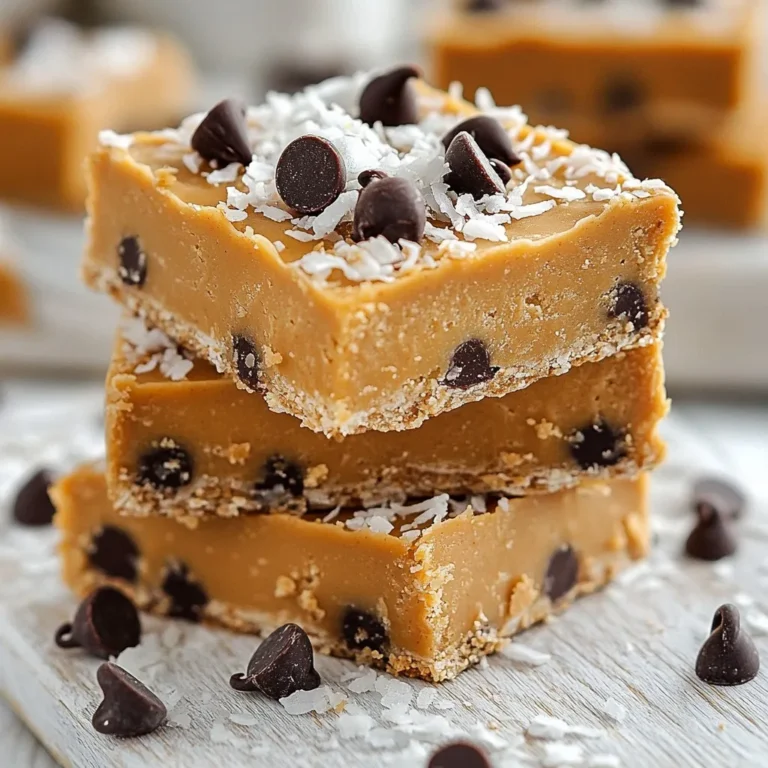
No Bake Peanut Butter Bars Quick and Easy Recipe
No Bake Peanut Butter Bars Simple and Easy Recipe
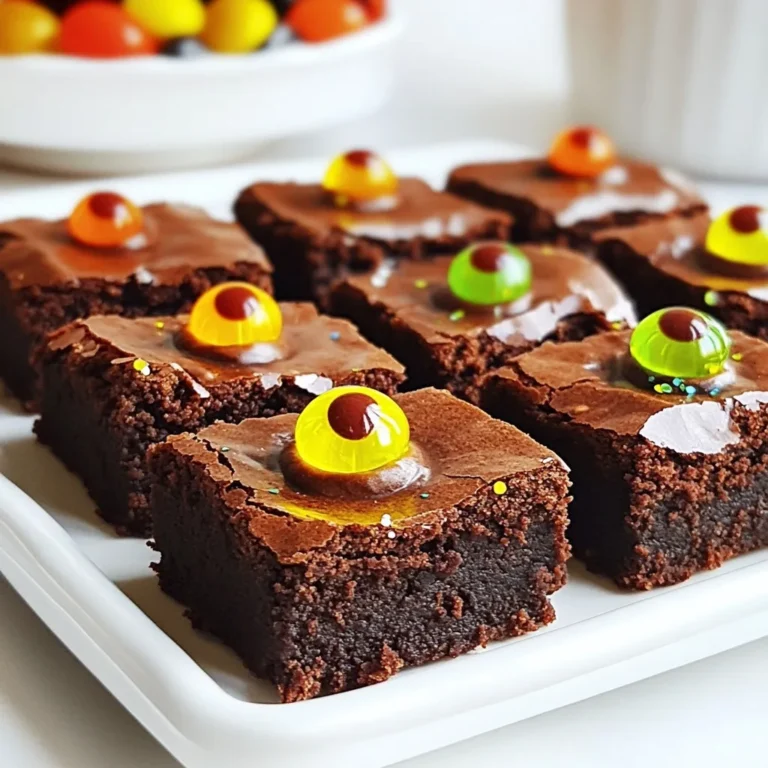
Spooky Halloween Brownies with Gummy Eyeballs Delight
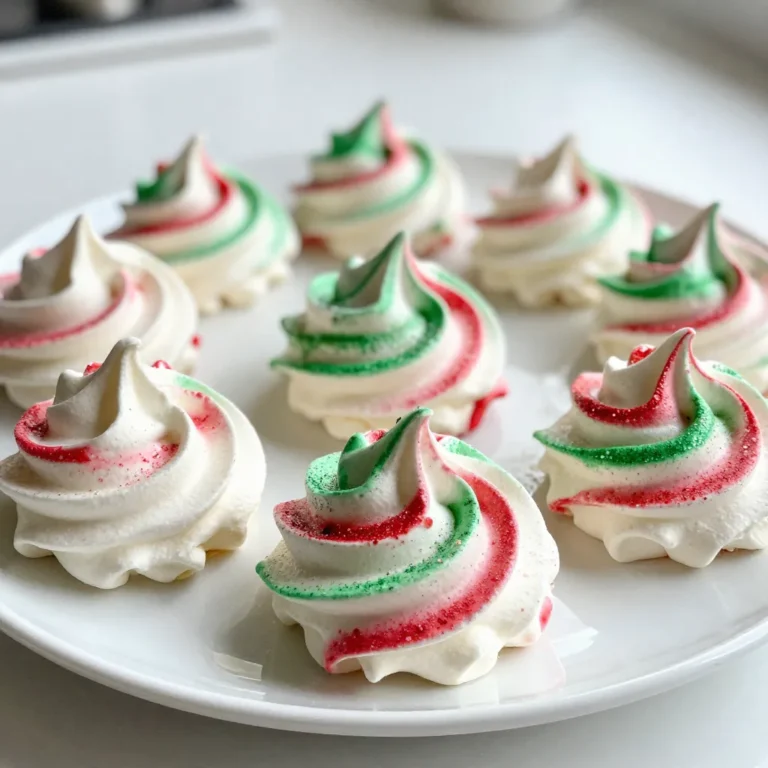
Christmas Meringue Kisses Delightful and Festive Treat
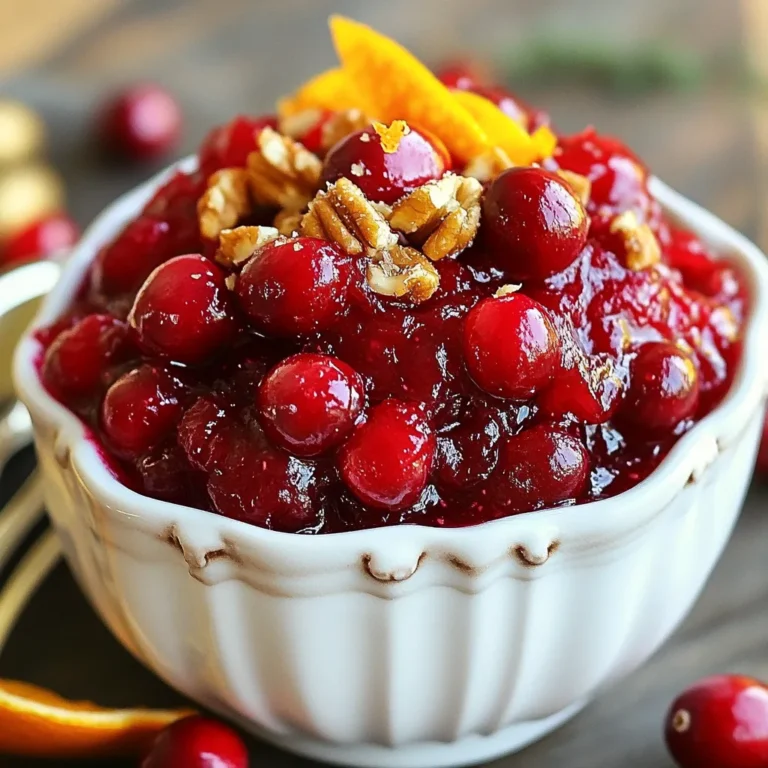
Homemade Cranberry Sauce with Orange Zest Delight
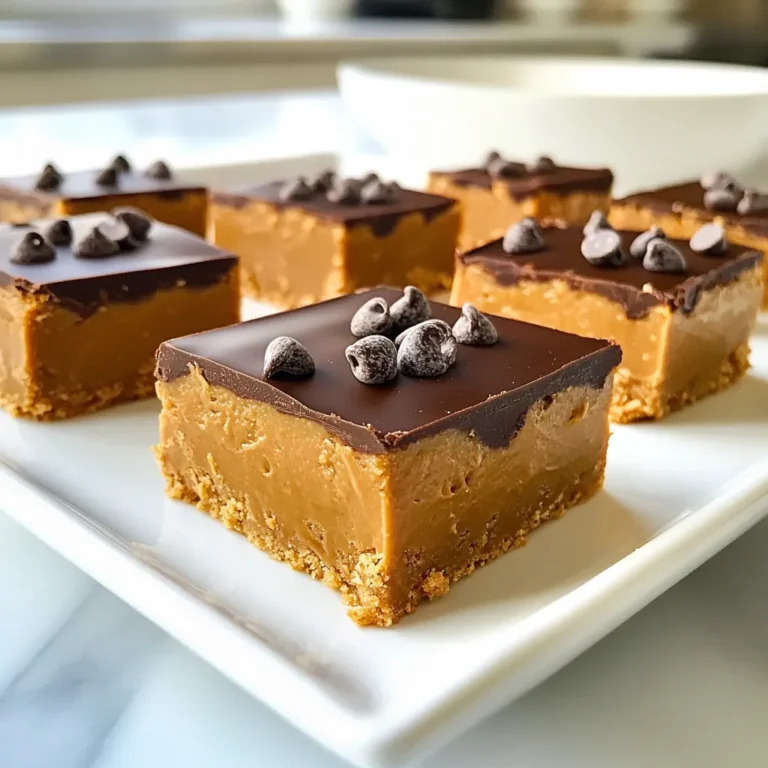
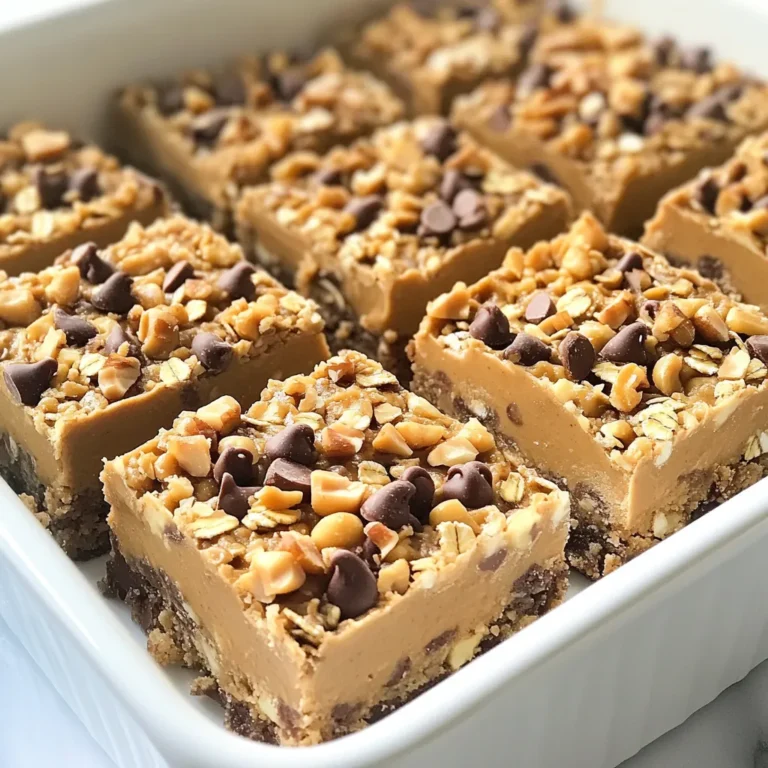
No-Bake Peanut Butter Bars Simple and Healthy Snack
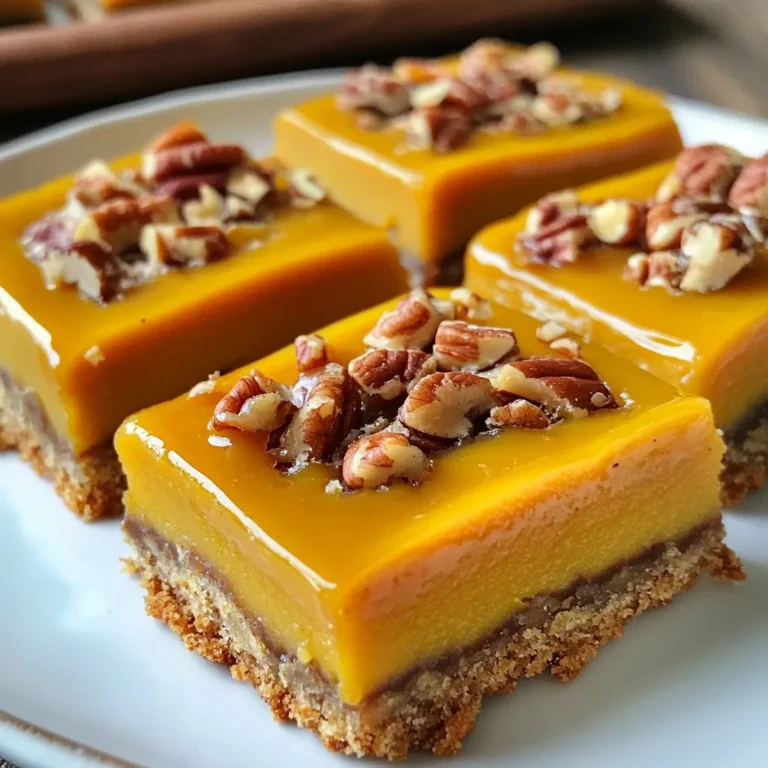
Pumpkin Pecan Caramel Bars Irresistible Fall Treat
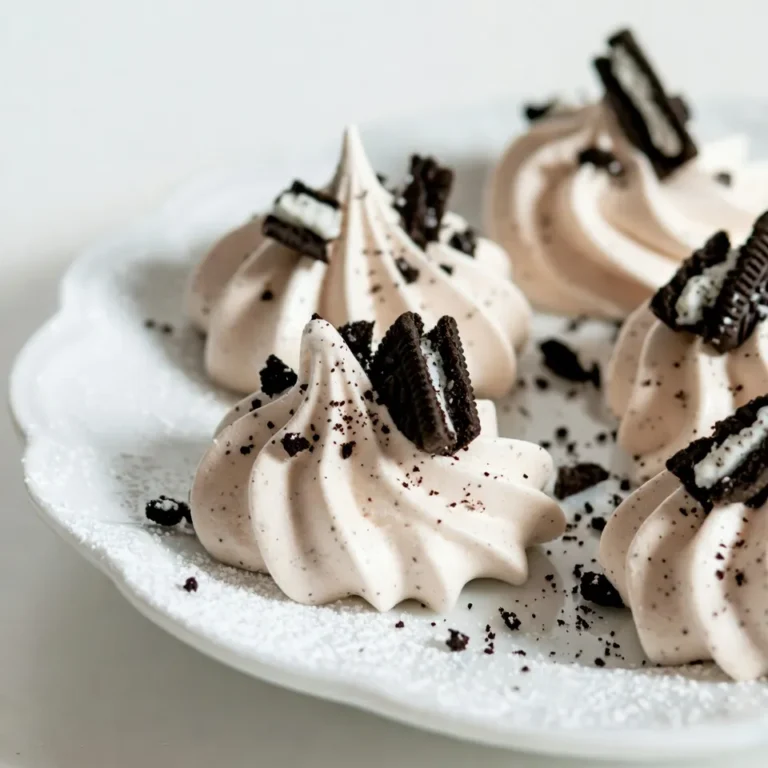
Peppermint Oreo Meringue Cookies Delightful Treats
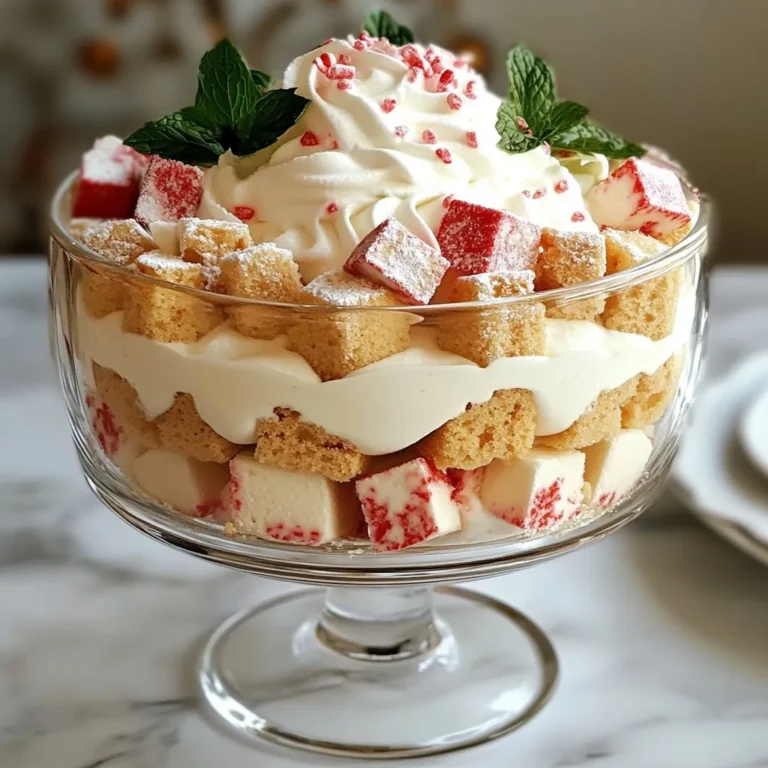
Christmas Peppermint Trifle Festive and Creamy Delight
Page navigation
Previous Page
Previous
1
…
22
23
24
25
26
27
Next Page
Next
Home
Dinner
Appetizer
Desserts
Drinks
About
Contact
Privacy Policy
Toggle Menu Close
Search for:
Search