Skip to content
About
Contact
Cookie Policy
Copyright Policy
Disclaimer
Search
Home
Dinner
Appetizer
Desserts
Drinks
About
Contact
Privacy Policy
Toggle Menu
Home
/
Desserts
- Page 23
Desserts
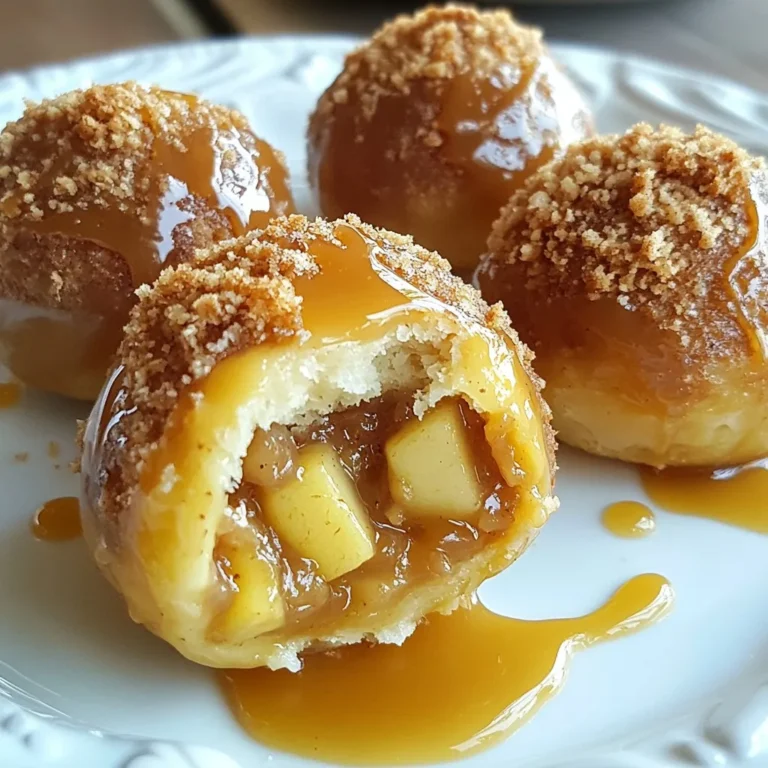
Caramel Apple Pie Bombs Irresistible Sweet Treats
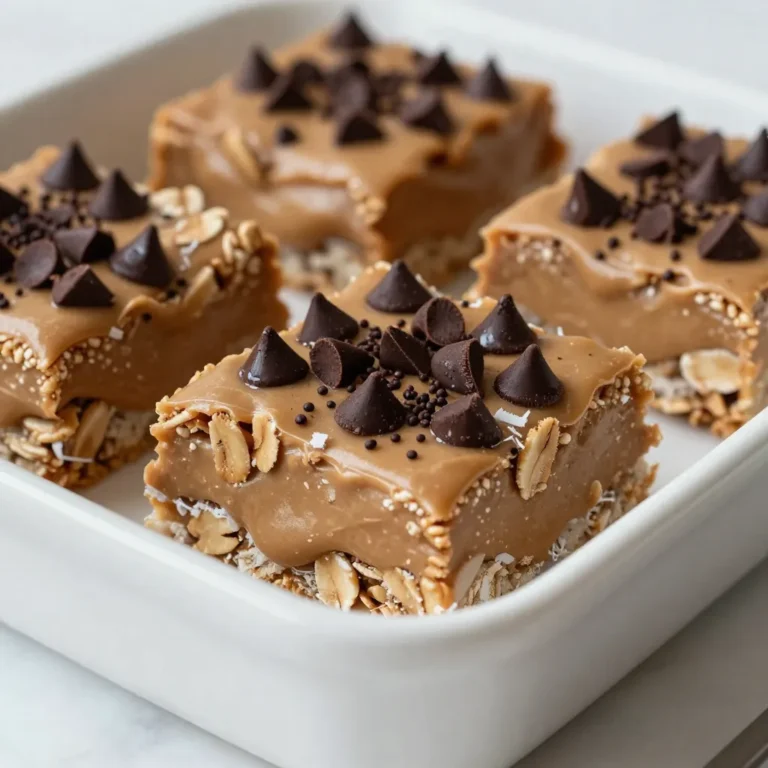
No-Bake Peanut Butter Bars Easy and Delicious Treat
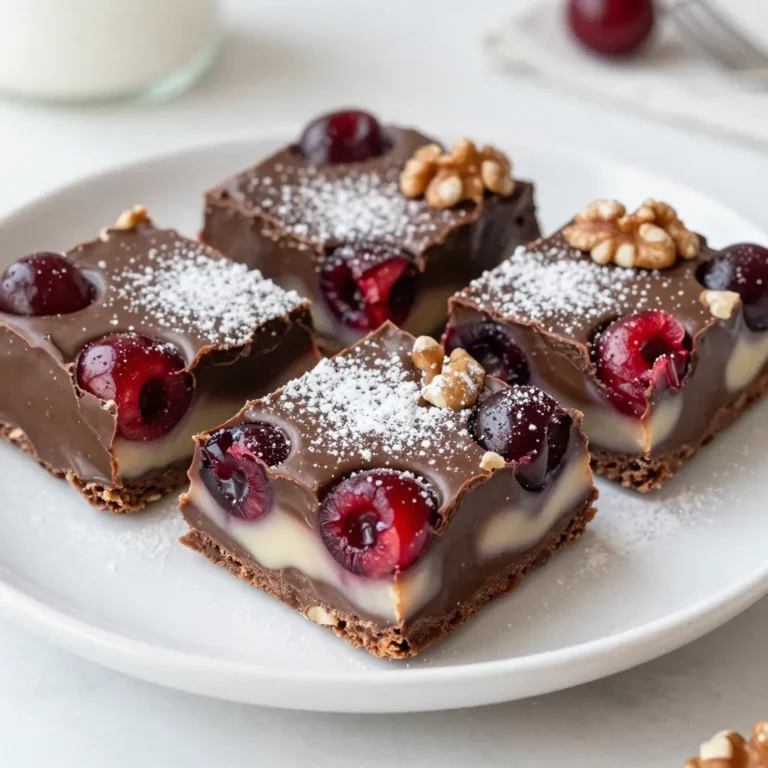
Cherry Garcia Fudge Squares Easy and Delicious Treat
Zesty Orange Tart Refreshing Dessert Recipe Guide
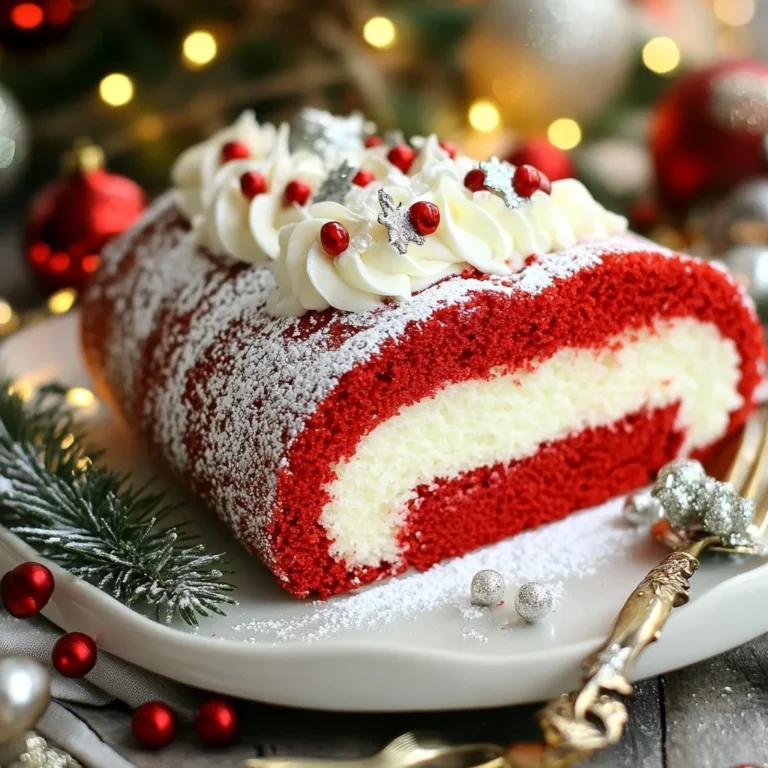
Christmas Red Velvet Cake Roll Festive and Delicious Treat
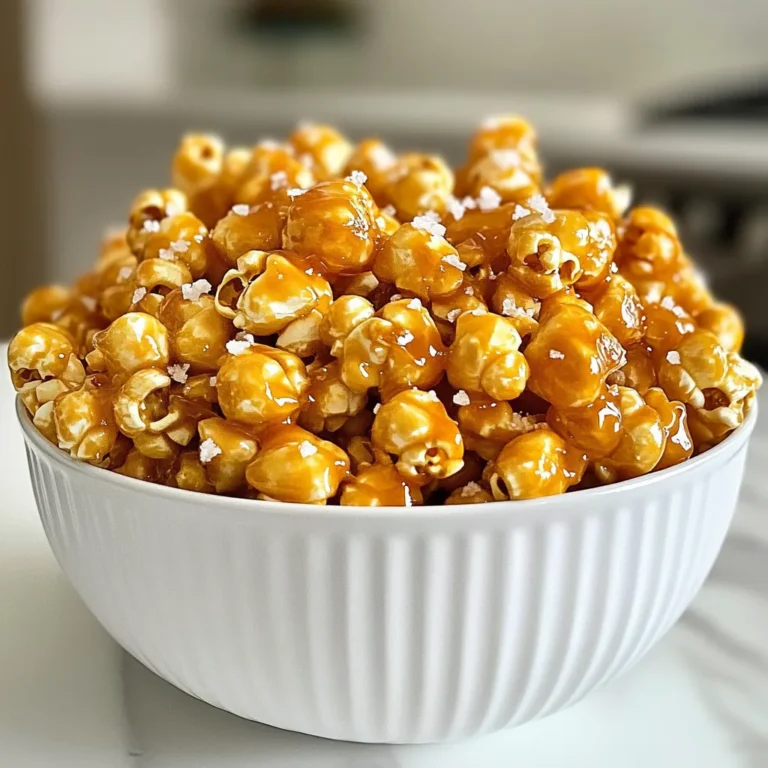
Easy Caramel Popcorn Quick and Delicious Homemade Snack
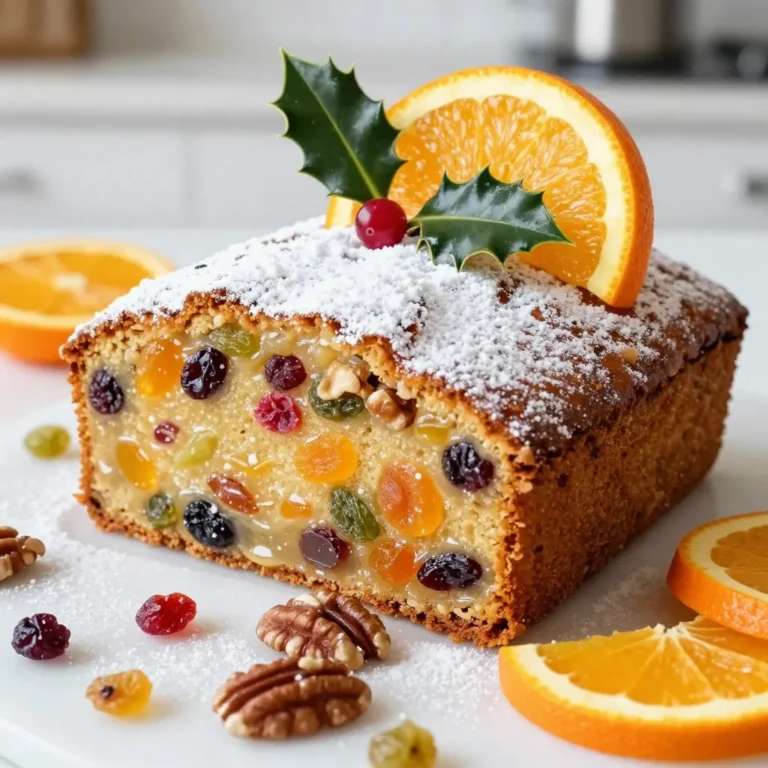
Classic Christmas Fruitcake Festive and Flavorful Treat
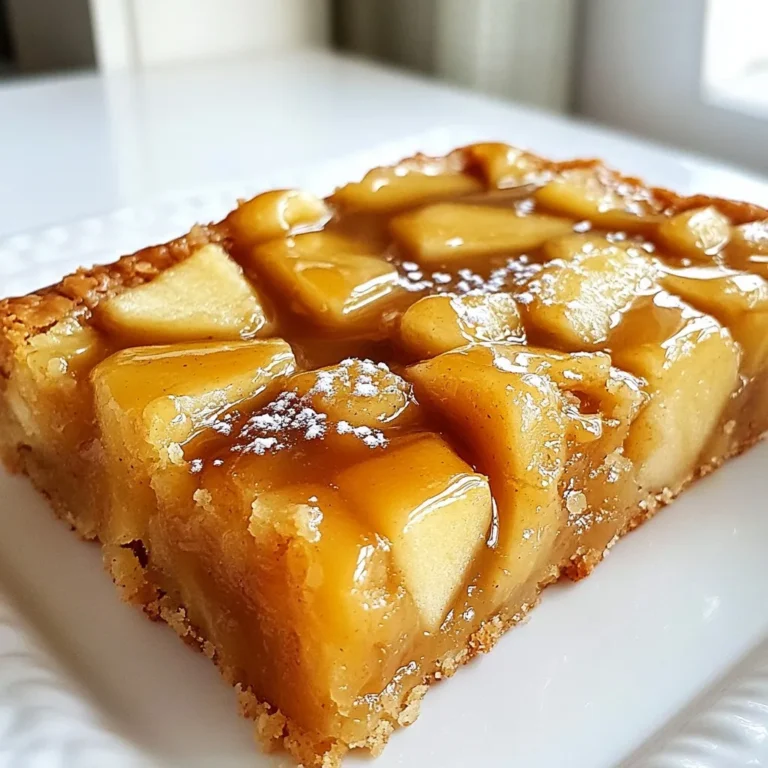
Salted Caramel Apple Bars Delightful Dessert Recipe
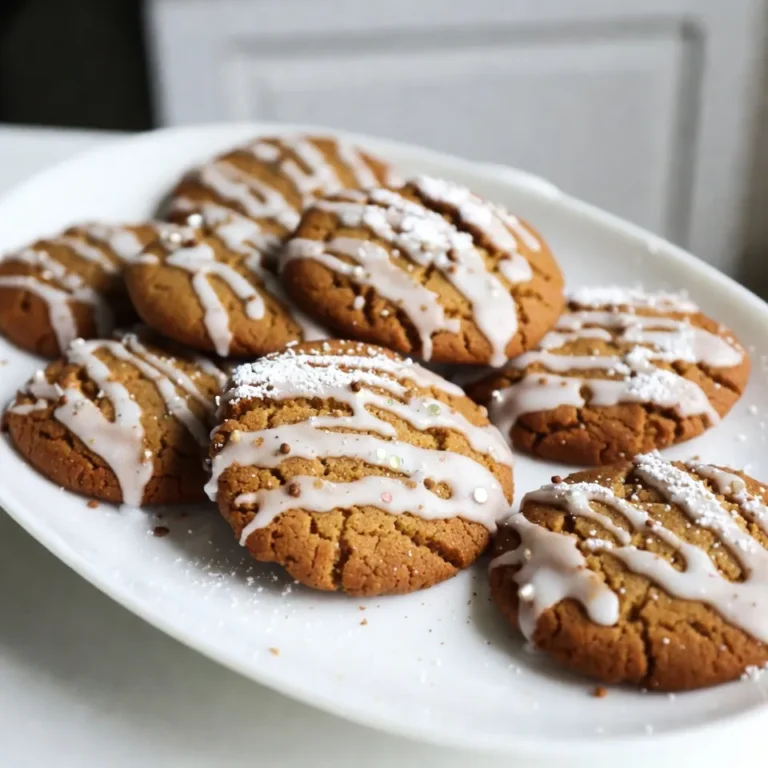
Soft Chewy Gingerbread Cookies Irresistible and Delicious
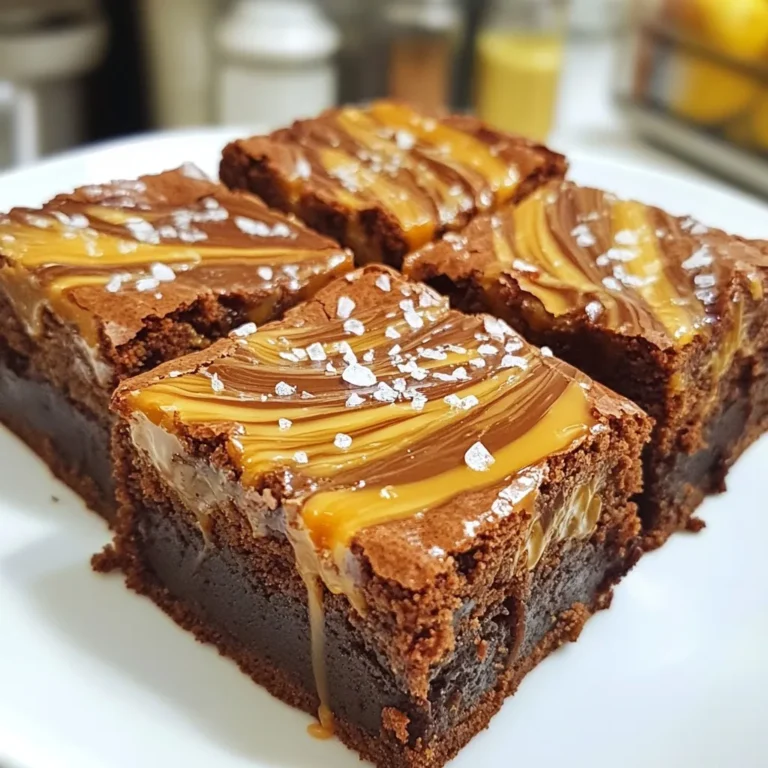
Salted Caramel Swirl Brownies Irresistible Fudgy Delight
Page navigation
Previous Page
Previous
1
…
21
22
23
24
25
…
27
Next Page
Next
Home
Dinner
Appetizer
Desserts
Drinks
About
Contact
Privacy Policy
Toggle Menu Close
Search for:
Search