Skip to content
About
Contact
Cookie Policy
Copyright Policy
Disclaimer
Search
Home
Dinner
Appetizer
Desserts
Drinks
About
Contact
Privacy Policy
Toggle Menu
Home
/
Desserts
- Page 22
Desserts
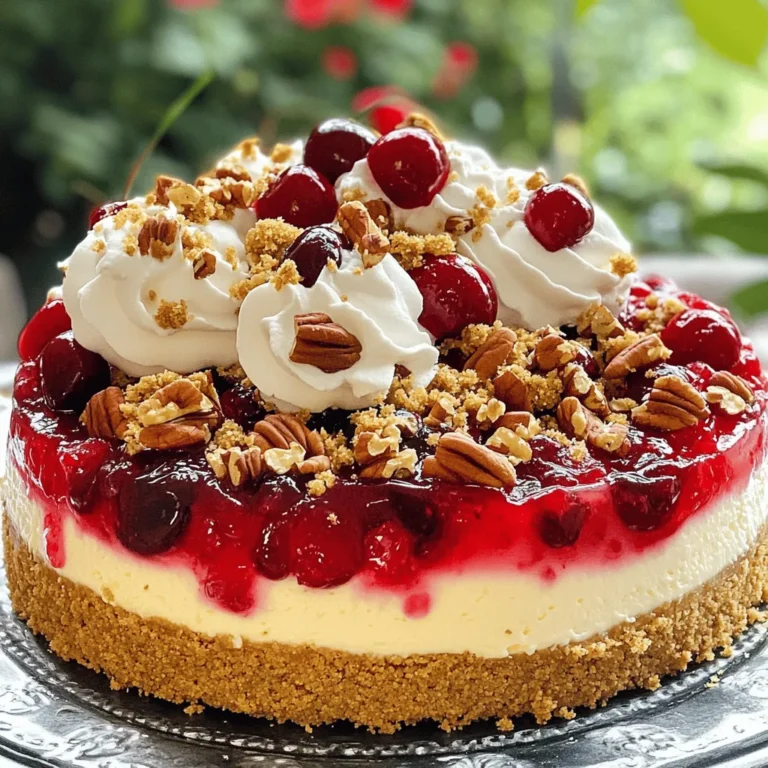
Cherry Crumb Cheesecake Delightful and Worthy Treat
Christmas Red Velvet Cake Roll Delightful Holiday Treat
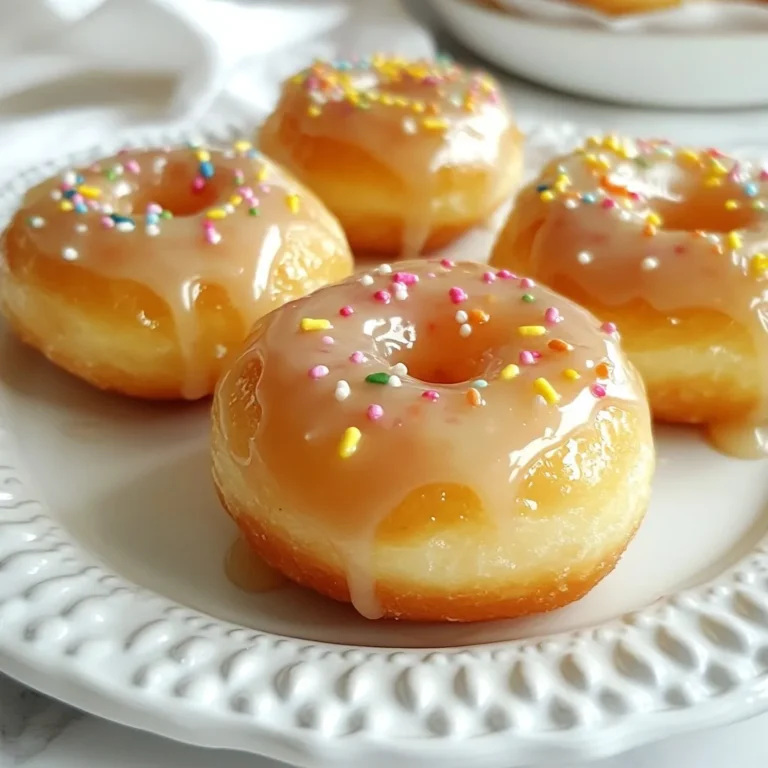
Glazed Mochi Doughnuts Delightful Homemade Treat
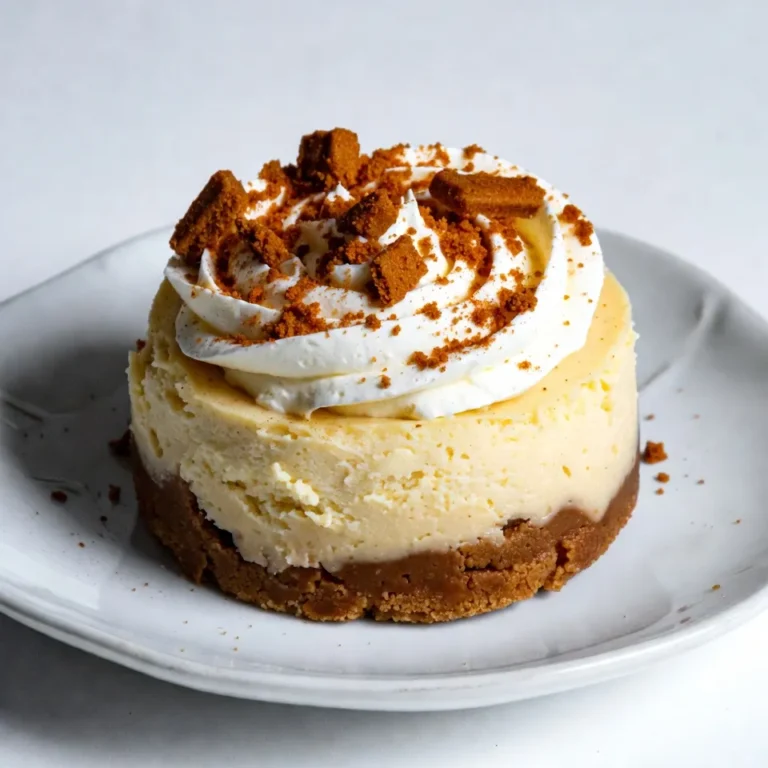
Biscoff Banana Pudding Creamy Delightful Dessert
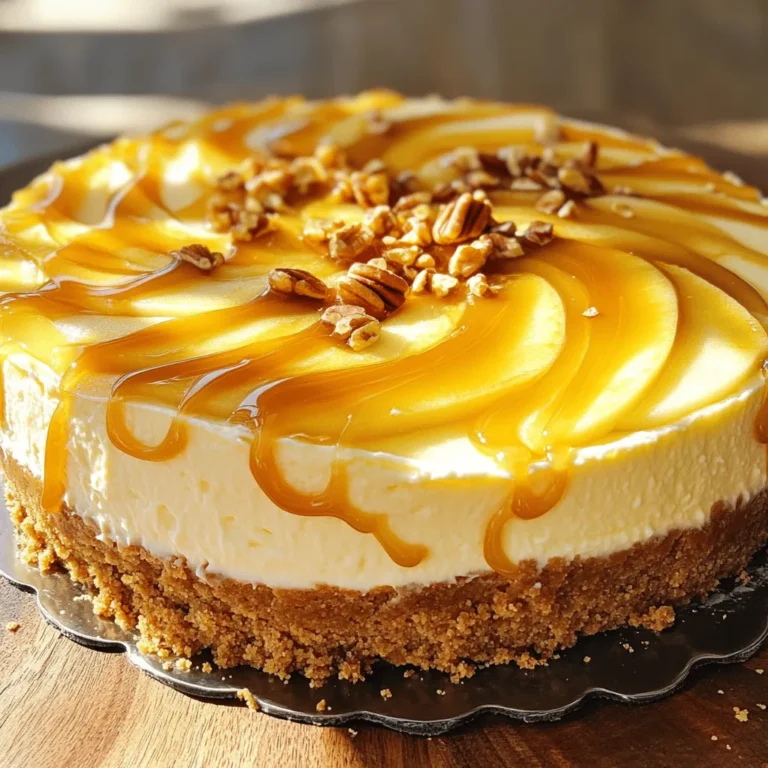
Caramel Apple Cheesecake Delightful and Creamy Recipe
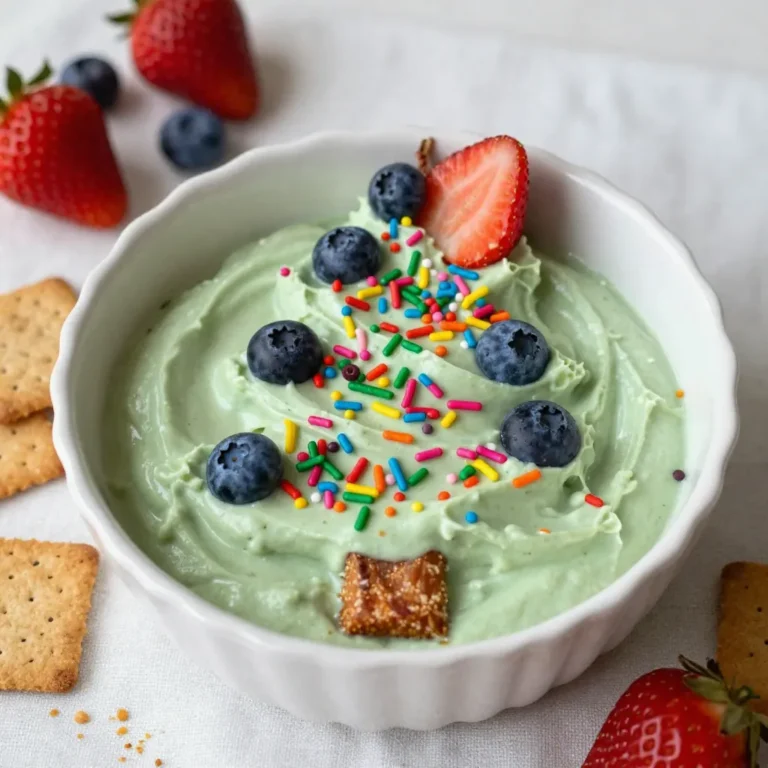
Christmas Tree Cake Dip Festive and Fun Treat
Christmas Vanilla Tree Fudge Festive and Flavorful Treat
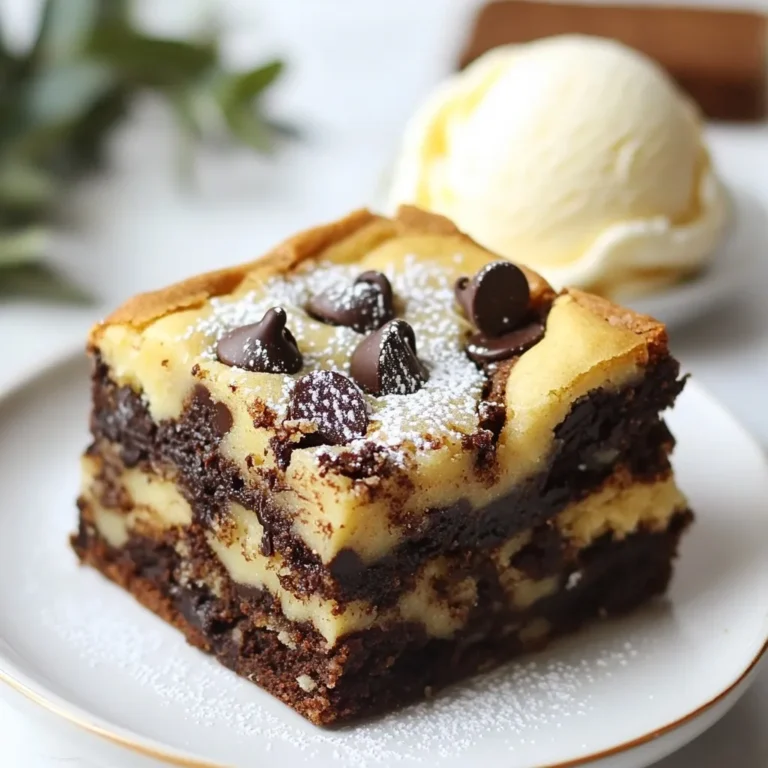
Fudgy Chewy Brookies Irresistible Homemade Treat
Grinch Christmas Truffles Delightful Holiday Treats
Gingerbread Cheesecake Delightful and Festive Treat
Page navigation
Previous Page
Previous
1
…
20
21
22
23
24
…
27
Next Page
Next
Home
Dinner
Appetizer
Desserts
Drinks
About
Contact
Privacy Policy
Toggle Menu Close
Search for:
Search


![- 1 cup Biscoff cookie spread - 2 cups whole milk - 1 cup heavy cream - 1/2 cup granulated sugar - 1/4 cup cornstarch - 1 teaspoon vanilla extract - 1/8 teaspoon salt - 3 ripe bananas, sliced - 1 cup crushed Biscoff cookies (for layering and garnish) - Whipped cream (optional, for topping) The Biscoff banana pudding is a treat, but it comes with calories. Each serving has about 350 calories. It has sugar and fat from the cookies and cream. If you want to reduce calories, you can use less sugar or lighter cream. You can also switch to a non-dairy milk for a vegan option. This dessert has a good mix of flavors and textures. You get the creaminess from the pudding and the crunch from the cookies. - Mix Dry Ingredients: In a medium saucepan, combine 1/2 cup granulated sugar, 1/4 cup cornstarch, and 1/8 teaspoon salt. Whisk them until there are no lumps. - Add Milk and Cook Mixture: Slowly pour in 2 cups of whole milk while whisking. This helps to avoid clumps in your pudding. Place the saucepan on medium heat and stir constantly. Cook until the mixture thickens and bubbles, about 5 to 7 minutes. - Incorporate Flavors: Once thickened, remove the saucepan from heat. Stir in 1 teaspoon vanilla extract and 1 cup of Biscoff cookie spread. Mix well until everything is smooth and combined. - Whip the Cream: In a separate bowl, whip 1 cup of heavy cream using an electric mixer. Beat until soft peaks form. Make sure it holds shape but is not too stiff. - Combine with Biscoff Mixture: Gently fold the whipped cream into the Biscoff mixture. Use a spatula and be gentle to keep the airy texture. - Layer the Dessert: In a large dish or individual cups, lay down sliced bananas. Then, spoon a layer of the Biscoff pudding over the bananas. - Add Crushed Cookies: Sprinkle a layer of crushed Biscoff cookies on the pudding. Repeat the layers with the remaining ingredients. Ensure the top layer is the Biscoff pudding. - Finishing Touches: For a nice look, pipe or dollop whipped cream on top. Garnish with extra crushed Biscoff cookies. - Chill the Dessert: Cover the dessert and place it in the fridge for at least 4 hours, or overnight. This helps all the flavors blend together. For the complete recipe, check the [Full Recipe]. Enjoy your cooking! To get the right whipped cream consistency, start with cold heavy cream. Use a clean bowl and beaters for the best results. Whip at medium speed until soft peaks form. This means the cream should hold its shape but still be smooth. Avoid over-whipping, as this can turn it into butter. To prevent lumps in the pudding, whisk the dry ingredients well before adding milk. Pour in the milk slowly while stirring. This helps mix everything evenly. Keep stirring as you cook the mixture over medium heat. This ensures a smooth pudding without any lumps. For the best presentation, use clear glasses or bowls. This shows off the lovely layers of bananas, creamy pudding, and crunchy cookies. You can also add a banana slice or a whole Biscoff cookie on top for a nice touch. This makes each serving look even more inviting. For garnishing ideas, sprinkle extra crushed Biscoff cookies on top. A dollop of whipped cream adds a nice finishing touch. You can also drizzle some melted Biscoff cookie spread over the top for added flavor and flair. The best time to prepare this dessert is a day ahead. This gives the flavors time to blend well. The pudding needs at least 4 hours in the fridge, but overnight is even better. This chilling time lets the pudding set perfectly. For optimal flavor, chill the dessert for at least 4 hours. This helps all the elements come together. The longer you chill, the more delicious it gets! Enjoy your Biscoff banana pudding after the wait; it will be worth it. {{image_4}} You can make this dessert even more fun by adding chocolate layers. Just mix cocoa powder into the Biscoff pudding. This mix creates a rich, sweet flavor. You can also use chocolate pudding as a layer. The blend of chocolate and Biscoff is a match made in dessert heaven. You can easily make a vegan version of Biscoff banana pudding. Use almond milk or coconut milk instead of whole milk. For the cream, try coconut cream. You can replace granulated sugar with maple syrup or agave. These swaps keep the taste yummy while being plant-based. If you need a gluten-free option, use gluten-free cookies. Look for brands that make gluten-free Biscoff-style cookies. Ensure that all other ingredients are gluten-free. This way, everyone can enjoy this delightful dessert without worry. To keep your Biscoff banana pudding fresh, store leftovers in the fridge. Use an airtight container to prevent air and moisture from spoiling it. If you don’t have one, cover the dish tightly with plastic wrap. This keeps the pudding creamy and tasty. In the fridge, this pudding lasts about 3 to 5 days. After that, it may lose its texture and flavor. Always check for any signs of spoilage before enjoying it again. If it smells off or looks strange, it’s best to toss it. Yes, you can freeze this pudding! To freeze, spoon it into a freezer-safe container, leaving room for expansion. Cover tightly with a lid or plastic wrap. When you're ready to eat, thaw in the fridge overnight. Avoid refreezing once thawed, as it may change the texture. Enjoy your creamy treat! For the full recipe, check out the Biscoff banana pudding delight. Can I use other nut butters instead of Biscoff? You can try using almond or peanut butter. However, Biscoff has a unique flavor. It adds a sweet, spiced taste. This makes it hard to replicate. Use other nut butters if you prefer them. The result will be different but still tasty. How do I know when the pudding mixture is thick enough? Stir the mixture while it cooks. It will start to bubble and thicken. When it coats the back of a spoon, it's ready. If it drips off the spoon slowly, you've got the right texture. This usually takes about 5-7 minutes. Can I make this dessert ahead of time? Yes, you can make it a day in advance. It tastes better when the flavors blend. Just cover it well and chill it in the fridge. This way, you save time and enjoy a delicious dessert. Can I use low-fat milk? Low-fat milk works, but it changes the creaminess. The pudding may be less rich. If you choose this option, consider adding a little extra whipped cream for texture. What if I don't have cornstarch? You can use flour as a substitute. It will work to thicken the pudding. Use about twice the amount of flour. Just remember, it might slightly change the taste. What can I pair with Biscoff banana pudding? This dessert pairs well with fresh fruit. Try berries or slices of mango. It also goes great with coffee or tea. The flavors balance nicely. Is it suitable for special occasions? Absolutely! Biscoff banana pudding is perfect for parties. Its layers look stunning in clear cups. Everyone loves a sweet and creamy dessert like this. It's a showstopper that impresses guests! This blog post covered how to make a delicious Biscoff banana pudding. We explored key ingredients and discussed the preparation and assembly steps to perfect the dish. I shared tips for achieving the best texture and serving suggestions to impress guests. You also learned about variations for diet needs and how to store leftovers safely. Enjoying this pudding can bring joy to many occasions. With the right ingredients and care, you can make this treat a family favorite.](https://fastmealmate.com/wp-content/uploads/2025/05/85e9a37f-c50b-46e1-af24-a41950287baa-768x768.webp)