Skip to content
About
Contact
Cookie Policy
Copyright Policy
Disclaimer
Search
Home
Dinner
Appetizer
Desserts
Drinks
About
Contact
Privacy Policy
Toggle Menu
Home
/
Desserts
- Page 2
Desserts
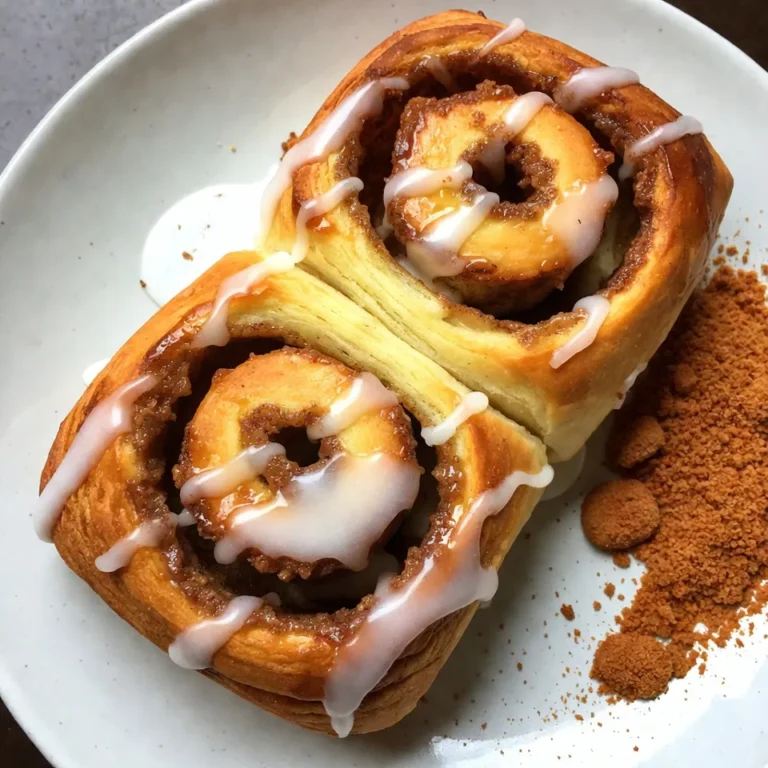
Lotus Biscoff Cinnamon Rolls Scrumptious and Easy Treat
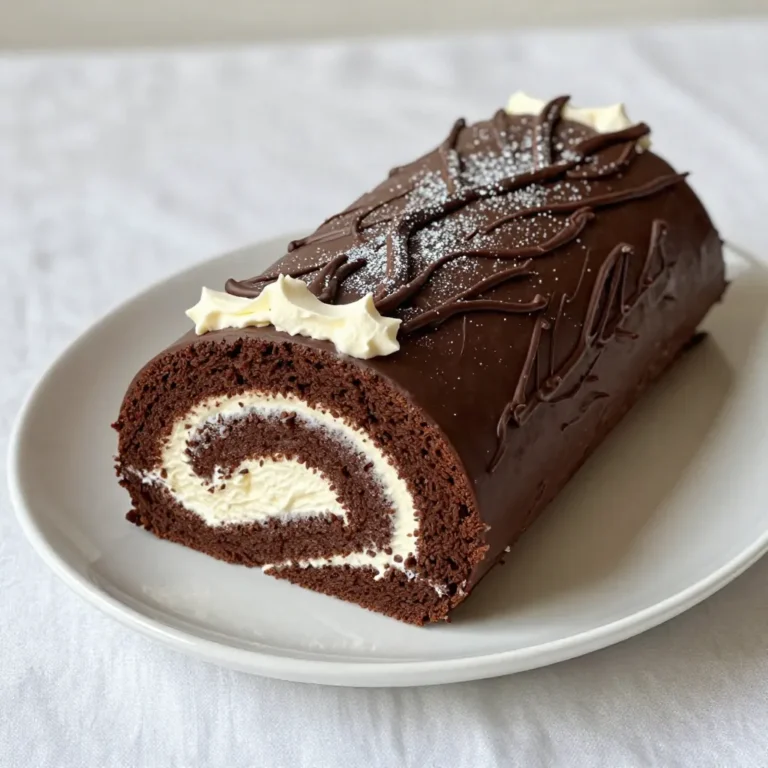
Chocolate Yule Log Simple Festive Dessert Guide
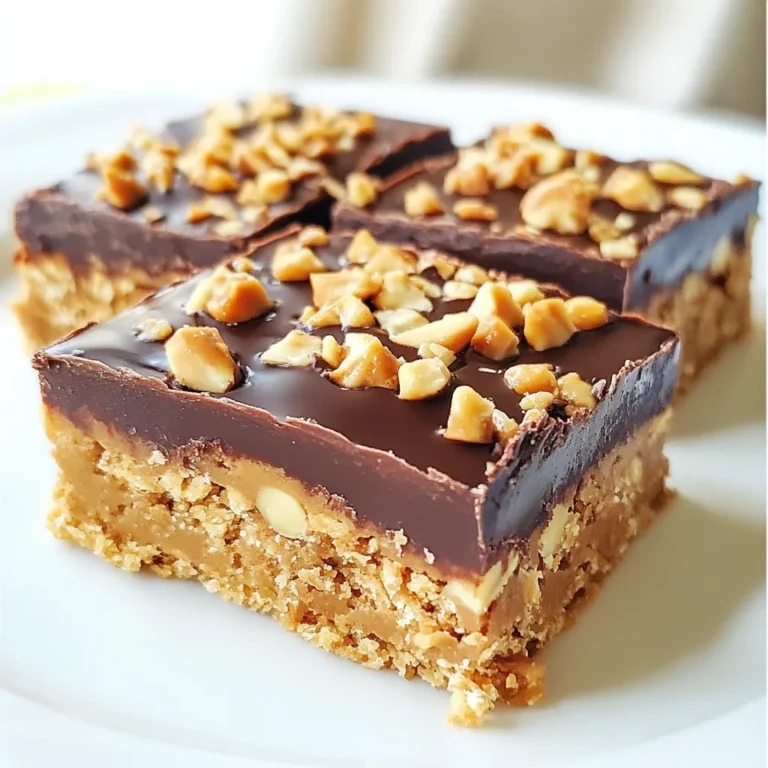
No-Bake Peanut Butter Bars Simple and Tasty Treat
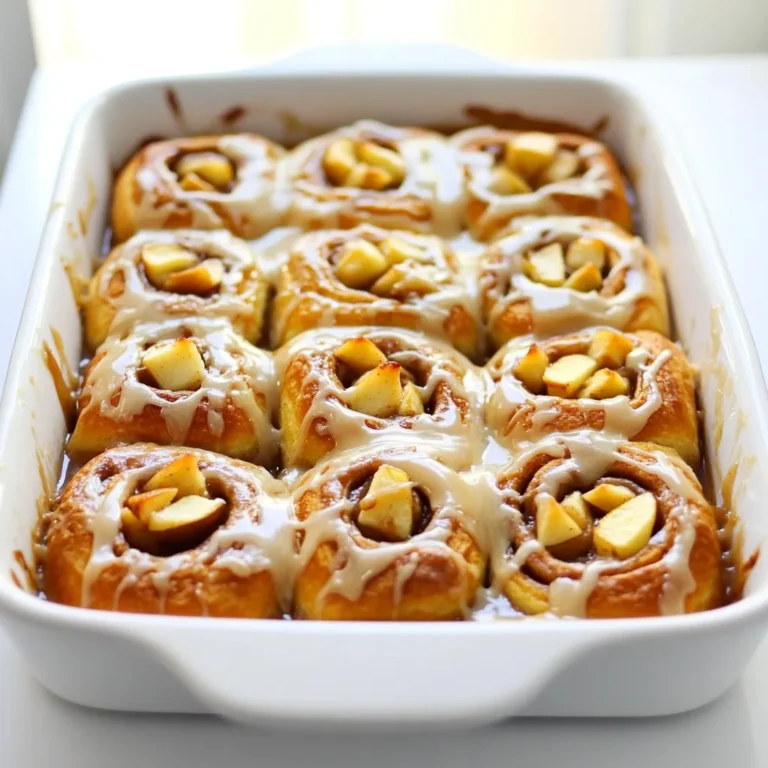
Caramel Apple Cinnamon Roll Bake Irresistible Treat
Slow Cooker Crockpot Candy Delightful Sweet Treat
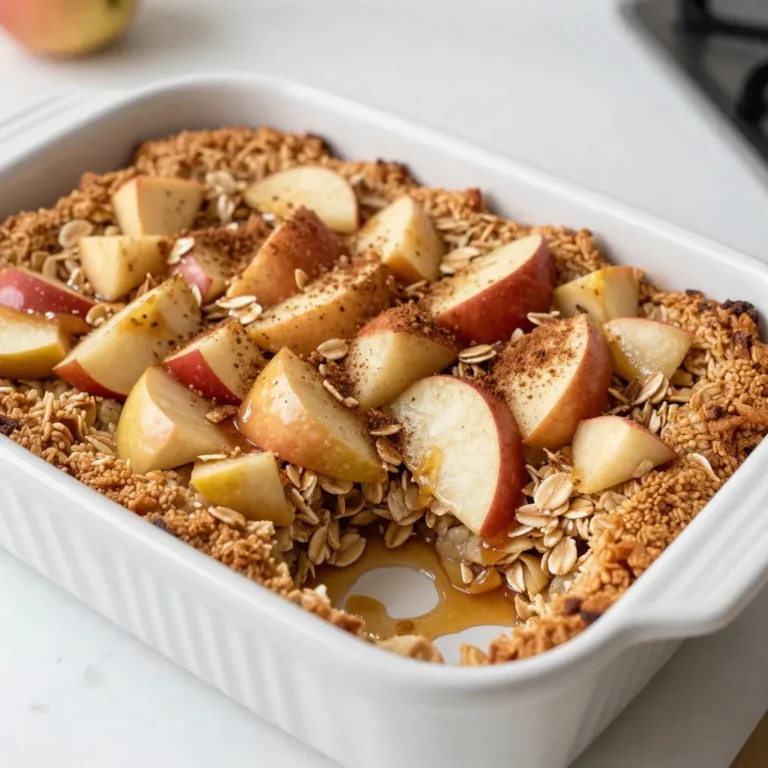
Oatmeal Apple Breakfast Bake Healthy and Simple Treat
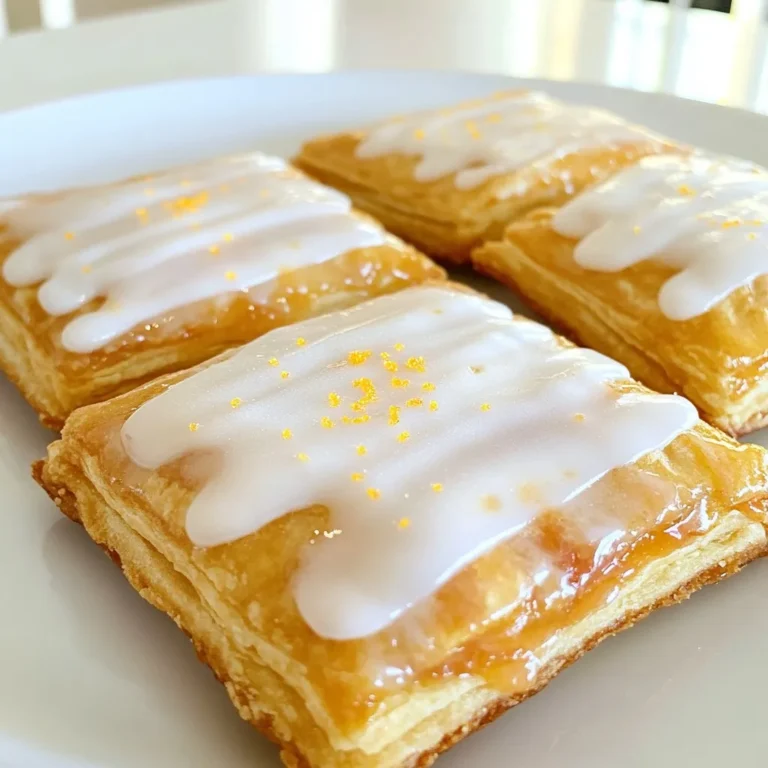
Brown Sugar Pop Tart Cookies Delightful Treat Recipe
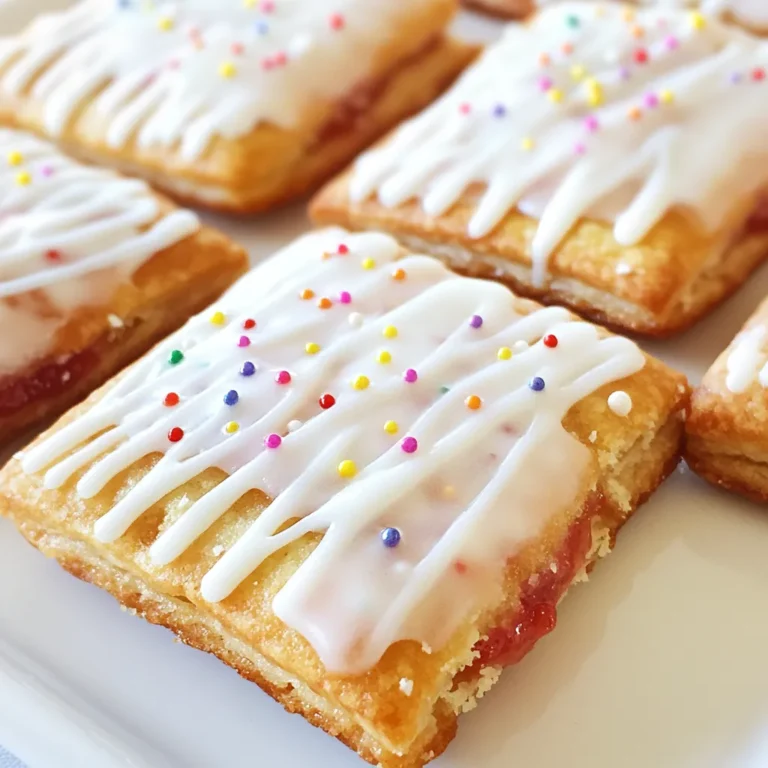
The Easiest Homemade Pop Tarts Delightful Treat
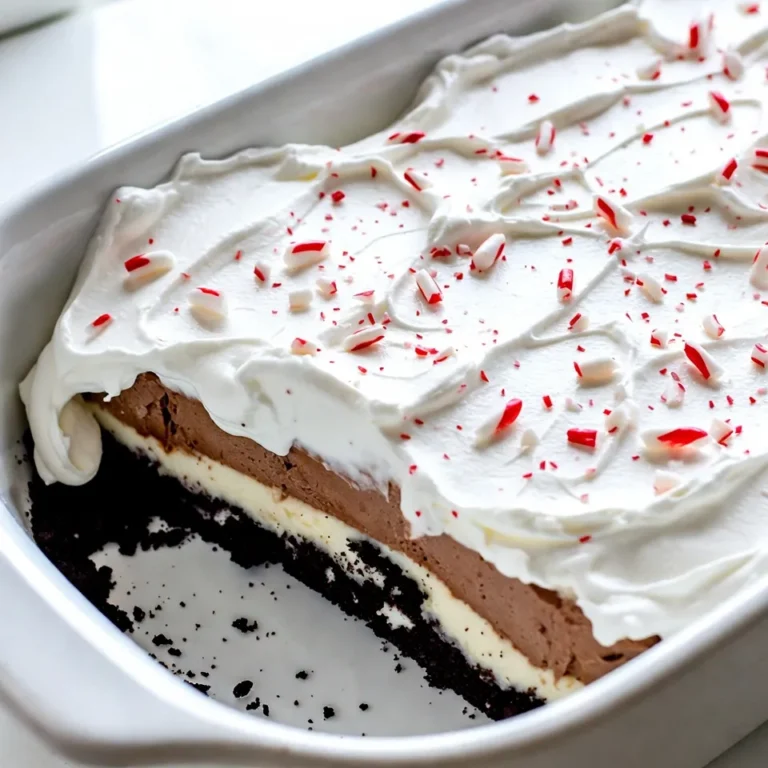
No-Bake Christmas Oreo Lasagna Easy and Delicious Recipe
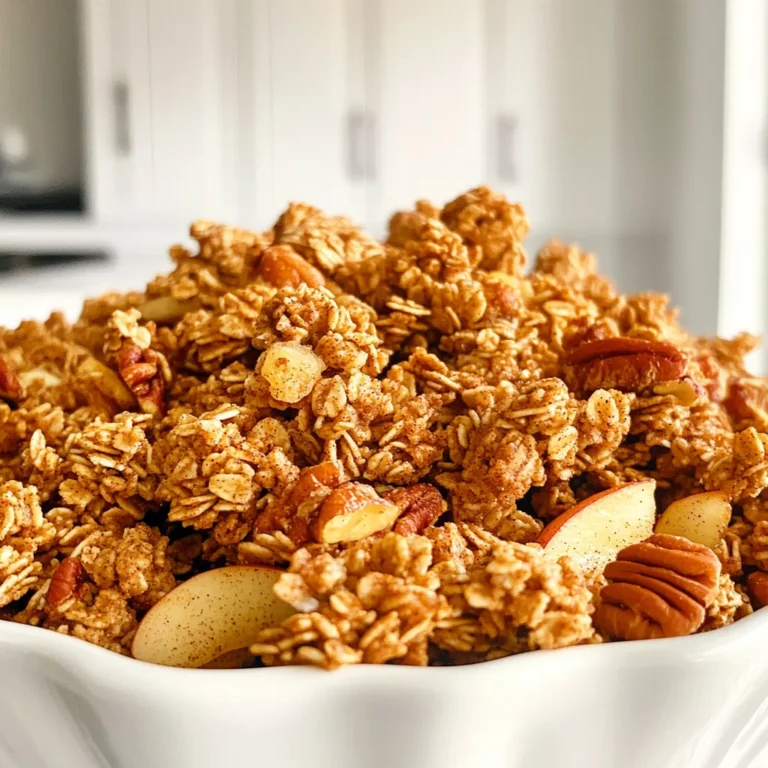
Brown Sugar Apple Pecan Granola Clusters Delight
Page navigation
Previous Page
Previous
1
2
3
4
…
27
Next Page
Next
Home
Dinner
Appetizer
Desserts
Drinks
About
Contact
Privacy Policy
Toggle Menu Close
Search for:
Search