Skip to content
About
Contact
Cookie Policy
Copyright Policy
Disclaimer
Search
Home
Dinner
Appetizer
Desserts
Drinks
About
Contact
Privacy Policy
Toggle Menu
Home
/
Desserts
- Page 15
Desserts
Hazelnut Chocolate S’mores Shake Irresistible Delight
Strawberry Mango Popsicles Refreshing Summer Treat
Oreo Ice Cream Sandwiches Delightful and Easy Treat
Strawberry Mochi Delightful Treat You Can Make Today
No-Bake Peanut Butter Bars Quick and Easy Recipe
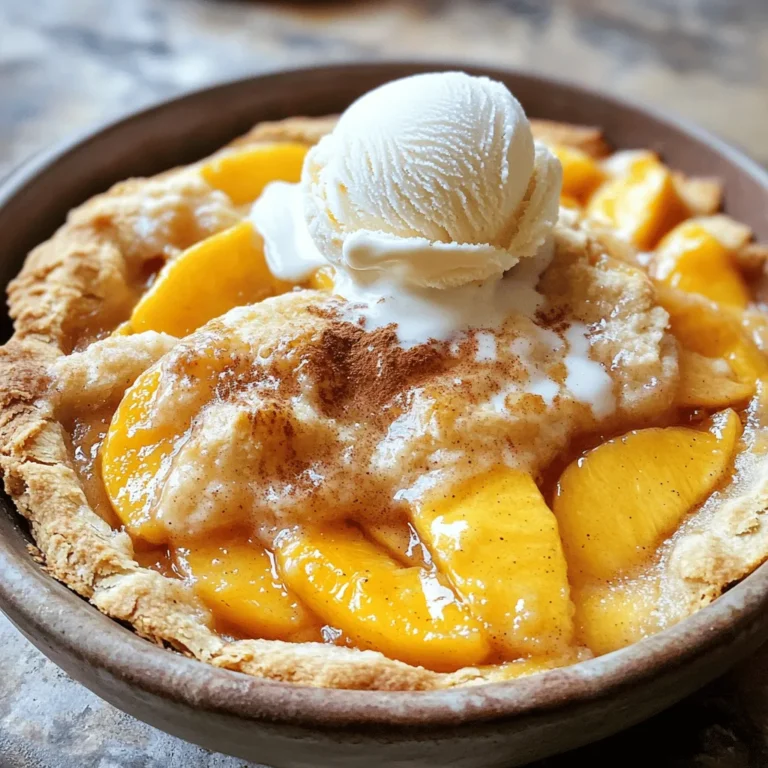
Easy Peach Cobbler Delicious and Simple Dessert Recipe
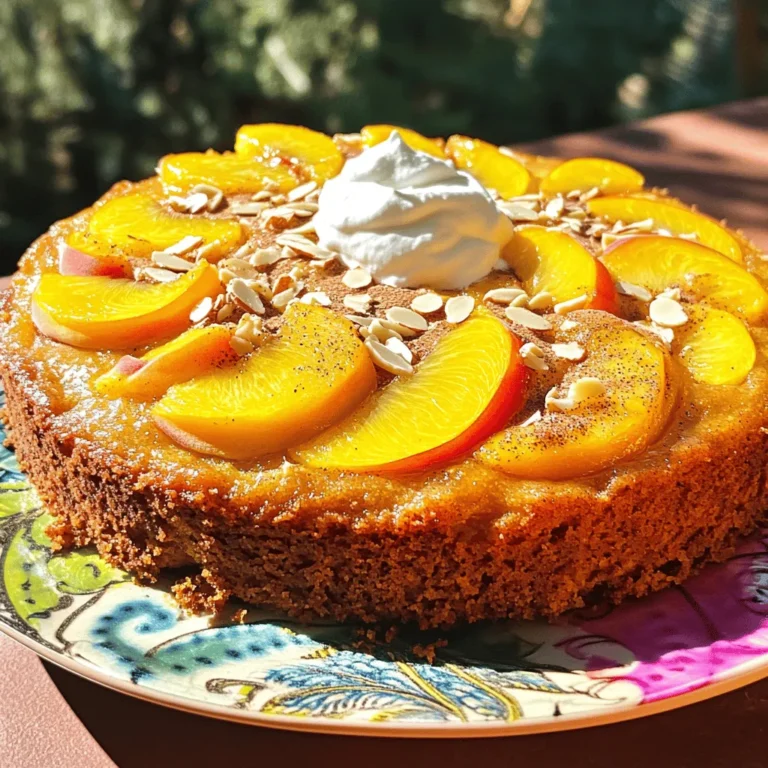
Savory Summer Peach Cake Easy and Tasty Recipe
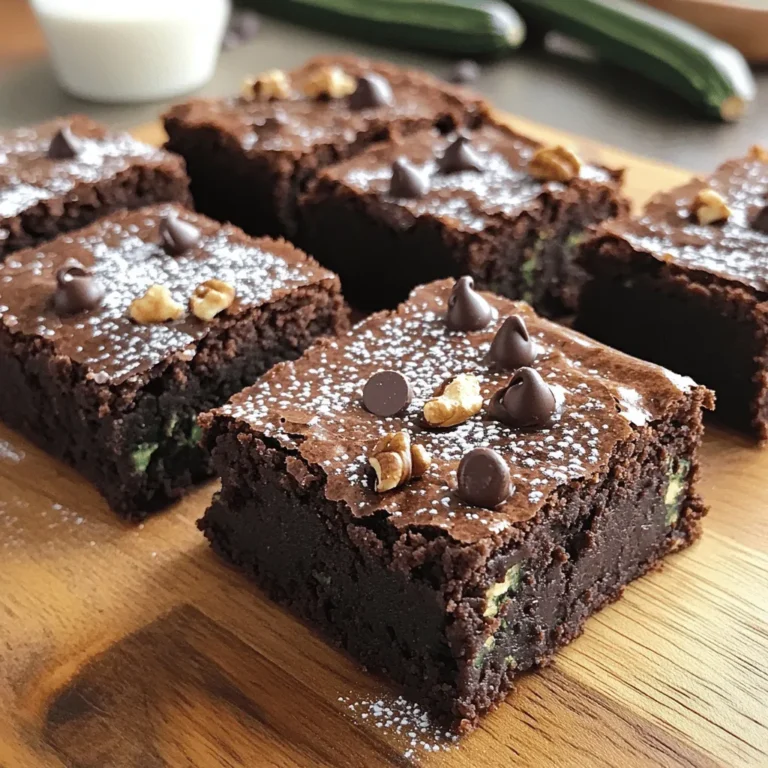
Fudgy Zucchini Brownies Deliciously Moist Treat
Peach Cobbler Delight Easy and Delicious Dessert Recipe
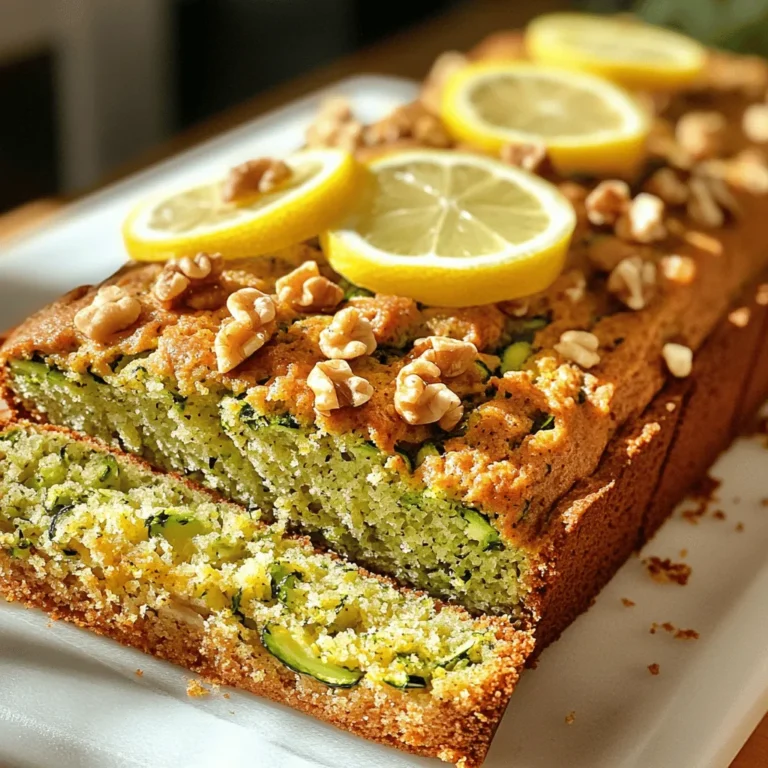
Best Zucchini Bread Recipe for Flavorful Delight
Page navigation
Previous Page
Previous
1
…
13
14
15
16
17
…
27
Next Page
Next
Home
Dinner
Appetizer
Desserts
Drinks
About
Contact
Privacy Policy
Toggle Menu Close
Search for:
Search

![- 4 ripe peaches, sliced into wedges - 1 cup granulated sugar, divided - 1 teaspoon pure vanilla extract - 1 teaspoon ground cinnamon - 1 cup all-purpose flour - 1 tablespoon baking powder - 1/2 teaspoon sea salt - 1 cup whole milk - 1/2 cup unsalted butter, melted and slightly cooled - 1 teaspoon freshly squeezed lemon juice - Optional: Creamy vanilla ice cream for serving You need four ripe peaches for the base. They should be juicy for the best taste. Use one cup of granulated sugar, split in half. One half will sweeten the peaches, and the other half will go into the batter. You will also need one teaspoon each of pure vanilla extract and ground cinnamon for flavor. One cup of all-purpose flour and one tablespoon of baking powder will make the batter rise. Add half a teaspoon of sea salt to balance the sweetness. One cup of whole milk helps create a smooth batter. Lastly, you need half a cup of unsalted butter, melted, and one teaspoon of freshly squeezed lemon juice to brighten the flavor. You can make this dish even better by adding creamy vanilla ice cream when you serve it. The cold ice cream pairs well with the warm cobbler. If you want extra flavor, consider adding a pinch of nutmeg or using brown sugar instead of granulated sugar. These choices can add depth to your peach cobbler. Use the full recipe to explore all the possibilities! Start by gathering 4 ripe peaches. Slice them into wedges. Place the sliced peaches in a large mixing bowl. Add 1/2 cup of granulated sugar to the peaches. Pour in 1 teaspoon of pure vanilla extract. Sprinkle 1 teaspoon of ground cinnamon over the peaches. Squeeze in 1 teaspoon of freshly squeezed lemon juice. Gently toss the peaches until they are well-coated. Set this bowl aside for about 10 minutes. This waiting time allows the peaches to macerate and release their juices. In another bowl, add 1 cup of all-purpose flour. Measure 1 tablespoon of baking powder and add it to the flour. Next, sprinkle in 1/2 teaspoon of sea salt. Finally, add the remaining 1/2 cup of granulated sugar. Whisk these dry ingredients together until they are mixed well. This step ensures even flavor throughout the cobbler. Now, it’s time to mix the wet and dry ingredients. Gradually pour in 1 cup of whole milk into the dry mix. Stir gently until the batter is just combined. Be careful not to overmix; lumps are okay! Next, add 1/2 cup of melted and slightly cooled unsalted butter. Mix until the batter is smooth and free of lumps. Once done, pour the batter into a greased 9x13 inch baking dish. Spread it evenly across the bottom. Then, take your peach mixture and spoon it over the batter carefully. Do not stir. The peaches will sink while baking. Now you’re ready to bake your Easy Peach Cobbler. Check the [Full Recipe] for baking time and tips. To make the best peach cobbler, use ripe peaches. They should be soft to touch. Slice them evenly for a nice look. Mixing in sugar and cinnamon enhances the sweetness and flavor. Letting peaches sit for ten minutes helps them release juices. This makes the filling juicy and tasty. One mistake is overmixing the batter. This can make your cobbler tough. Another common issue is using unripe peaches. They won't have the same flavor. Don’t stir the peach mixture into the batter. This can ruin the layered look. Also, avoid opening the oven door too often. It can cause uneven baking. Always preheat your oven for even cooking. Use a greased baking dish to prevent sticking. Bake until the top is golden brown, checking with a toothpick. Let it cool for ten minutes before serving. This helps the flavors settle. For a treat, top with creamy vanilla ice cream. It adds a rich taste that pairs well with the cobbler. For the full recipe, check the previous sections. {{image_4}} You can swap peaches for other fruits. Try using fresh plums, cherries, or even berries. Each fruit brings its own taste. For example, blueberries add a sweet burst of flavor. Raspberries can give a nice tartness. The method stays the same; just change the fruit. This keeps your dessert fresh and fun! You can make this cobbler gluten-free easily. Just switch out the all-purpose flour for a gluten-free blend. Many brands offer great options that work well in baking. Check the mix for a good rise. You can also use almond flour for a nutty taste. The cobbler will still be delicious and warm. Toppings can make your cobbler even better. Consider adding a sprinkle of oats on top for crunch. You can also mix in nuts like pecans for added flavor. Drizzling honey over your serving can add a sweet touch. Want a dessert with flair? Top your cobbler with whipped cream or ice cream for a special treat. Each topping can change the whole experience! For the full recipe, check out the Peachy Dream Cobbler. To store leftover peach cobbler, let it cool completely. Once cooled, cover the dish tightly with plastic wrap or aluminum foil. You can also transfer it to an airtight container. This will keep it fresh for up to three days in the fridge. When you want to enjoy your cobbler again, preheat your oven to 350°F (175°C). Place the cobbler in an oven-safe dish. Cover it with foil to keep it moist. Heat for about 15-20 minutes, until it’s warm. You can also microwave it for about 30 seconds, but the oven gives a better texture. If you want to freeze peach cobbler, wrap it tightly in plastic wrap. Then, place it in a freezer bag. It can last up to three months in the freezer. To thaw, move it to the fridge overnight. Reheat it in the oven for the best taste. You can also bake it straight from frozen; just add a few extra minutes to the cooking time. Enjoy your peach cobbler again with these easy storage tips! The best peaches for cobbler are freestone peaches. They are sweet and juicy. Their flesh comes off the pit easily, making slicing simple. Yellow peaches work well too. They have a nice balance of sweet and tart flavors. For a unique twist, try ripe white peaches. They are sweeter and less acidic. Yes, you can prep your peach cobbler ahead. Prepare the peach filling and batter separately. Store each in the fridge for up to a day. When ready to bake, combine them and follow the baking steps. If you want to bake it later, just keep it covered. No, peeling peaches is not necessary. The skin adds texture and flavor. Many people enjoy the rustic look. If you prefer a smoother texture, you can peel them. It’s really up to your taste. To achieve a crispier crust, try these tips: - Use cold butter in the batter. - Don’t overmix the batter; lumps are fine. - Bake the cobbler in a preheated oven. - For extra crunch, sprinkle a little sugar on top before baking. You can serve Easy Peach Cobbler with: - Creamy vanilla ice cream - Fresh whipped cream - A drizzle of caramel sauce - A sprinkle of nuts for crunch Each option adds a new layer of flavor to your dessert! Enjoy it warm for the best taste. For the full recipe, check out the details above. In this blog post, we explored how to make an easy peach cobbler. We covered key ingredients, step-by-step prep, and helpful tips for success. We also discussed fun variations and smart storage methods. As you bake your cobbler, remember that fresh peaches shine. Enjoy personalizing your dish with other fruits too. Making peach cobbler can be fun and tasty. With practice, you’ll master this classic dessert.](https://fastmealmate.com/wp-content/uploads/2025/06/359a1da5-912a-4431-92dc-d72eb97db899-768x768.webp)