Skip to content
About
Contact
Cookie Policy
Copyright Policy
Disclaimer
Search
Home
Dinner
Appetizer
Desserts
Drinks
About
Contact
Privacy Policy
Toggle Menu
Home
/
Desserts
- Page 11
Desserts
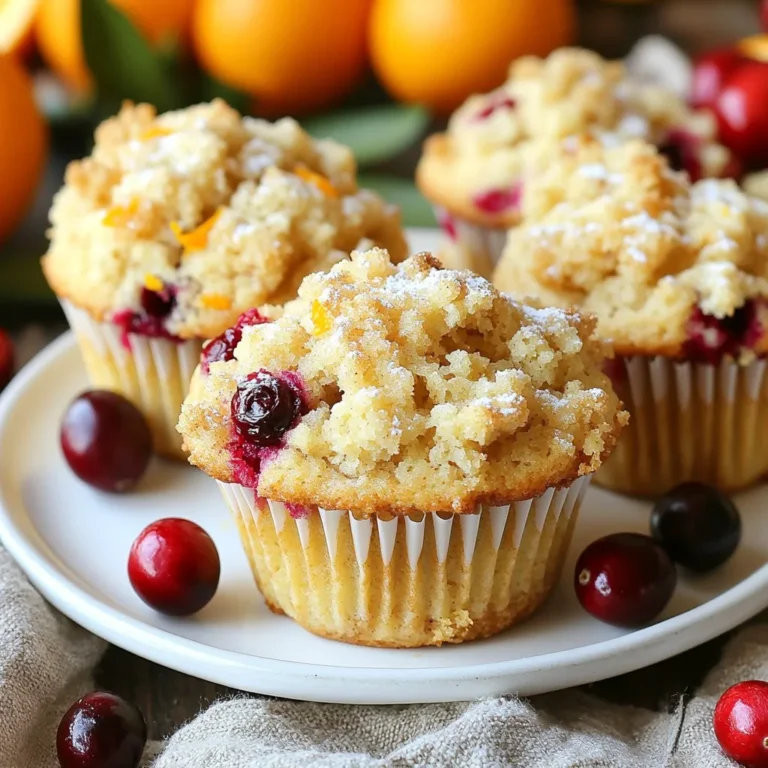
Cranberry Orange Crumb Muffins Perfectly Delicious Treat
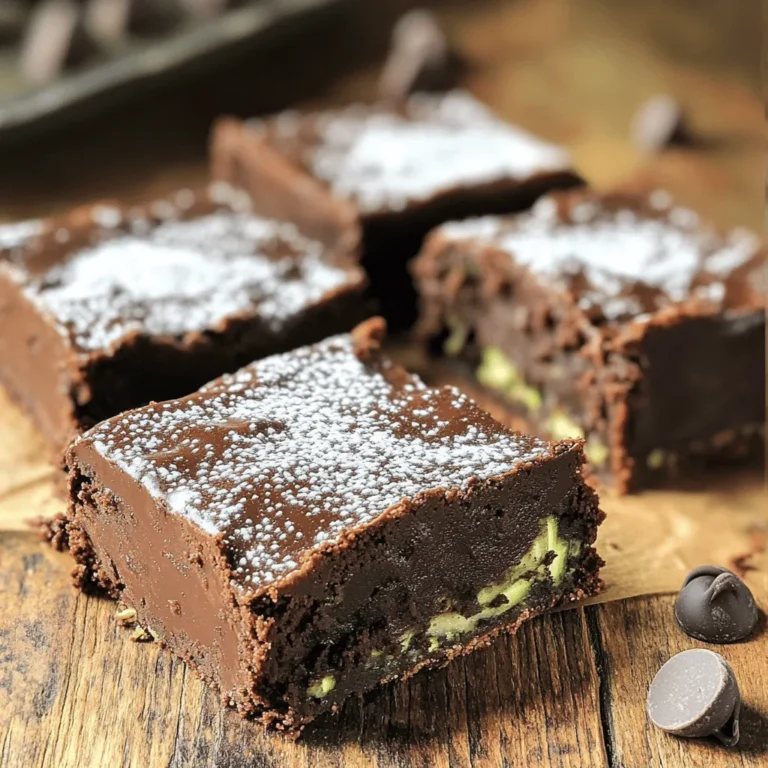
Ingredient Zucchini Brownies Delightful and Simple Recipe
Minute Chocolate Zucchini Bars Quick and Easy Recipe
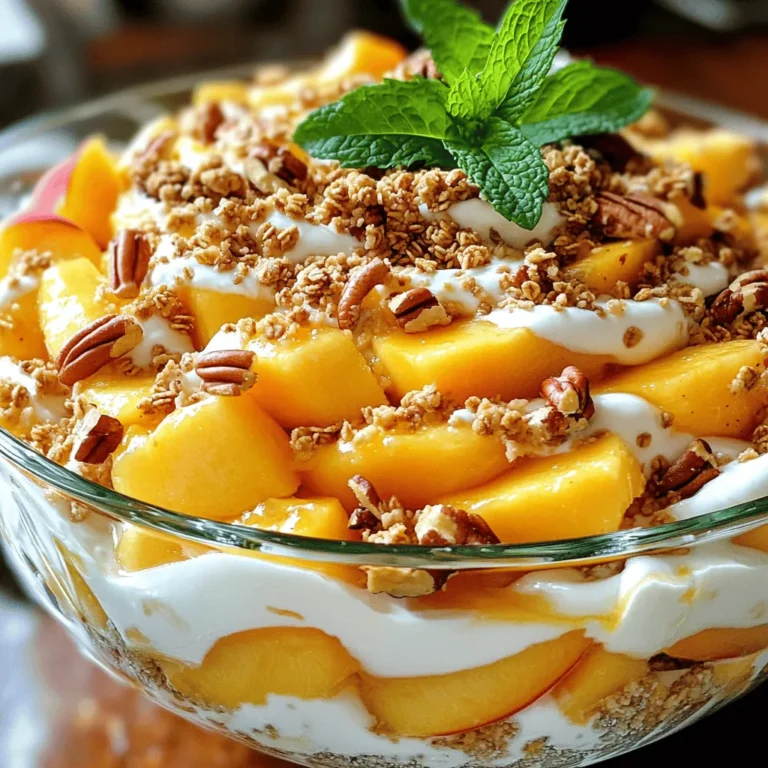
Peach Cobbler Cheesecake Salad Delightful Treat Idea
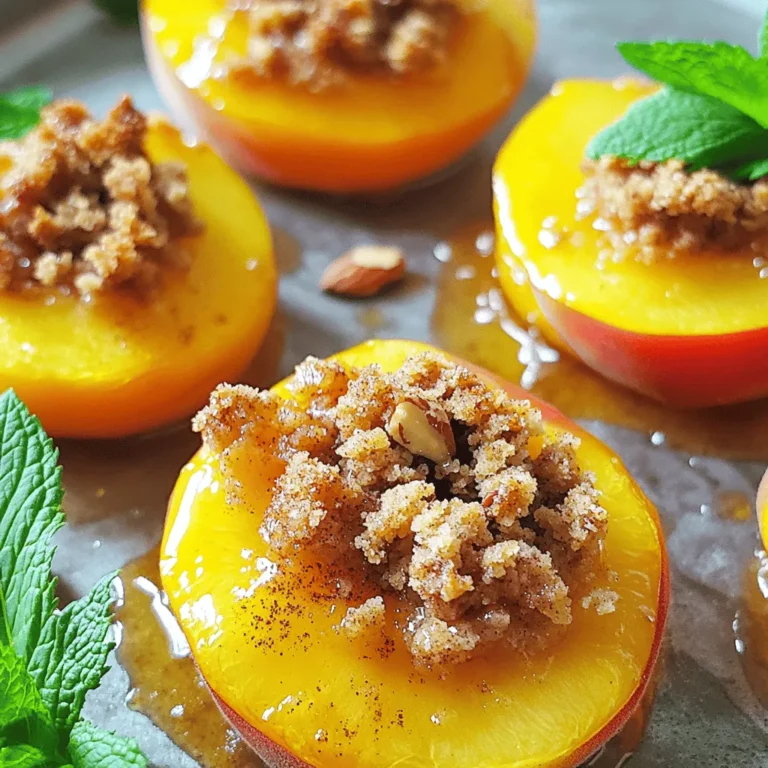
Easy Paleo Peach Bites Flavorful and Healthy Treats
Moist Double Chocolate Zucchini Bars Delightful Treat
Christmas Kitchen Sink Cookies Delightful Holiday Treat
Classic Zucchini Bread Simple and Tasty Recipe
Quick Watermelon Sorbet Refreshing Summer Delight
Delicious Blueberry Cheesecake Cookies Easy Recipe
Page navigation
Previous Page
Previous
1
…
9
10
11
12
13
…
27
Next Page
Next
Home
Dinner
Appetizer
Desserts
Drinks
About
Contact
Privacy Policy
Toggle Menu Close
Search for:
Search

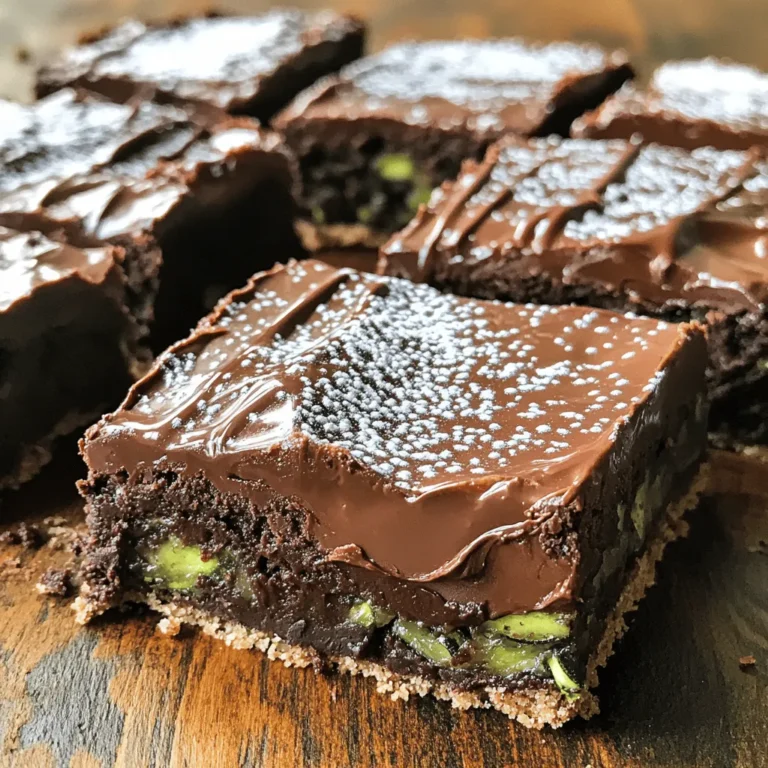
![- Grated zucchini (approximately 1 medium-sized) - 1 cup all-purpose flour - ½ cup unsweetened cocoa powder - ½ cup granulated sugar - ½ cup packed brown sugar - 2 large eggs - ½ cup vegetable oil Zucchini is the star of this recipe. It adds moisture, making the brownies soft and fudgy. I love using about one medium-sized zucchini, grated. This amount will give you the right texture without making the brownies too wet. Next, we need flour and cocoa powder. The flour gives structure, while cocoa powder adds a rich chocolate flavor. These two ingredients work together for a perfect balance of taste and texture. Sugar is essential for sweetness. I use both granulated and brown sugar. Granulated sugar gives a nice crunch, while brown sugar adds depth and moisture. Eggs are crucial in binding the ingredients and providing lift, making the brownies fluffy. Lastly, vegetable oil adds richness and keeps the brownies soft. - Dark chocolate chips - Additional toppings or mix-ins Dark chocolate chips are an optional treat. They add extra chocolatey goodness to each bite. If you want some crunch, consider adding nuts or even shredded coconut. You can also top the brownies with a sprinkle of sea salt or powdered sugar for a touch of elegance. For the full recipe, refer to the section above. First, preheat your oven to 350°F (175°C). This step is key for even baking. Next, take a 9x9 inch baking pan. Lightly grease it or line it with parchment paper. This makes it easier to remove the brownies later. In a medium bowl, combine the following dry ingredients: - 1 cup all-purpose flour - ½ cup unsweetened cocoa powder - 1 teaspoon baking powder - ½ teaspoon baking soda - ½ teaspoon salt Whisk these together until well mixed. This helps to blend the flavors and ensures the brownies rise nicely. In a large bowl, whisk together these wet ingredients: - ½ cup granulated sugar - ½ cup packed brown sugar - 2 large eggs - ½ cup vegetable oil - 1 teaspoon vanilla extract Mix until smooth and creamy. This will create a rich base for your brownies. Now, carefully fold the grated zucchini into the wet mixture. Make sure it’s evenly spread throughout. Then, gradually add the dry mixture. Stir gently until just combined. Avoid overmixing, as this can make your brownies dense. Pour the brownie batter into your prepared pan. Spread it evenly for uniform baking. Bake in your preheated oven for 25-30 minutes. To check for doneness, insert a toothpick in the center. If it comes out with a few moist crumbs, they are ready! Let the brownies cool in the pan for about 15 minutes. After that, transfer them to a wire rack. This helps them cool completely and set the texture. Once fully cooled, cut them into squares for serving. Enjoy your delicious zucchini brownies! For the full recipe, check out the details above. To make light and fluffy brownies, avoid overmixing your batter. After adding the dry ingredients to the wet mix, stir gently. This keeps the brownies soft. When you overmix, air gets trapped, and they can become dense. Just mix until you see no dry flour. Trust me, this simple step makes a big difference! Boost the flavor of your brownies with spices or extracts. Try adding a pinch of cinnamon or nutmeg for warmth. You can also use almond or peppermint extract for a unique twist. These small additions can elevate your brownies into something special. Experiment with what you like! Garnishing your brownies can make them look and taste better. Lightly dust the top with powdered sugar for a sweet touch. You might also serve them with a scoop of vanilla ice cream. The cold ice cream pairs well with warm brownies. Add fresh berries on the side for a pop of color and flavor. Enjoy these little extras to make your dessert shine. For the complete recipe, check out [Full Recipe]. {{image_4}} You can make your zucchini brownies even better with a few swaps. Instead of regular flour, try whole wheat flour. This change adds fiber and nutrients. You can also use alternative sweeteners like honey or maple syrup. These options cut down on refined sugars while keeping the taste sweet. Want to mix it up? Add some fun flavors! Chopped nuts like walnuts or pecans add crunch. Dried fruits, such as cranberries or raisins, give a nice chew. If you love chocolate, try using milk or white chocolate chips instead of dark chocolate. Each option creates a unique twist on the classic recipe. If you prefer plant-based meals, you can still enjoy these brownies. Replace the eggs with flaxseed meal or applesauce. For oil, use coconut oil or unsweetened applesauce. This way, you create a delicious vegan treat without losing flavor. You can find the full recipe to get started on these delightful variations. To keep your zucchini brownies fresh, store them in an airtight container. This will help prevent them from drying out. If you have leftover brownies, place a piece of parchment paper between layers. This keeps them from sticking together. Make sure to store them at room temperature for the best taste. Freezing is a great way to save zucchini brownies for later. First, let the brownies cool completely. Then, cut them into squares. Wrap each square in plastic wrap. After that, place them in a freezer-safe bag or container. Label the bag with the date. When you want to eat one, take a brownie out and let it thaw in the fridge overnight. You can also warm it in the microwave for about 15 seconds. Zucchini brownies last about 3 days at room temperature. If refrigerated, they can stay fresh for up to a week. However, for the best flavor and texture, enjoy them within the first few days. Keeping them in the fridge helps maintain their moisture and taste. For a delicious treat, don’t forget to check out the Full Recipe! Yes, you can use frozen zucchini. Just remember to thaw it first. After thawing, squeeze out extra water using a clean cloth. This step helps keep your brownies from getting too soggy. Frozen zucchini works well and keeps the flavor intact. To check for doneness, look for a shiny top. The edges should pull away from the pan slightly. You can also gently press the center; it should spring back. For a more precise test, use a toothpick. If it comes out with a few moist crumbs, your brownies are ready. Yes, you can make egg-free brownies! Replace each egg with 1/4 cup of unsweetened applesauce or 1/4 cup of mashed banana. You can also use flaxseed meal. Mix one tablespoon of flaxseed with three tablespoons of water. Let it sit for five minutes before using. These substitutes keep your brownies moist and tasty. Leftover zucchini has many uses. You can add it to soups and salads for extra crunch. You can also make zucchini fritters or stir-fry it with your favorite veggies. Grate it into pasta sauces or bake it in muffins. You can even freeze it for future recipes. Zucchini brownies bring joy with tasty flavors and fun textures. We explored key ingredients, from fresh zucchini to eggs and cocoa. You learned simple steps for mixing and baking that ensure success. Tips helped perfect your texture and flavor, while variations showed how to customize your treat. Storage info means you can enjoy these brownies longer. Remember, these healthy delights are versatile and easy. Enjoy making them for friends and family; they will love your tasty creations!](https://fastmealmate.com/wp-content/uploads/2025/07/63aaaf19-4868-4bd4-a247-41567a0bfd7d-768x768.webp)

![To make these tasty blueberry cheesecake cookies, gather the following main ingredients: - 1 cup unsalted butter, softened to room temperature - 1 cup cream cheese, also softened - 1 cup granulated sugar - 1/2 cup brown sugar, packed tightly - 1 large egg - 1 teaspoon pure vanilla extract - 3 cups all-purpose flour - 1 teaspoon baking powder - 1/2 teaspoon baking soda - 1/4 teaspoon fine salt - 1 cup fresh blueberries (or frozen, thawed and drained) - 1/2 cup white chocolate chips These ingredients create a rich, creamy base for your cookies. The combination of butter and cream cheese gives them a soft texture, while the sugars provide sweetness. The blueberries add a burst of flavor and color. You can enhance these cookies with a few optional ingredients: - 1/4 teaspoon lemon zest (for a fresh, citrus taste) Adding lemon zest brightens the flavor and pairs well with the blueberries. Before you start baking, gather this equipment: - Two baking sheets - Parchment paper - Large mixing bowl - Electric mixer - Measuring cups and spoons - Cookie scoop or tablespoon - Wire rack Having the right tools makes the process smoother. The parchment paper prevents sticking and helps with easy cleanup. Start by preheating your oven to 350°F (175°C). This ensures the cookies bake evenly. Next, line two baking sheets with parchment paper. This helps the cookies not stick. In a large bowl, mix the softened butter and cream cheese. Add both the granulated and brown sugars. Use an electric mixer on medium speed until the mixture is smooth. This should take about 3-4 minutes. Now, add one large egg and a teaspoon of pure vanilla extract to the bowl. Beat it well until everything is mixed. In another bowl, whisk together the flour, baking powder, baking soda, and salt. Gradually add this dry mix to the wet ingredients. Mix on low speed until just combined, so you don't overmix. Carefully fold in one cup of fresh blueberries and half a cup of white chocolate chips. If you like, add a little lemon zest for extra flavor. Gently folding keeps the blueberries whole. Use a tablespoon or cookie scoop to drop dough onto the prepared baking sheets. Space them about 2 inches apart. This gives them room to spread while baking. Put the trays in the oven and bake for 12-14 minutes. The edges should be lightly golden, and the centers should feel set when touched. Once baked, take them out and let them cool on the sheets for 5 minutes. Then, transfer the cookies to a wire rack to cool completely. For a fun touch, drizzle icing made from powdered sugar and lemon juice over the cooled cookies. Arrange them on a colorful platter to show off their beauty. Enjoy your delicious blueberry cheesecake cookies! When picking blueberries, look for firm, plump ones. They should be deep blue and shiny. Avoid any that are soft or have green spots. Fresh blueberries work best, but frozen can be used too. Just make sure to thaw and drain them well. This keeps your cookies from getting too soggy. To store your cookies, keep them in an airtight container. This keeps them soft and fresh. You can store them at room temperature for up to a week. For longer storage, place them in the fridge for up to two weeks. If you want to freeze them, wrap each cookie in plastic wrap. Place them in a freezer bag for up to three months. To reheat, pop them in the oven at 350°F for a few minutes. This will bring back the warm, soft texture. One common mistake is overmixing the dough. This can make your cookies tough. Mix just until combined. Another mistake is not spacing the cookies out on the baking sheet. If they are too close, they will stick together. Lastly, don’t skip cooling the cookies on a wire rack. This helps them keep their shape and texture. For more detailed instructions, check the Full Recipe. {{image_4}} You can make these cookies even better by adding nuts or different fruits. Walnuts and pecans add a nice crunch. Try mixing in a half-cup of chopped nuts to the dough. If you want to try other fruits, diced strawberries or raspberries work great too. Just make sure to keep the total fruit amount around one cup to maintain the cookie's texture. If you need a gluten-free option, swap regular flour for gluten-free flour. A blend that includes almond flour or coconut flour can make your cookies soft and tasty. Just keep in mind that gluten-free flours may require extra moisture. You might want to add a tablespoon of milk to the dough. This will help keep your cookies moist and chewy. For chocolate lovers, you can add cocoa powder to the mix. Use a quarter cup of cocoa powder and reduce the flour by the same amount. You can also swap white chocolate chips for dark chocolate chips. This change will give your cookies a rich flavor that pairs well with blueberries. If you want to get fancy, drizzle melted chocolate on top before serving. Try these variations to make your blueberry cheesecake cookies unique and delicious. For the full recipe, check out the [Full Recipe]. You can find delicious blueberry cheesecake cookies at local bakeries. Many bakeries make fresh cookies daily. Look for shops that focus on quality ingredients. Ask if they use real blueberries. This makes a big difference in taste. Try visiting farmers' markets, too. Some local vendors sell homemade cookies. If you prefer to shop online, many websites offer blueberry cheesecake cookies. Websites like Etsy have bakers who sell unique treats. You can also check bigger stores like Amazon. They often carry cookies from well-known brands. Read reviews to ensure you are getting a tasty product. You can find store-bought blueberry cheesecake cookies at your local grocery store. Brands like Nabisco or Entenmann's may have options. Look in the cookie aisle for pre-packaged treats. If you want to try something new, check the freezer section for gourmet brands. These cookies often taste great and save you time. If you want to make your own, check out the Full Recipe for a great way to enjoy these cookies at home. To make these cookies vegan, you can swap out a few key ingredients. Replace the butter with vegan butter or coconut oil. Use a dairy-free cream cheese to mimic the rich texture. For the egg, opt for a flax egg. Mix one tablespoon of ground flaxseed with three tablespoons of water. Let it sit for five minutes until it thickens. This will help bind your cookies without any animal products. You can also ensure that your sugar is vegan, as some brands use bone char in their processing. To keep your cookies from spreading too much, chill your dough before baking. After mixing, cover the bowl and place it in the fridge for at least 30 minutes. This firms up the butter and helps the cookies hold their shape. Also, avoid overmixing your dough. Overmixing can create more gluten, which leads to spreading. Make sure your baking sheets are not too warm when you place the dough on them. Room temperature sheets help cookies maintain their shape better. Yes! Freezing Blueberry Cheesecake Cookies is a great way to enjoy them later. To freeze, let the cookies cool completely. Place them in an airtight container, separating layers with parchment paper. You can also freeze the dough. Scoop the dough onto a baking sheet and freeze until solid. Then, transfer the dough balls to a freezer bag. When you’re ready to bake, just bake from frozen. Add a couple of extra minutes to the baking time. Enjoy fresh cookies anytime with this simple method! For the full recipe, check back to the main sections. In this post, we covered how to make blueberry cheesecake cookies. You learned about the key and optional ingredients, essential equipment, and simple steps for success. We shared tips for perfect cookies and explored fun variations. You also discovered where to buy them and answered common questions. With the right tools and knowledge, you can create delicious cookies. Enjoy baking and experimenting with flavors for your own unique treats!](https://fastmealmate.com/wp-content/uploads/2025/07/bf5d8b6e-2600-4966-8b4a-5dec4dcc22b6-768x768.webp)