Skip to content
About
Contact
Cookie Policy
Copyright Policy
Disclaimer
Search
Home
Dinner
Appetizer
Desserts
Drinks
About
Contact
Privacy Policy
Toggle Menu
Home
/
Appetizer
- Page 5
Appetizer
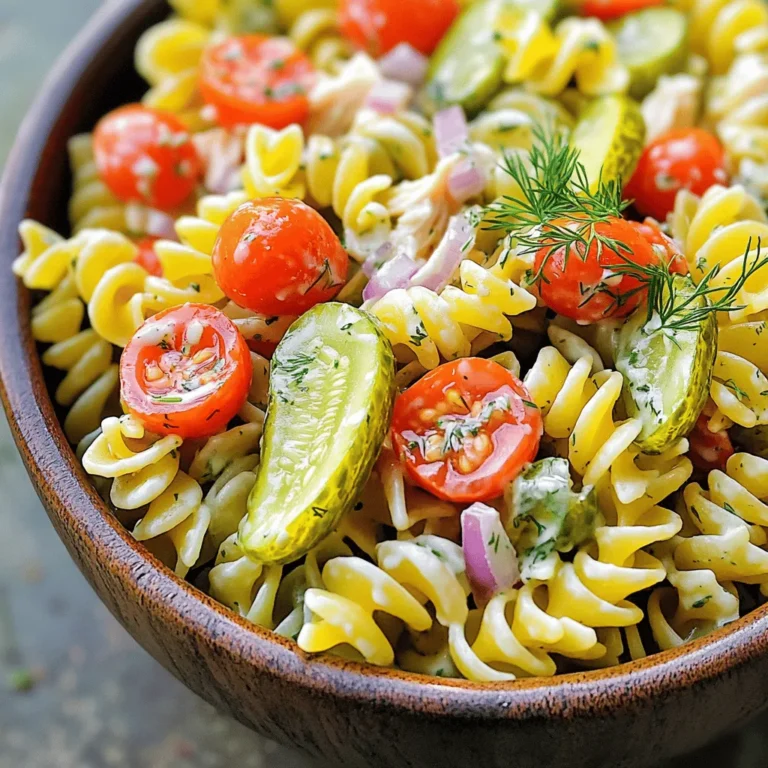
Dill Pickle Ranch Pasta Salad Easy Flavorful Dish
Pickle Sushi Rolls Simple and Flavorful Recipe
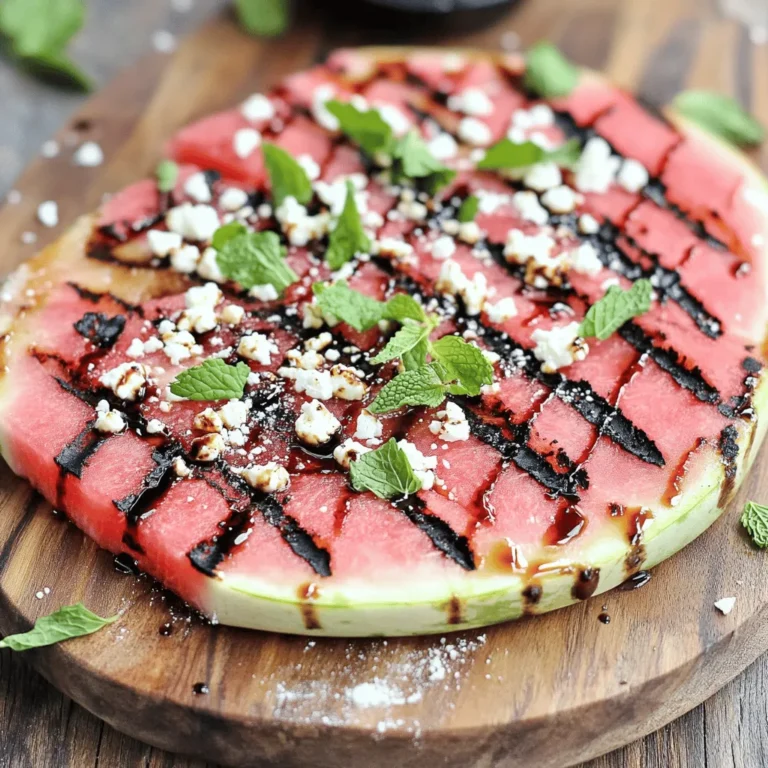
Watermelon Feta Slab Pizza Fresh and Flavorful Treat
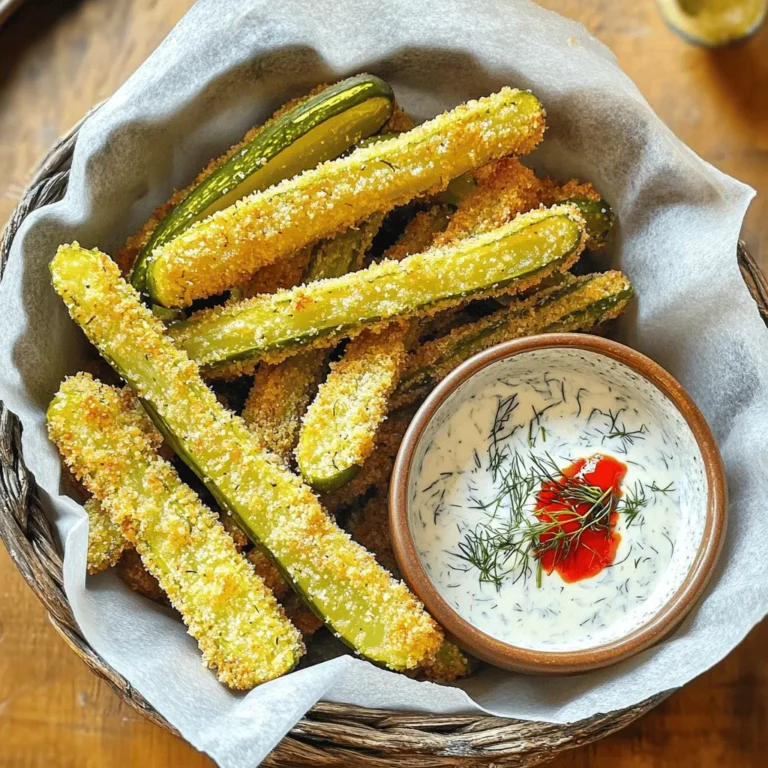
Crispy Dill Pickle Fries with Spicy Ranch Delight
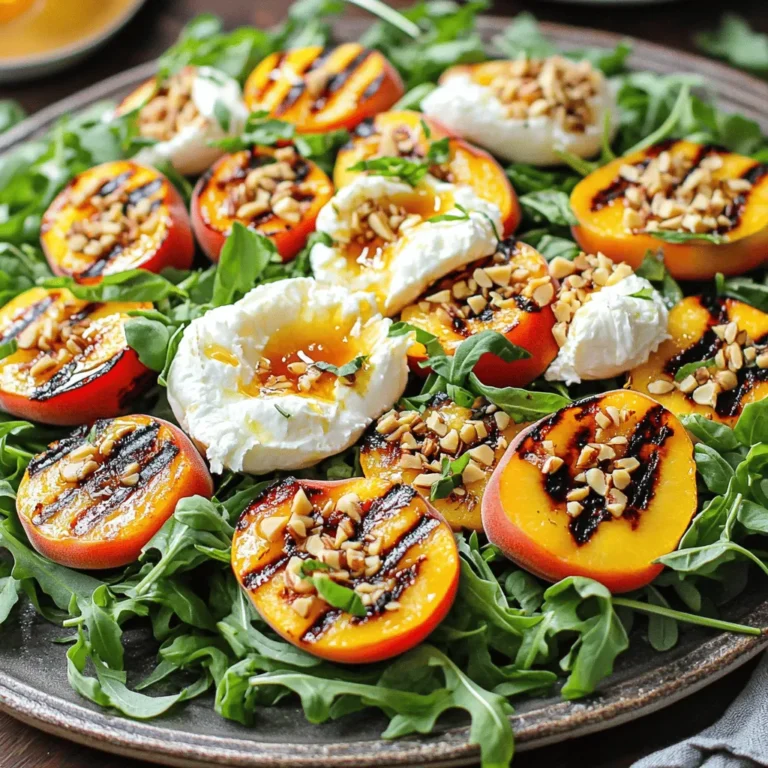
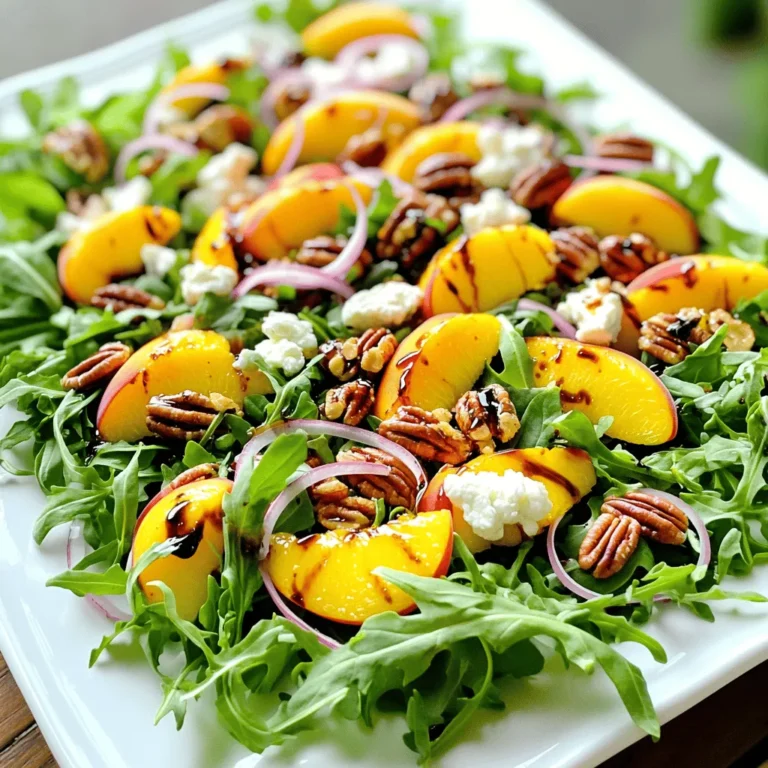
Grilled Peach Burrata Salad with Hot Honey Magic
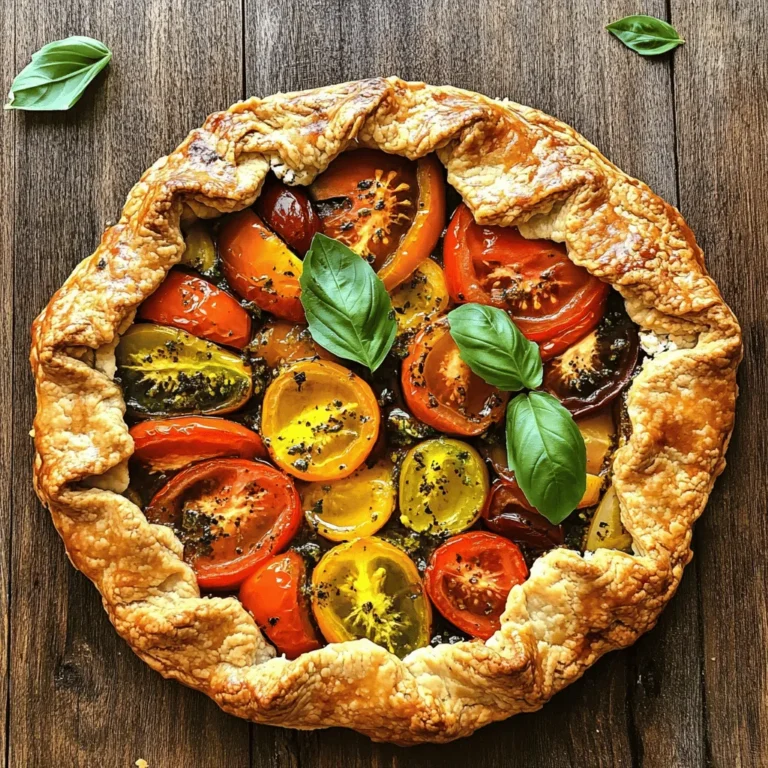
Heirloom Tomato Galette with Basil Feta Crust Delight
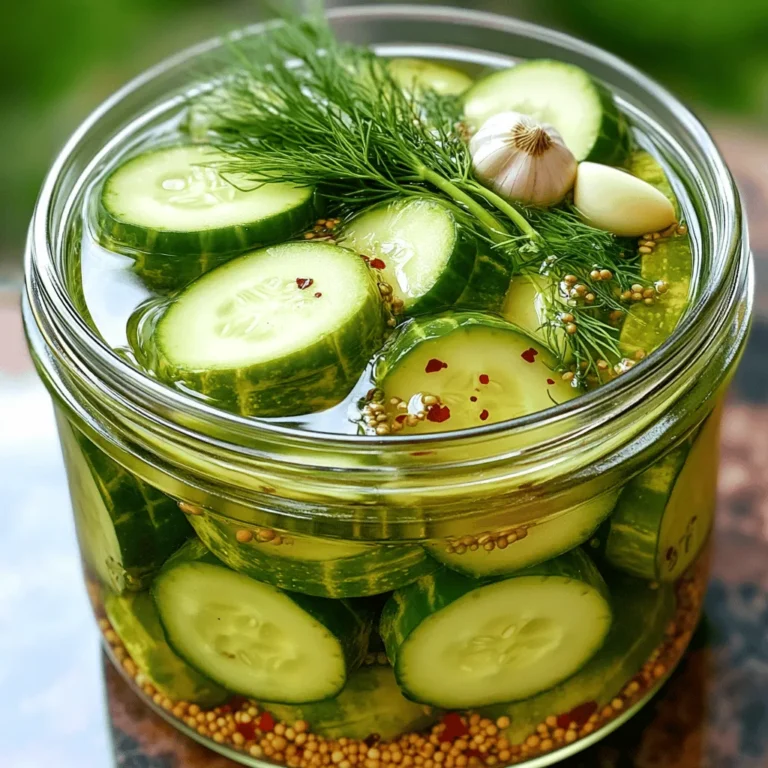
Homemade Refrigerator Pickles Crunchy and Flavorful Treat
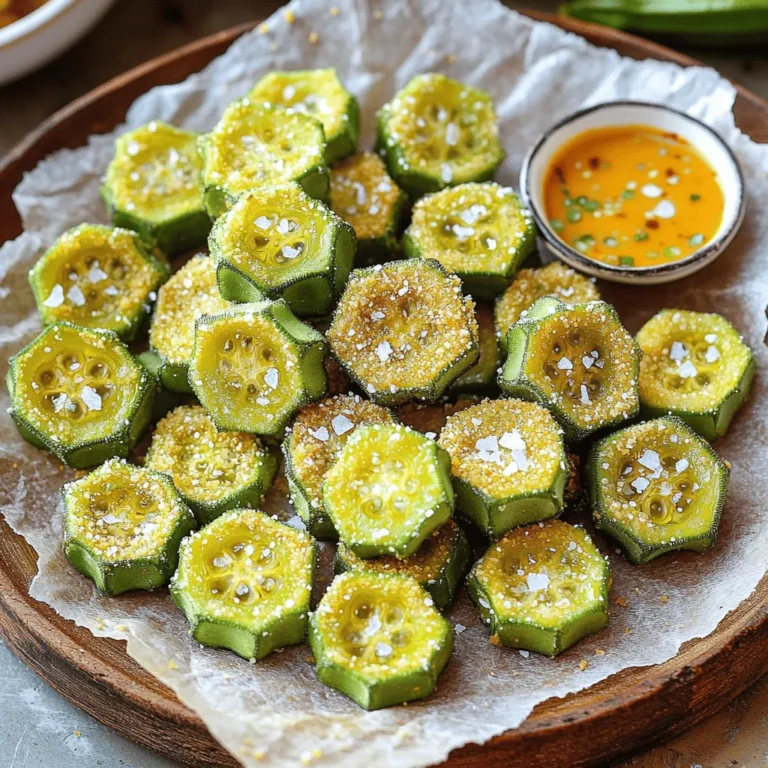
Crispy Fried Okra Flavorful and Easy to Make
Millionaire Peach Salad Fresh and Flavorful Delight
Mango Cucumber Summer Salad Refreshing and Tasty Dish
Page navigation
Previous Page
Previous
1
…
3
4
5
6
7
…
16
Next Page
Next
Home
Dinner
Appetizer
Desserts
Drinks
About
Contact
Privacy Policy
Toggle Menu Close
Search for:
Search


![- 2 ripe mangoes - 1 large cucumber - 1 red bell pepper - 1/4 red onion - 1/4 cup fresh cilantro - 1 jalapeño - Honey or agave syrup - Fresh lime juice - Salt and pepper to taste When I make this salad, I start by gathering all the main ingredients. Ripe mangoes add sweetness and color. The cucumber gives a nice crunch. A red bell pepper brings brightness. I chop the red onion finely for a hint of sharpness. Fresh cilantro adds a burst of flavor. If you like heat, you can add a jalapeño. Just remember to remove the seeds. For sweetness, honey or agave syrup works well too. For the dressing, I use fresh lime juice. It brightens the salad and adds tang. I season it with salt and pepper. This combination makes the salad taste fresh and lively. The full recipe is easy to follow and takes just 15 minutes to prep. Enjoy making this delightful dish! First, you'll need to prep your fruits and veggies. Start with these steps: - Dice 2 ripe mangoes into bite-sized pieces. Make sure they are sweet and juicy. - Chop 1 large cucumber into small cubes. This adds a nice crunch. - Cut 1 red bell pepper into small pieces for color and taste. - Finely chop 1/4 red onion for a hint of sharpness. - If you like some heat, mince 1 jalapeño and set it aside. - Finally, chop 1/4 cup fresh cilantro for a burst of freshness. Now, it's time to combine everything. Follow these steps: - In a large mixing bowl, add the diced mangoes, cucumber, red bell pepper, and red onion. Give them a gentle stir to mix. - Next, fold in the chopped cilantro and minced jalapeño. Adjust the jalapeño based on how spicy you want your salad. - In a separate bowl, whisk together 2 tablespoons fresh lime juice and 1 tablespoon honey (or agave syrup) until smooth. - Drizzle the dressing over the salad mix in the large bowl. - Using a spatula or wooden spoon, toss everything together gently. You want all the ingredients to be coated in the dressing. To finish your salad, season it just right: - Sprinkle salt and pepper to taste over the salad. - Toss it again very gently to distribute the seasoning. - Let the salad rest for about 10 minutes before serving. This helps the flavors blend nicely. By following these steps, you create a Mango Cucumber Summer Salad that is not only refreshing but also full of vibrant flavors. For the complete details, refer to the Full Recipe. To make the best Mango Cucumber Summer Salad, choose ripe mangoes and fresh cucumbers. Look for mangoes that feel slightly soft when you gently press them. Their skin should have a rich color. A ripe cucumber should be firm and dark green, with no soft spots. For cilantro, pick bunches with bright green leaves. Avoid any that look wilted or yellowed. Fresh cilantro adds a burst of flavor to your salad. To boost the taste, let your salad marinate. Mix the diced fruits and veggies and let them sit for about 10 minutes. This helps the flavors blend well. Before serving, chill the salad in the fridge for about an hour. This makes it extra refreshing on warm days. How you serve your salad matters. Use a large, colorful bowl to show off those vibrant ingredients. For a fun touch, garnish with lime wedges and more cilantro on top. This adds color and makes your dish even more inviting. Enjoy your beautiful salad! For the complete recipe, check out the [Full Recipe]. {{image_4}} To make your Mango Cucumber Summer Salad even more fun, try these variations. You can add grilled chicken or shrimp for a protein boost. These options taste great with the fresh flavors. If you want a vegetarian choice, substitute tofu. Tofu soaks up the dressing well and adds a nice texture. Adding grains can change the salad's texture. Consider mixing in quinoa or couscous. Both grains work well and make the salad heartier. You can also explore using brown rice as a base. It adds a nutty flavor that pairs nicely with mango. Mix in other seasonal fruits or vegetables for variety. Try diced avocado or cherry tomatoes for added color. Experimenting with different herbs can also bring new flavors. Fresh mint or basil can add a refreshing twist. Nuts like almonds or walnuts add a nice crunch too. For a complete experience, check out the [Full Recipe]. To keep your Mango Cucumber Summer Salad fresh, store leftovers in airtight containers. This will lock in flavor and keep the salad crisp. Use the salad within three days for the best taste. If you wait too long, the ingredients may become soggy. You can prepare the ingredients ahead of time. Chop the mangoes, cucumber, red bell pepper, and red onion. Keep each ingredient separate in the fridge. When it's time to eat, simply mix them together. Assemble the salad just before serving for the freshest taste. This salad does not freeze well. Freezing can change the texture of the mango and cucumber. If you want to preserve the ingredients, consider freezing them separately. Use them in smoothies or soups instead. Always make sure to pack produce in freezer-safe bags or containers. You can use several fruits instead of mango. Pineapple adds a sweet, tangy flavor. Peaches bring a juicy touch. Papaya offers a mild sweetness. When you pick a fruit, think about how it will blend with cucumber and lime. You want a balance of sweetness and freshness. Typically, this salad lasts about two days. After that, the vegetables may get soggy. Look for signs of spoilage like a change in color or smell. If it smells off, it’s best to toss it out. Yes! To make it vegan, swap honey for agave syrup. You can also add more veggies like avocado or even black beans for extra nutrition. This way, you keep the flavor while making it plant-based. This mango salad blends fresh ingredients with simple steps. You start by preparing ripe fruits and vegetables. Mixing them with fresh lime juice brings out their flavor. Optional proteins and grains add variety. Store leftovers properly to enjoy later. Try different herbs or spices for unique tastes. This recipe is versatile and easy to adapt. Enjoy your colorful, healthy dish!](https://fastmealmate.com/wp-content/uploads/2025/07/d214d25a-b677-4b49-bd4c-02fe8092c0e1-768x768.webp)