Skip to content
About
Contact
Cookie Policy
Copyright Policy
Disclaimer
Search
Home
Dinner
Appetizer
Desserts
Drinks
About
Contact
Privacy Policy
Toggle Menu
Home
/
Appetizer
- Page 3
Appetizer
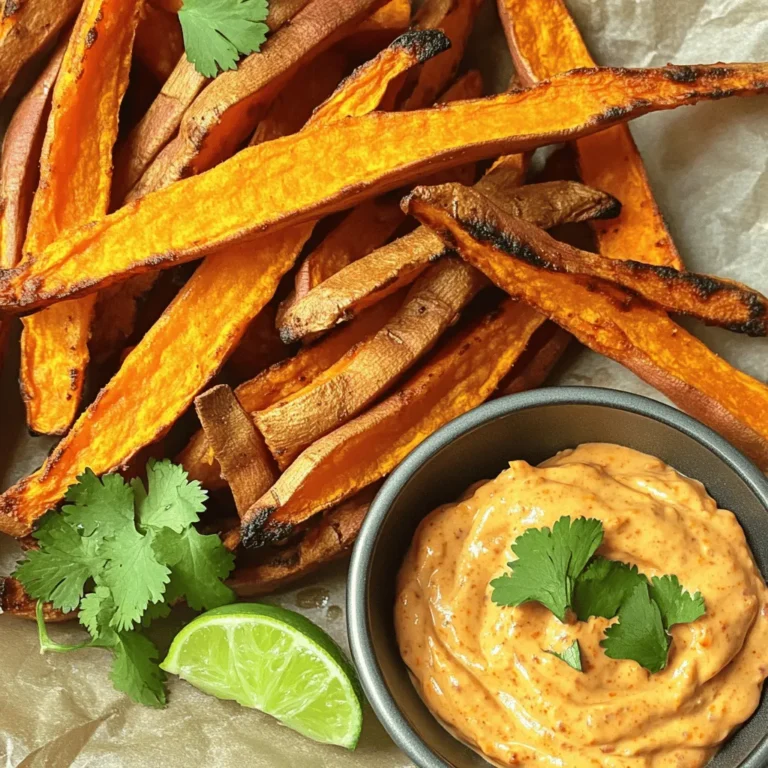
Air Fryer Sweet Potato Fries With Chipotle Mayo Delight
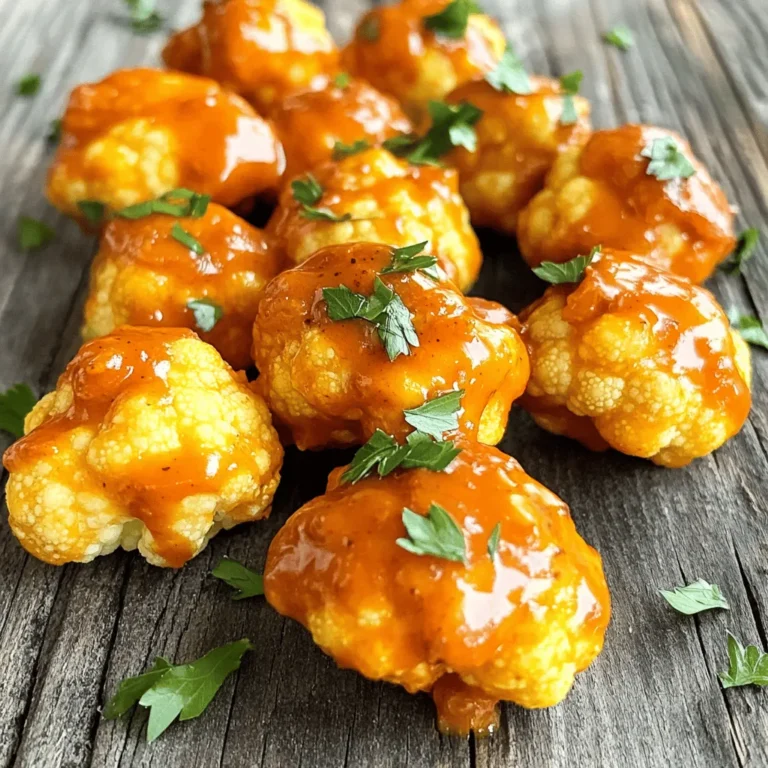
Air Fryer Crispy Buffalo Cauliflower Bites Delight
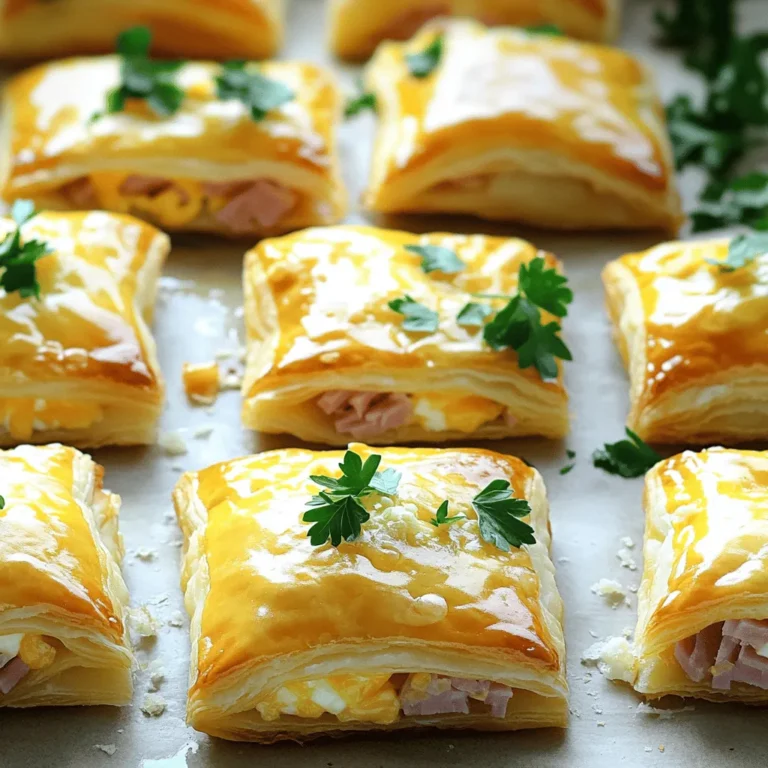
Ham & Cheese Puff Pastry Squares Tasty and Simple Snack
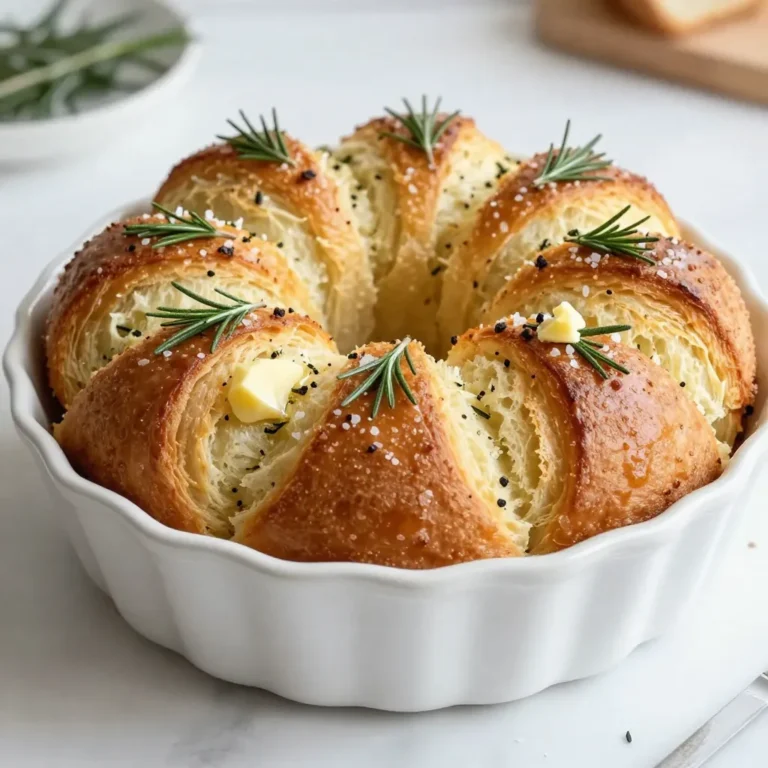
Rosemary Garlic Pull-Apart Bread Irresistible Delight
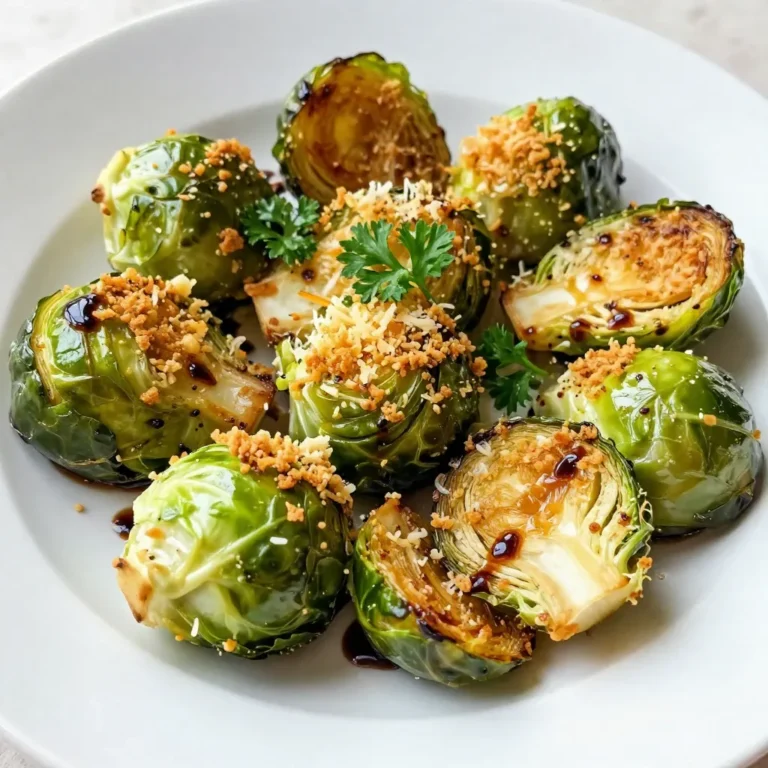
Parmesan Roasted Brussels Sprouts Flavorful Side Dish
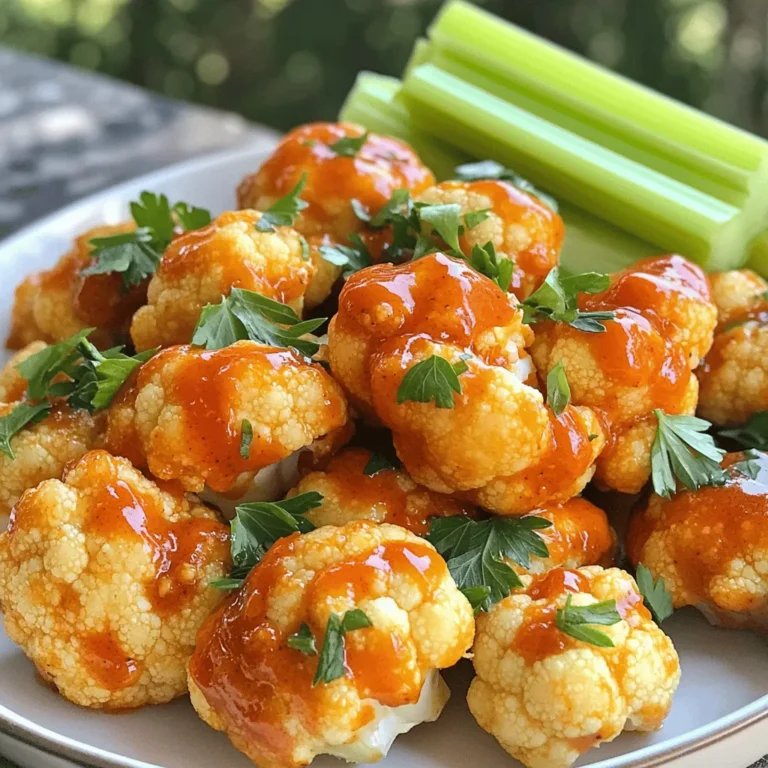
Air Fryer Buffalo Cauliflower Tasty and Spicy Delight
Air Fryer Crispy Pizza Rolls Quick and Tasty Snack
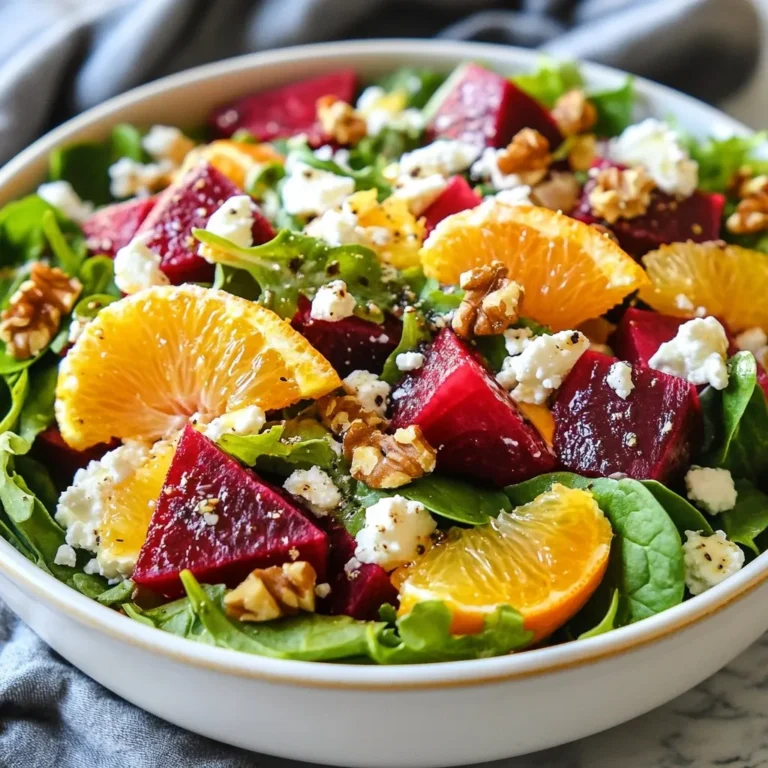
Beet & Feta Citrus Salad Fresh and Vibrant Delight
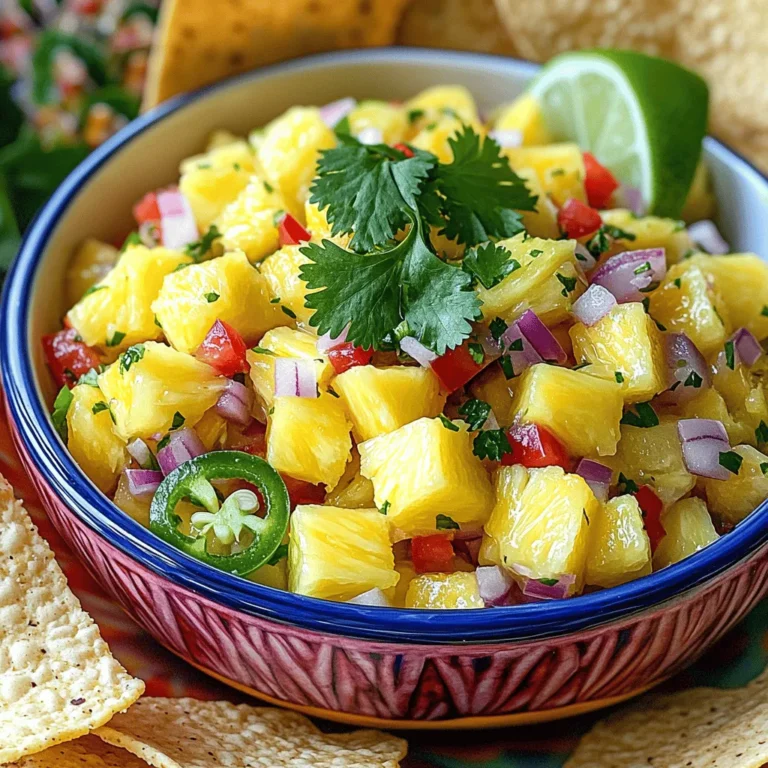
Fresh Pineapple Salsa Tasty and Simple Summer Dip
Savory Summer Shrimp Tostadas with Guacamole Salsa
Page navigation
Previous Page
Previous
1
2
3
4
5
…
16
Next Page
Next
Home
Dinner
Appetizer
Desserts
Drinks
About
Contact
Privacy Policy
Toggle Menu Close
Search for:
Search