Skip to content
About
Contact
Cookie Policy
Copyright Policy
Disclaimer
Search
Home
Dinner
Appetizer
Desserts
Drinks
About
Contact
Privacy Policy
Toggle Menu
Home
/
Appetizer
- Page 2
Appetizer
Christmas Peppermint Fluff Dip Festive and Easy Treat
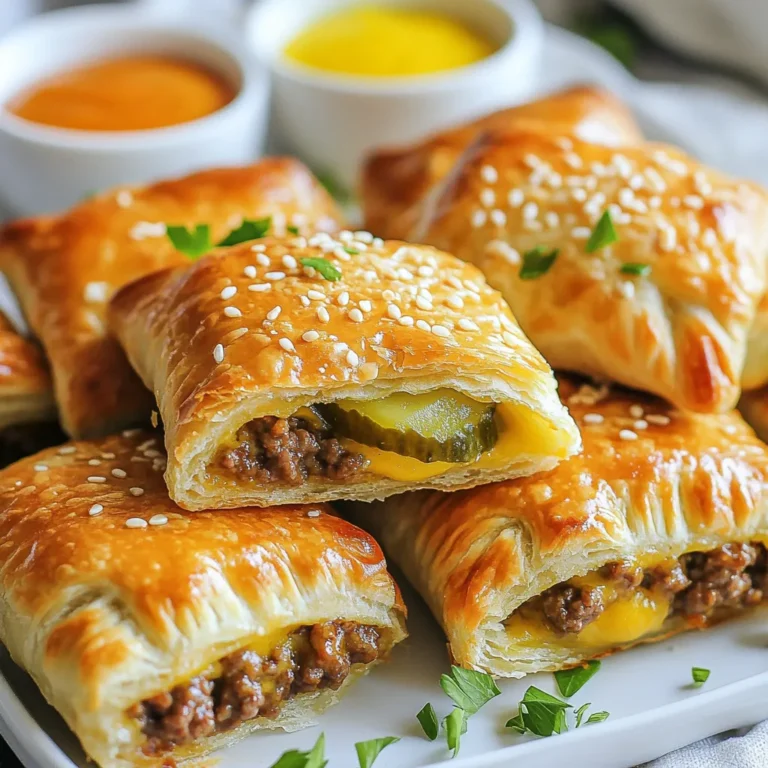
Cheeseburger Pockets Flavorful and Easy Recipe
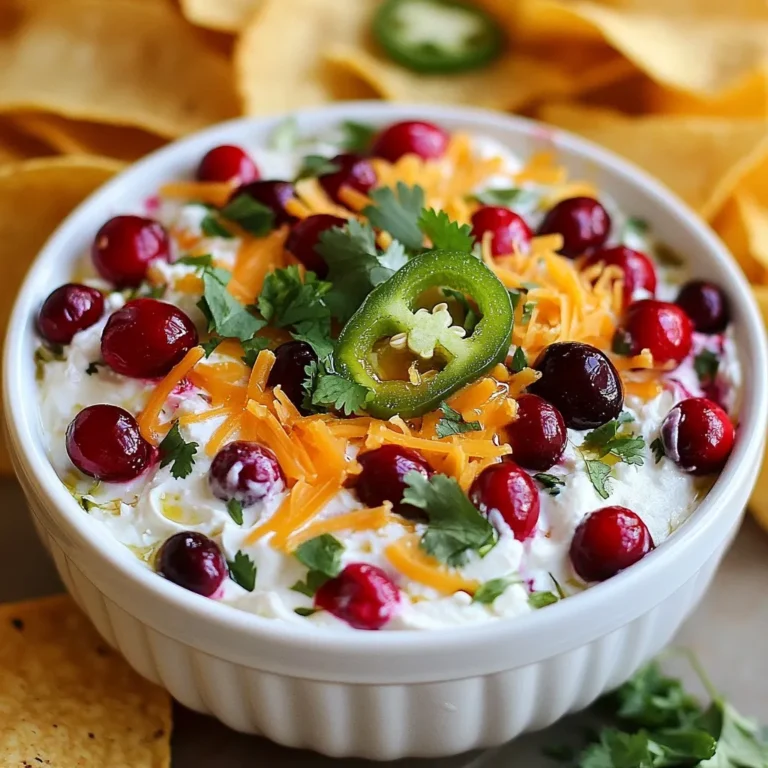
Cranberry Jalapeño Dip Flavorful and Easy Recipe
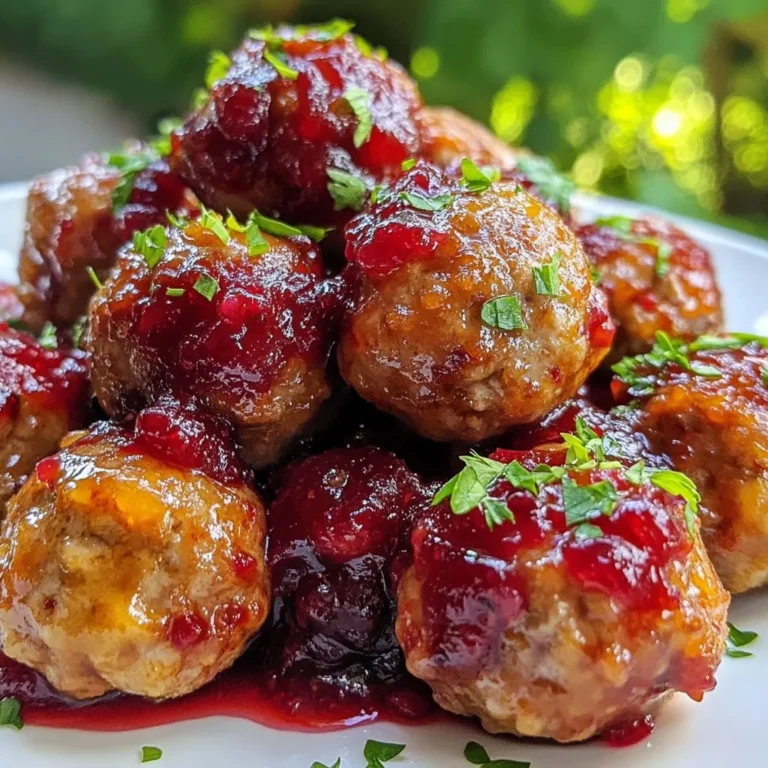
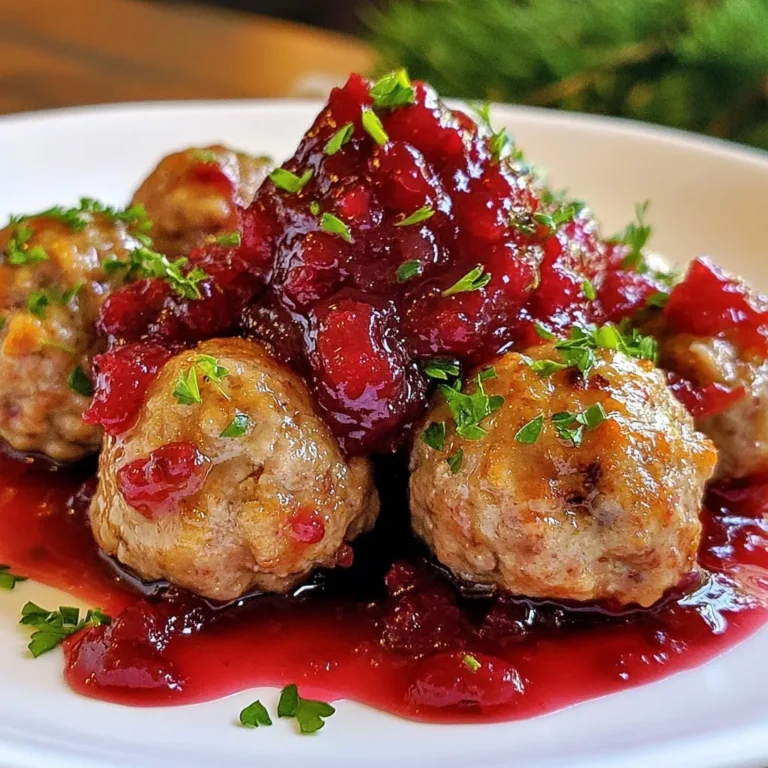
Quick Cranberry Meatballs Savory and Simple Recipe
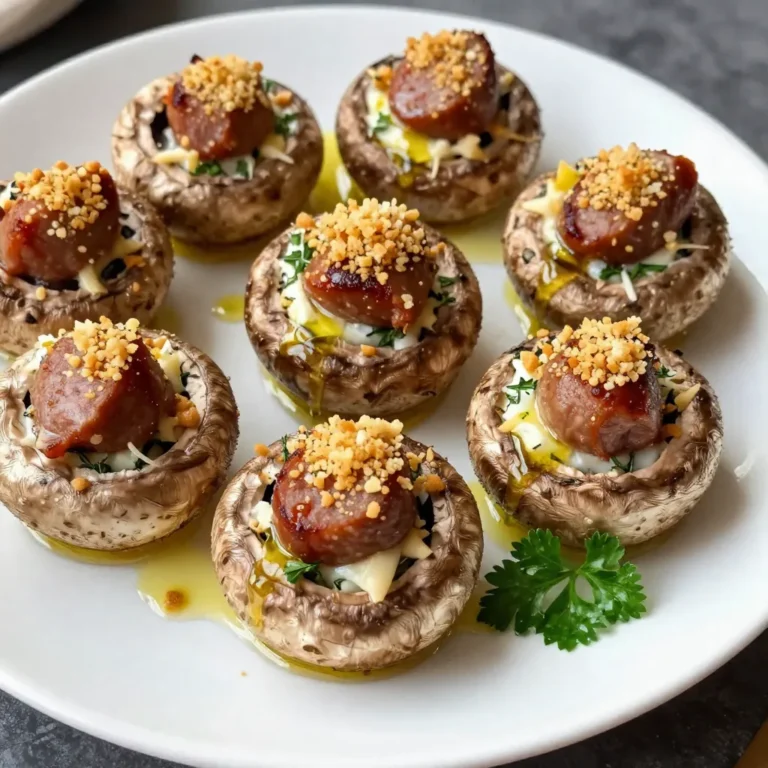
Christmas Sausage Stuffed Mushrooms Savory Delight
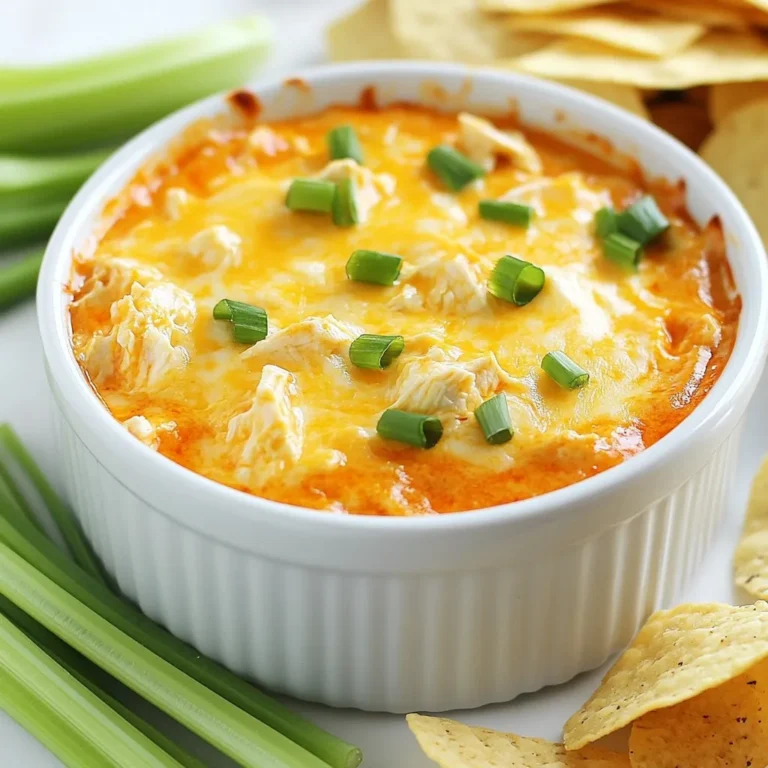
Crockpot Buffalo Chicken Dip Flavorful and Easy Recipe
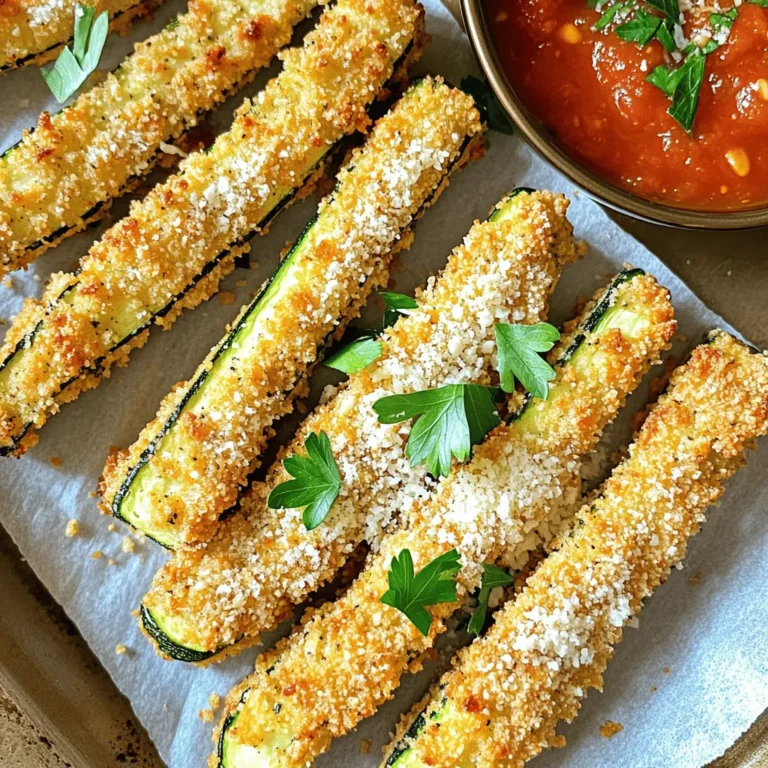
Air Fryer Parmesan Zucchini Fries Crispy Delight
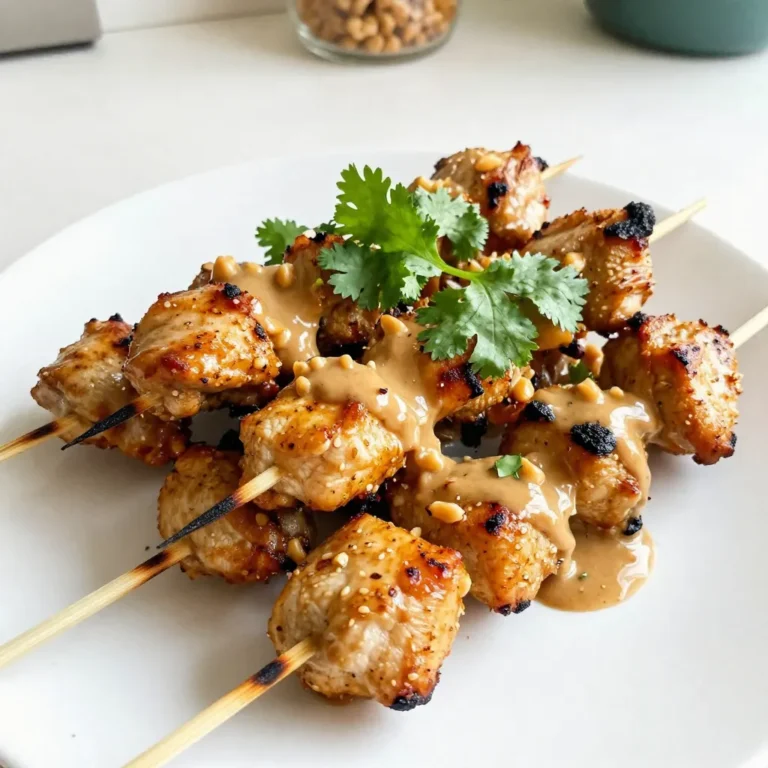
Bang Bang Chicken Skewers Grilled to Perfection
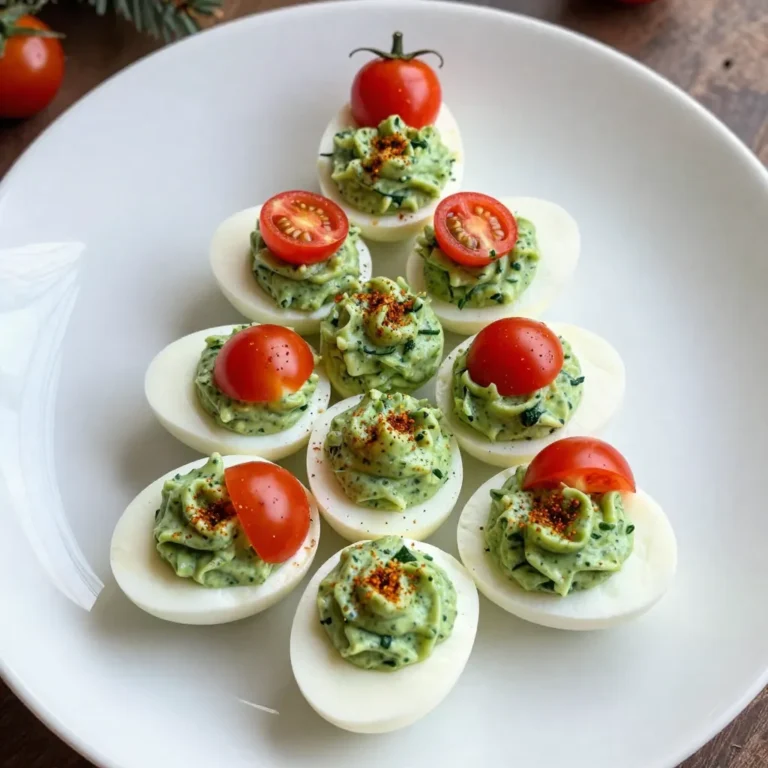
Christmas Tree Deviled Eggs Festive Holiday Treat
Quick Cranberry Meatballs Easy and Tasty Recipe
Page navigation
Previous Page
Previous
1
2
3
4
…
16
Next Page
Next
Home
Dinner
Appetizer
Desserts
Drinks
About
Contact
Privacy Policy
Toggle Menu Close
Search for:
Search