Skip to content
About
Contact
Cookie Policy
Copyright Policy
Disclaimer
Search
Home
Dinner
Appetizer
Desserts
Drinks
About
Contact
Privacy Policy
Toggle Menu
Home
/
Appetizer
- Page 16
Appetizer
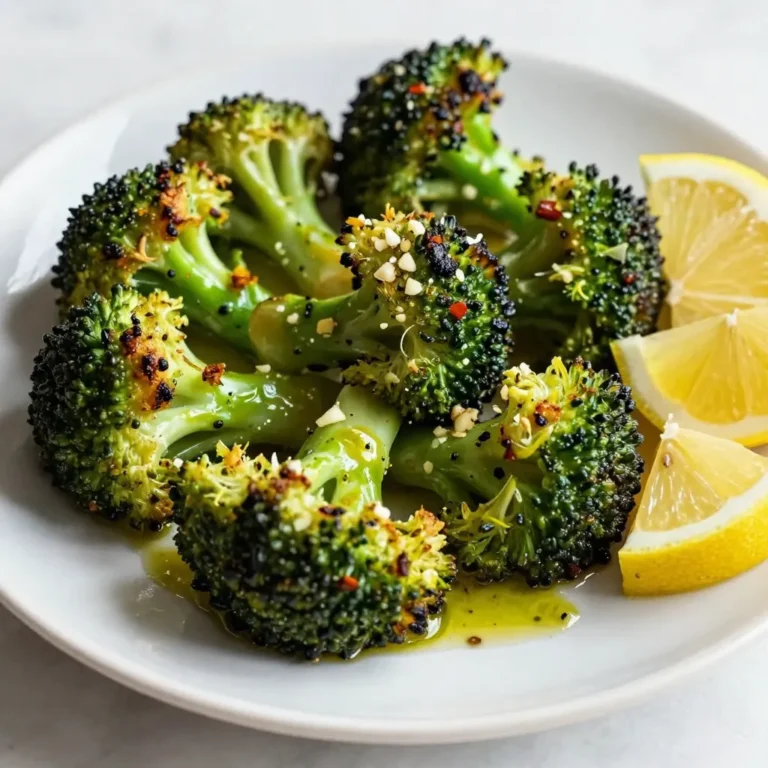
Easy Oven Roasted Broccoli Simple and Healthy Delight
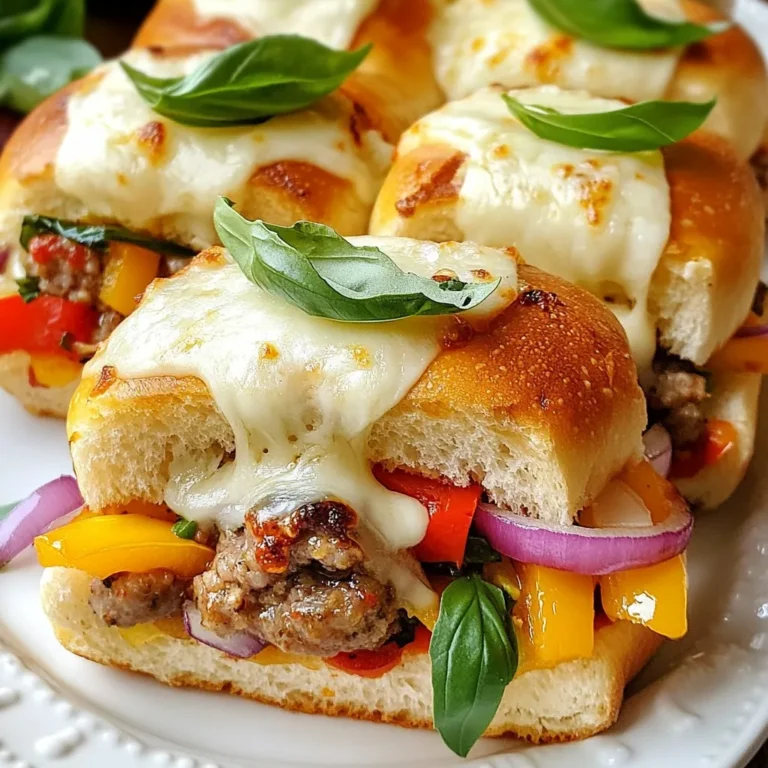
Hot Italian Sub Sliders Tasty and Easy Recipe
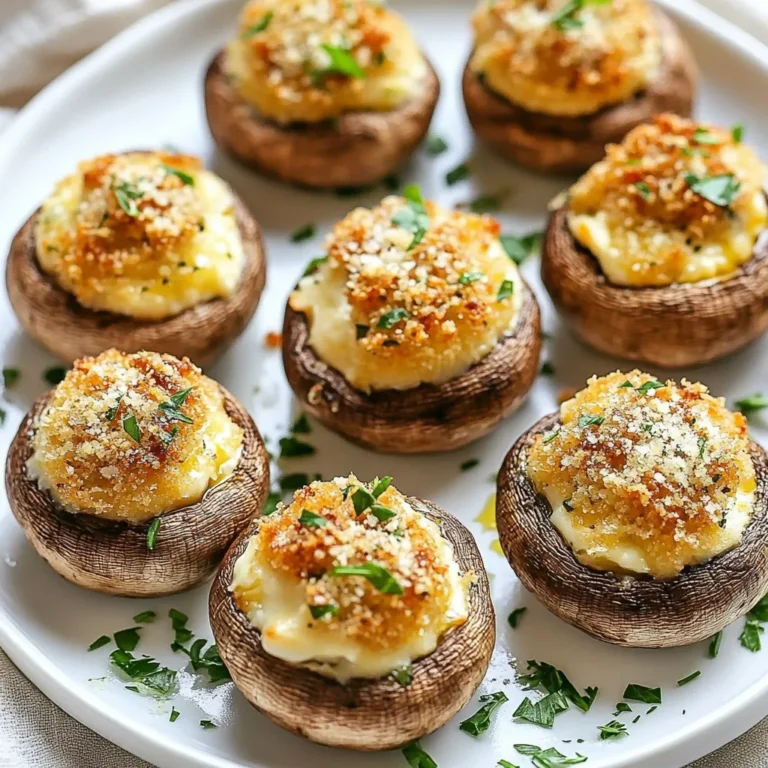
Christmas Stuffed Mushrooms Festive and Flavorful Treat
Page navigation
Previous Page
Previous
1
…
14
15
16
Home
Dinner
Appetizer
Desserts
Drinks
About
Contact
Privacy Policy
Toggle Menu Close
Search for:
Search