Skip to content
About
Contact
Cookie Policy
Copyright Policy
Disclaimer
Search
Home
Dinner
Appetizer
Desserts
Drinks
About
Contact
Privacy Policy
Toggle Menu
Home
/
Appetizer
- Page 15
Appetizer
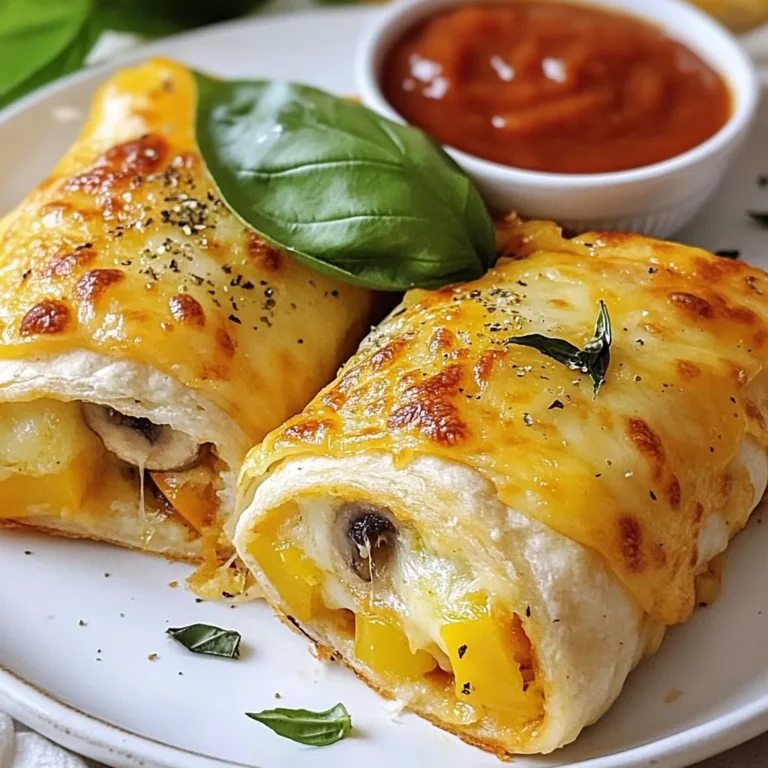
Cheesy Tortilla Pizza Rolls Easy and Tasty Snack
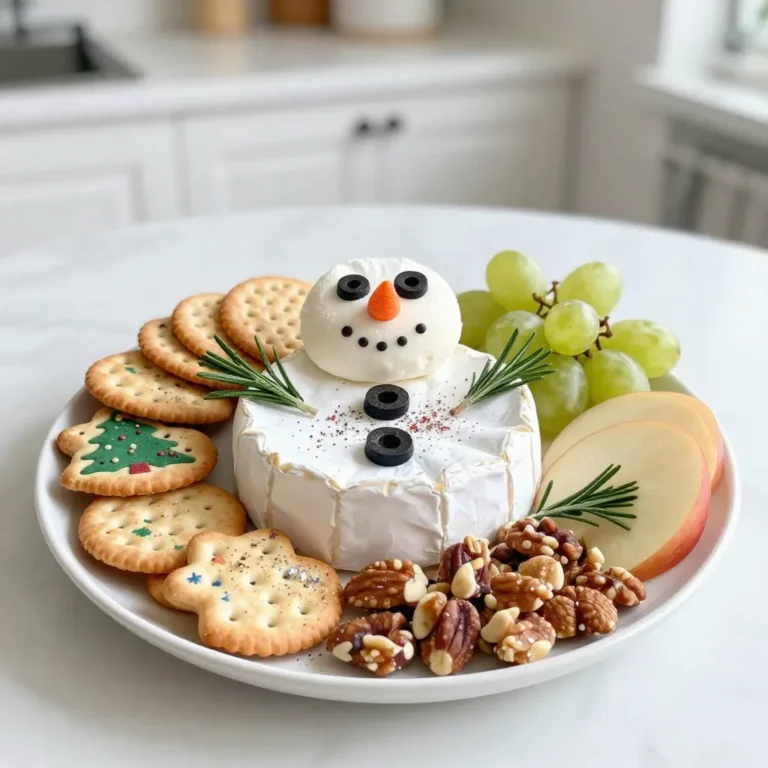
Snowman Christmas Cheese Board Festive Delight Recipe
Thanksgiving Cranberry Goat Cheese Crostini Delight
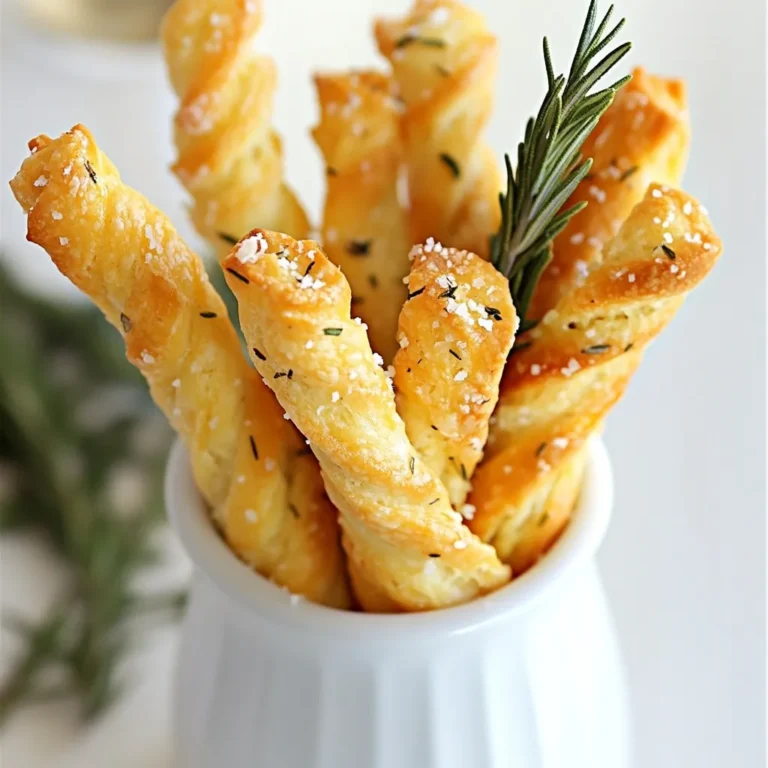
Rosemary Parmesan Cheese Straws Crunchy and Flavorful
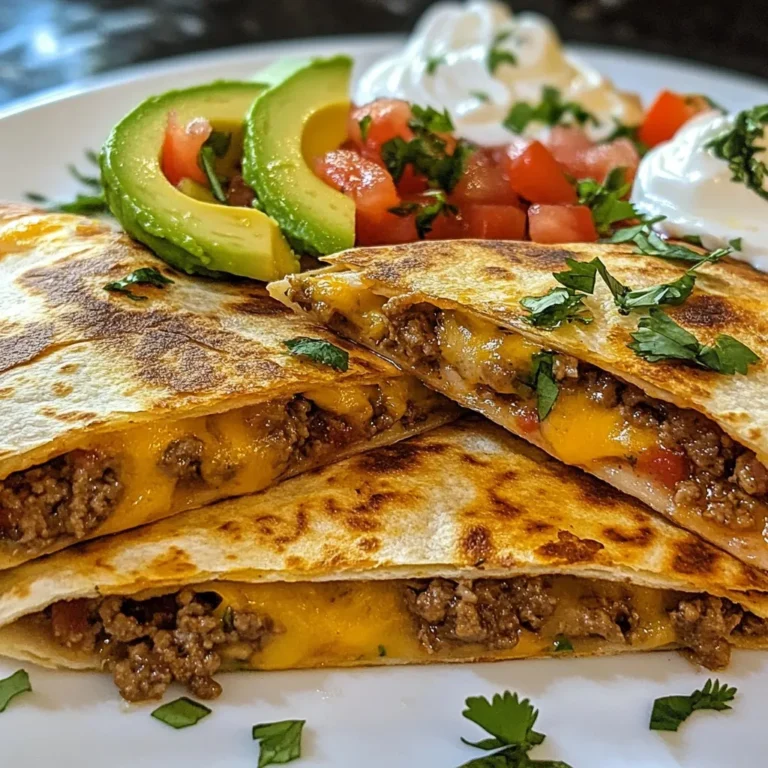
Smashburger Quesadillas Flavorful Crunchy Delight
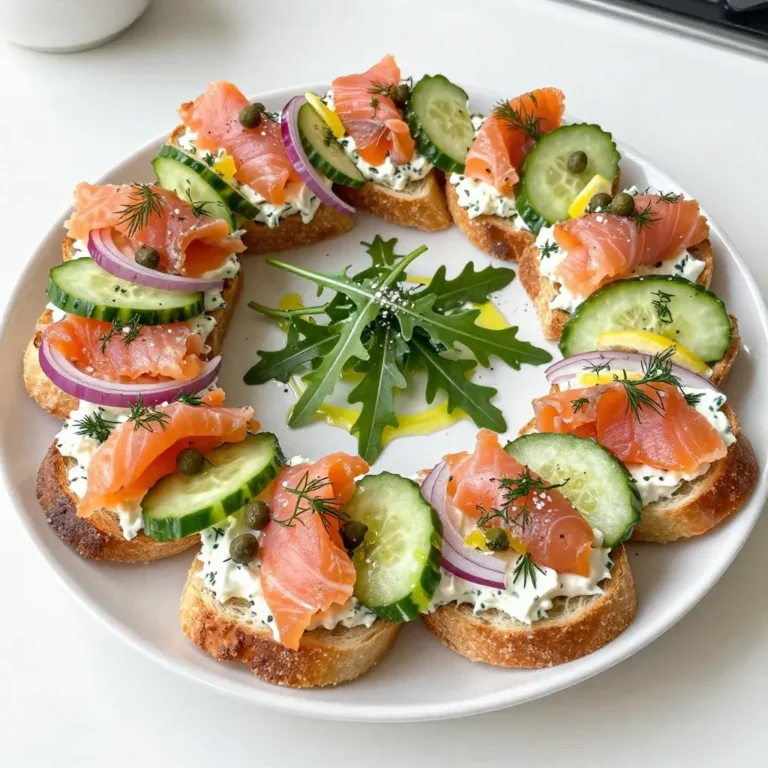
Smoked Salmon Bruschetta Wreath Festive and Flavorful
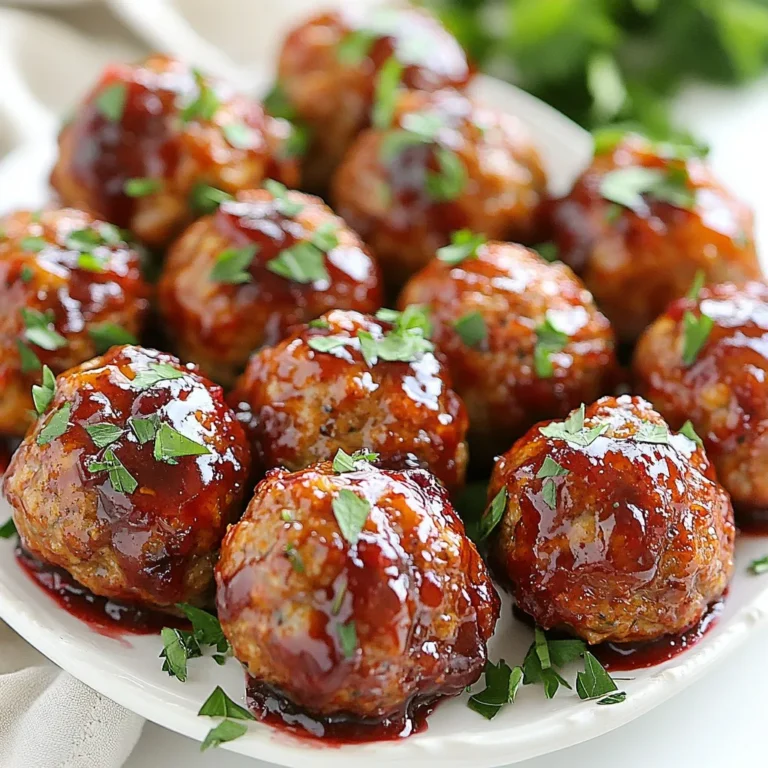
Cranberry Sauce Meatballs Flavorful Holiday Delight
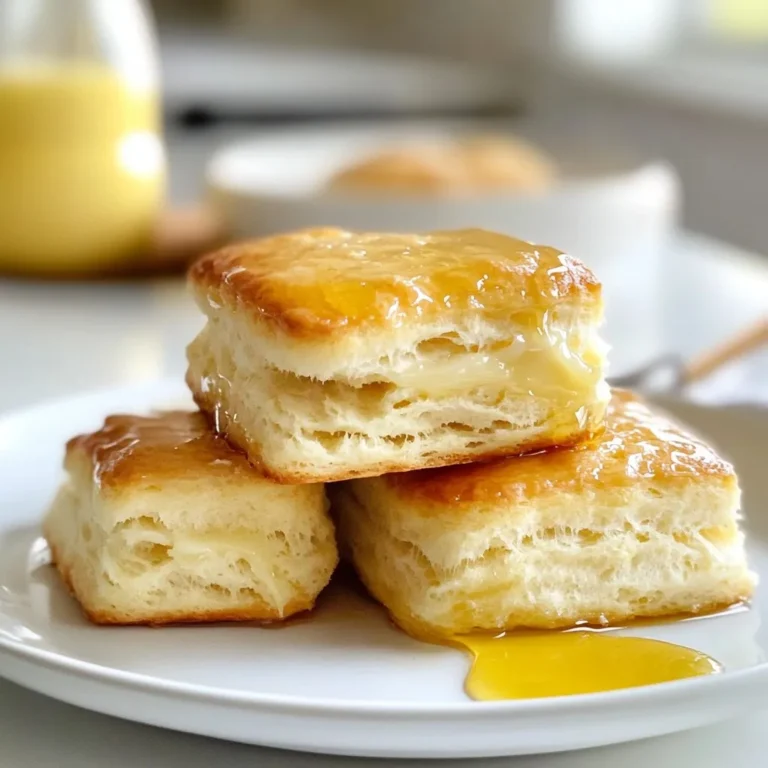
Fluffy Southern Biscuits Simple and Delicious Recipe
Festive Christmas Salad Vibrant and Flavorful Meal
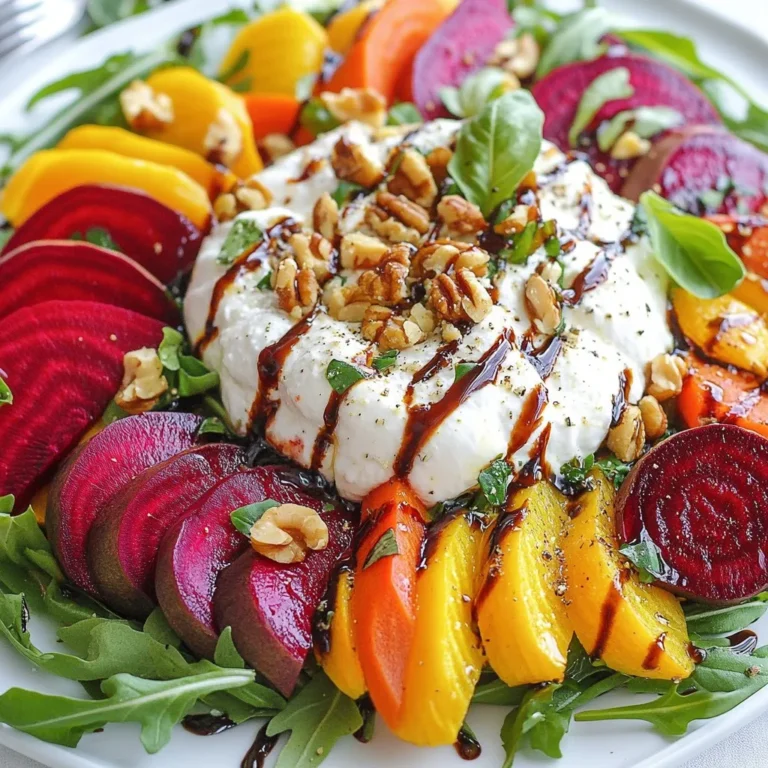
Roasted Beet & Carrot Burrata Salad Vibrant and Fresh
Page navigation
Previous Page
Previous
1
…
13
14
15
16
Next Page
Next
Home
Dinner
Appetizer
Desserts
Drinks
About
Contact
Privacy Policy
Toggle Menu Close
Search for:
Search